Beautiful & Free Toilet Paper Pumpkin Decorations {in 2 Minutes!}
Three reasons I am SO excited to share today’s DIY toilet paper pumpkin decorations with you:
- So easy, takes only minutes: instant gratification.
- Beautiful DIY Thanksgiving & fall decorations that need no storage: use things we already have, and return everything to its place when the season is over.
- You can make them in so many colors, shapes and sizes!
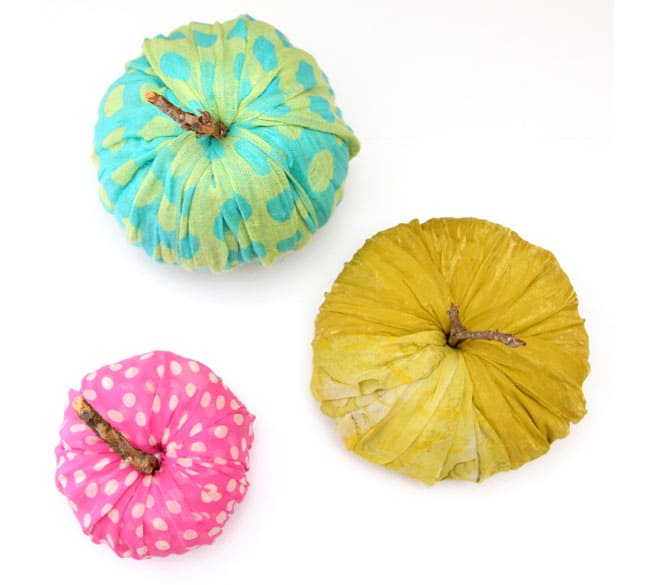
It’s time to celebrate this glorious fall season and Thanksgiving, with … toilet paper pumpkins that look like expensive fabric pumpkins!
Variation 1: how to make small sized toilet paper pumpkin decorations

*Some resources in article are affiliate links. Full disclosure here.
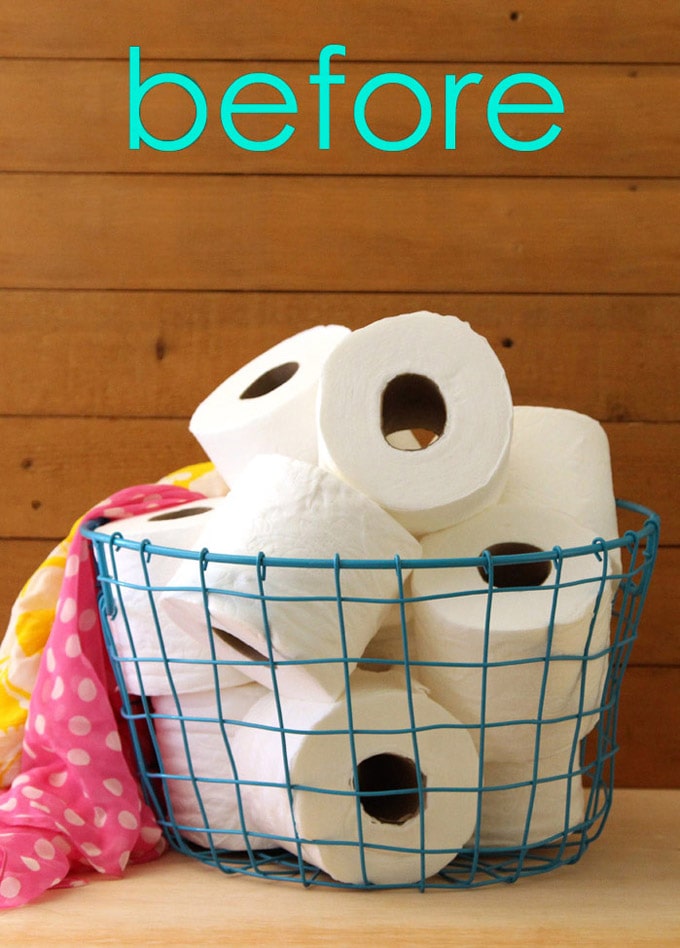
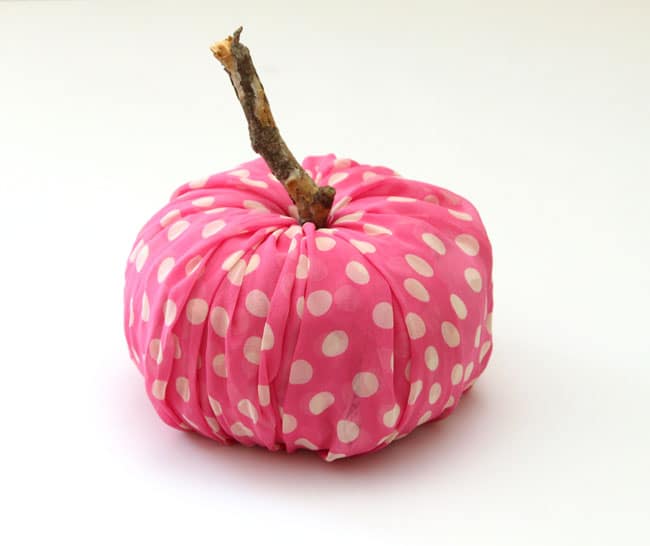
Yes, you can make toilet paper pumpkin decorations in just minutes!
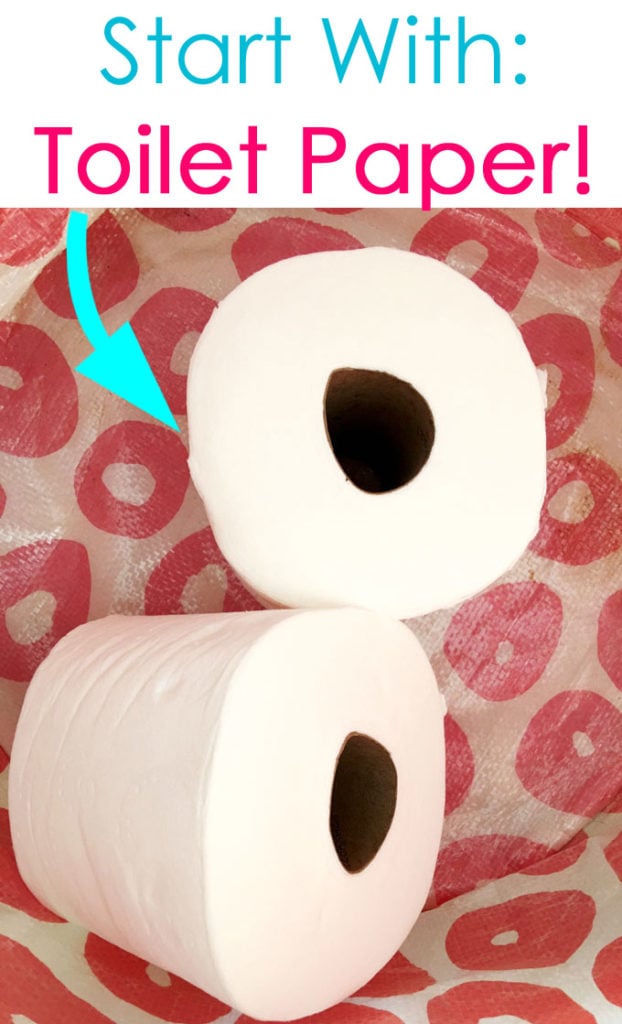
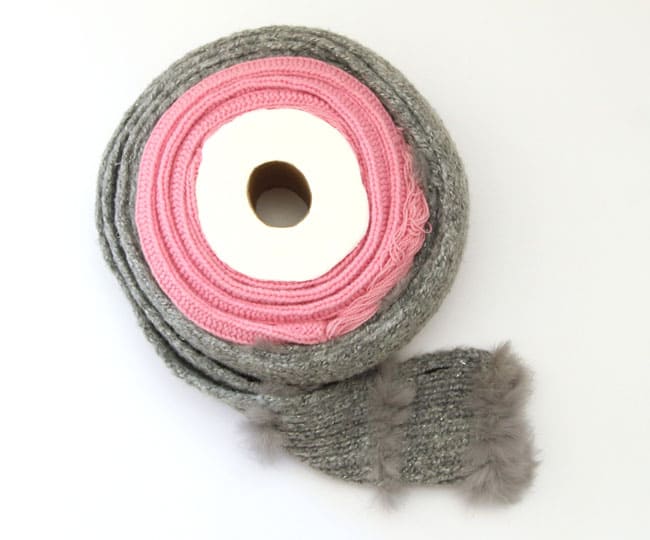
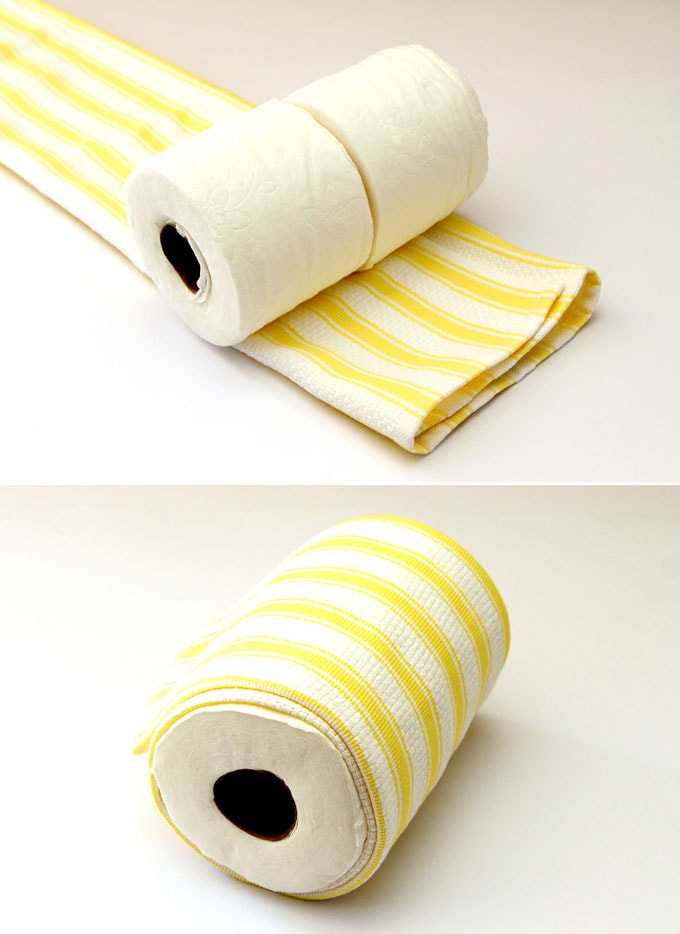
Step 1:
wrap a toilet paper roll with a piece of fabric folded to about the same size as the toilet paper roll. You can use dish towel, scarf, t-shirts, etc. This step is to give our “pumpkin” a more rounded shape.
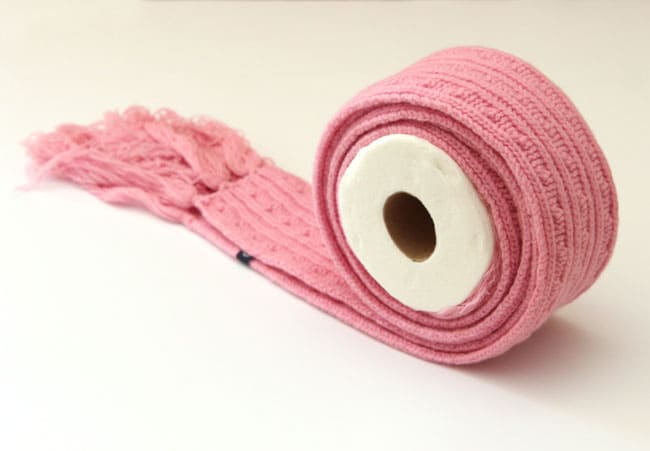
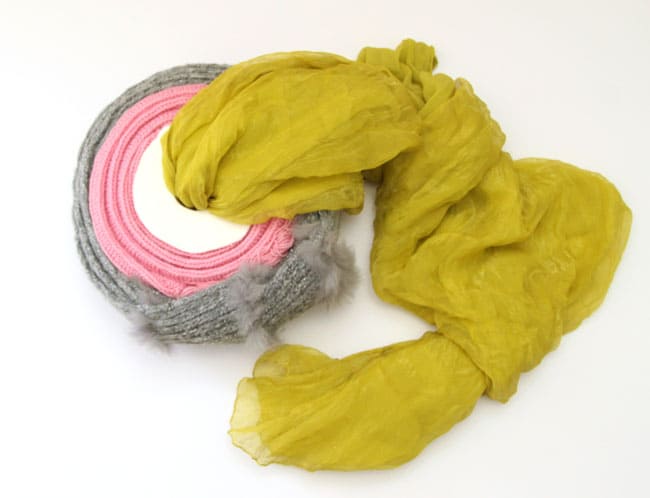
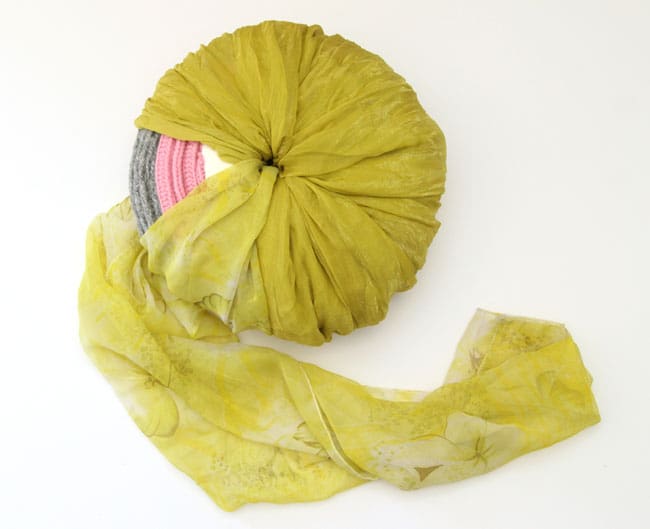
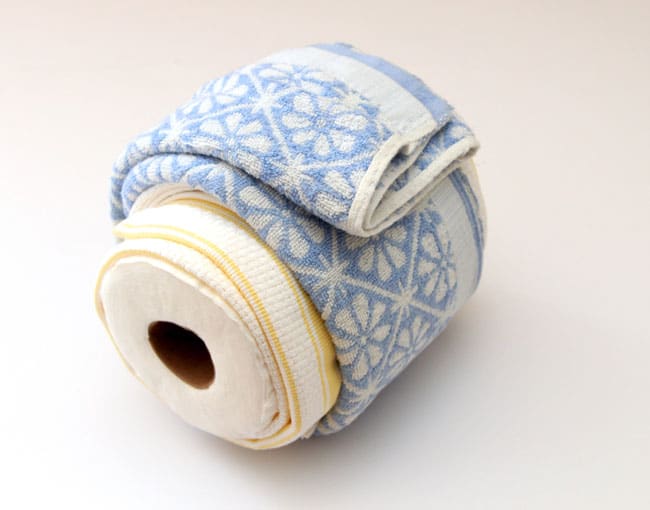
Step 2:
take another piece of fabric, wrap it vertically along the outside of the roll. you can either go through the hollow center of the roll, or just tuck it in a little bit on the ends and go back and forth.
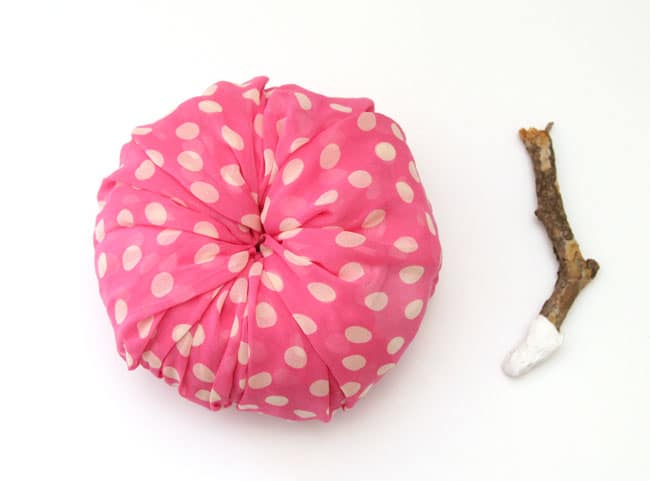
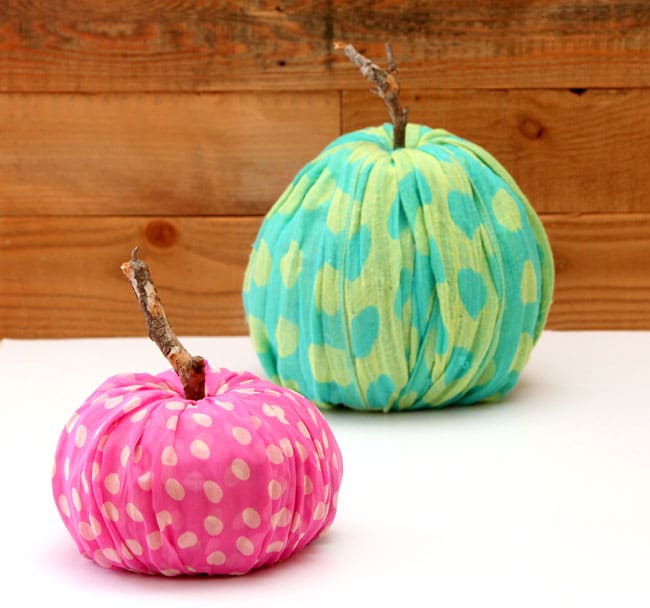
Step 3: add stem to your toilet paper pumpkin decorations
wrap one end of a twig with paper to protect our fabric, and tuck the twig inside one of the openings. Isn’t this toilet paper pumpkin gorgeous with a cute stem?
Now, let’s look at some fun variations!
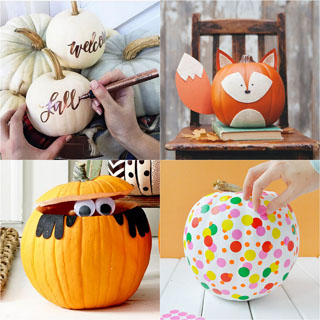
50 Amazing No Carve Pumpkin Decorating Ideas for Fall & Halloween
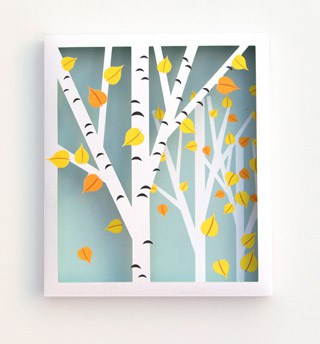
DIY Birch Shadow Box Paper Craft
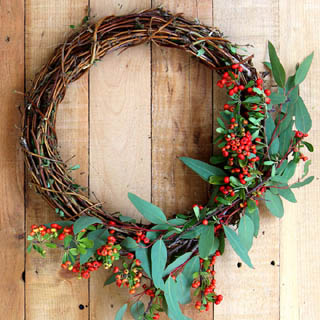
Make Wreaths Easily from Nature Walk Findings
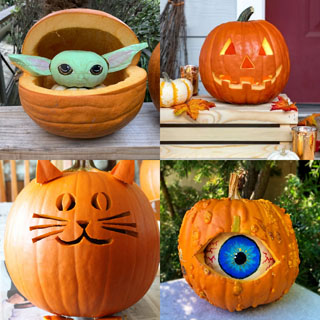
50 Best Easy Pumpkin Carving Ideas & Designs
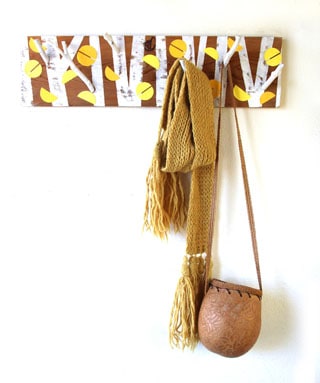
DIY: Birch Forest Coat Rack
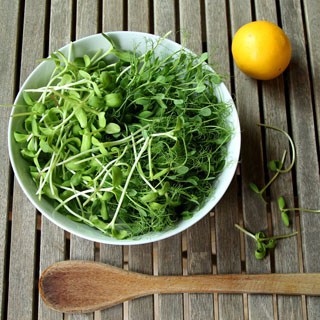
Grow an Indoor Salad Garden with Soil Sprouts
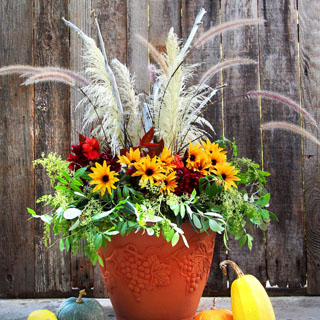
DIY Fall & Thanksgiving Decorations Planter {So Easy!}
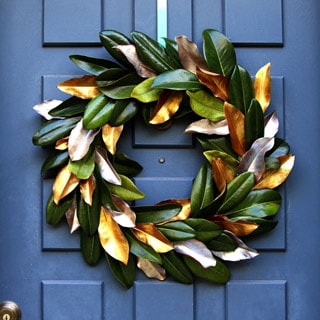
Easy & Free DIY Magnolia Wreath
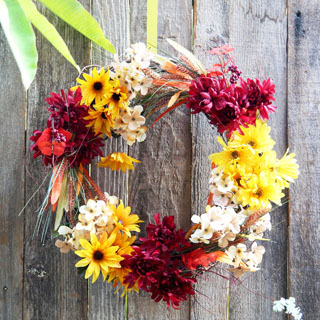
Beautiful DIY Fall Wreath in 10 Minutes {So Easy!}
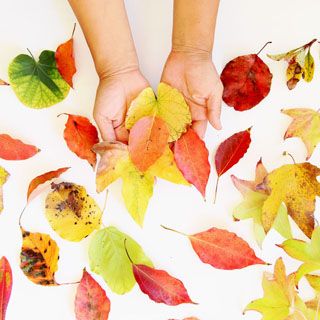
5 Minute Beautiful Leaf Prints Art (& 3 Secret Tips)
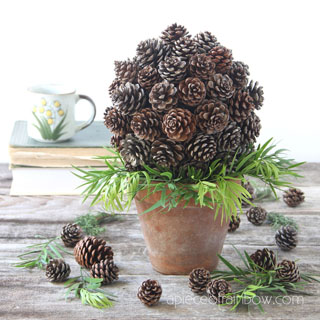
DIY $1 Farmhouse Decor Pine Cone Topiary
Easy Watercolor Tree Painting in Fall Colors!
Variation 2: how to make flat shaped Cinderella pumpkin decorations.
Just keep rolling more fabric around the toilet paper till the form looks flat, then wrap extra long fabrics around it. One piece of fabric might not be enough, just find some similar color ones, or make multi-color DIY toilet paper pumpkins!
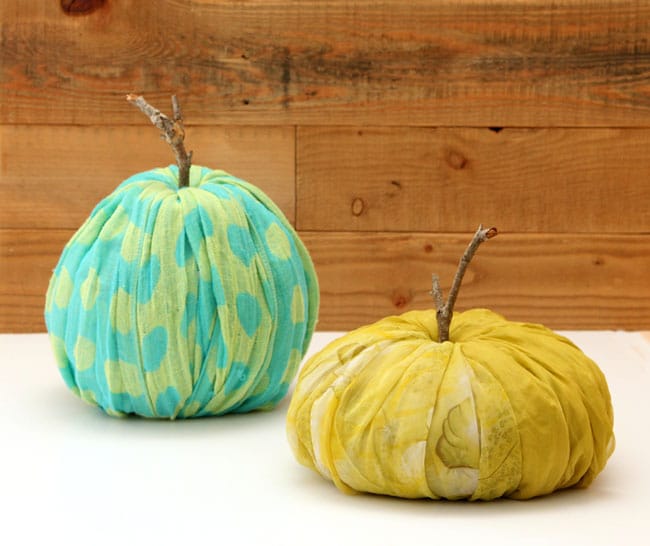
Variation 3: how to make extra large and tall toilet paper pumpkin decorations.
To make the extra large and tall pumpkin, we will be using 2 toilet paper rolls.
Wrap 2 rolls tightly together with a wide towel, then create a tapered shape with more folded towels. Once you are happy with the shape, wrap the outer layer with a pretty fabric.
I used scarves on all these pumpkins, but shirts, skirts, kitchen linens will all work beautifully.

Now it’s your turn! Explore all the shapes, sizes, colors, and patterns, the possibilities are endless when it comes to toilet paper pumpkins! Don’t you think they would make great Thanksgiving & fall decorations?
Some more Thanksgiving & fall decorating ideas you may love-
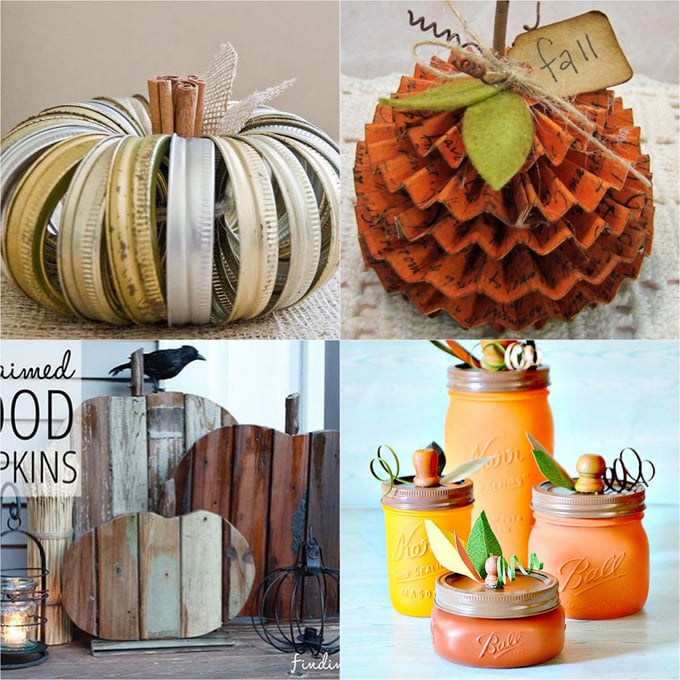
20+ creative pumpkin decoration ideas fro gorgeous to wicked!
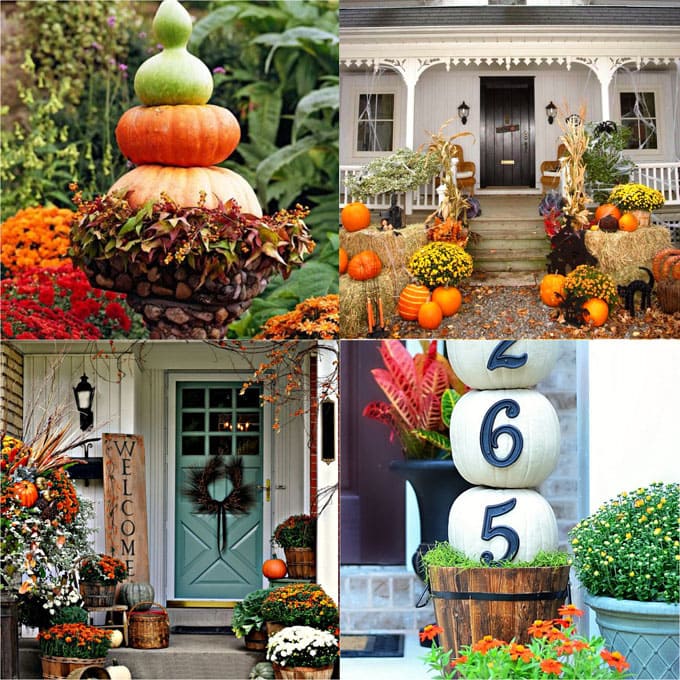
25 splendid fall outdoor decorations for your porch and backyard!
DIY beautiful outdoor fall & Thanksgiving Decorations planter- for almost free.

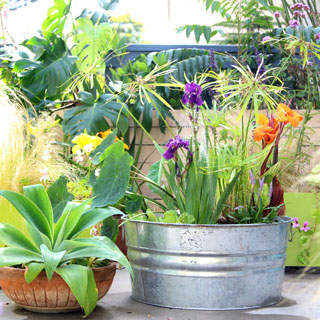
Easy DIY Solar Fountain in 1 Hour {with Pond Water Plants}
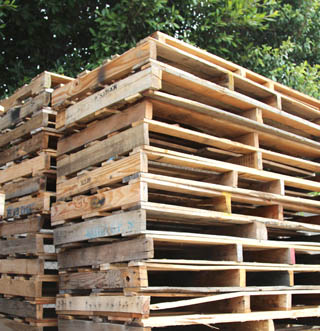
DIY Wood Pallets Ideas, Tips & Projects: An Ultimate Guide
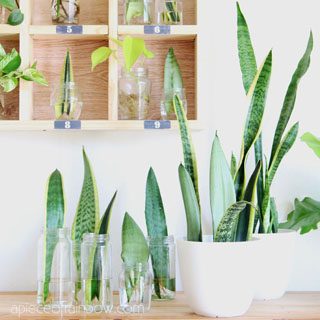
Snake Plant Care & 5 Amazing Benefits of Sansevieria
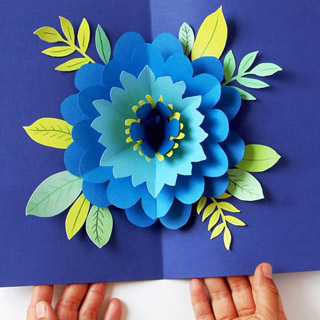
DIY Happy Mother’s Day Card with Pop Up Flower
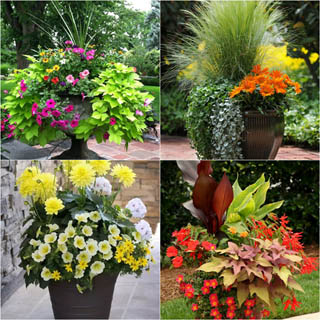
24 Stunning Container Garden Planting Ideas
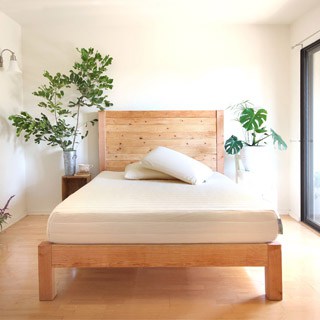
DIY Bed Frame & Wood Headboard ($1500 Look for $200!)
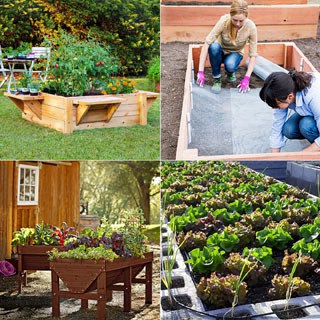
28 Best DIY Raised Bed Garden Ideas & Designs
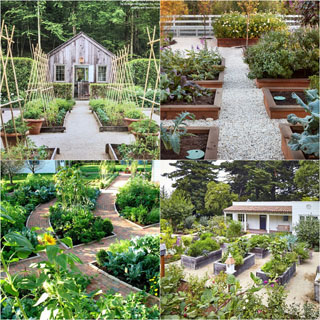
Vegetable Garden Layout: 7 Best Design Secrets
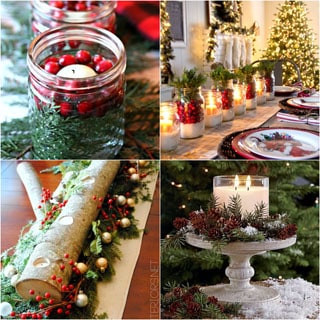
27 Gorgeous Christmas Table Decorations & Settings
18 Ingenious DIY Christmas Trees For Any Space
100+ Favorite Christmas Decorating Ideas For Every Room in Your Home : Part 1
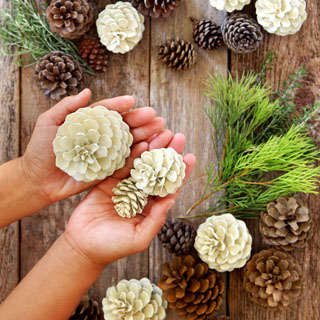
Easiest 5 Minute “Bleached Pinecones” {without Bleach}
Happy pumpkin season!


Great Post !! I admire the valuable information you offer in your articles. I will bookmark your blog and refer to my friends.
Hi Ananda,
Very cute pumpkin, That was a great idea and a lot of inspiration thanks.
Great blog and wonderful ideas. So glad that I found you!!!
thank you so much Cynthia! great to have you here! 🙂
I have been making these for years using a layer of batting to plump up the tp. Using a scarf is such a great idea; the pumpkin would be dismantled just about the time I need my scarf back! I roll up a piece of paper bag (cut with funky scissors) to make a stem and add a black paper Jack-o-lantern face that I tape on (and remove after Halloween). A stem of silk grape vine makes a realistic leaf with tendril. Yhis year I am upcycling $1 clothes from Goodwill into colorful pumpkins!
thank you kathy for sharing!! i love the fact that we don’t need storage for these! =)
I made some. I never make anything — I made 3 and they are so cute. Thanks.
Yay!! Are they fun? 🙂
I love this I just bought a velvet pumpkin from my grocery store that looks like this. Now I know how to make my own! Thanks for sharing so cute.
xo, Nicole
What great ideas!! Thanks for sharing!!!
Ananda – you’e done it again, with an incredible and darling tutorial! I absolutely adore these cute pumpkins and want to have them on my front porch! You are simply amazing. xoxo
What a cute and resourceful idea! I’ll be watching for cute scarves when I do my thrift store shopping so I can try making a few.
Okay, these are too cute! And an inexpensive way to decorate and be festive. Pinning!
Seriously SO cute! I’m gonna pin this so I remember to try it later. Good idea!
Super cute and loooove that you can “un-do” them when the season is over! No storage room (which I’m seriously lacking) needed! Fun!
These are adorable, you are so creative! I can’t wait to make these with my daughter!
So lovely,color and fun!
These are TOO cute – and amazingly easy!
so CUTE!
What?! These pumpkins are awesome! I seriously love this and am making this weekend. Thanks for the inspiration!
Those are seriously cute, and something I would never have thought of!
Adorable and reusable! I may try it!