5 Minute Beautiful Leaf Prints Art (& 3 Secret Tips)
How to make beautiful leaf prints using real leaves on paper or fabric! This easy DIY leaf art is a great arts and crafts project for kids and everyone in the family, perfect for fall, Thanksgiving, and year round!
Fall is a time that really inspires creativity, just look at all the beauty and glorious colors around us!
I have always wanted to try some leaf printing projects. Leaf painting, prints and impressions are often considered fun fall and Thanksgiving crafts for kids, but can you imagine all the beautiful gifts and home decor you could make with leaf prints, at anytime of year?
After lots of testing an fine-tuning, I am excited to share with you how to make leaf impressions and prints on paper or fabric, best paints to use, and 3 secret tips and tricks (one of which I have not seen so far) to get really beautiful rich details without smudging. Stay tuned for more ideas on creative ways to use your gorgeous leaf painting art!
Materials and tools to make leaf prints:
*Some resources in article are affiliate links. Full disclosure here.
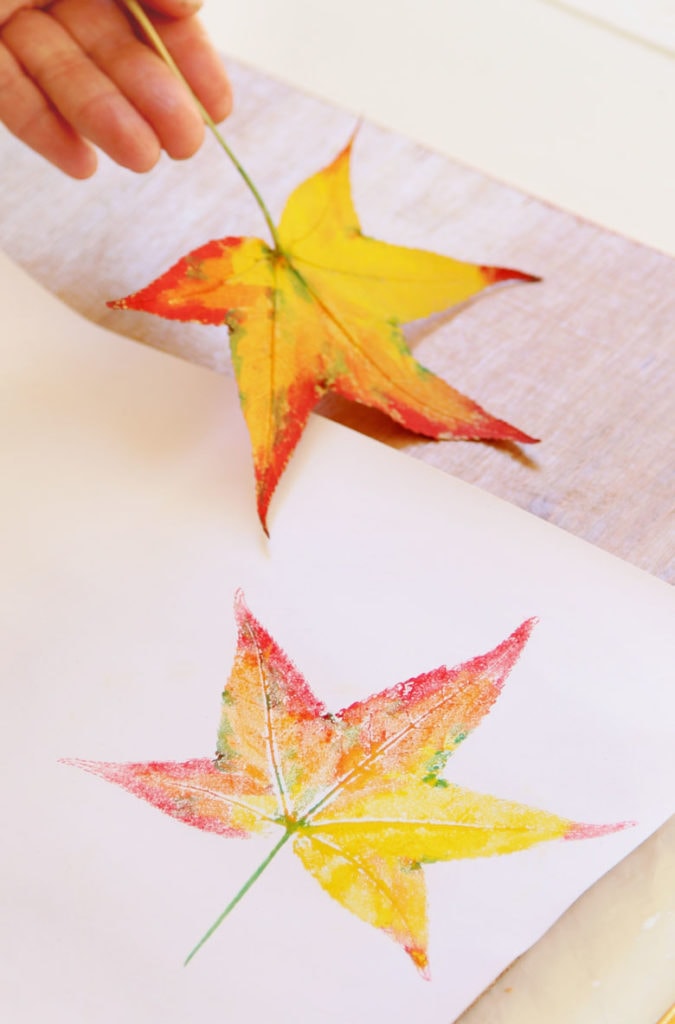
- Paint: For printing on paper, here are some good choices of tempera paint, gauche paint, watercolor ( soft form, in tubes) , or acrylic paint. For printing on fabric, use fabric paint or acrylic paint. ( More paint comparisons in Step 2)
- Paper / fabric: I have used this card stock, regular office copy paper, and this watercolor paper, they all gave great results. Most fine textured cotton or linen fabrics are also great for this project.
- A rubber brayer / roller like this one, (you can actually use silicon rolling pins like these which are a lot cheaper!), or a wooden rolling pin. Paper towel, scrap paper, or plastic sheets for the printing process.
- Paint brushes, and a palette or anything you can mix paints on.
Check out the video tutorial on making leaf prints, or skip to written tutorial below!
Step 1: find the best leaves for leaf printing
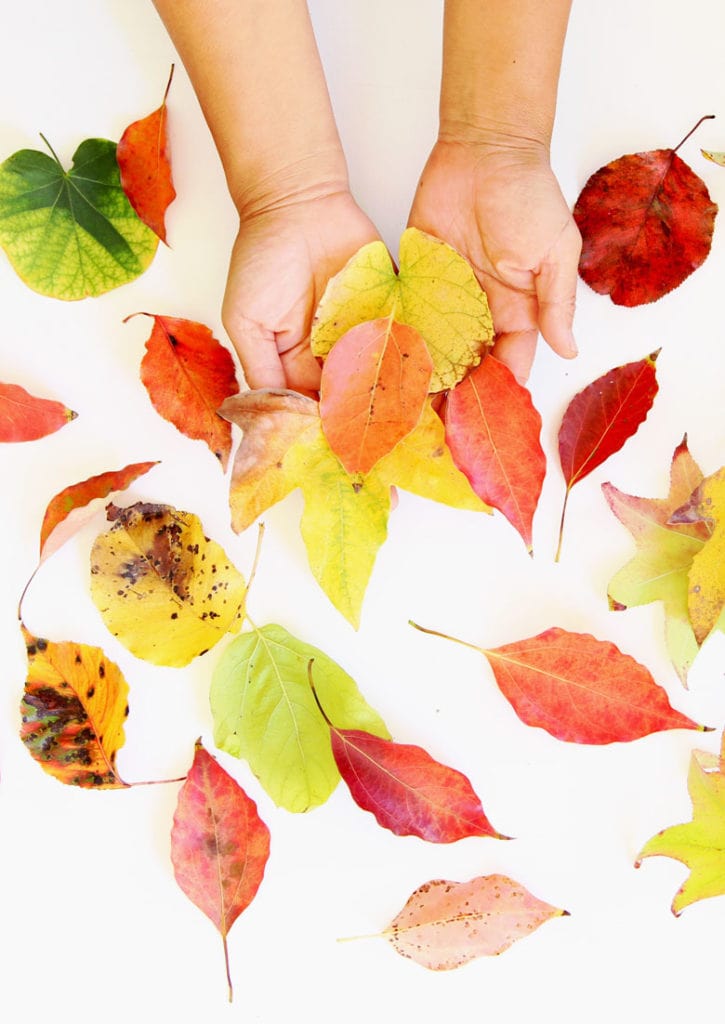
Which leaves are good for making leaf prints and impressions? The best kinds of leaves for leaf printing are relatively flat, not too soft, and have nice vein textures (usually on the back side), and not too small, such as leaves from maple, tulip tree, certain oak trees, ginkgo, sassafras, ash, poplar, sycamore, etc.
You can use fresh leaves, or press them for a day before using, which I found quite helpful in keeping the leaves flat and easier to print with.
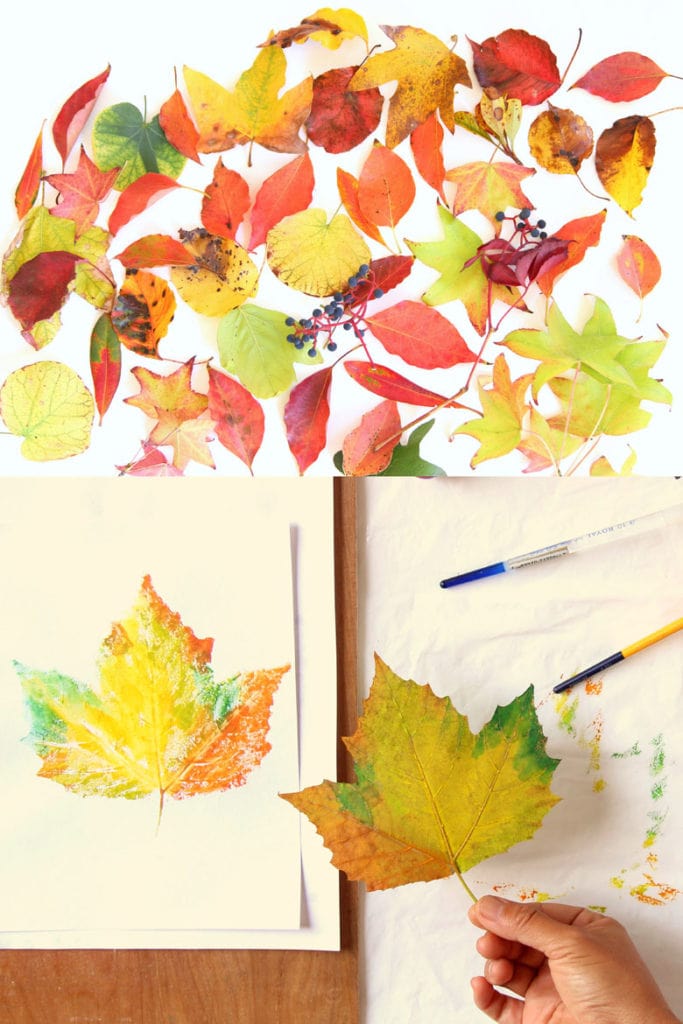
Also think about how you would like to use your leaf printing: are they for wall art, table linen, Thanksgiving cards, or other fall decorations? This will help you decide what sizes the leaves need to be.
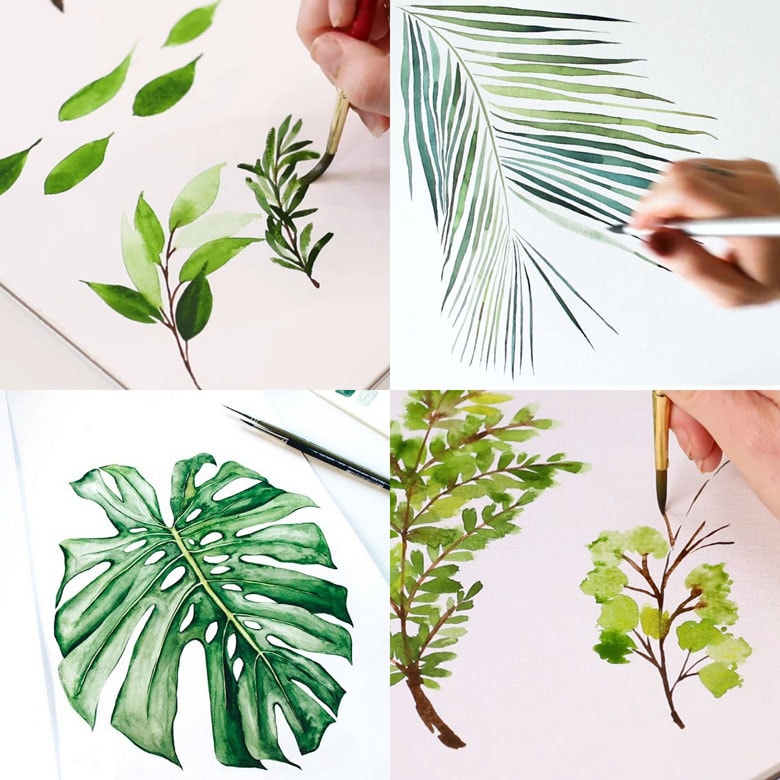
Leaf printing is also a great way to get started on painting watercolor leaves! Here are some of our favorite tutorials!
Step 2: paint one side of a leaf for printing (and the secret techniques!)
Before I tried leaf printing, I thought all I need to do is put some paints on a leaf, the rub it onto paper or fabric. But when I did just that, I could not get the beautiful details of the leaves to show clearly in my prints.
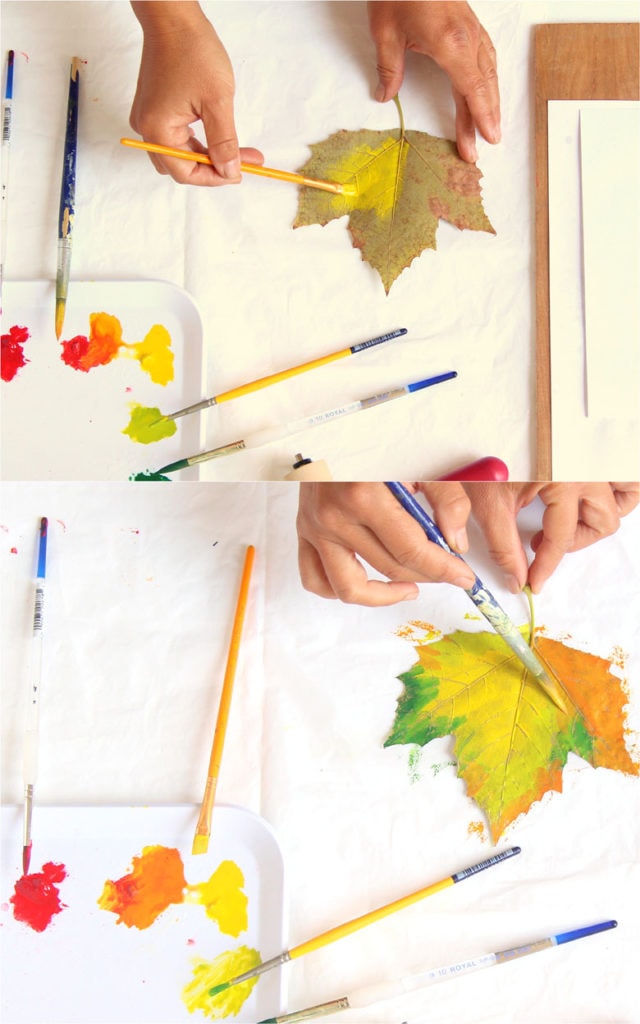
Some prints will have lots of white empty spots, and if I use too much paints, I would get a smudged mess! After some tests, I figured out 3 key techniques that make a huge difference.
The first secret is to understand the difference between acrylic paint, gouache paint, and tempera paint for making leaf prints.
The term “craft paint” is often used on all these paints. Although they are all water based paints, they perform differently.
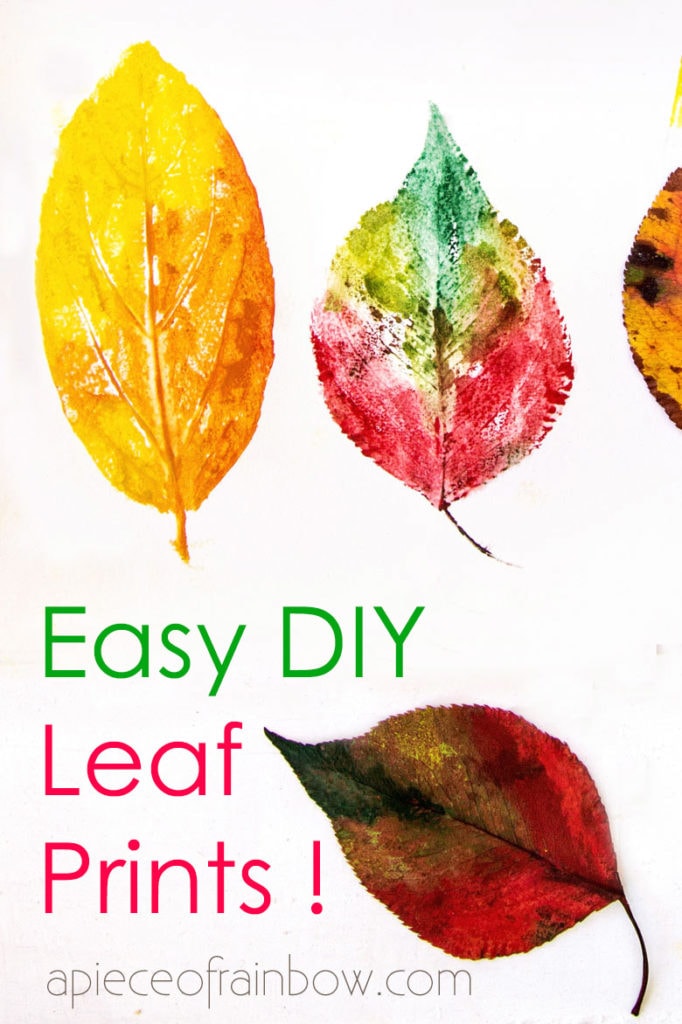
Gouache (aka opaque watercolor), watercolor , and tempera paint (similar to gouache, less pigmented, cheaper and great for kid crafts) can be reactivated with water. They are easier to work with if you are making leaf prints on paper.
Acrylic paint is more permanent when it dries. It’s great for printing on fabrics. It also works great on paper. However, it is much harder to clean dried acrylic paints off your brushes.
The key is to work fast when making leaf printing with acrylic paint, so the paints don’t dry out by the time you print. It is also helpful to have a mist bottle handy, and mist your brushes to keep them from drying too fast.
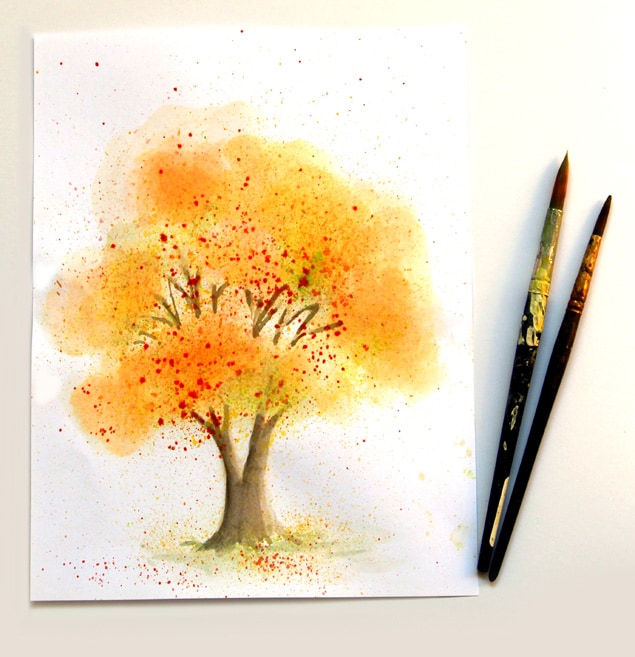
You may also love: watercolor fall tree painting tutorial with a super easy trick!
The second secret is to dampen the paper before printing a leaf.
This technique is great for thicker paper such as card stock or watercolor paper. You don’t need to do this on thin paper such as mulberry paper or office paper.
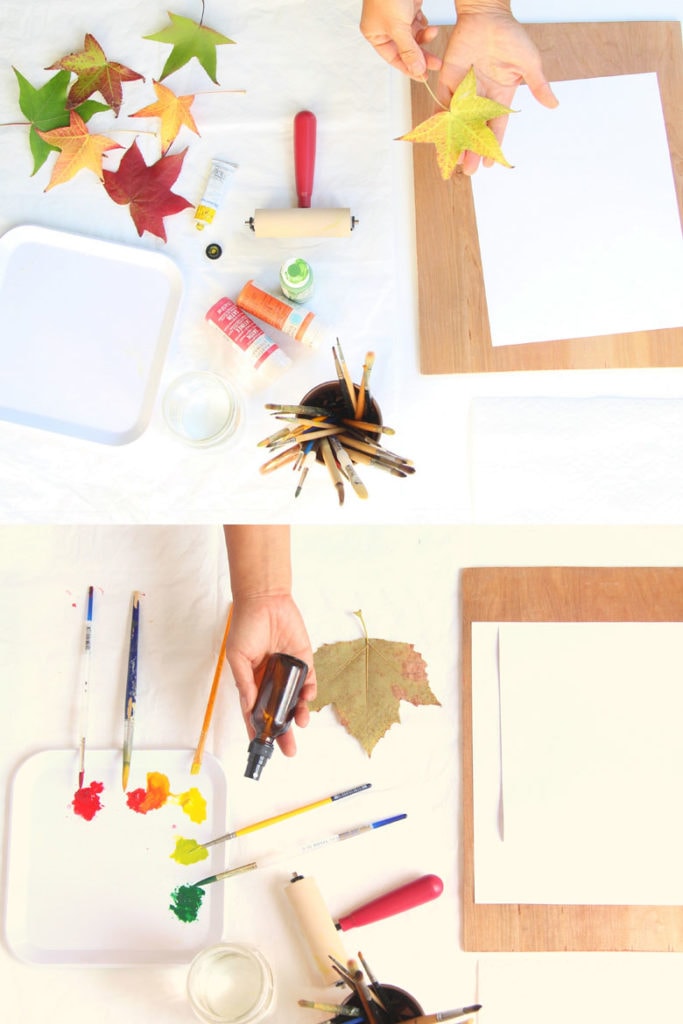
I actually remembered using this technique from our print-making classes in art school. Mist your paper using a fine mist bottle or paint it with a wet brush dipped in clean water. Let it absorb the moisture as you begin painting your leaf.
Protect your work surface with plastic or sheets of paper under the leaf. Spread a thin layer of paint over the leaf. The backside usually has more interesting vein textures. The paint consistency should be like ketchup or a bit thicker.
Most of the times you don’t need to add water to the paint. If the paint is too watery, or there is too much paint, it would cause smudges and bleeds.
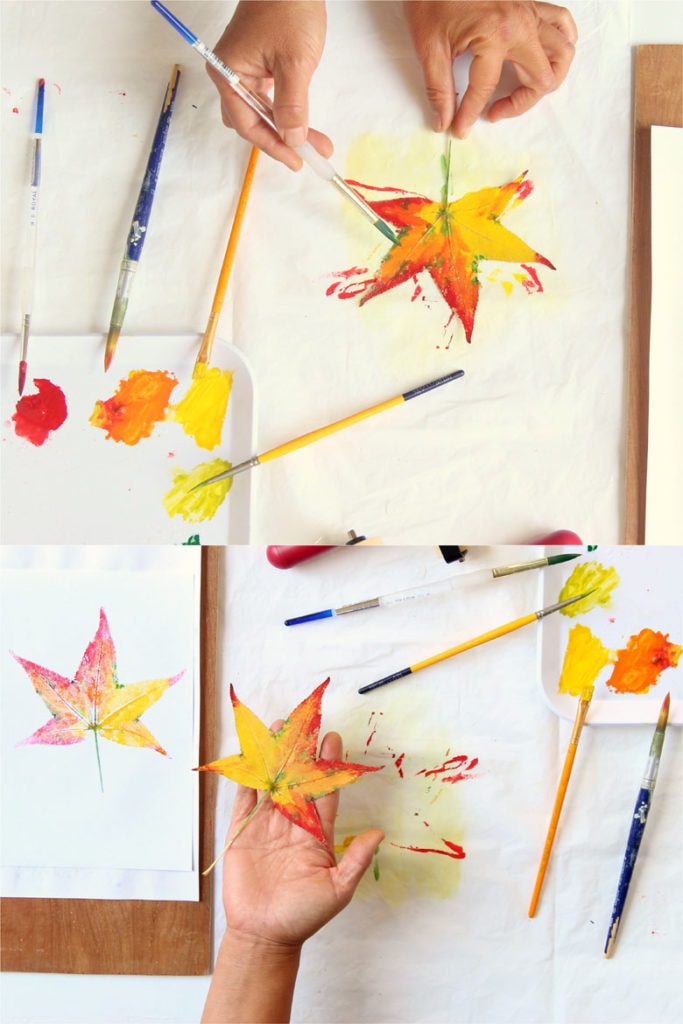
You can use different colors on one leaf. Here I have a designated brush for each color so I could work quickly.
Step 3: printing your leaf art
By this time, your paper should have absorbed the moisture, and feel damp to the touch, without any water on the surface.
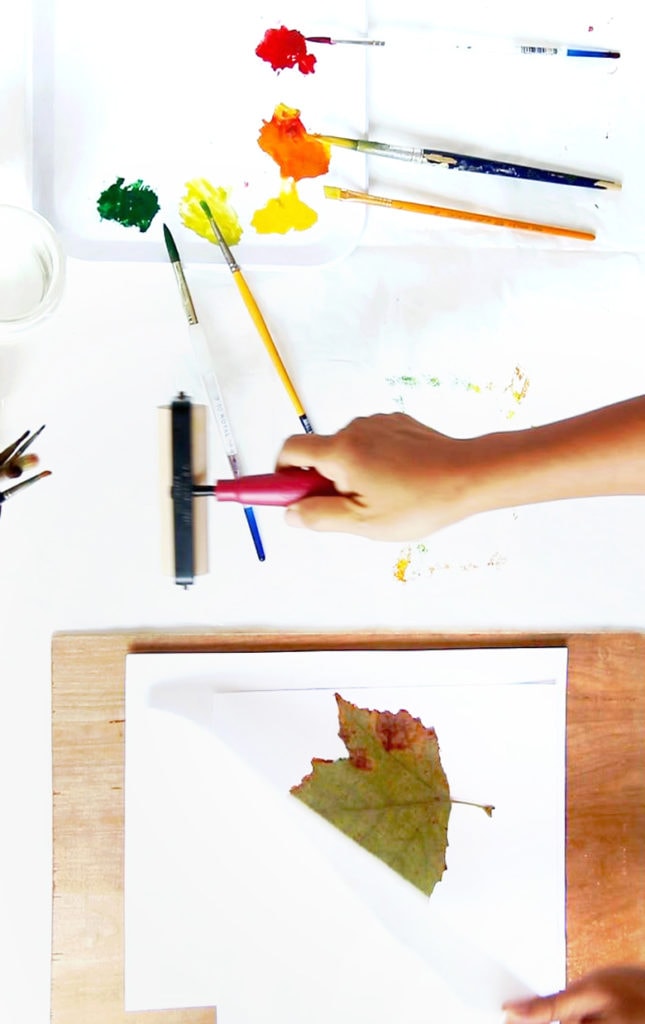
Take the leaf and carefully place it painted side down on the paper. Place a piece of paper or paper towel on top gently.
Are you ready for secret number 3? Use a rubber brayer / roller , or a rolling pin , and apply a lot of pressure as you roll and press the leaf onto the paper or fabric. Keep the pressure down so the leaf doesn’t shift.
This technique works much better than rubbing the leaf with your fingers. The leaf impressions you make will be more even with greater details.
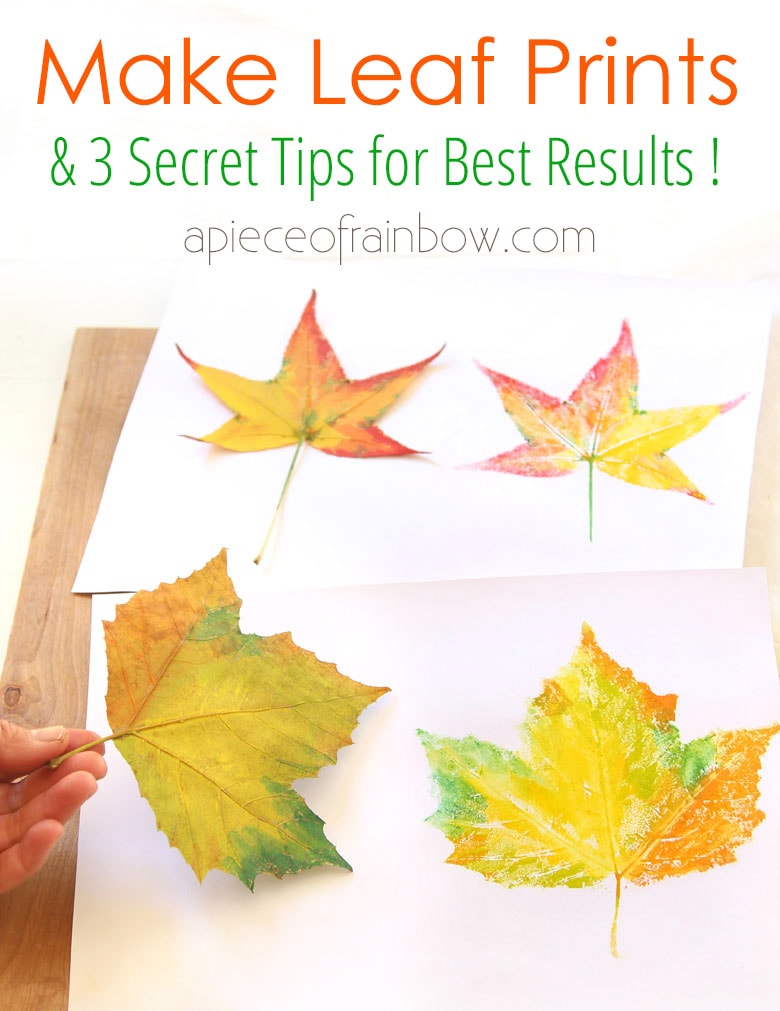
Carefully lift the leaf from the paper or fabric, and be delighted by your gorgeous leaf art!
Want more creative fun? Check out these beautiful leaf crafts & decor ideas to make this fall!
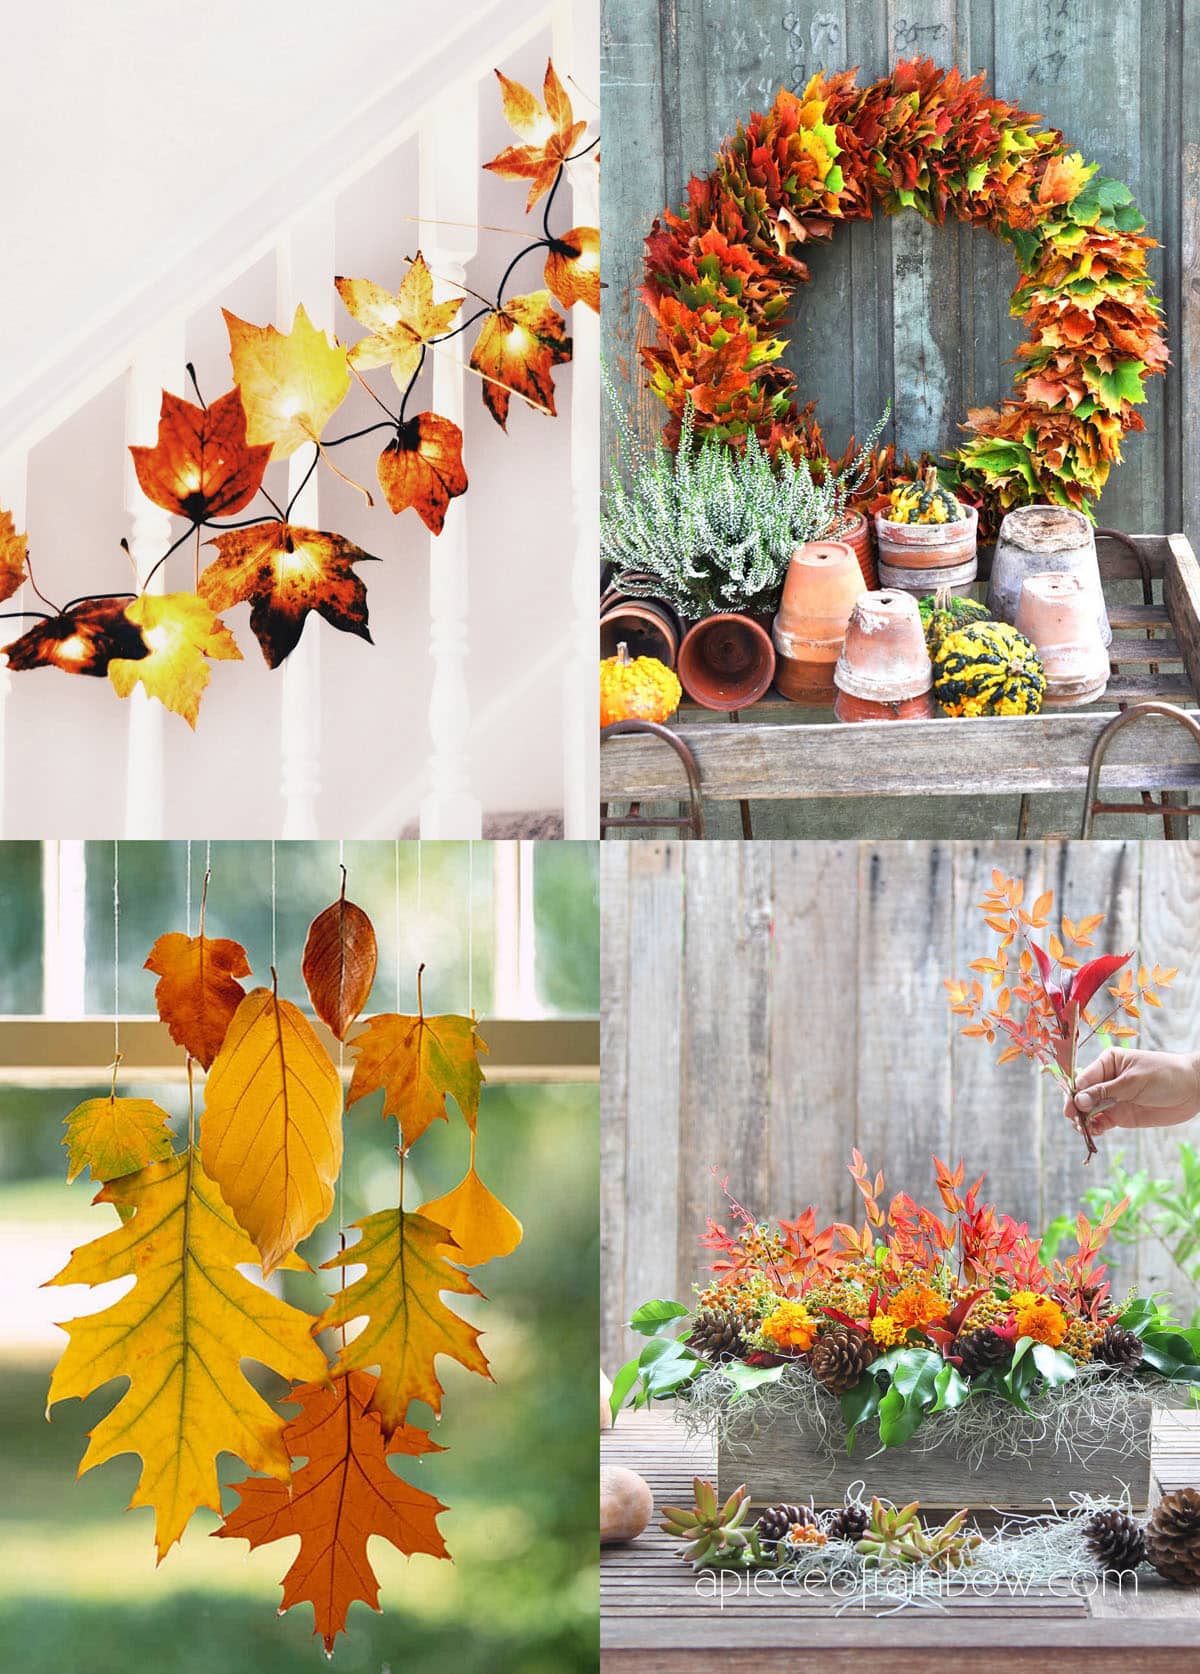
Bonus tip on how to print with leaves:
If you get too much white surface on your printed leaf art, you can use a brush dipped in clean water and gently go over the leaves printed with gouache (aka opaque watercolor), watercolor, or tempera paint.
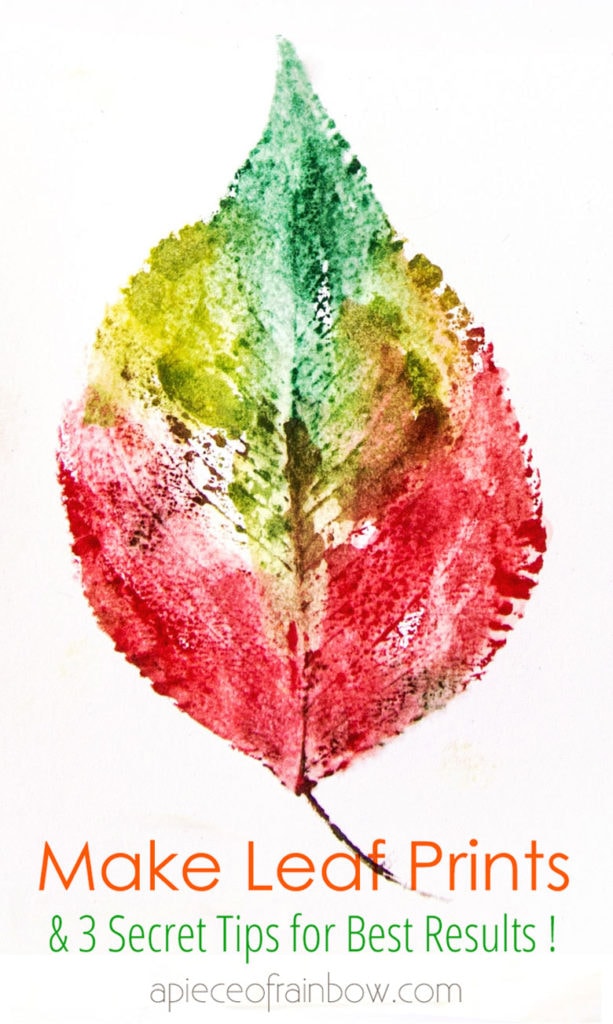
Water will reactivate the paint and create a nice watercolor effect on the leaf impressions art.
Happy painting! See you soon!


Thanks for this tutorial. I’m making fall ornaments for a gratitude tree. Any specific tips for printing on wood ornaments? Thanks!
hi Megan! if the wood is porous and not sealed, you can treat it like paper. if it is sealed, i would try using acrylic paint on the leaves instead of watercolor. 🙂
Thank you for your educative tutorial on leaf printing, and especially for the ” secret tips” you generously shared on how to get great results!
Thank you for your educative tutorial on leaf printing, and especially for the ” secret tips” you generously shared on how to get great results!
thank you Rotimi, and happy creating!
This is a really tutorial on making leaf prints art! We had a great time printing with leaves over the weekend with our kids, thanks for the great article!
This is the most helpful and informative tutorial on how to make great looking leaf prints! Ours came out great, and we will use them to make cards this fall!
What a pretty idea! Thank you for the detailed guide tutorial! We are going to make some leaf prints this weekend!
Love your art. Instructions are always clear and complete. Thanks for sharing your creativity.
thank you so much Stormee for your kind support! 🙂 hope you are enjoying the beautiful fall season! xx