DIY Photo Candles with Packing Tape Clear Stickers
How to transfer images to packing tape & make clear stickers & DIY photo candles for Christmas decorations, weddings, easy crafts & gifts!
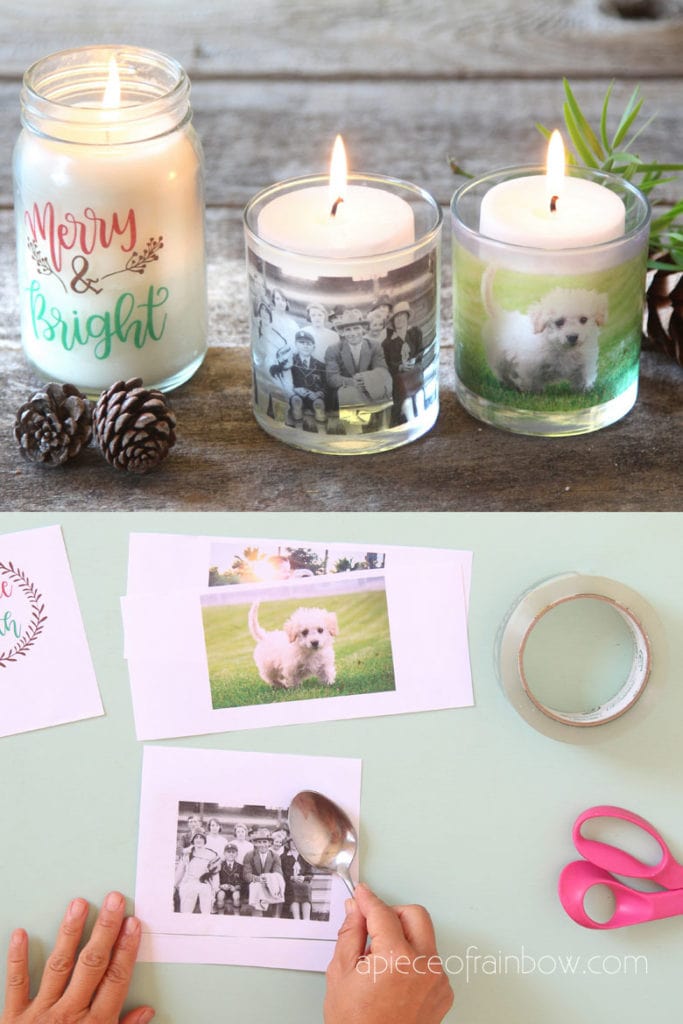
Candles are such easy and versatile decorations for Christmas and any time of the year. How about some DIY personalized candle holders decorated with family photos and Christmas clip art?!

These photo candles would be beautiful as fireplace mantle, shelf or table decorations. They would also make heartwarming gifts, at a time of year when we feel extra appreciation for our family and friends.
Can you guess that these beautiful candles are almost free and so easy to make, using things you already have at home? The secret: DIY packing tape clear stickers!
Make it portable
*Some resources in article are affiliate links. Full disclosure here.
Materials you need to make photo candles with clear stickers
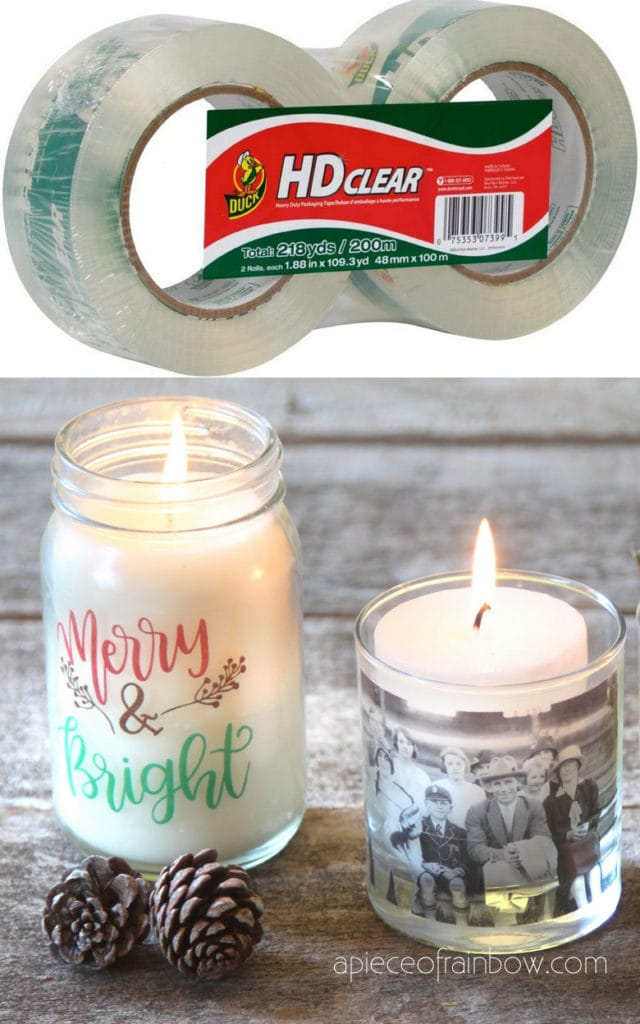
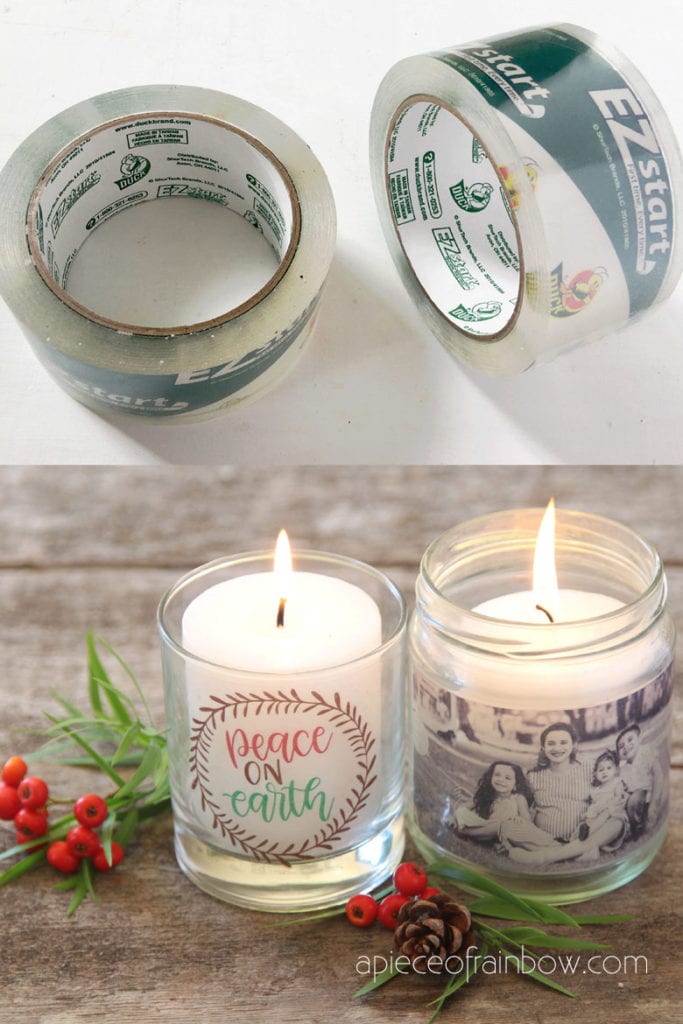
- packing tape: we have used Duck brand, HP brand and Scotch brand, they all work very well. The most common packing tapes are 1.88″ wide. For bigger labels you can get 3″ wide tape or piece together 1.88″ tape which is what we did here.
- white copy paper and printer: both inkjet and laser printer will work great.
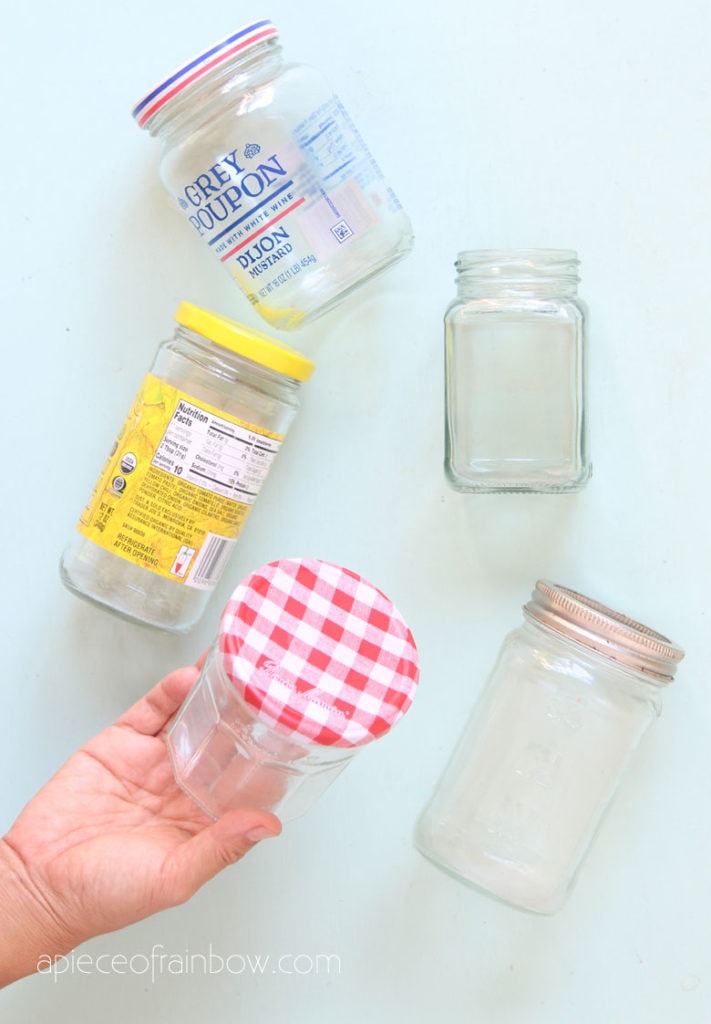
- some recycled glass bottles, or drinking glasses like these with straight sides, and perfect size for candles like these! You can also use a set of votive candles that come with the glass.
We have an earlier tutorial on packing tape image transfer here. In this updated tutorial, we will share some improved techniques and more tips on how to transfer photos and art to packing tape, and make your own clear stickers and labels for home decorations.
How do DIY packing tape clear stickers work?
When we use packing tape to transfer images, any part of the image that is pale color, white or clear will remain sticky, and the part with ink and pigments will lose stickiness.
Therefore, make sure to leave some white space on either side of an image with lots of colors and blacks so the stickers can stay on the surface when you apply them.
Step 1: print images for your photo candles
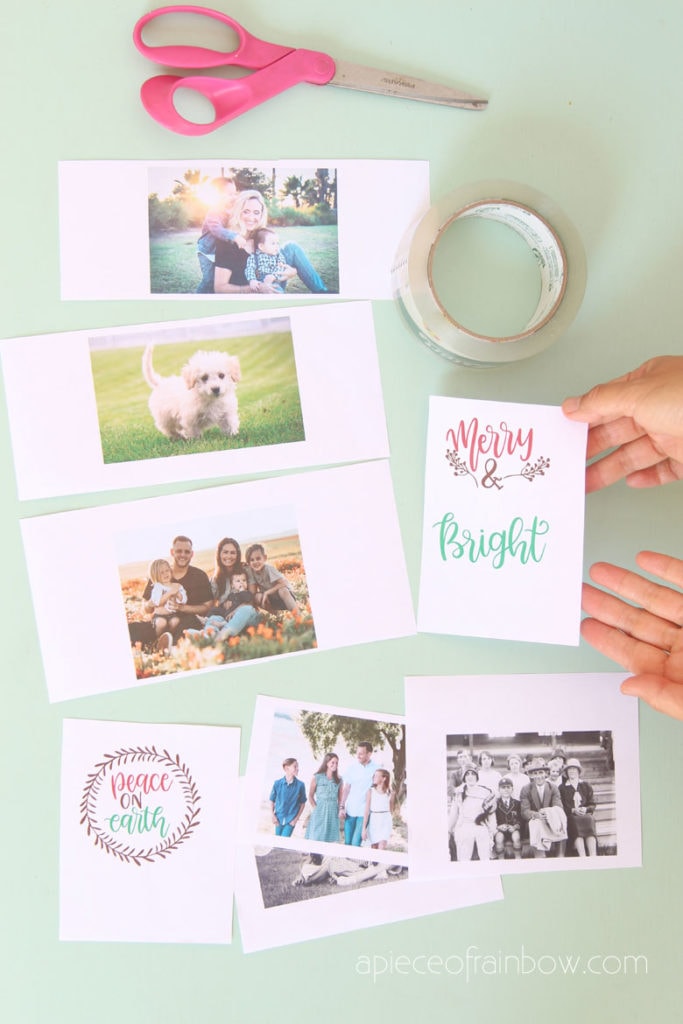
There are many apps and free tools like Microsoft Word, Paint, Canva, etc to resize your photos and art to print on 8.5″ by 11″ paper. For these photo candle jars, I resized the images to 1.75″ – 3.5″ high depending on the jar height.
Make sure to leave some white paper on either side of each photo for better adhesion later.
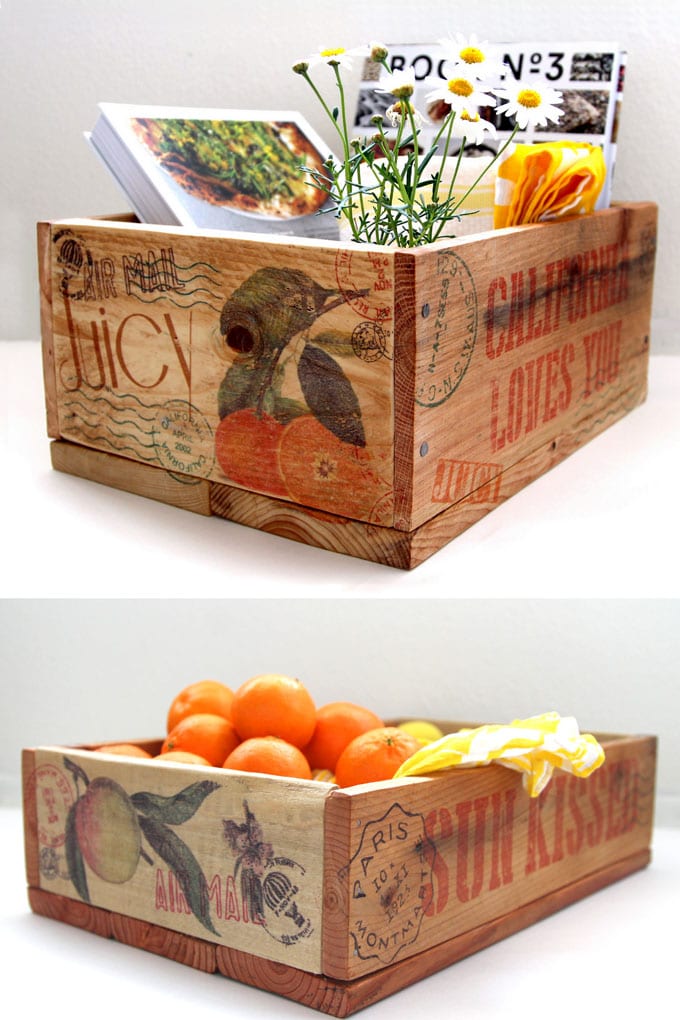
You may also love: DIY vintage inspired pallet crates with easy image transfer!
Step 2: make clear stickers with packing tape
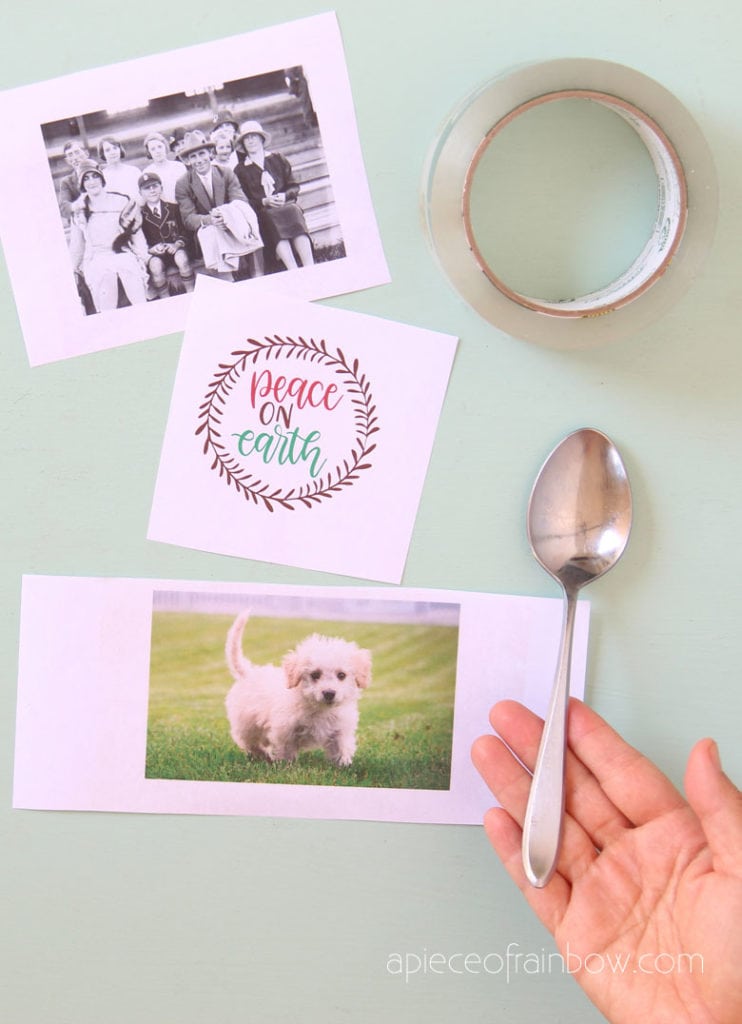
Apply a piece of tape to the image with the sticky side on the paper. If the image is bigger than the tape, you can use multiple pieces of tape. Just make sure to line up the seams as closely as you can.
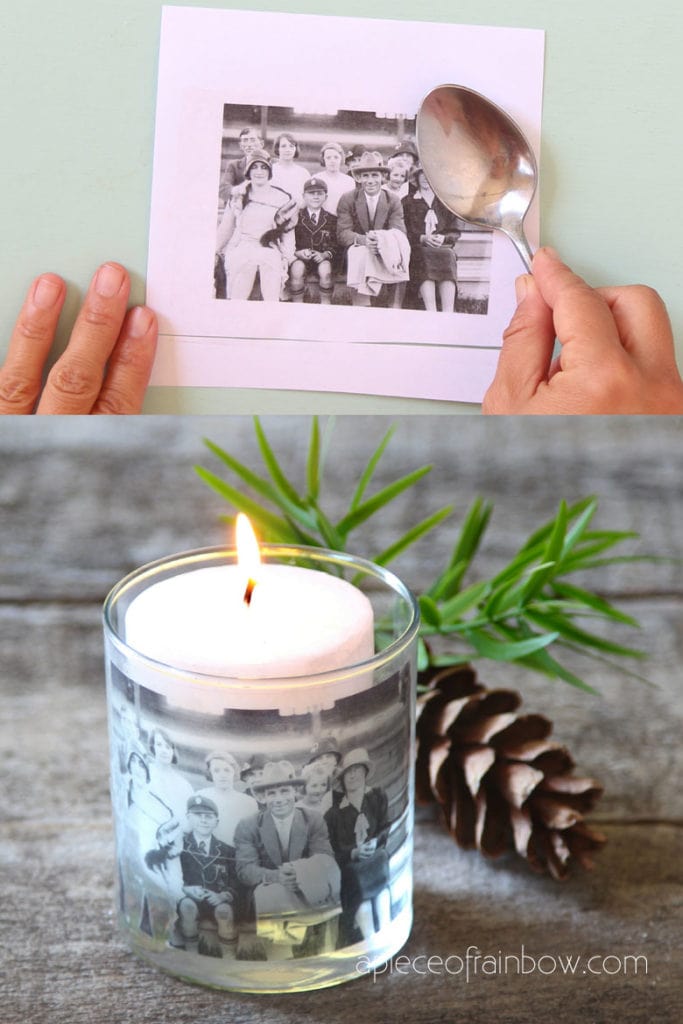
Now comes the most important part: burnish the printed images onto the packing tape. Use a spoon, place the taped image on a flat surface, and use a lot of pressure to burnish both sides of the tape and paper.
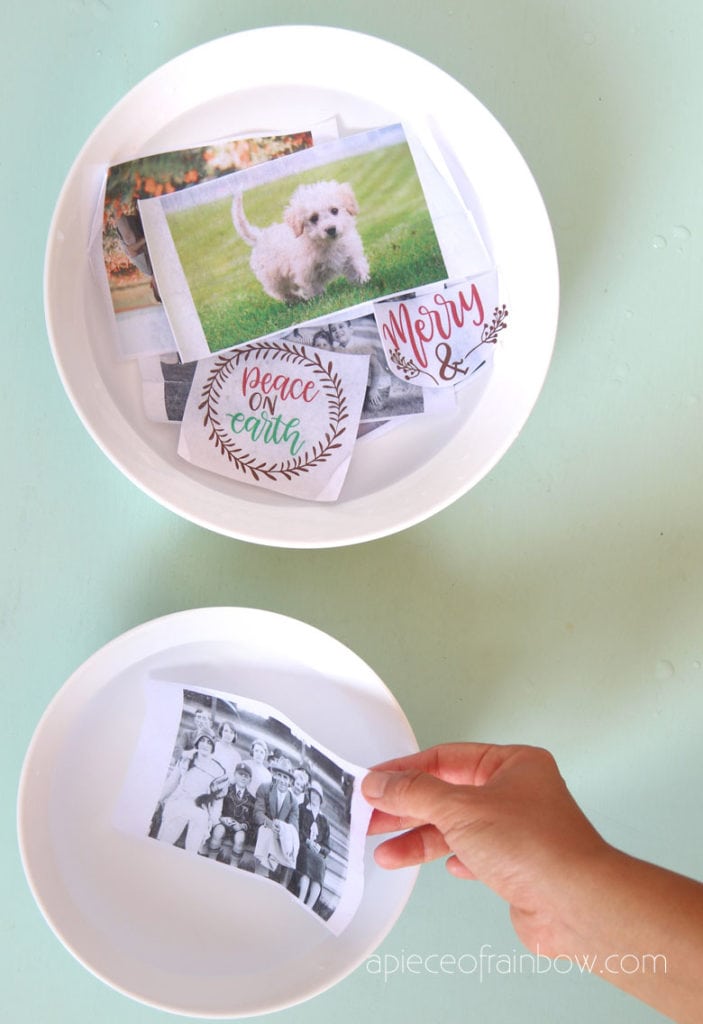
Next, submerge the taped images in a bowl of clean water for at least 15 minutes. You can leave them in the water for up to a couple of hours.
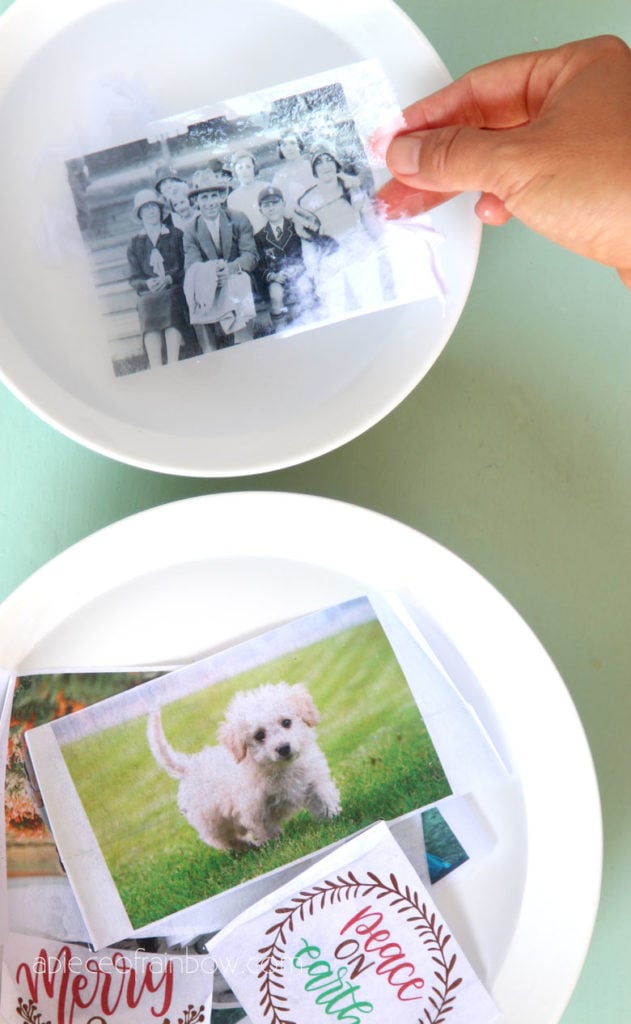
Fill another bowl with clean water. Take a piece of the packing tape with paper in the first bowl, gently rub the wet paper off- don’t use your fingers nails as they might scratch the images.
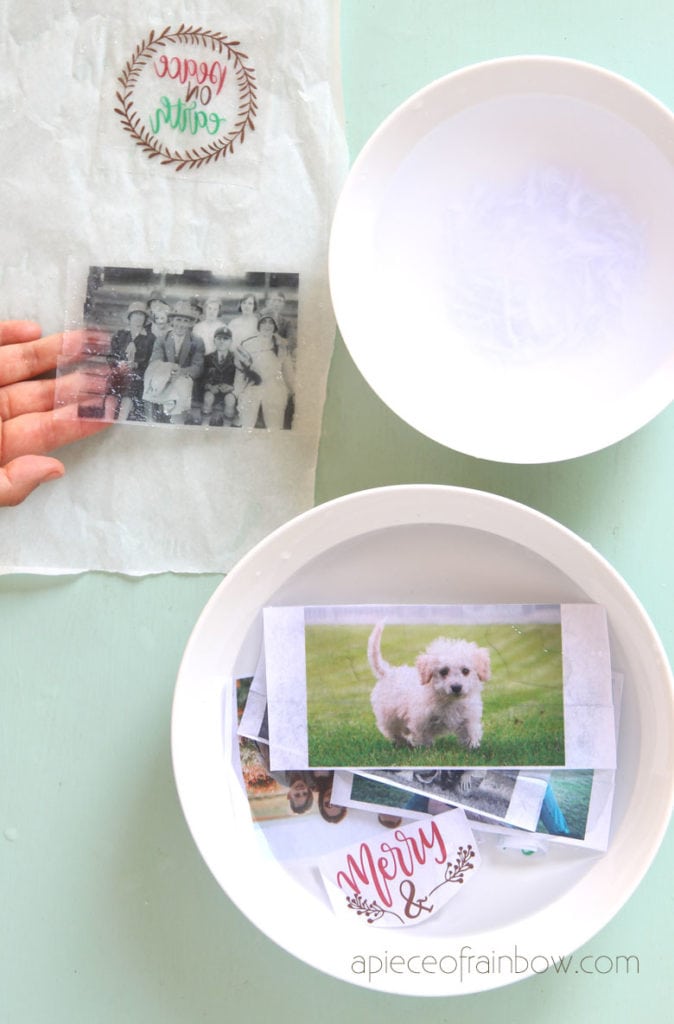
Keep rinsing and rubbing the paper off in the clean water to remove the paper fibers. When the tape looks clear with the images on it, let the tape dry on a clean surface with the sticky side up.
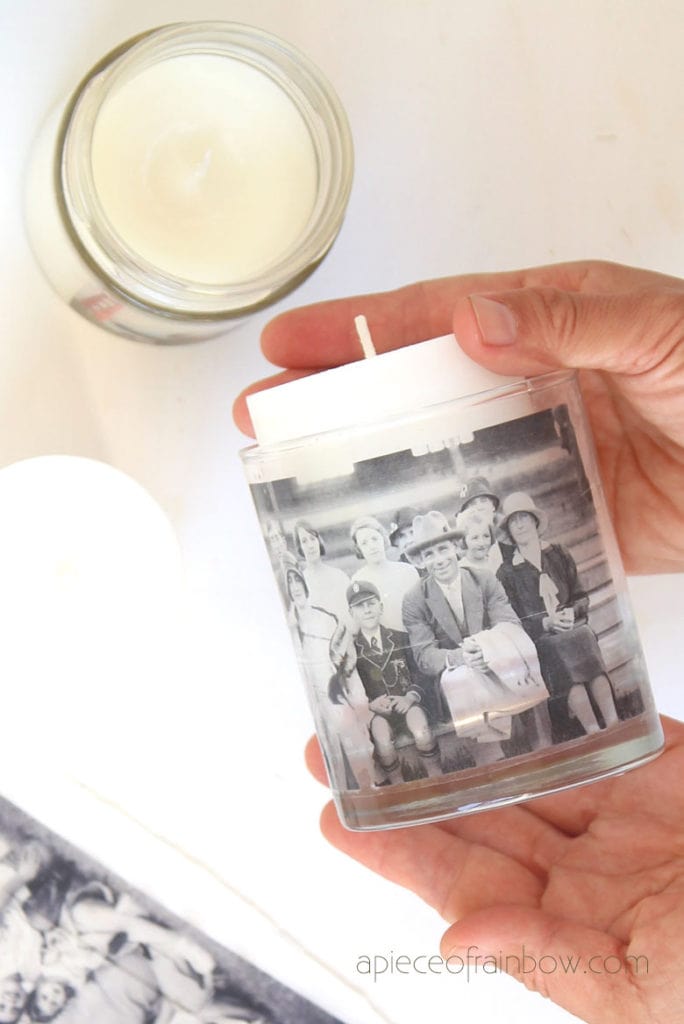
Repeat with the next image transfer, and change water often because little pieces of paper fiber that are left on the packing tape can make the clear sticker look cloudy when dried.
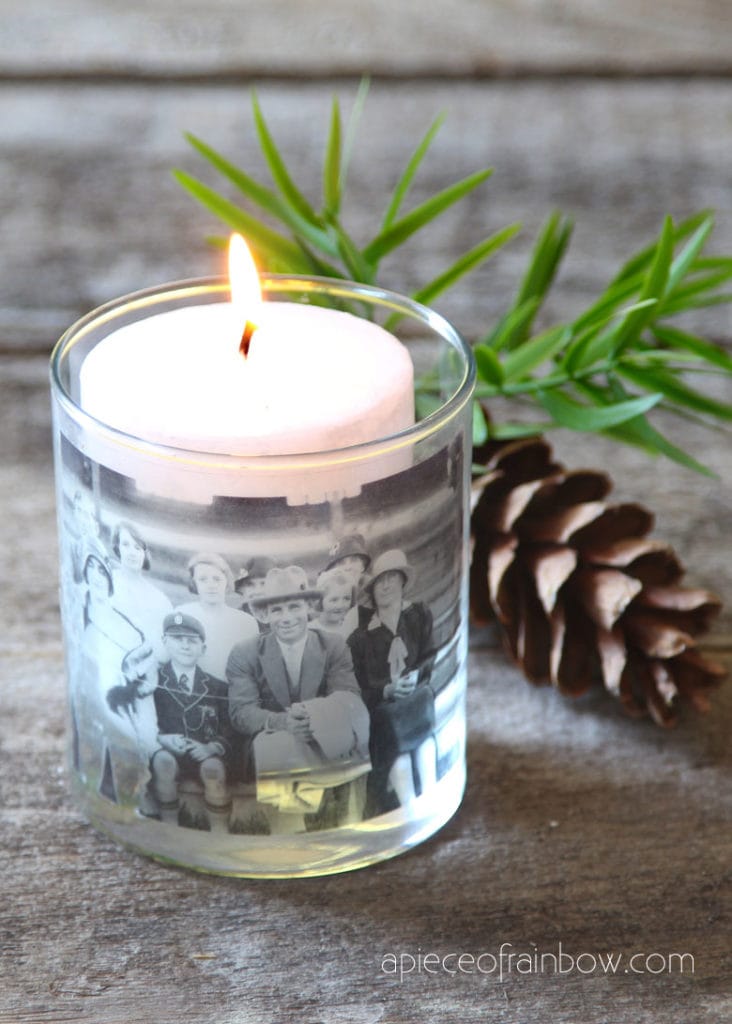
Step 3: create photo candles with packing tape clear stickers
Store the dried stickers layered between clean sheets of parchment or wax paper. They will stay sticky for a long time after many uses.
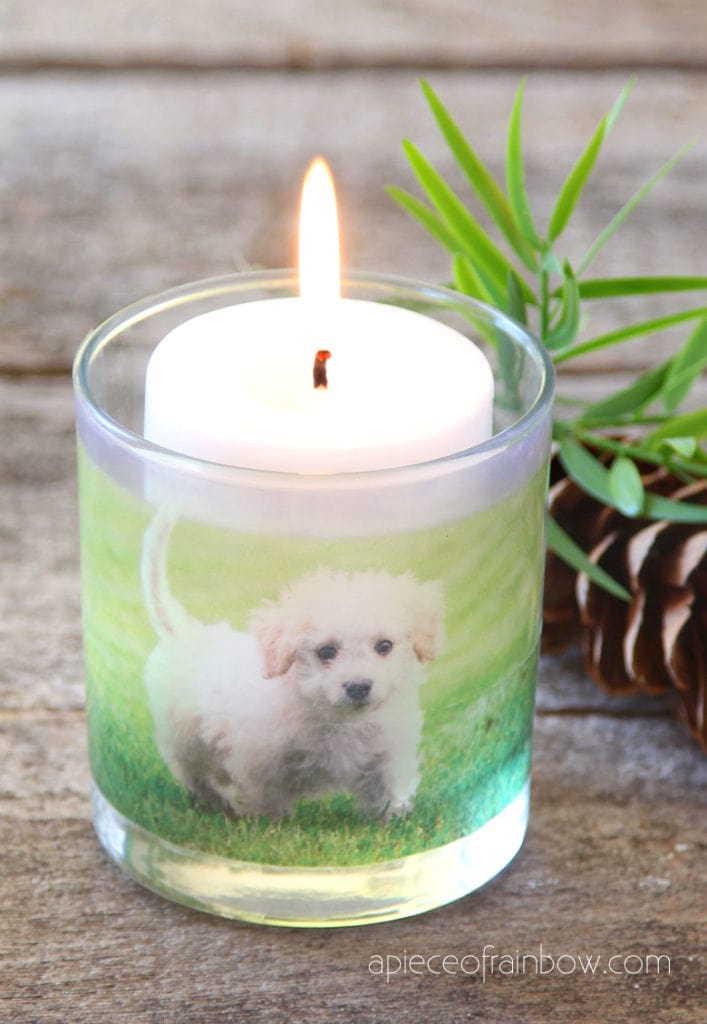
They look great on glass, wood, ceramic, and most flat or cylinder surfaces.
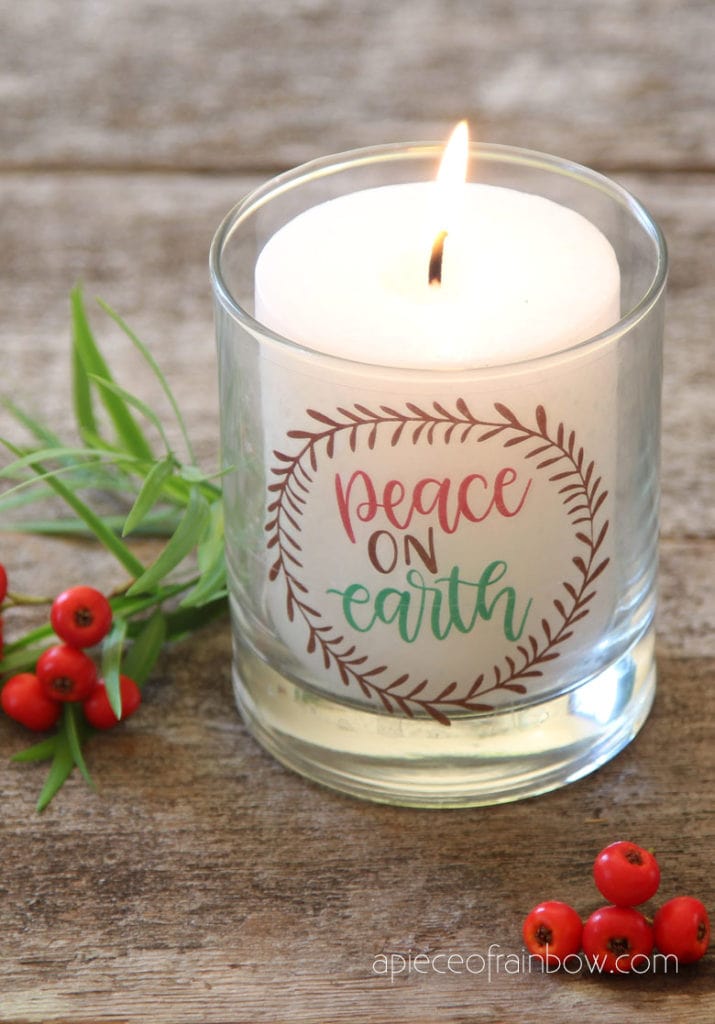
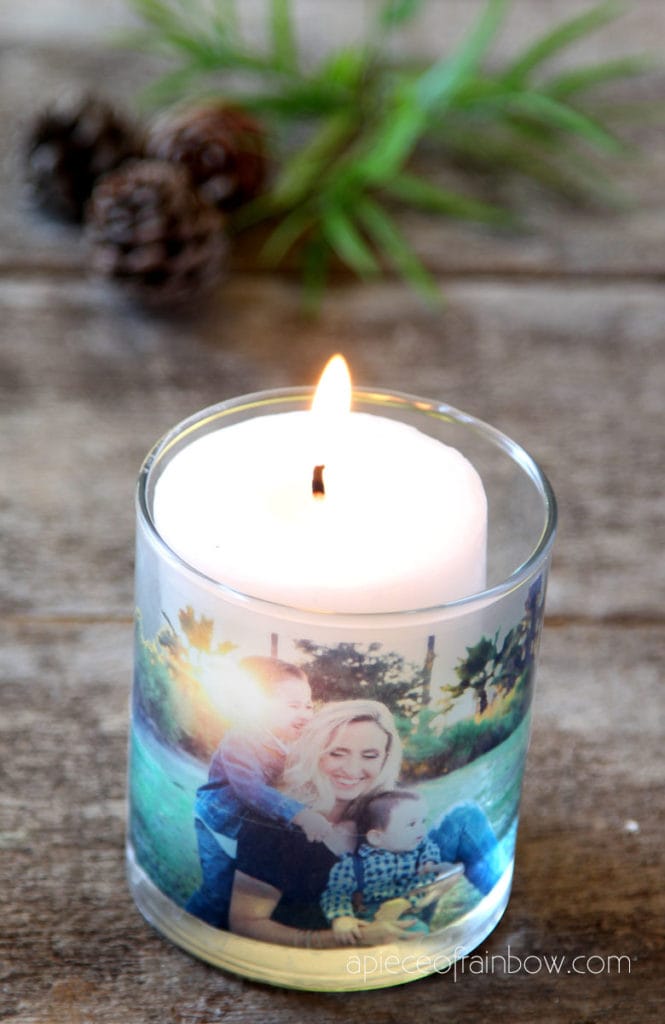
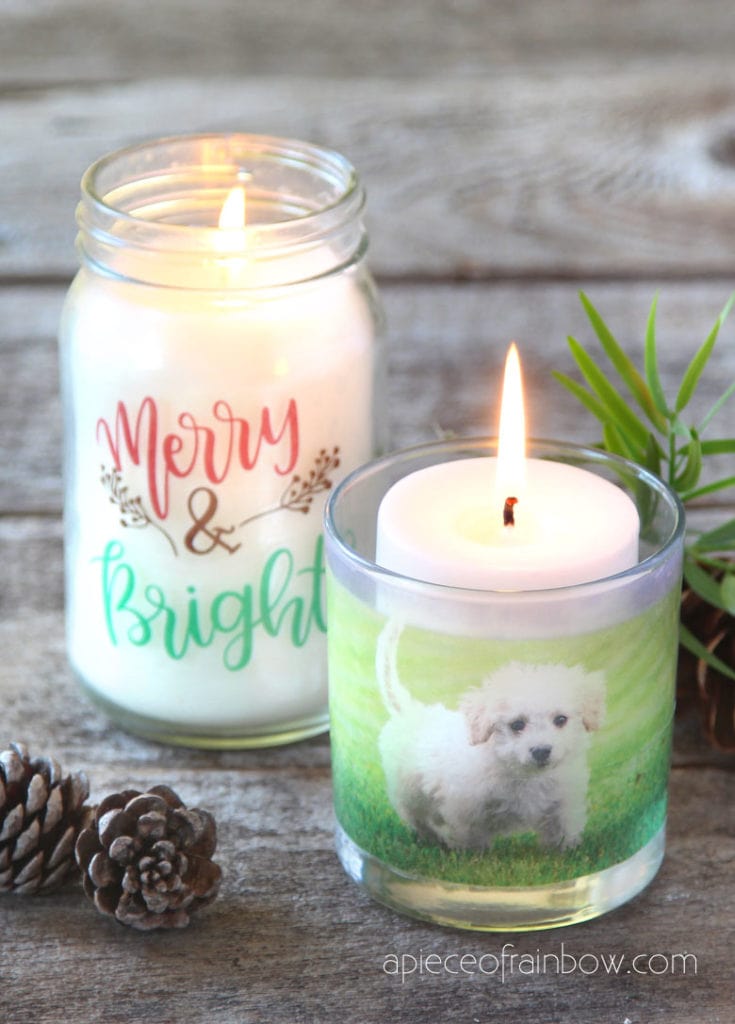
To make personalized photo candles, just place a clear sticker onto the surface of a glass jar or candle holder.
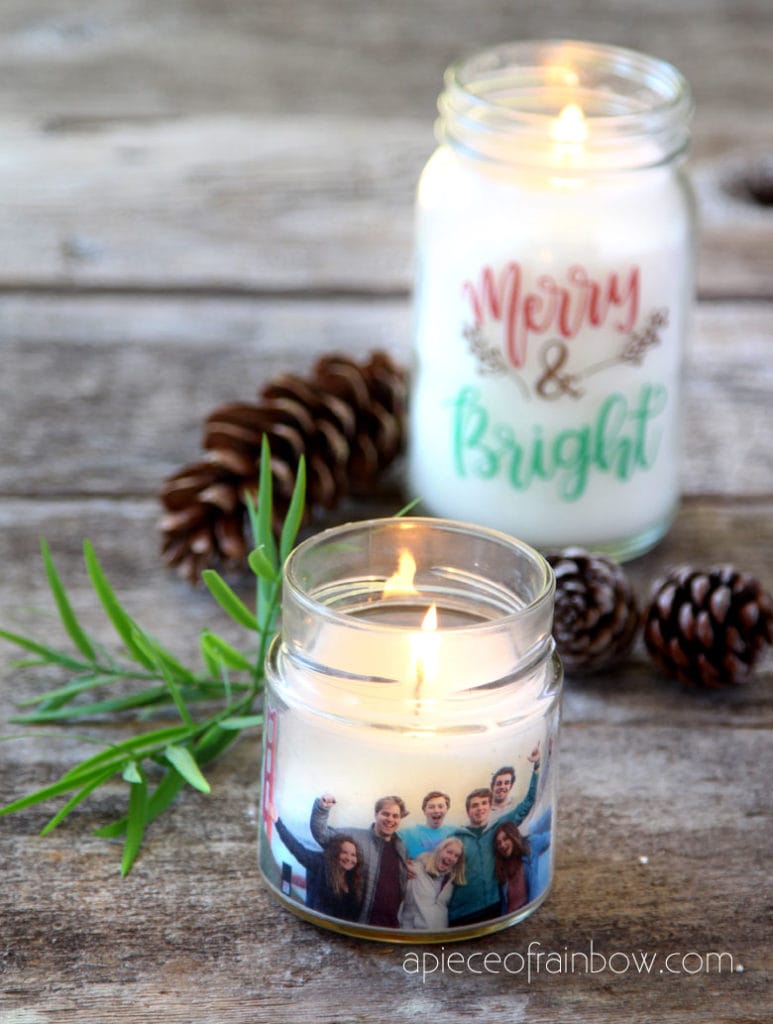
You can also use LED candles like these and place the clear stickers directly on the faux candles!
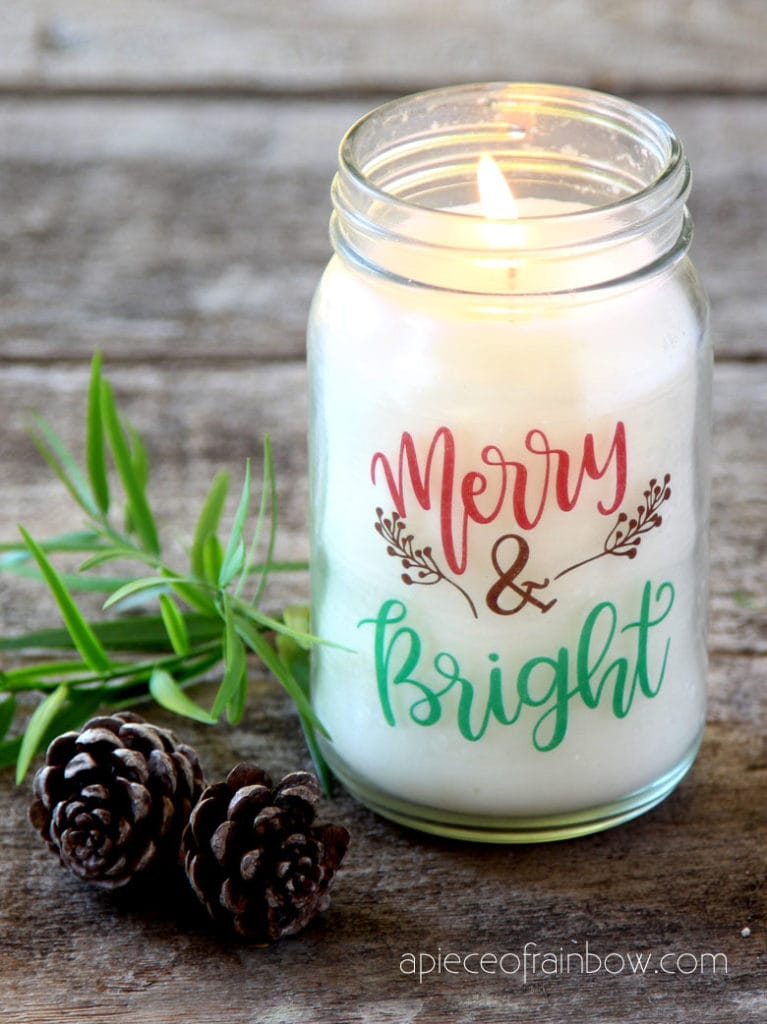
As you can see we pieced together larger designs like this “Merry & Bright” clip art by using 2 pieces of 1.88″ wide packing tape.
You can do the same with photos, just match the seams carefully.
Helpful tips on making clear stickers & DIY photo candles
Burnishing the printed images on the packing tape with lots of pressure, and do it one both sides to make sure the images are transferred successfully onto the tape.
Keep a bowl of clean water when you remove the paper from the tape. When you rinse the tape in clean water it is easier to remove the small white paper fibers.
The fibers look almost invisible against clear glass and white, but if you want to give these candle holders as perfectly finished gifts , you might want to print directly onto clear label sheets like these and use them on the glass.







What a great idea. Haven’t got the proper tape but shall purchase it this week. Hope I can do justice to this wonderful craft.
Thank you for clear details.
Thank you! 🙂 happy 2024!
I have tried this several times. I’ve used the HD clear Duck tape and when I put it in the water, the photo bleeds and I get no transfer. I’ve used a wooden spoon to press the paper and tape together thoroughly. I have no idea what I’m doing wrong!
hi Barb! sorry this comment got lost somehow. test this on a piece of magazine or printed catalog page, it should work. then it might be the printer ink
QUESTION: Is there a specific brand of printable sticker paper that you have found works the best?
hi Amy, we always just go by the amazon reviews. just make sure they are compatible with your printer (inkjet vs laser) 🙂
After tape dries the instructions stop. What do you do next? Thanks.
hi Sandra! after the tape dries you can apply the sticker to an object, or store it between sheets of wax or parchment paper. 🙂
Photos separated from tape. No image. Tried multiple times with your tutorial by my side. What did I do wrong?
hi Rhoda! did you use Duck brand or HP brand tape? they both have worked great. also burnishing the image with lots of pressure helps! 🙂
I used scotch brand packing and I can’t get good results Going to get some duck brand and try
Just tried this and the photo stickers came out great! Thank you for such a creative idea with so many uses!
These are beautiful
thank you Yvonne! they are easy to make and remove when we want seasonal decor quickly! 🙂
Could you please provide the wooden crate art already flipped as I can only seem to rotate the images, not flip them?
hi Teddee! here’s a free tool you can use to mirror any image, 🙂 very fast and easy: https://www.img2go.com/rotate-image
Great tutorial. I’d like to try this one! Would be a great project to include in my “Be Good to Yourself Baskets” that are a combo of store-bought and homemade items!
thank you Kathy! this one is fun and very easy! 🙂
Hello. I’ve tried numerous times and every tim my image bleeds terribly and it’s ruined. What could I be doing wrong?
hi melissa! do you mean the image bleeds when the paper is in water?
Hi! Your images came out great! Quick question though – what can I do to prevent the sticker from looking cloudy after the paper is removed? I did a trial run sticker and the paper immediately came off in one piece (I used hot water instead of warm, oops), so there were no leftover fibers from rubbing.
Any suggestions?
Thanks,
Sika
hi Sika! use clean cold water to rinse the stickers once you remove the paper, that should help a lot. they will look a bit cloudy but once you put them on glass or white surface, they will look much better. 🙂
This work is absolutely incredible. Brilliant ideas throughout the blog. I love how much work you put in and how creative you think! Keep it up. I’d like to try a few ideas. I really love this idea but it seems a bit difficult for me.
hi danielle! thank you for your sweet comment! 🙂 you can just test a little piece of tape on one image to see if you like it. it’s quite easy!
Love this idea!!! Is it best to use an inkjet or a laser printer?
hi! we tried both ways and there isn’t a big difference. the laser ones came out better as you see here, but the reason could be they were done later, and i got more experience 🙂
Thank you love this can’t wait to give it a go.
this is a fun project! happy crafting Judy! 🙂
If you place sticky tape in opposite direction to the horizontal pieces it will keep the larger pieces together and will peel off after placing in position.
that’s a really great idea Lesley ! like a transfer tape! 🙂