How to Use SVG Files in Cricut Design Space
A detailed step by step guide on how to upload SVG files to Cricut Design Space and use custom SVG images with your Cricut cutting machines. Check out all our Cricut tutorials here!
If you love to craft with Cricut Explore or Cricut Maker, you are likely to be familiar with many gorgeous custom SVG files that are available from many creative bloggers and online shops!
We have created quite a few unique Cricut craft and decor projects with FREE SVG files you can download. If you are not sure how to use the SVG files after you have downloaded and saved them on your computer, read on!
In this tutorial, we will show you the simple step by step process on how to use SVG files in Cricut Design Space. This is super easy, and will open up endless creative possibilities when you are crafting with Cricut!
*Some resources in article are affiliate links. Full disclosure here.
If you are quite new to Cricut, check out our detailed tutorial on how to make your first Cricut project in 20 minutes, and how to get started on Cricut Design Space!
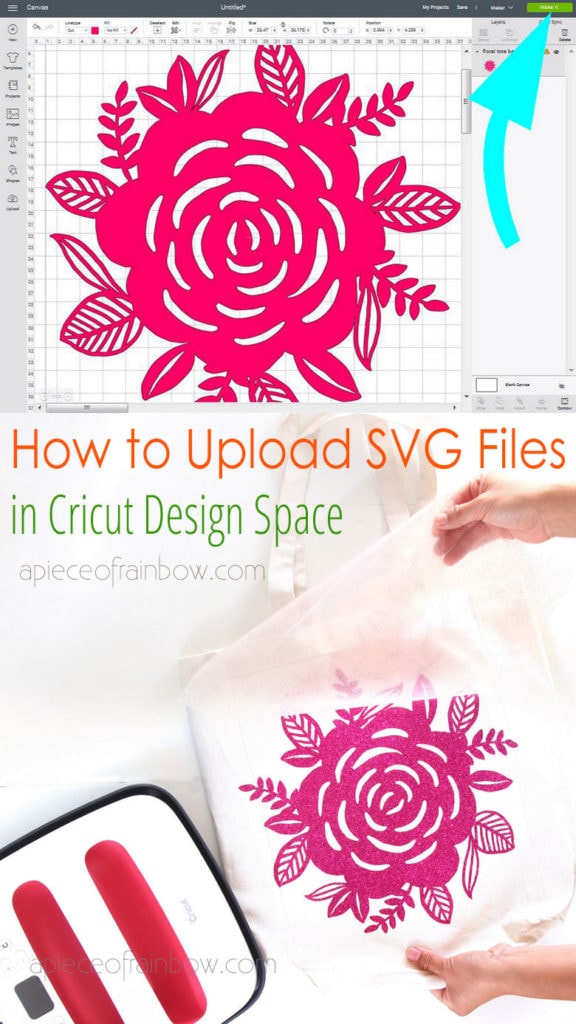
Now I am going to use our DIY custom canvas tote SVG as an example to walk you through the process. You can check out the DIY custom canvas tote bag tutorial and get the free SVG here!

What is the difference between JPEG and SVG?
SVG files are vector graphics that can be infinitely resized without losing quality. Jpeg and png files are made from pixels and can only be enlarged to a limited size.
How to use SVG files in Cricut Design Space to cut on your Cricut machine.
1. Save the SVG file on your computer. I save mine in a project folder.
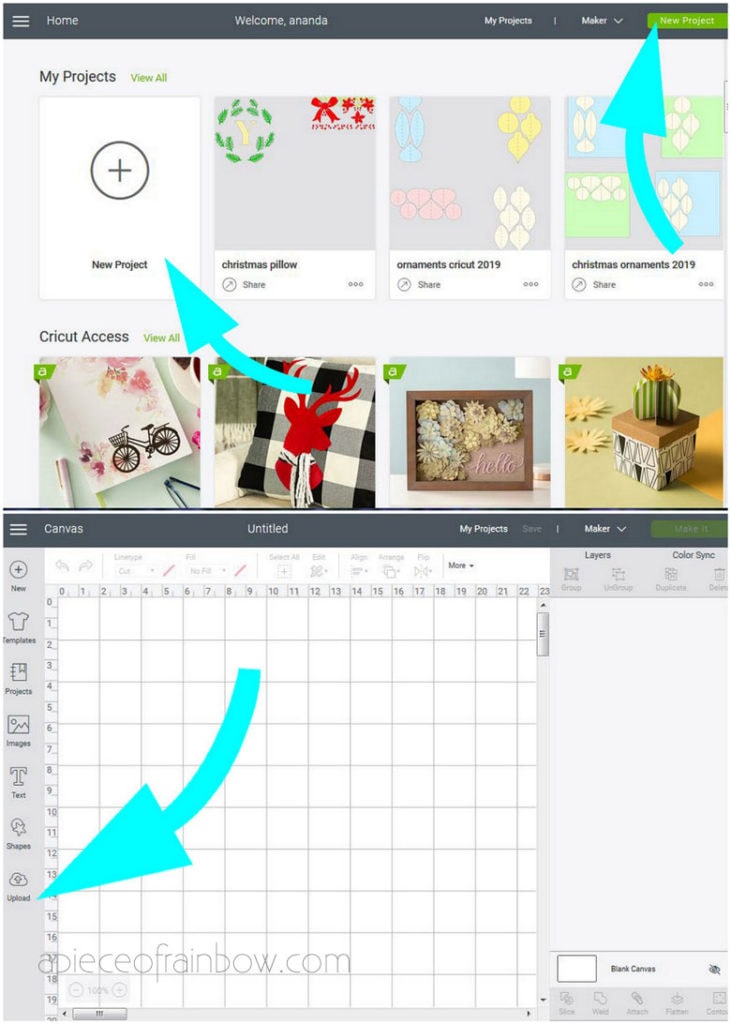
2. Open Cricut Design Space, log in, and click “New Project”.
3. A blank canvas screen will open. Click the “Upload Images” button on the left side toolbar at the bottom.
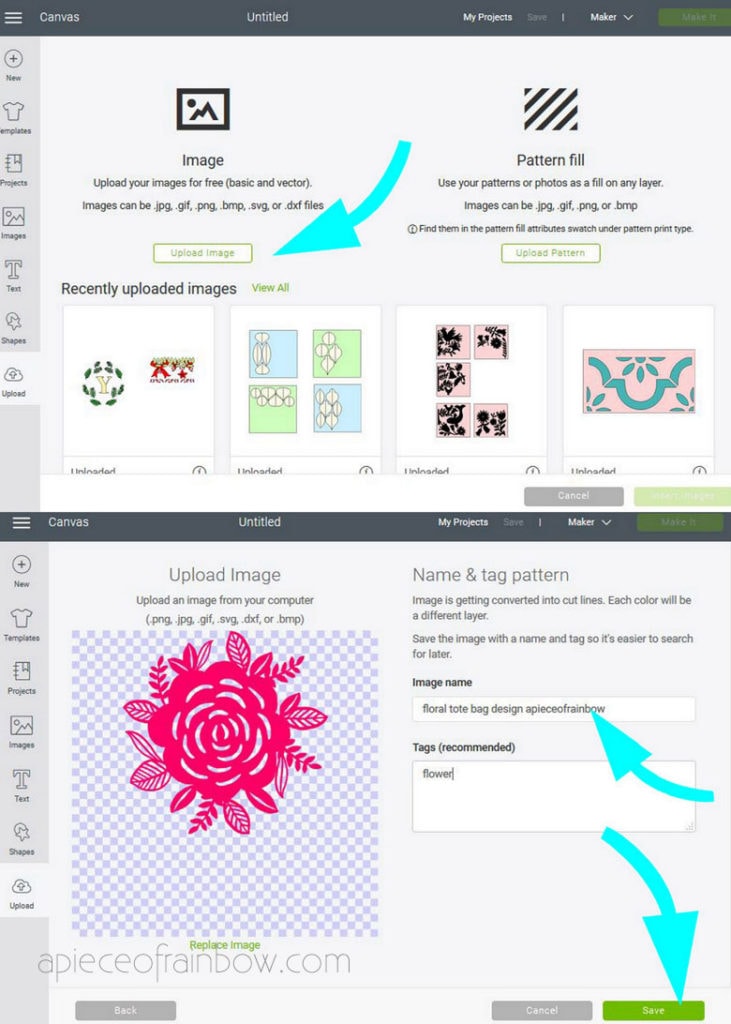
4. Next choose the “upload an image”. It will prompt you to browse and locate the image on your computer.
5. Select the SVG file. You can add a title and optional tags, then click “Save”.

6. On the next screen you will see the new SVG design under the “Recently Uploaded Images” section. Click the new SVG image and then click the “Insert Images” green button.
Now the SVG will be uploaded in Cricut Design Space ready for cutting! You may need to adjust image size to fit your project by typing a different number in the size windows in the top tool bar.
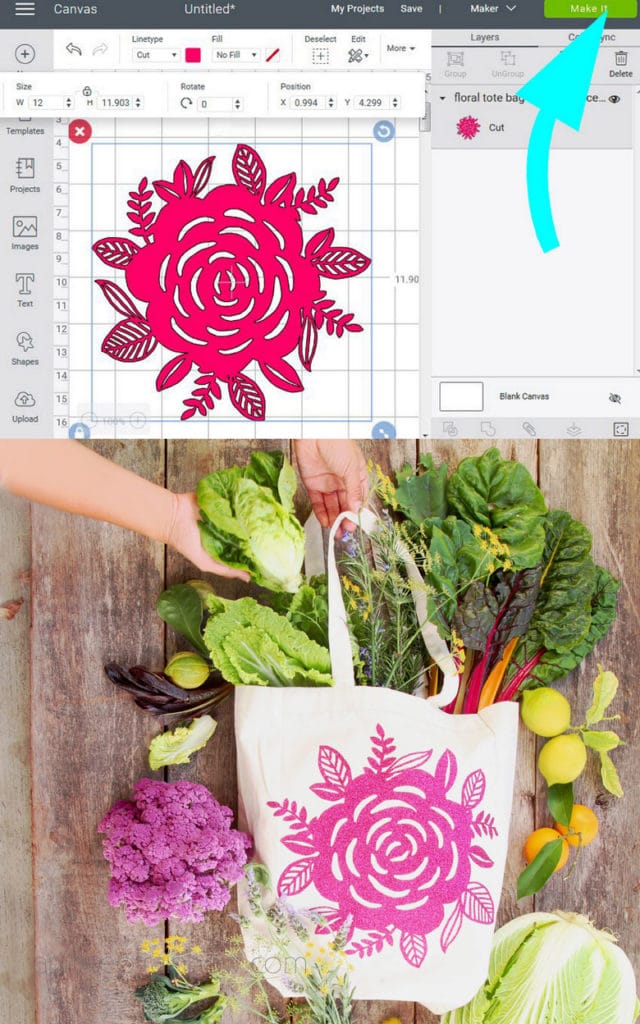
For more details on the next steps to cut and make your project, follow our detailed tutorial here: how to make your first Cricut project in 20 minutes or the DIY custom canvas tote bag tutorial and get the free SVG here!
30 Minute Beautiful Watercolor Flower Painting Tutorial
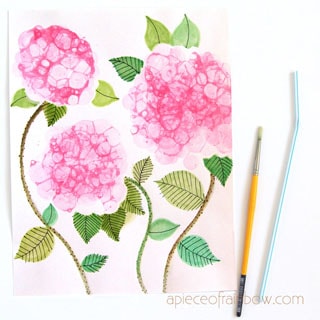
5 Minute Bubble Painting Hydrangea Flowers

Spring Trees Watercolor Painting with… Crumpled Paper!
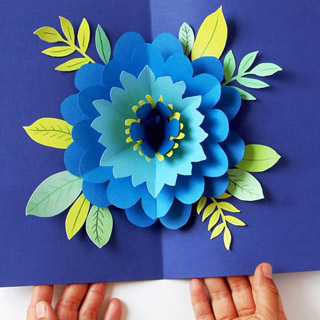
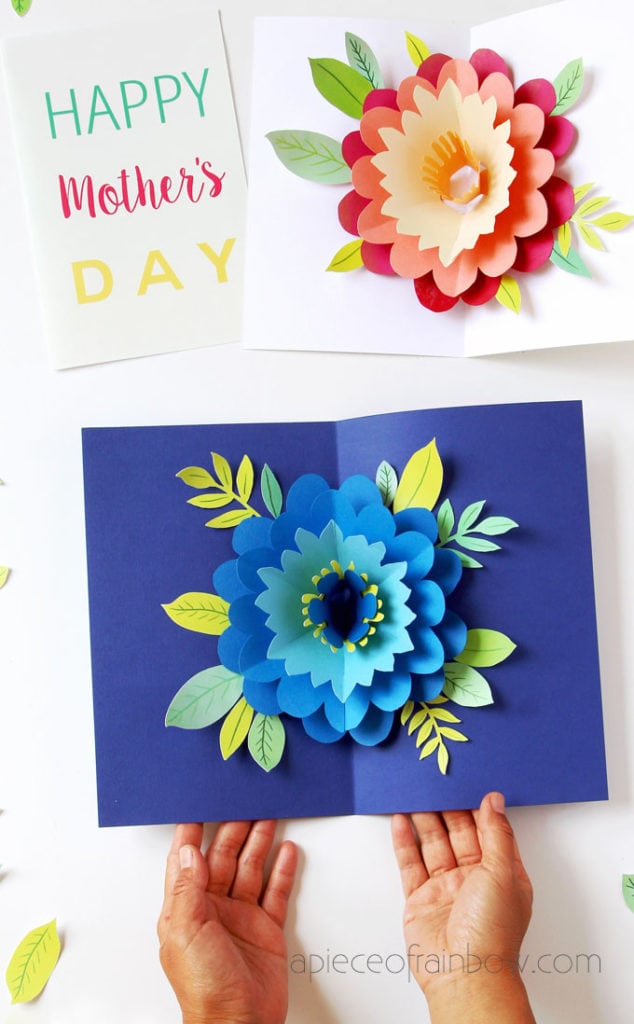
DIY Happy Mother’s Day Card with Pop Up Flower
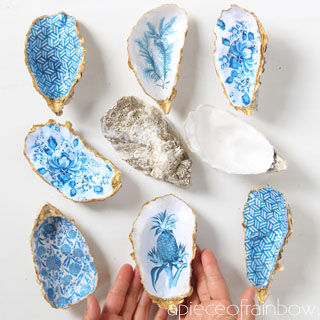
Anthropologie Style DIY Oyster Shell Trinket Dish
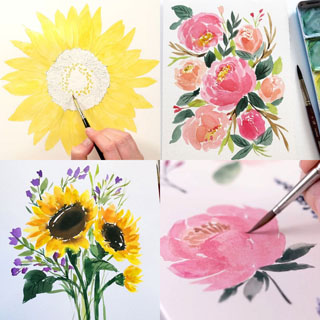
20+ Best Watercolor Flowers Tutorials & Videos
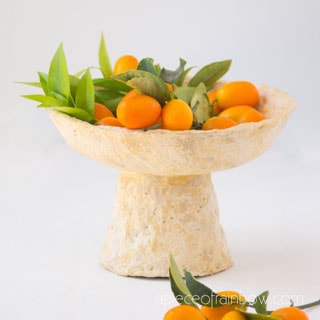
DIY Paper Mache Clay Pedestal Bowl
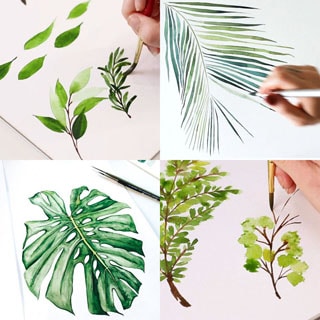
12 Easy Watercolor Leaves Painting Tutorials

Anthropologie Knock Off $0 DIY Galvanized Zinc Vase
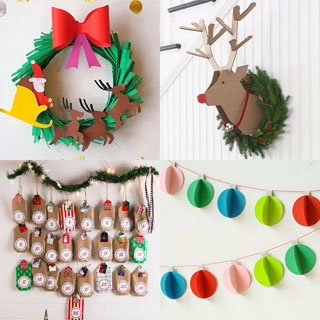
45 Amazing Christmas Paper Crafts & Decorations

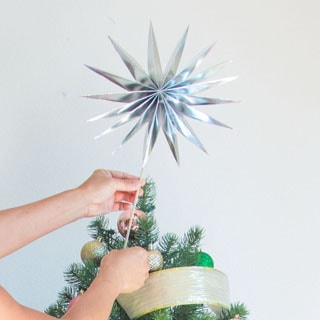
Easy $1 DIY Paper Christmas Star Tree Topper in 10 Minutes
5 Minute DIY 3D Paper Star For Christmas & All Year
Happy creating! Check out all our Cricut tutorials here!