DIY Custom Canvas Tote Bag {with Free Floral Design Download!}
There are many things in life that are full of potential. This blank canvas tote bag is one of them. Can you imagine all the beautiful designs or happy quotes you could put on it?
As a lover of all things DIY, I have used many techniques, and I am always looking for better and easier ways to create personalized designs on fabrics.
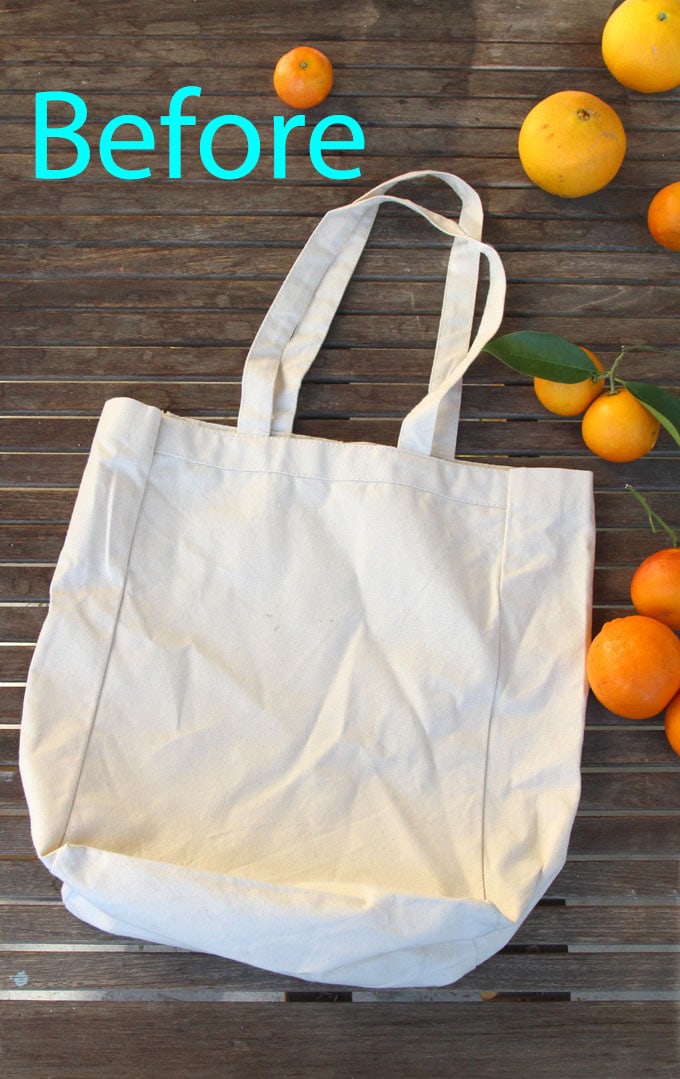
If you have tried painting or stenciling fabrics, you know it can be quite challenging to get a really clean and consistent result. Ready to meet a new love? 🙂
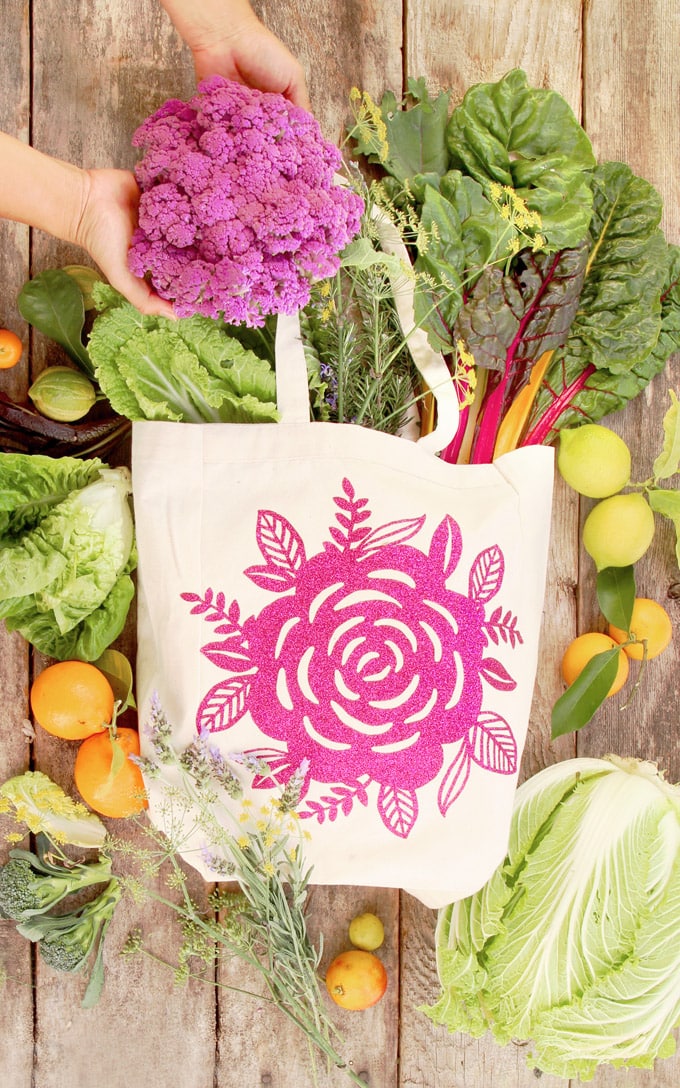
Iron-on vinyl! Today I am going to share with you how to work with Cricut iron-on vinyl and the Cricut EasyPress 2 to create a beautiful floral canvas tote bag really quickly and easily. Wouldn’t this bag be a great gift for a friend who loves flowers and gardens? Oh, and don’t forget mom!
*Some resources in article are affiliate links. Full disclosure here.
You can download the floral design I made for this canvas tote at the end for free, and use it on any projects you want! If you do, please tag us @apieceofrainbow on instagram, we would love to see it!
Disclosure: I received the Cricut Maker and other related tools as free gifts for my honest review after trying the products. I only endorse products that I would sincerely recommend to my own friends and family. Some of the helpful resources are affiliate links. Full disclosure here.
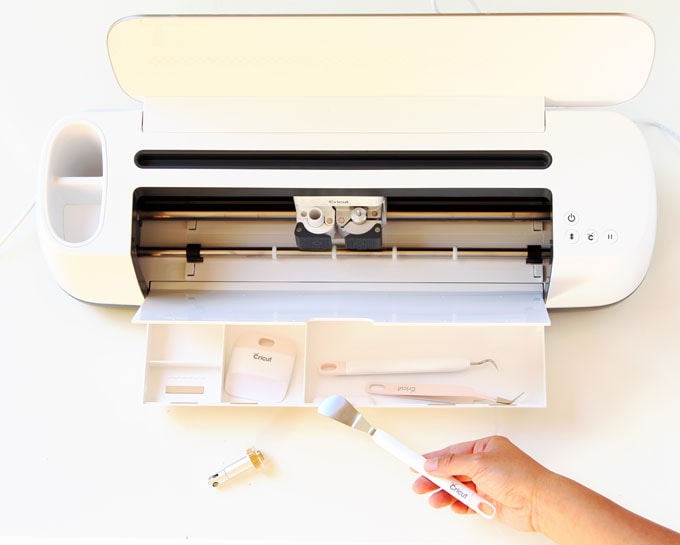
I used the Cricut Maker, Cricut iron on glitter vinyl and a 9″x9″ Cricut EasyPress 2 to complete the project. These are all new to me, yet I am SO thrilled with the lovely end result and how easily everything came together!
In this step by step tutorial, I will share everything I learned about working with Cricut vinyl and EasyPress, so you too can create your beginner iron-on vinyl project easily!
Step 1: Cut the Cricut iron-on vinyl
If you are just getting started on Cricut projects, check out this detailed Cricut beginner’s tutorial on how I created my first Cricut project ( a beautiful card!) in just 20 minutes here.
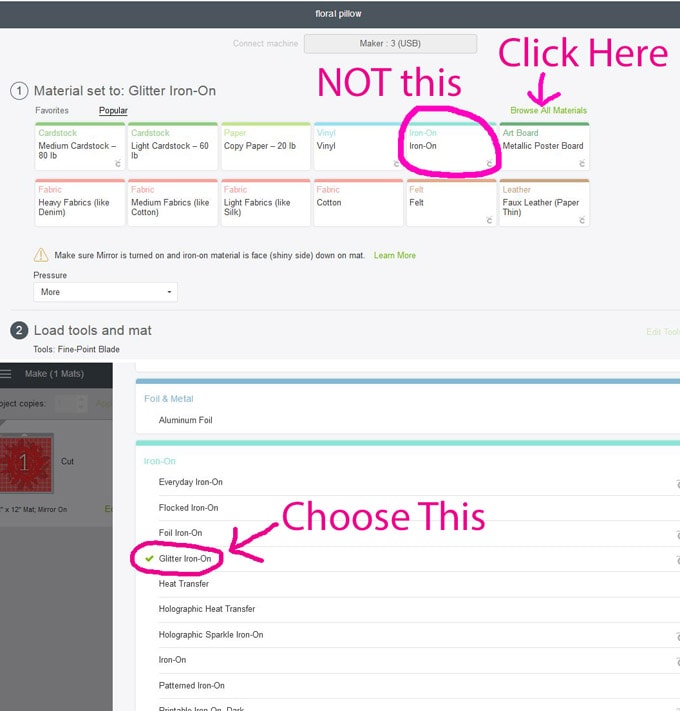
Important: After opening the floral design in Cricut Design Space, resize it to fit your project. Next, you will be prompted to choose materials. If you are using Cricut glitter iron on vinyl, make sure to click the “Browse All Materials” tab to find the “Glitter Iron-on”, because it is thicker to cut than the regular Irno-on vinyl. ( See image below.)
Also click “Mirror Image (for iron-on)” so it flips your image. This is not so crucial here but it is good to form a habit for iron-on projects so when you create something with letters or numbers, it will go on correctly.
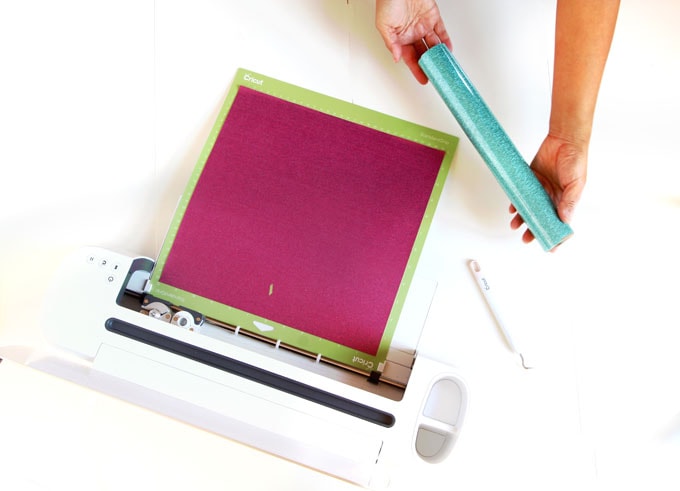
Place your iron on vinyl shiny plastic-side DOWN on your standard grip cutting mat. Insert the mat into the Cricut, press cut, and watch the magic happen.
Don’t peel the Cricut vinyl sheet off the mat yet. We are going to remove the extra vinyl that’s not part of your design first.
Use the Cricut weeding tool to prop up a little corner, then peel the piece off. This Cricut Tools Basic Set is amazing: it includes the weeder, scraper, and spatula which I already love, and more! As you weed, you will notice a little bit of glitter remaining on the sheet. This is not a problem.
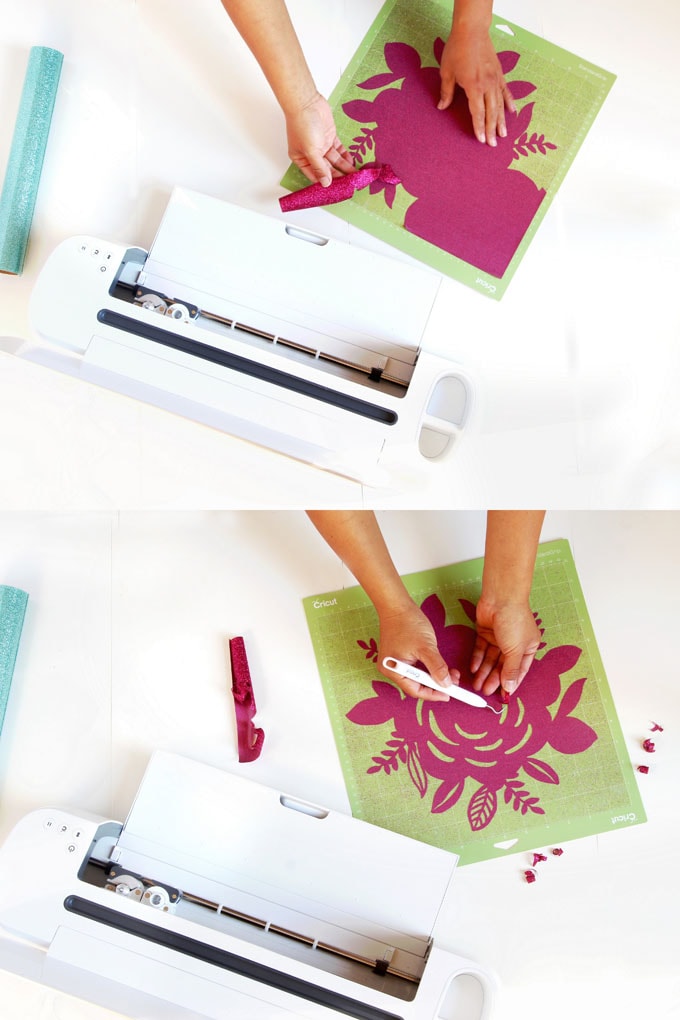
The weeding tool made the process so much easier. Once you finish weeding, peel off the plastic sheet with the vinyl design attached on it. We are now ready to iron it onto our canvas tote bag!
Step 2: transfer vinyl design onto blank canvas tote bag.
You can use an iron to create iron-on vinyl projects, however, an iron can have quite uneven temperature from the middle to the outer edges. The heating on the Cricut EasyPress is completely even across its surface like a traditional heat press. It is super quick to heat up and as easy to use as an iron.
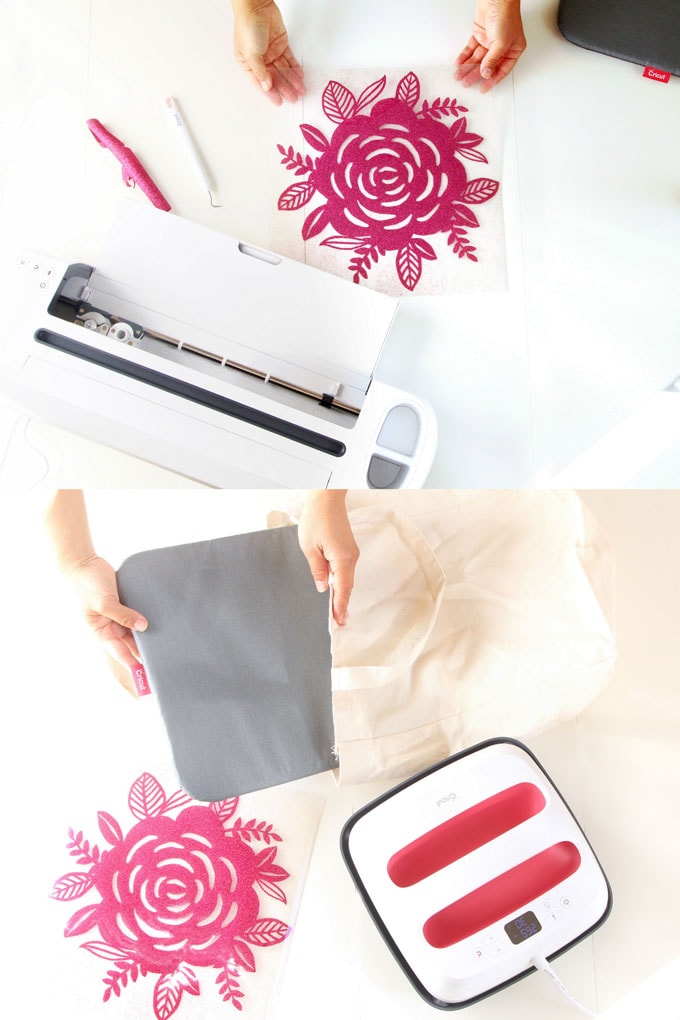
Set the Cricut EasyPress to 315°. It will heats up in about 2-3 minutes. Place the tote bag on an even surface such as an ironing boards. I used a Cricut easypress mat which is designed for use with the EasyPress Heat Press Machine. The mat provides a smooth and even surface for the front side of the canvas tote bag, and is super easy to store when not in use.
Place the design with the shiny plastic side up on the canvas tote bag. The plastic protects the Cricut vinyl. Never let the vinyl touch the iron directly!
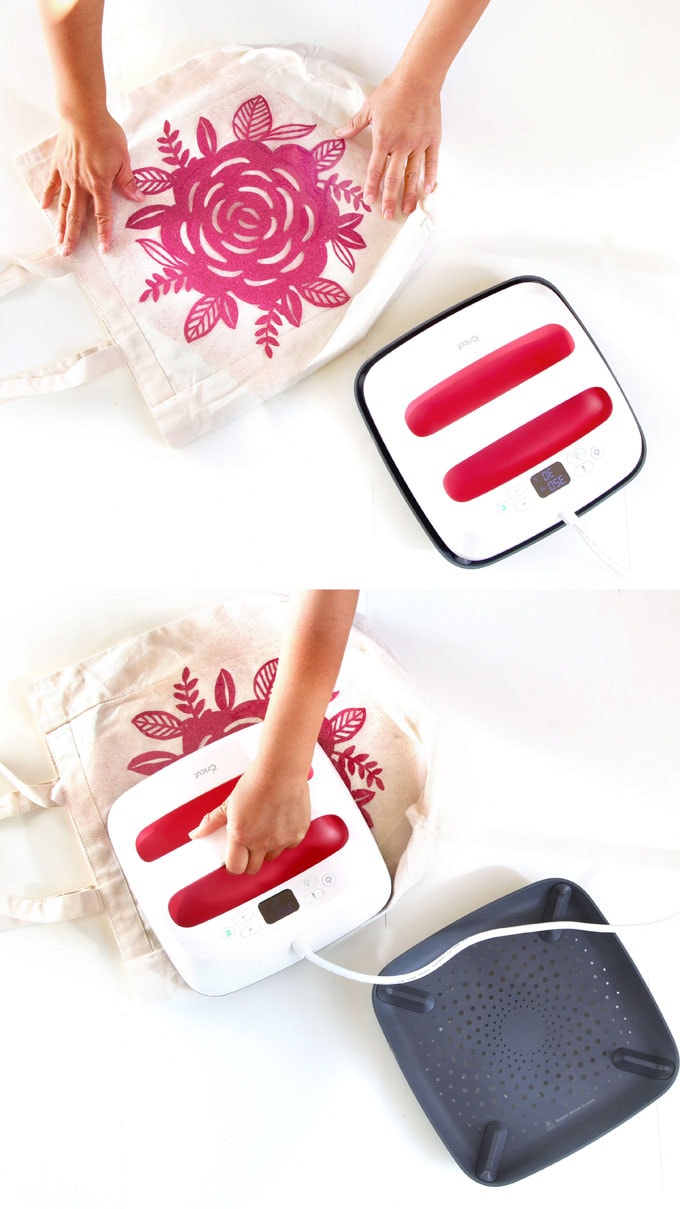
Shift the design to the exact spot you want on the canvas tote bag, and place the EasyPress on top for 30 seconds.
My design is a little bigger than the 9″x9″ area of the EasyPress, so I moved the EasyPress to different areas and repeated the 30 second process.
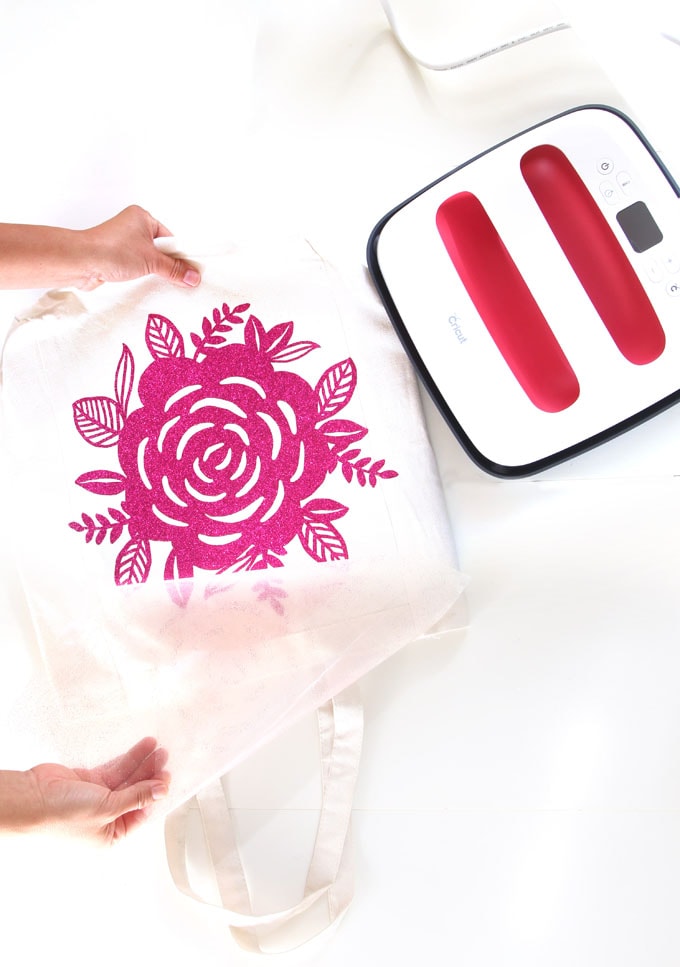
Let the vinyl cool off, and peel back the plastic over your image. Such an exiting moment!
The vinyl should stick. If you find it starts to pull up, put the plastic back down and apply more heat to the area.
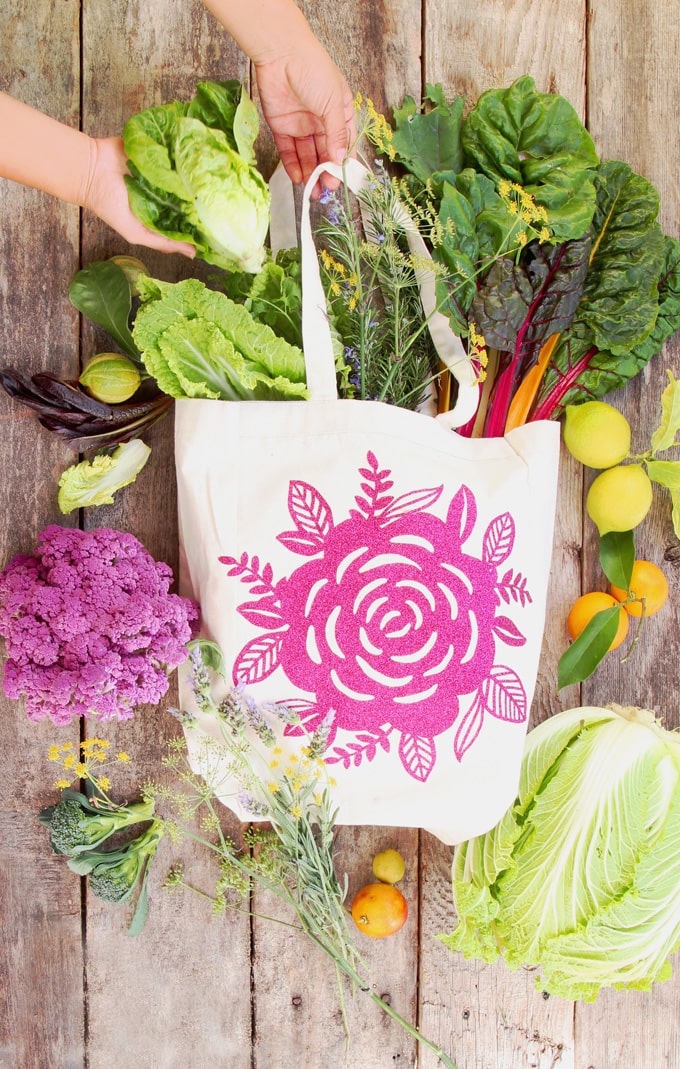
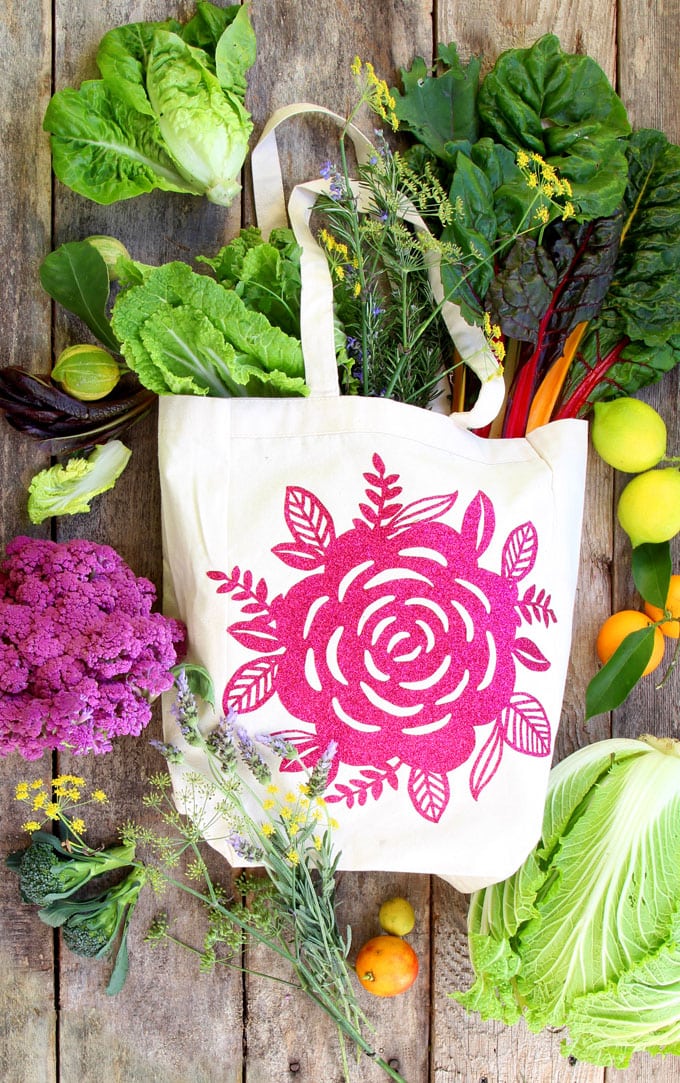
Here it is: our new canvas tote bag perfect for all the overflowing abundance from our garden!
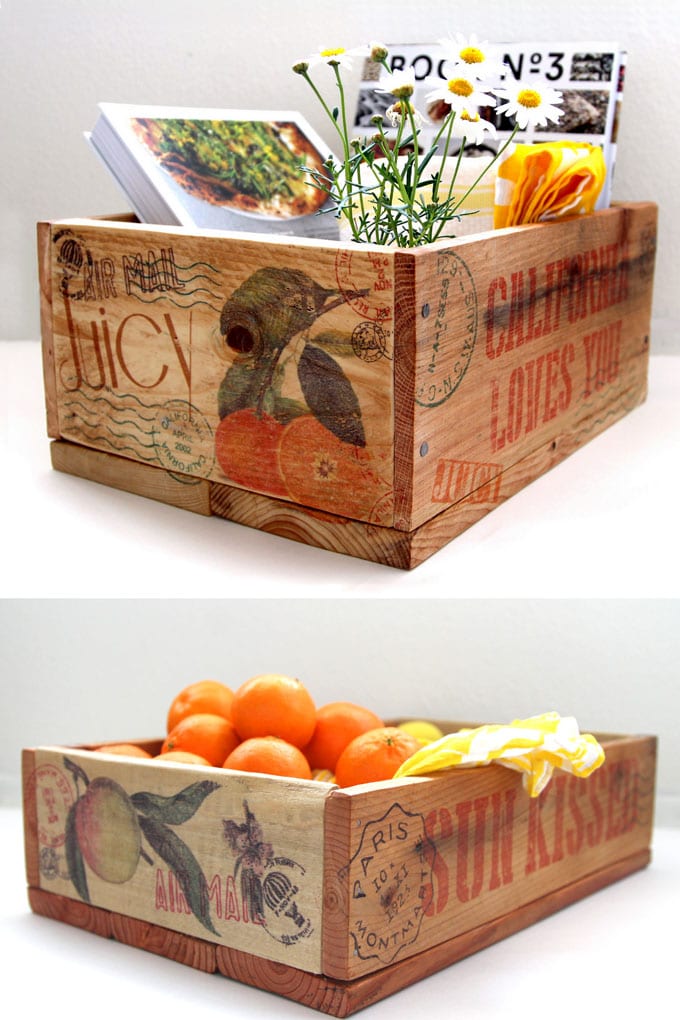
You may also love: How to transfer images to wood easily and make your own vintage inspired crates from pallets!
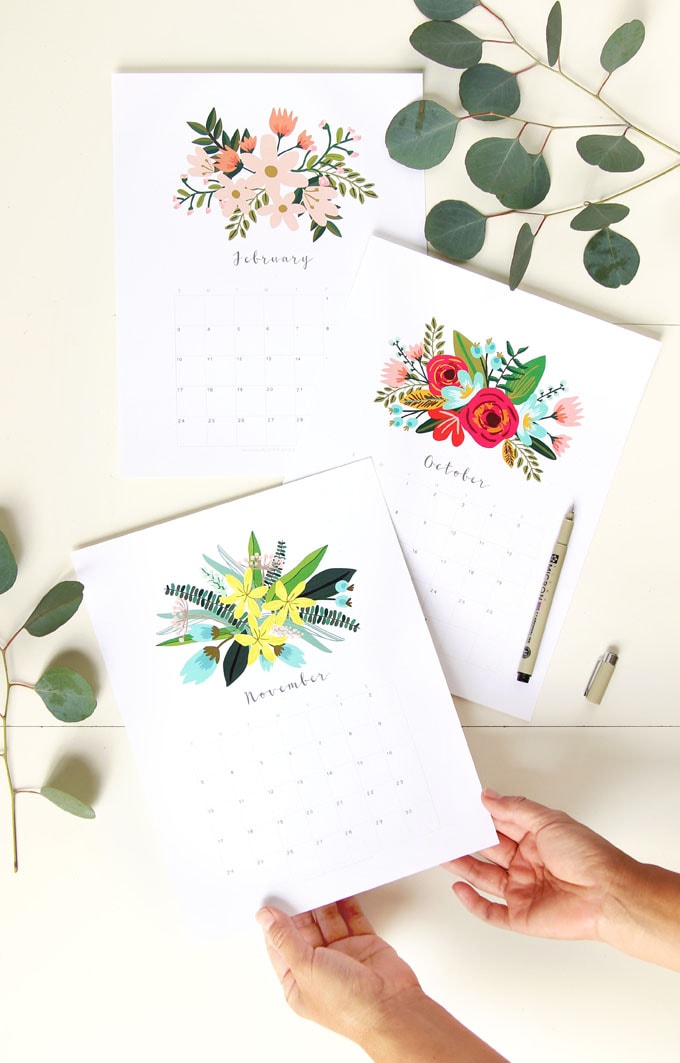
Beautiful printable monthly calendars / mini planners!
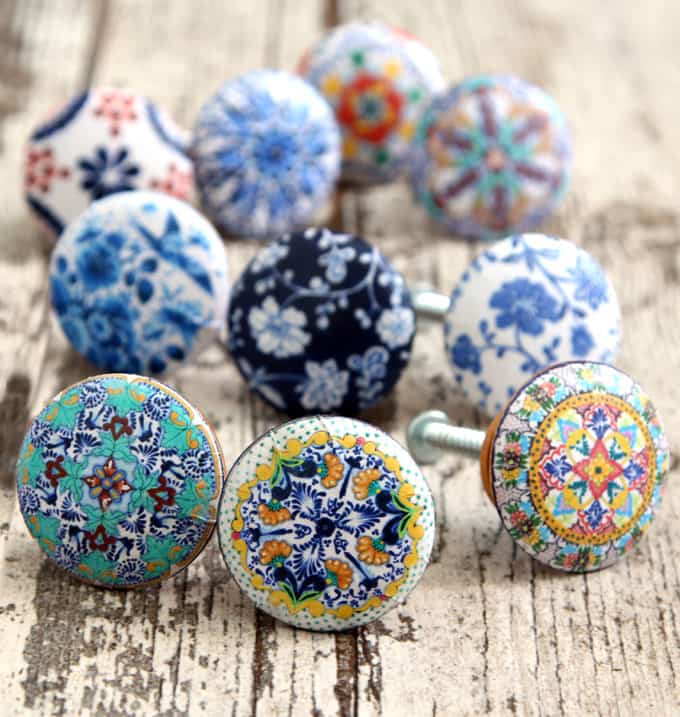
5 Minute Anthropologie Knobs Knockoff : gorgeous for $1!
Happy creating! See you next week!
This is a sponsored conversation written by me on behalf of Cricut. The opinions and text are all mine.


I would love to try this project but when I clicked on the download link but instead of getting the option to save the file, it opens the file with no save option. The other download links on your free downloads page work appropriately so I’m thinking maybe there’s a problem with the link?
Thank you for so many nice projects. I love the lanterns and the paper flower projects also!
hi Lois! just right click after the file opens, and select “save” 🙂
You Don’t Need Canvas To Create Art You Can Make Masterpiece On a Tote Bag! WOW!
You did an amazing job with that tote bag. It has truly been transformed to something gorgeous.
That tote is adorable! A Cricut has been on my wishlist forever. I just need to get one already so I can do all of these fun projects.
Such a great machine. You are so talented! Love the design and the way everything came out.
ah this is so much fun! I love doing DIY crafts like this on the weekends!
It turned out so well! I just love everything about it!
This is so pretty!! I’ve wanted a circuit machine for so long!!! I think it would go great with my sewing skills.
This looks like so much fun. I’ve always wanted a cricuit machine. thanks for sharing!
This makes me seriously wish that I A. had a Cricut and B. knew how to use it. That tote is adorable. I’d love to do that to all of my reusable shopping bags. Give them a little flare!
Oh my goodness! I am OBSESSED with that beautiful flower print! It is goregous!!
I would totally love to try this all one day!! What a beautiful design and the sparkle is awesome.
Oh my gosh that tote is so pretty. I love the design AND the color you chose!
What a great way to dress up a plain bag! I’ve never used a cricut before so I wouldn’t have thought about the mirror image but it makes so much sense!
Oh my goodness your cricut projects are so awesome and inspiring!!! I haven’t tried cricut because I have the Silhouette system. It’s pretty much the same. Although I still have to open mine. It’s brand new. LOL!
This tote looks so pretty – I love floral designs… I’ve tried stencilling before, but my results have been a bit messy – this vinyl iron-on looks like a great solution!