DIY Faux Leather Paper Basket Weaving
Beautiful DIY paper basket from recycled paper bags, & a secret to make paper look like leather! Easy basket weaving paper craft, boho farmhouse home decor & creative storage.
It’s time for more paper bag upcycle ideas! Have you seen those gorgeous modern farmhouse style leather storage baskets in favorite stores like Anthropologie and West Elm for $100 to $200+?
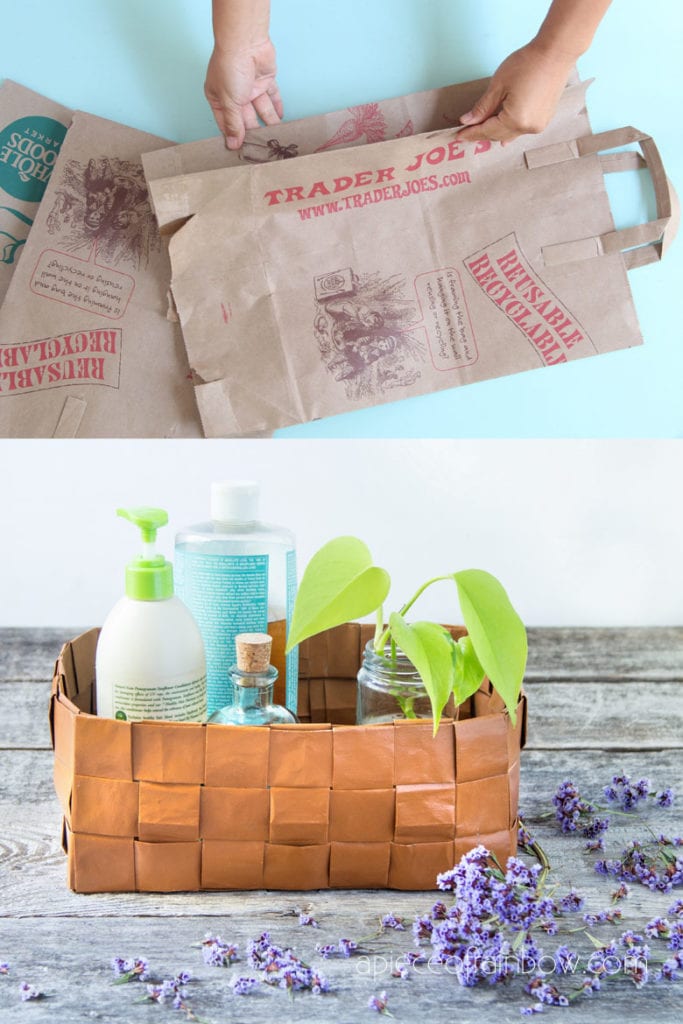
Let’s weave our own “leather” basket for almost free, from recycled paper shopping bags, plus a simple way to make paper look like leather. 🙂
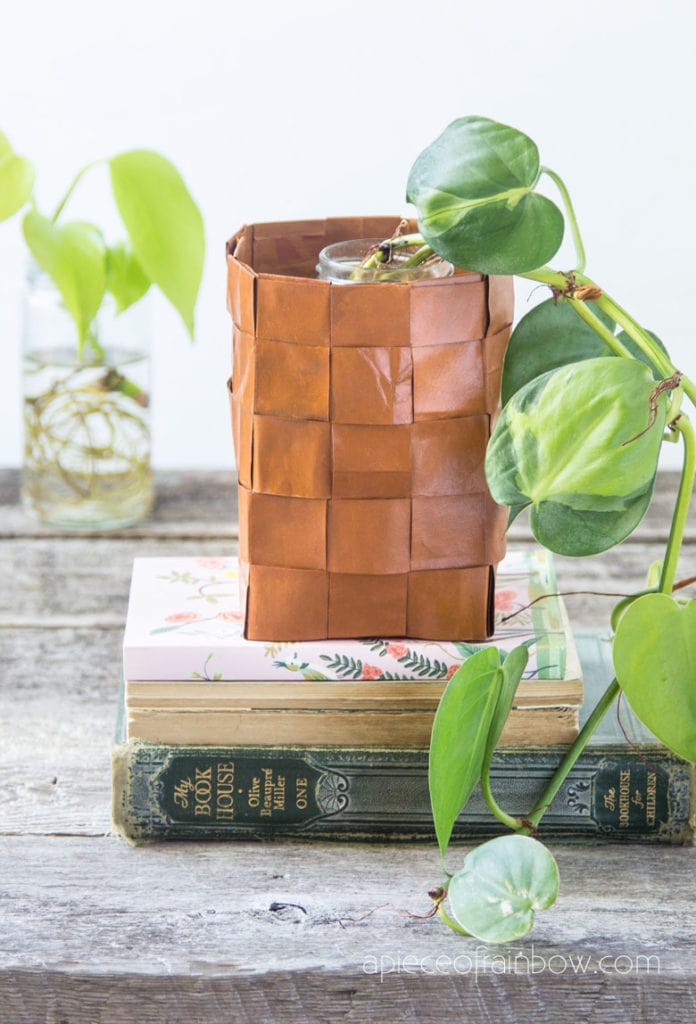
Our family members all love the faux leather look. If you love paper crafts or basket weaving, this would be a fun and creative project to make with kids! All you need are just a few simple tools and materials.
*Some resources in article are affiliate links. Full disclosure here.
Make it portable
Materials and tools to make faux leather paper basket
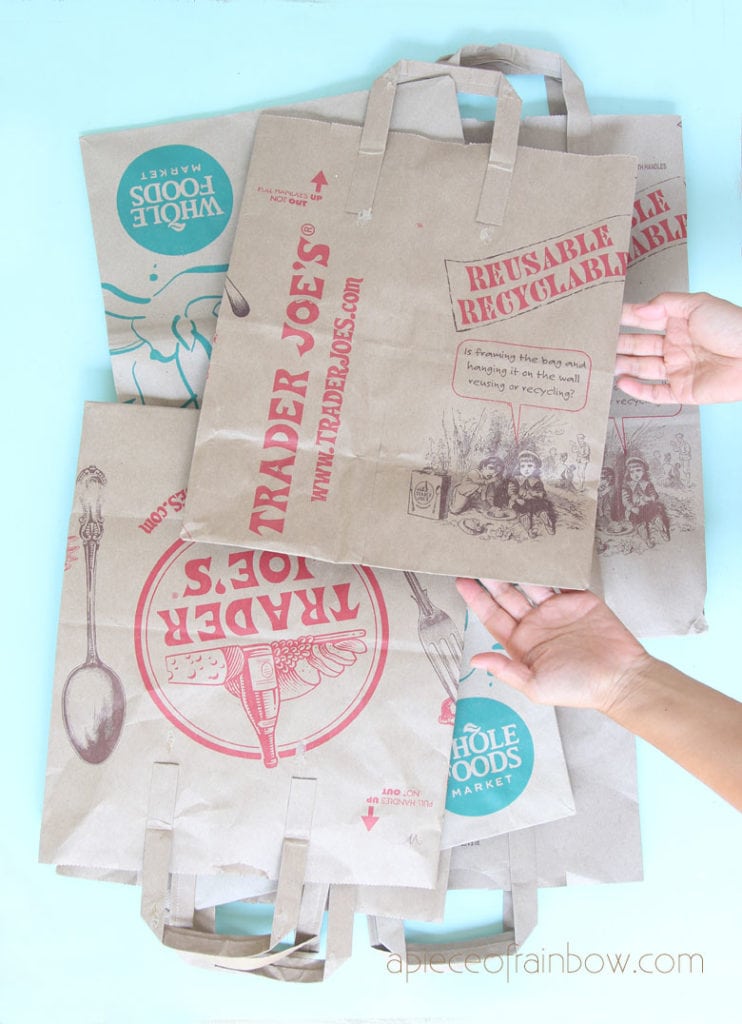
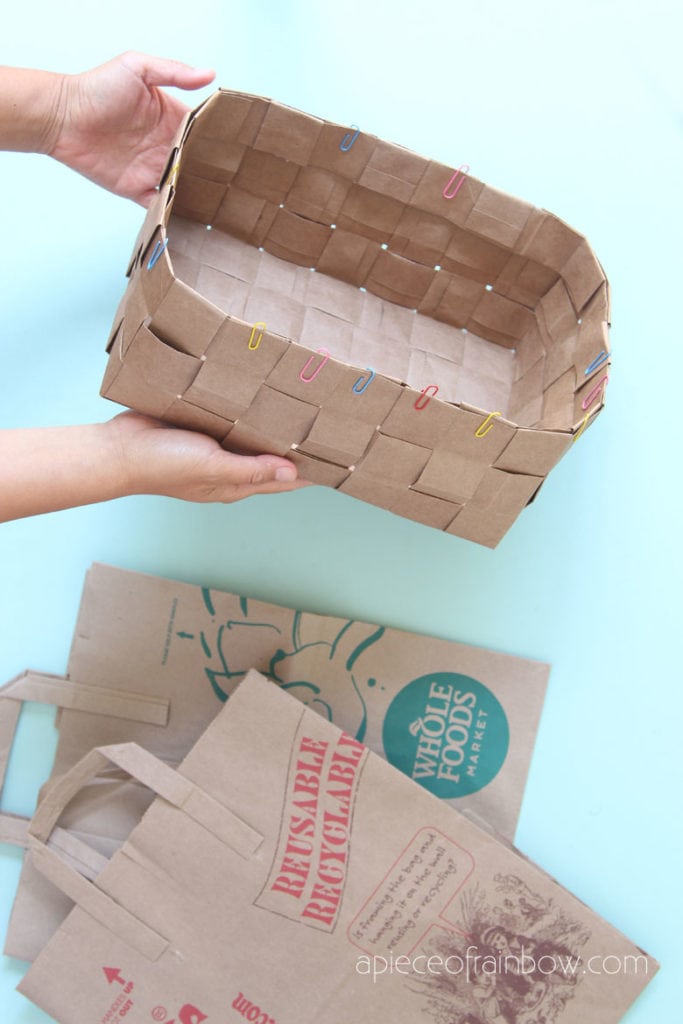
- brown paper bags or any durable recycled paper like Kraft paper. I used 4 grocery store paper bags to weave this 8″ x 11″ x 4.5″ basket.
- Elmer’s glue or any craft glue. Scissors or paper cutter to make simple straight cuts.
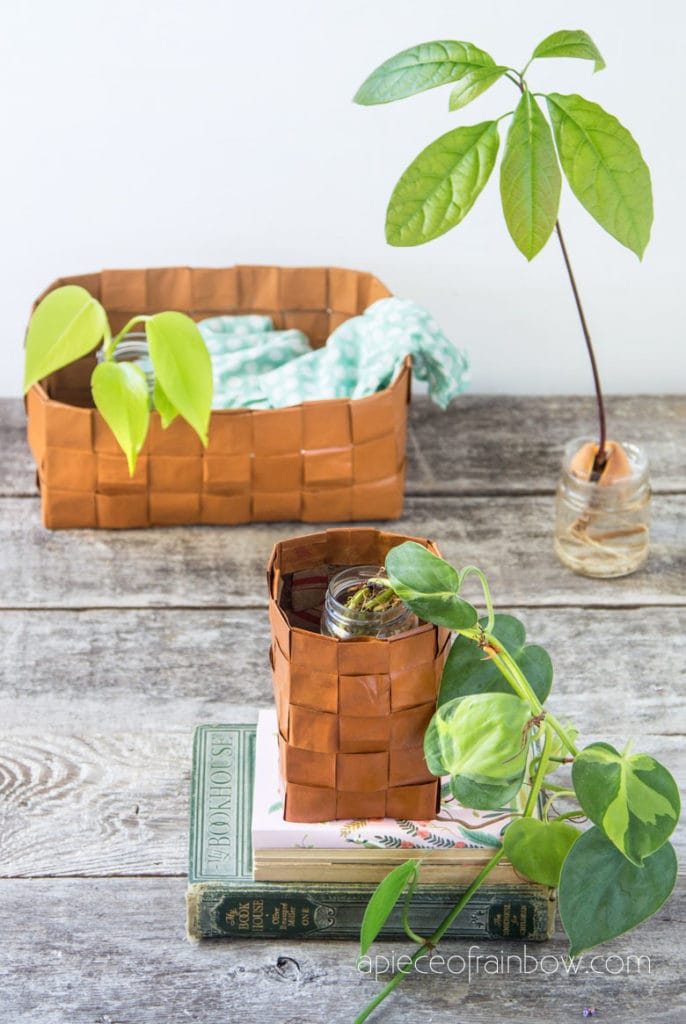
- brown acrylic paint (it’s better to get a paint set like this with yellow ochre and shade of browns) and this gloss Mod Podge: secret ingredients to make paper look like leather! 🙂
Step 1: make paper strips for basket weaving
Open each paper bag at the bottom, straighten the folds like shown, and remove the handles.
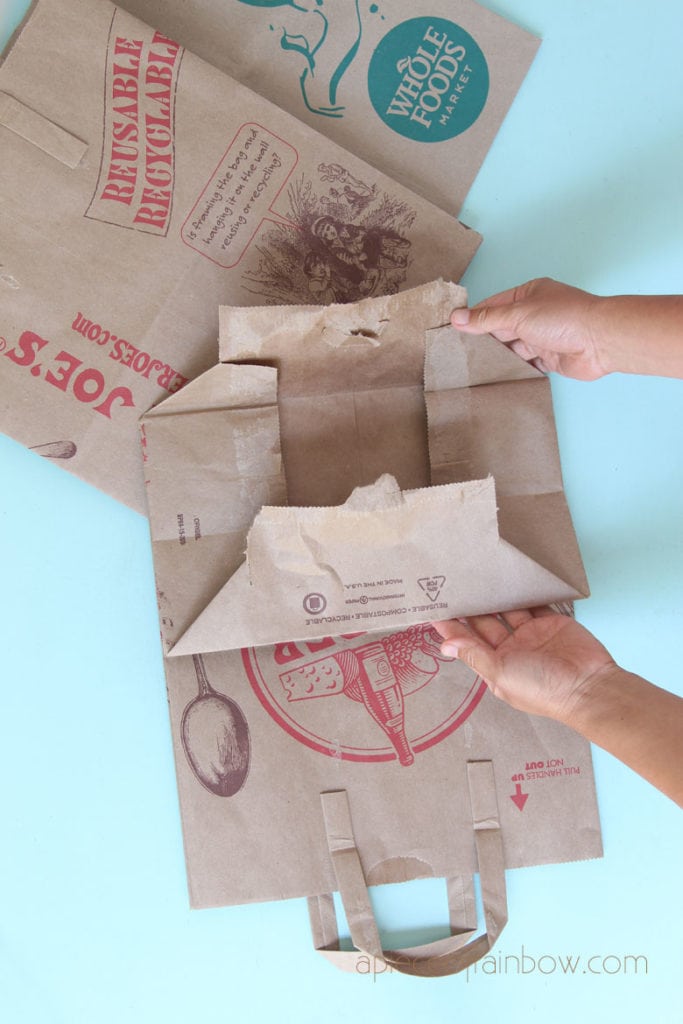
We used 1.5″ wide strips for a basket approximately 8″ x 11″ x 4.5″ in size. I like the look of thicker “leather” for bigger baskets, so I made the strips 3 folds. You can also use single layer strips which is what I used on the smaller basket.
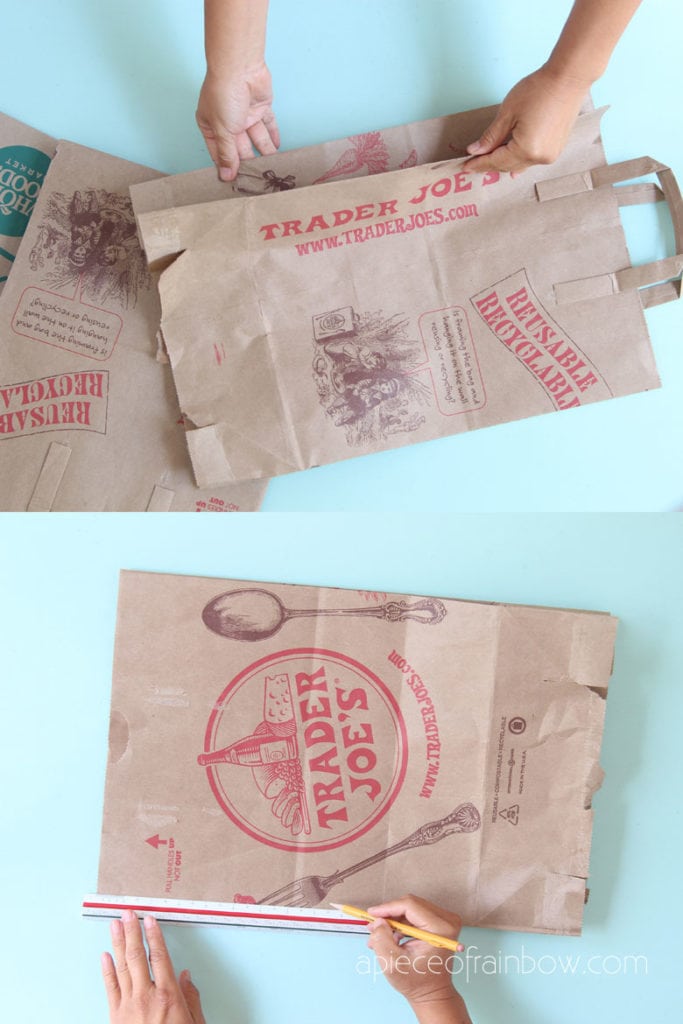
Measure along the paper bag and cut strips at 3.5″ wide intervals for 3-fold strips ( or 1.5″ intervals for single layer strips and skip the folding next).
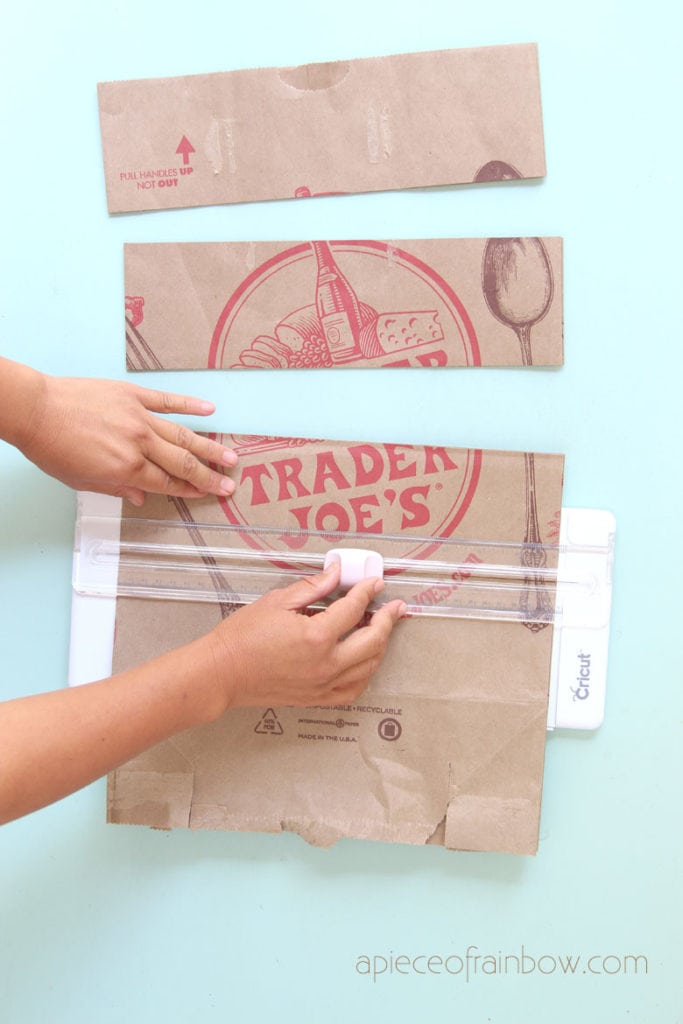
Open up each cut bag section so you have a long piece of paper strip.
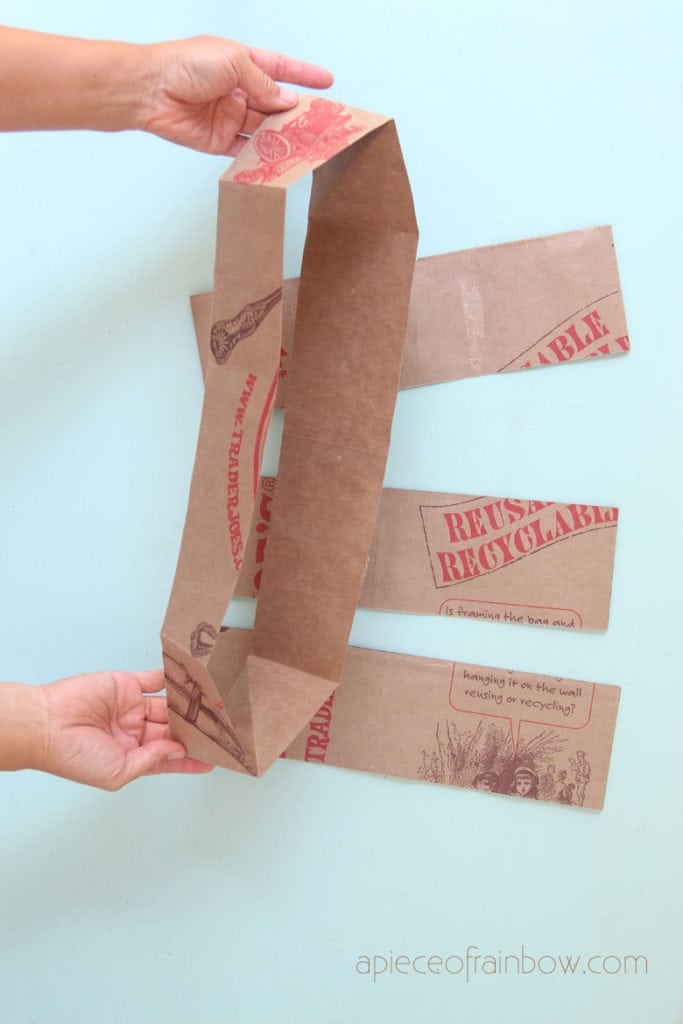
Place a 1.5″ wide straight edge ( a piece of 1×2 works perfectly here, you can also make a cardboard template ) in the middle of the 3.5″ wide paper strip and score 2 lines at 1.5″ apart using a butter knife.
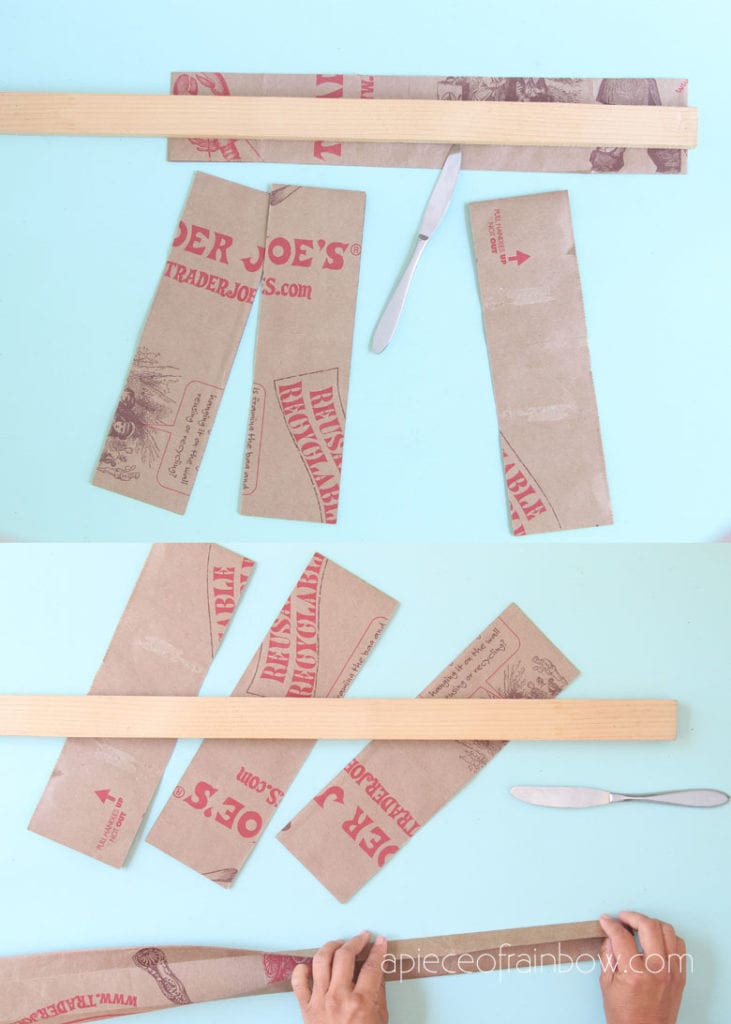
Fold along the score lines with the printed side in. Now we have a thick paper strip at 1.5″ wide with nice clean edges. You can use a few dabs of glue along the length to secure the folds.
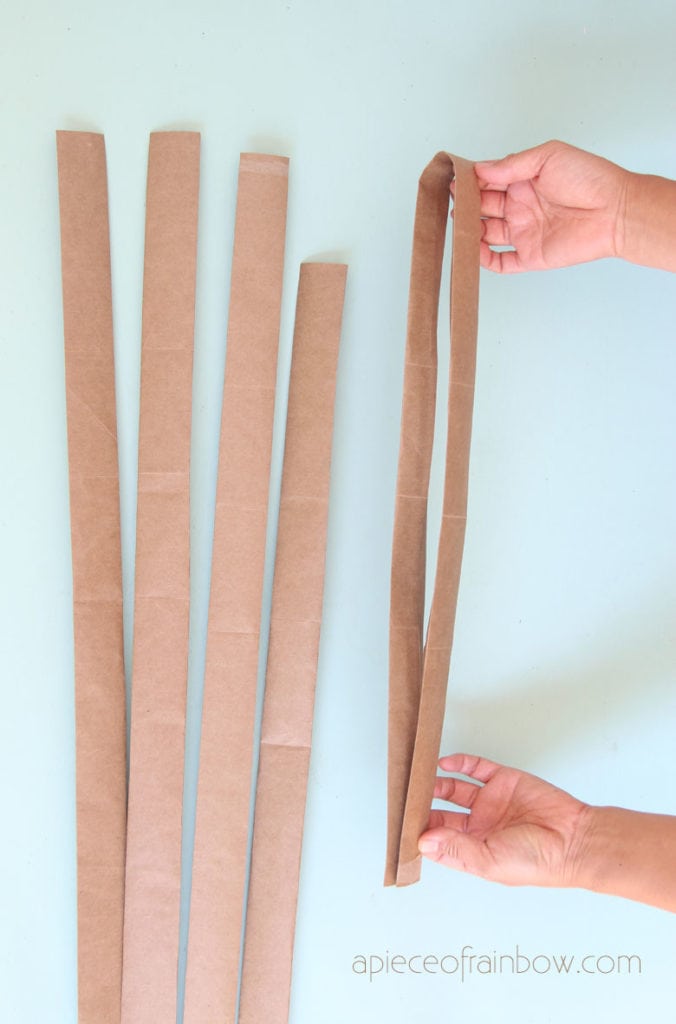
Four paper bags will make 16 3-fold paper strips, each at 38″ long. These are just what we need for this bigger basket. Feel free to adjust the numbers based on the size of your basket.
Step 2: weave base of paper basket.
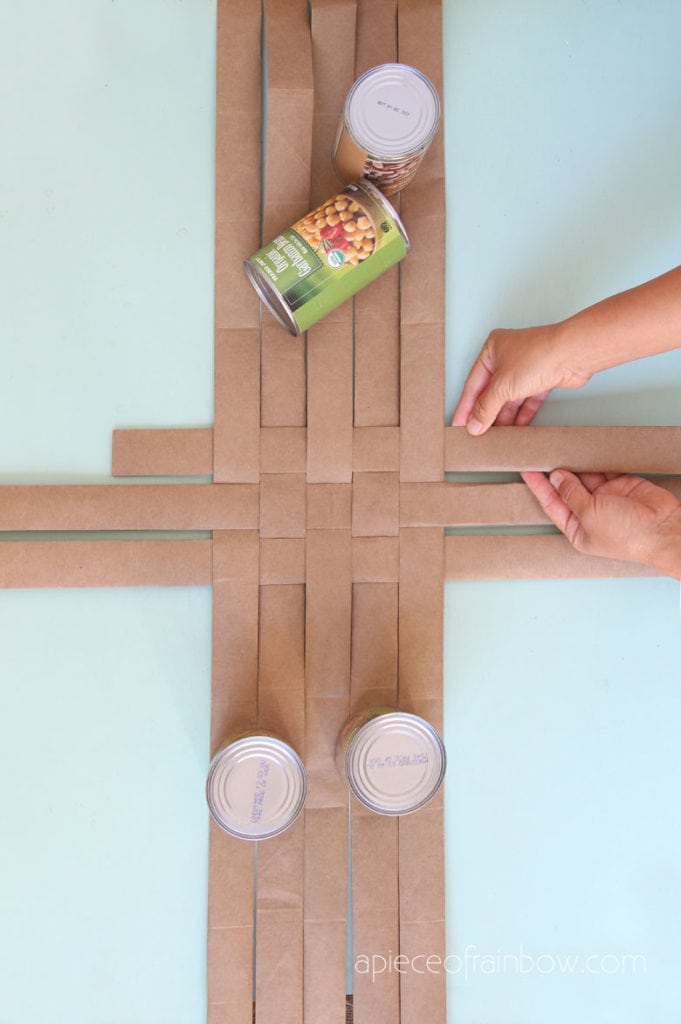
We will start by weaving the base of the basket, then turn the strips up as we weave the sides of the basket. The bottom is made of 5 strips woven together at 90 degrees with 7 strips.
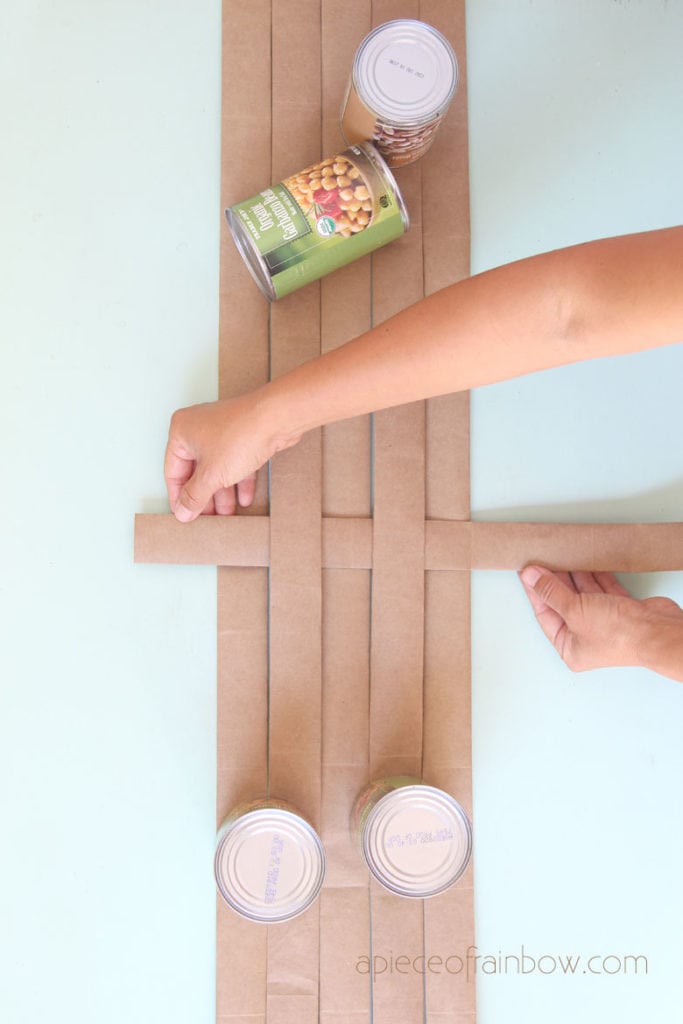
Start with 5 strips, find their mid points, and line them up together. Use some weights to keep them in place.
Take another strip, weave it over and under through the 5 parallel strips at 90 degree angle along the mid points. The mid point of this strip should overlap with the mid point of the third horizontal strip. This will be the center of the basket base.
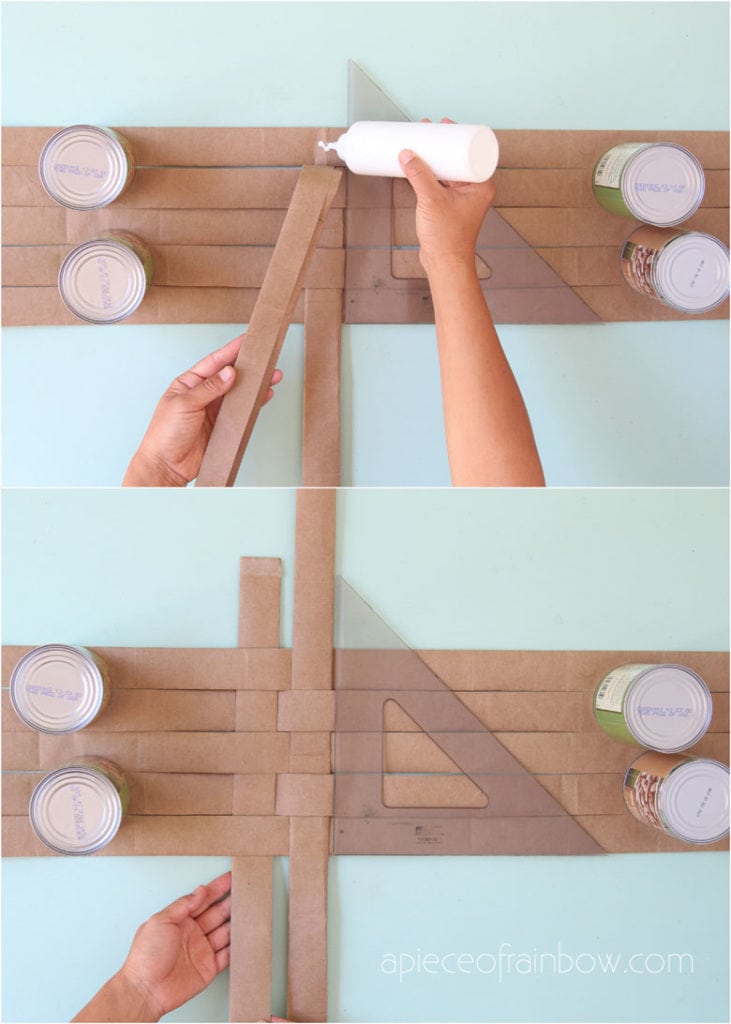
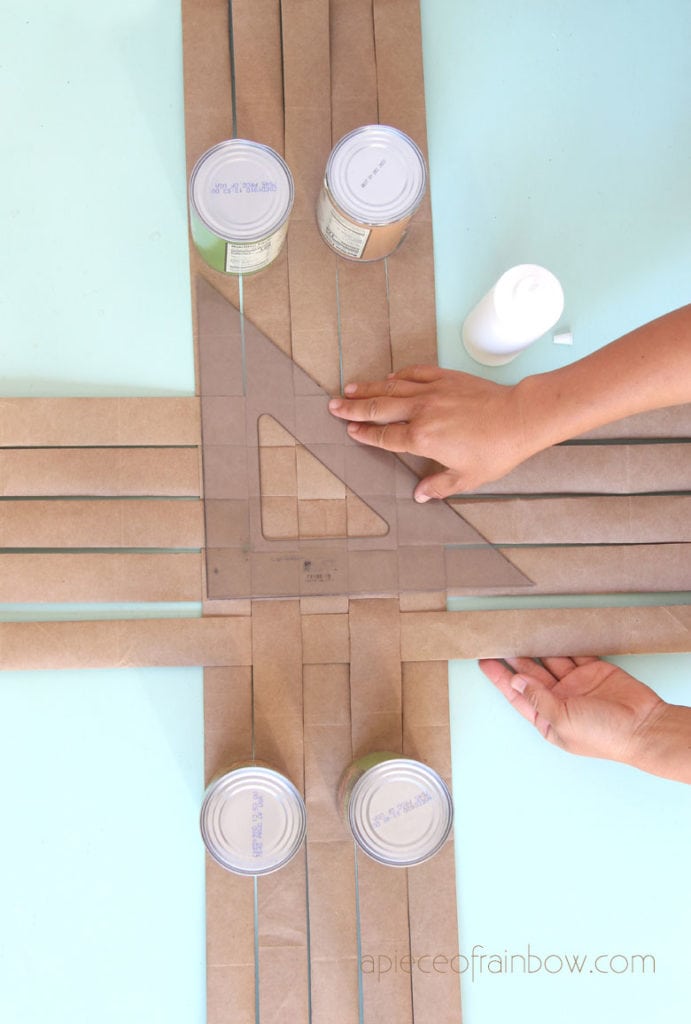
Helpful tip: Use a 90 degree template such as a triangle or a big book as a guide as you weave.
I used a dab of glue at a couple of end spots after everything is square to help stabilize the lattice pattern. The glue is optional. You don’t need to use glue on most of the weaving pattern. You can also use paper clips.
Create an interlocking lattice weave by adding 3 more strips to the left, and 3 more to the right. Keep checking that the base is square.
The key is to always go over and under with each strip. Keep all the strips facing the same side, the front side being the smooth side without folds or prints showing. Check out the video tutorial above if you need more details for this step.
Step 3: weave sides of the paper basket
Once the bottom lattice is complete, it’s time to go up. I flipped this piece because I want the smooth clean strip side to be the outside of the basket.
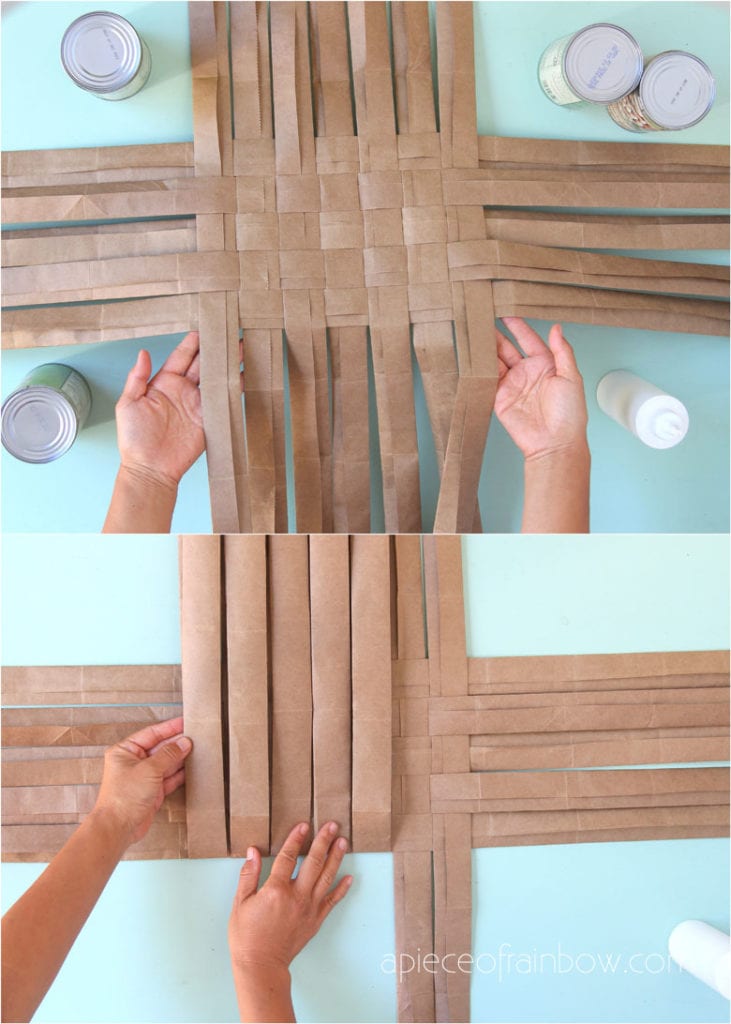
Fold each strip along the bottom edge of the lattice base to make creases for them to go up vertically.
Take a new strip, start at one corner and weave the first row along the 4 sides of the base in an over and under pattern opposite of what is established on the last row of base so everything interlocks.
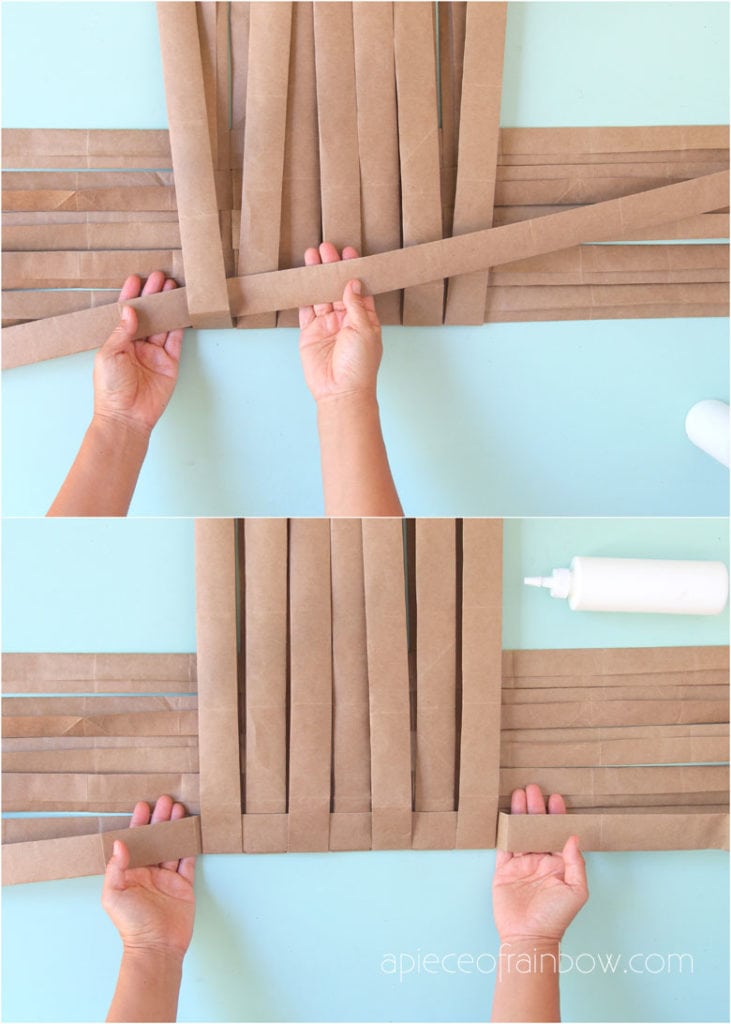
You can also think of it like you just weave an extra row for the base, and fold it up 90 degrees to start the wall of the basket.
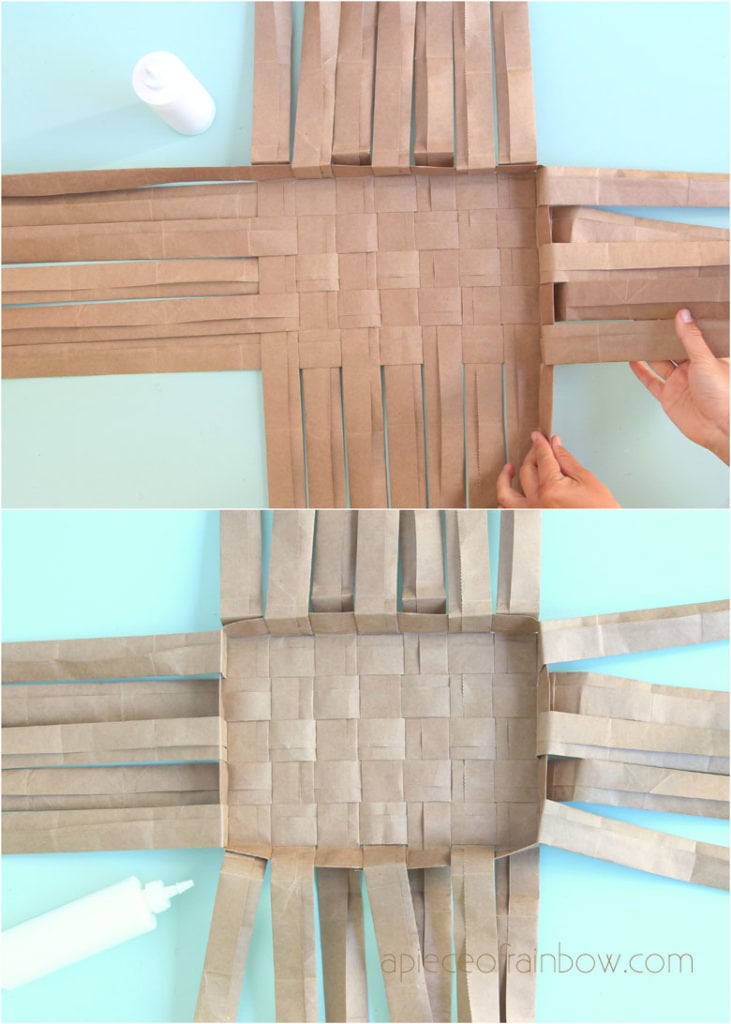
Using a little glue or paper clips at each corner is really helpful, as the first row can be a little messy with all the floppy strips! When the strip loops around the last corner, use glue to join it to the starting point of this strip.
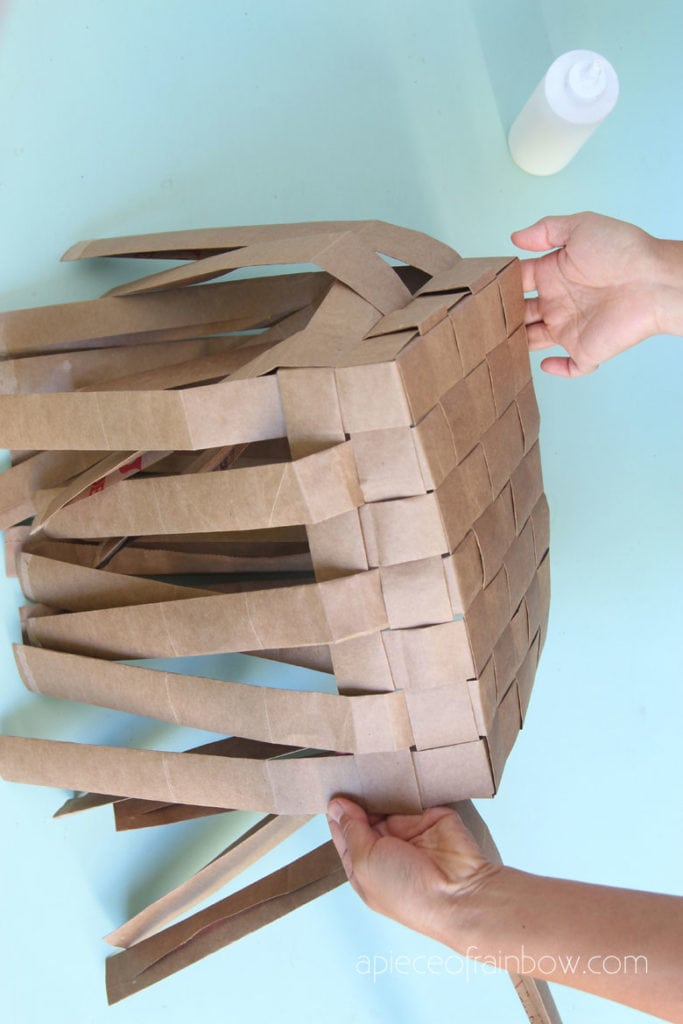
The next two rows are a lot easier. Again alternate the over and under weave forming interlocking pattern with the previous row.
Step 4: finish top edge of paper basket
After we complete all the rows (in this case 3 rows), there are many ways to finish the basket. Here’s how we did it, which is very easy and gives a nice finished look.
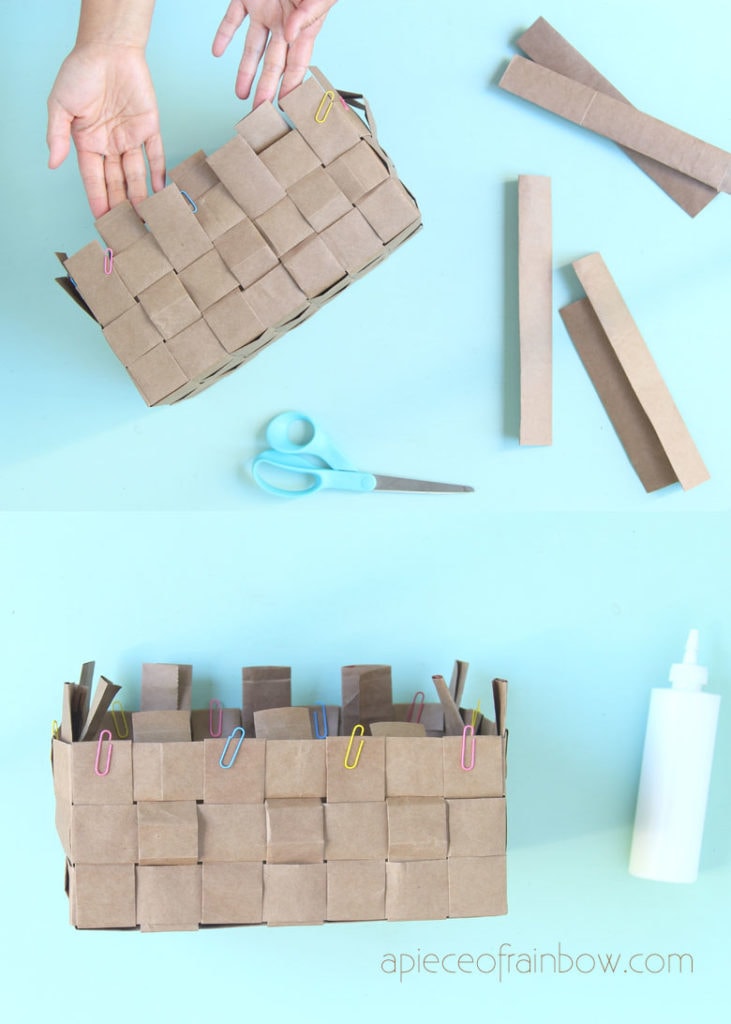
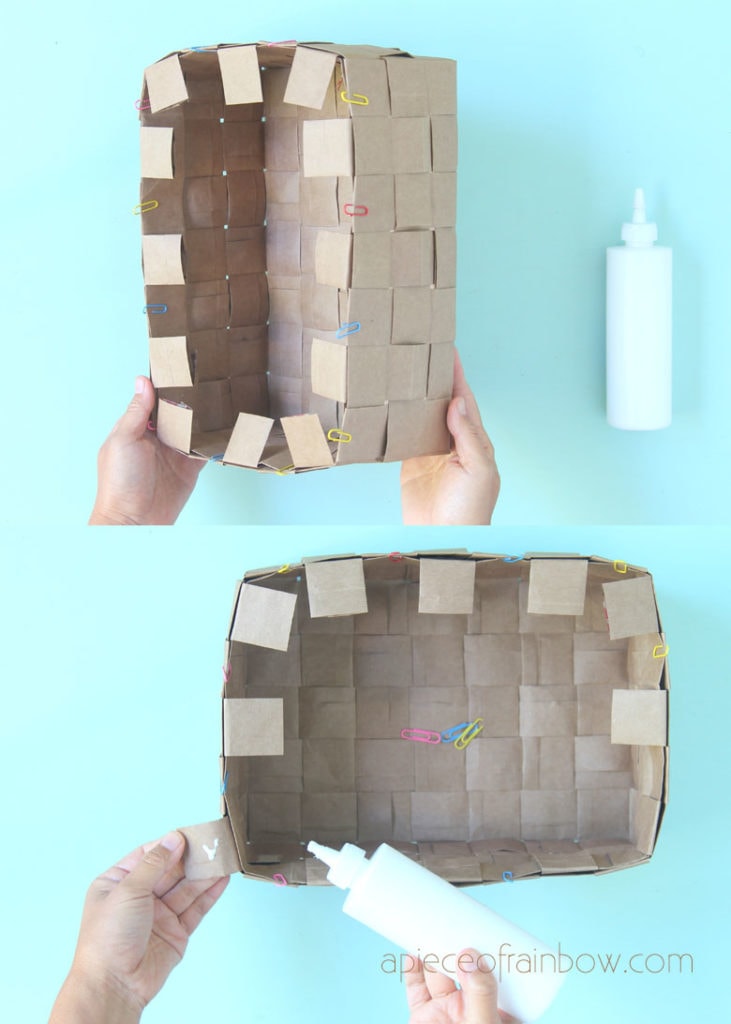
First trim all the vertical strips to 1.5″ above the top edge of the basket. As you can see these vertical strips are either outside or inside the top horizontal row strip.
Fold over all the outside vertical strips so they wrap inside the top edge. Use glue to secure them.
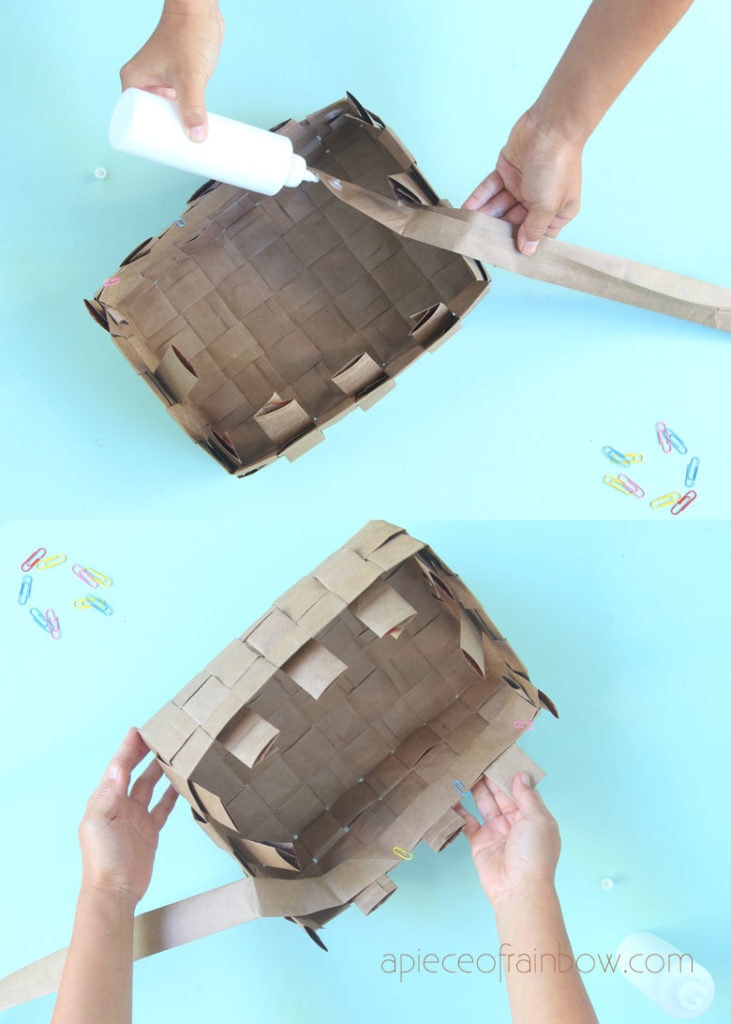
Glue another piece of horizontal strip lining up with the top edge on the inside of the basket.
Fold over the rest of the vertical strips and use glue to the inside secure them.
Now our up-cycled paper basket is finished! You can use it as is, or make it look like a leather basket in just a few minutes!
Step 5: how to make paper look like leather
I tried different techniques to make paper look like leather. Some use glycerin to make the paper softer. For these basket, it’s actually quite simple. I just want a smooth leather look, so all we need are some paint and this gloss Mod Podge.
This acrylic paint set has yellow ochre, burnt umber and burnt sienna which you can use to mix the perfect golden brown leather color. You can also use the burnt umber or burnt sienna alone for a brown leather color.
For the bigger basket I want the color to be a little lighter, so I mixed it with some yellow ochre and white into the brown.
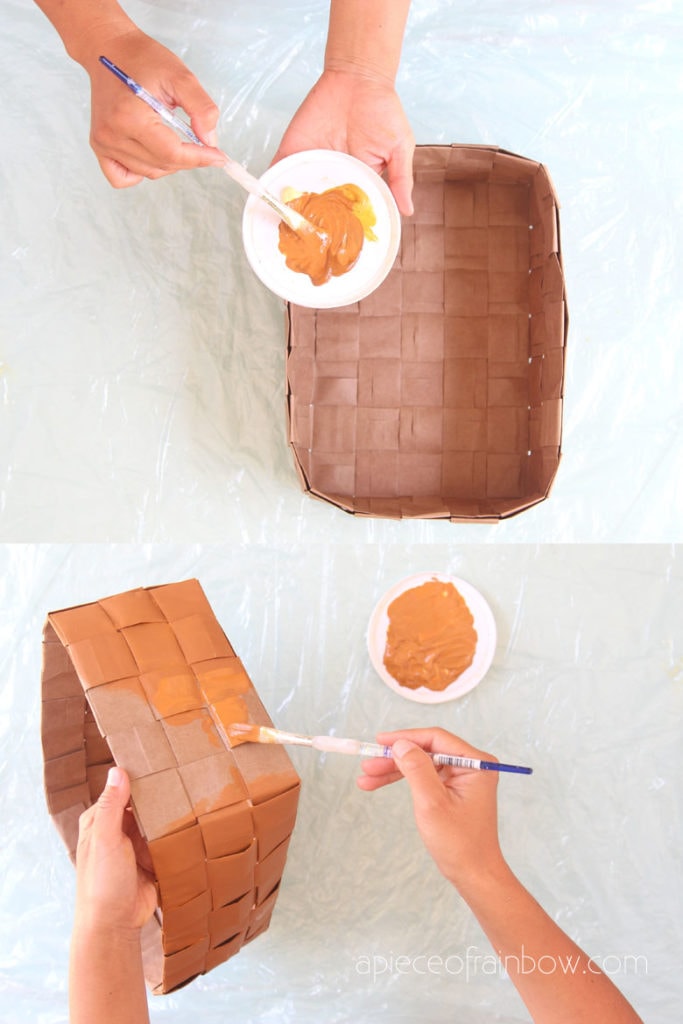
Use a brush and paint all the visible surface and crevices.
The paint dries really fast. The final step is to brush a layer of the gloss Mod Podge. This adds a sheen that really makes the paper look like leather.
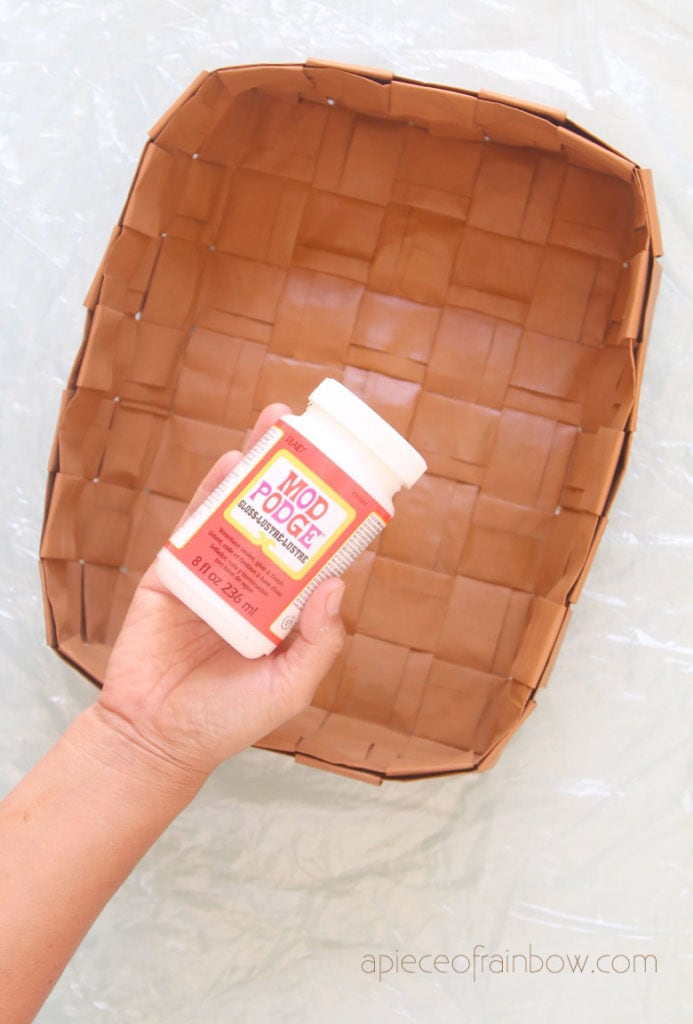
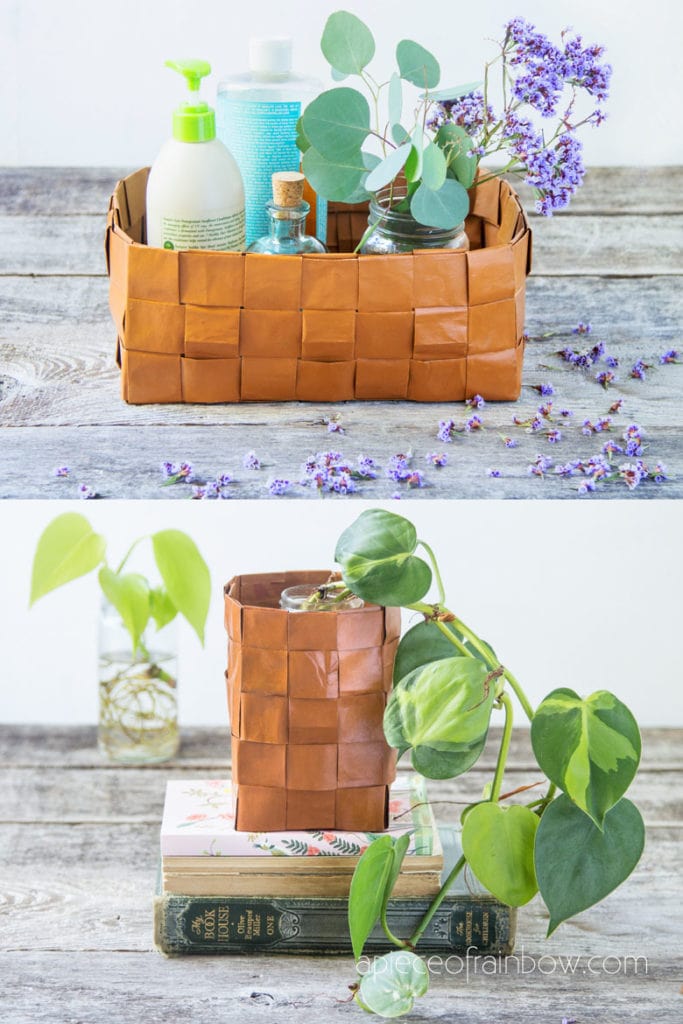
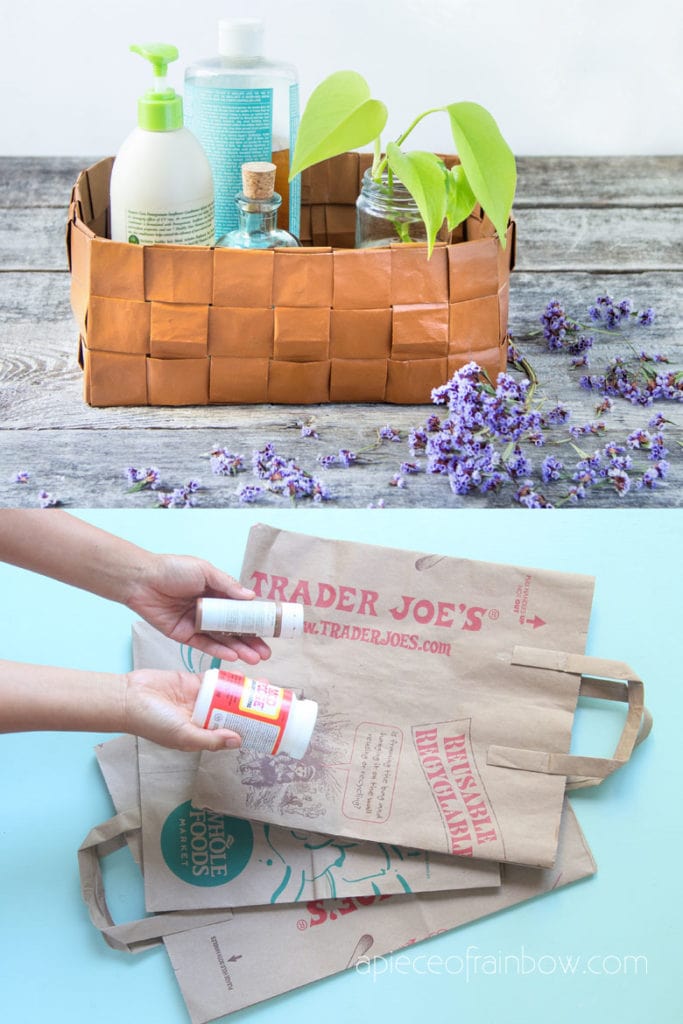
The gloss Mod Podge also makes the paper basket more water resistant. Now our beautiful “leather” basket is complete!
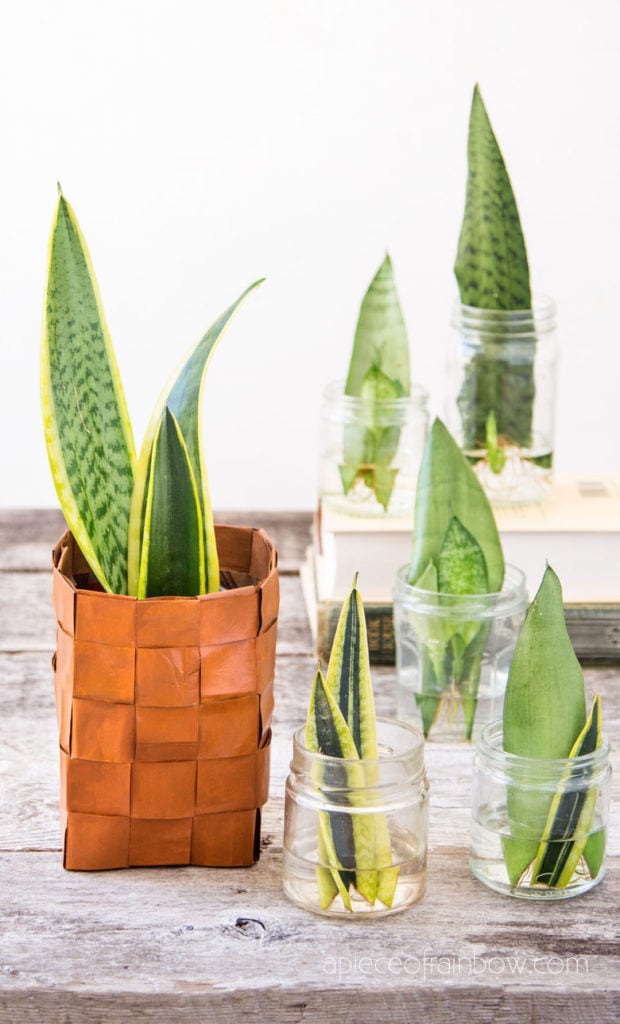
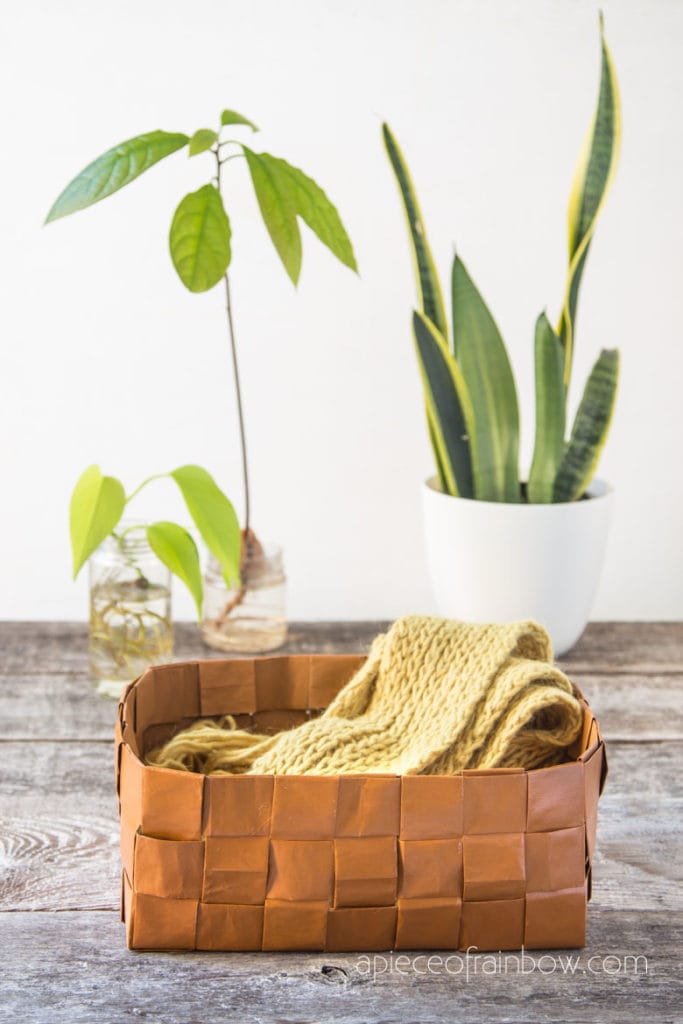
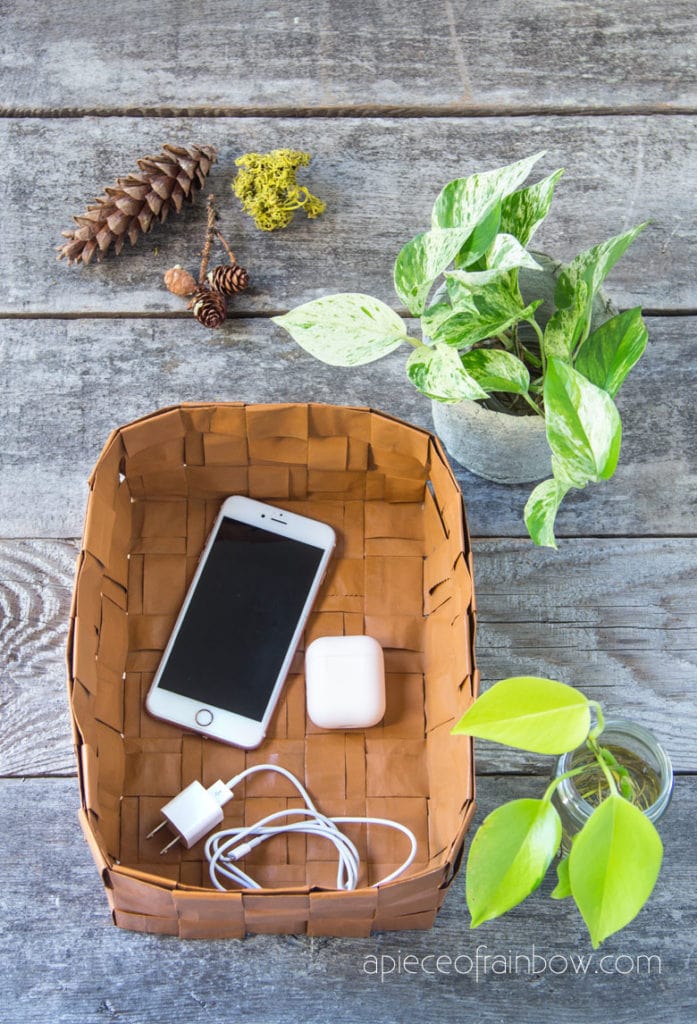
The smaller paper basket looks like a leather vase cover doesn’t it? The larger one is perfect for everyday storage from craft supplies to trinkets, hats and scarves.
Many of us probably have more paper grocery bags now at home, due to the pandemic and not able to use our reusable shopping bags.
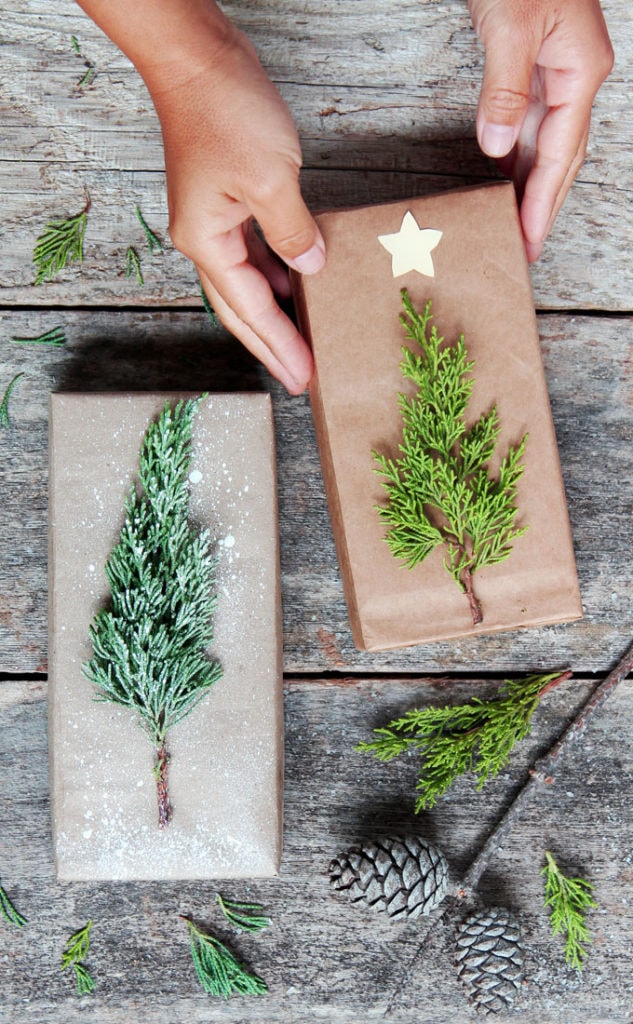
If you want more creative ways to upcycle and reuse them, check out these beautiful gift wrapping ideas using brown paper bags, and this paper pendant lamp that is really stylish and unique!





Hi. Thanks heaps for this tutorial. I found it easy to use and it was a very satisfying craft to complete, I may have become slightly addicted to making them. I was also able to slightly adjust your pattern by making the pieces smaller and teach it as a craft at a craft group I am a part of. Thanks again for sharing. 😄
so glad you enjoyed this Kylie! 🙂
Wow these really do look like leather! Always wanted to try paper weaving. Now I am really excited to try this project!
This is so creative!
I love reading your blog posts and this DIY is amazing! The baskets really look like leather! Will be making some! 🙂
thanks Bella! happy crafting! 🙂
Your faux leather bags are beautiful and you make it look so easy. I would never have though of that! At Christmas time, they make great oversized ginger bread men and women with newspaper scraps inside to fill them out. Of course you use the inside with no graphics on them. After you glue them together, punch holes evenly around the sides so children can “sew” them together.
hi nancy! i LOVE this idea! i may have to make some this year! thank you so much!! 🙂