DIY Tabletop Snow Flocked Christmas Tree: $1 in 10 Minutes
Make a tabletop snow flocked Christmas tree for almost free! Beautiful winter farmhouse decorations and easy crafts. Best DIY fake snow recipe!
Look at this DIY snowy Christmas tree! Does it remind you of a majestic tree in a winter forest? Although we don’t have the room in our house for a 50′ tall cedar or redwood tree, we are so happy with this mini version!

You won’t believe how easy it is to make this Christmas tree! All you need are some evergreen tree clippings and recycled cardboard.
It looks beautiful even without the snow. If you want a flocked Christmas tree, it only takes a few minutes to make the snow flocking.

*Some resources in article are affiliate links. Full disclosure here.
Make it portable
Materials to make snow flocked Christmas tree
- cardboard: thin cardboard such as those from cereal boxes without corrugated layers works best here.
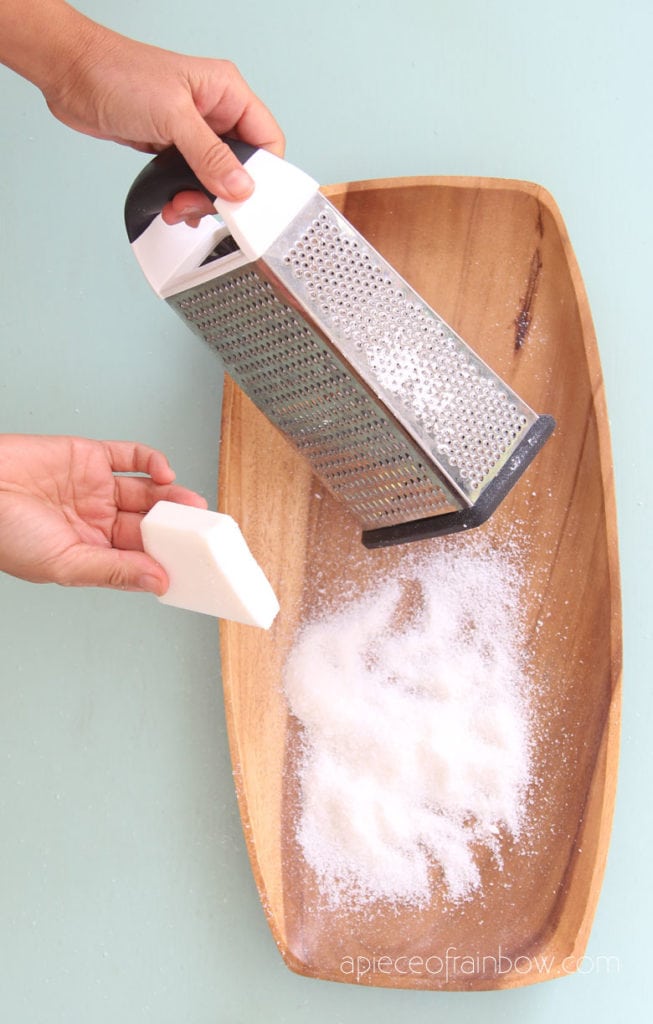
- hot glue and glue gun. A small 3 oz or 4 oz white soap bar and a box grater or a cheese grater for the snow flocking. Snow flocking recipe here.
- evergreen tree clippings: we are using cedar branches here because it stays green longer and is easier to work with than other conifers such as pine or spruce.

Step 1: make a cardboard cone
Draw a quarter circle with the circumference about 8 inches, which is the total tree height. You can change this number to make your table top Christmas tree bigger or smaller.
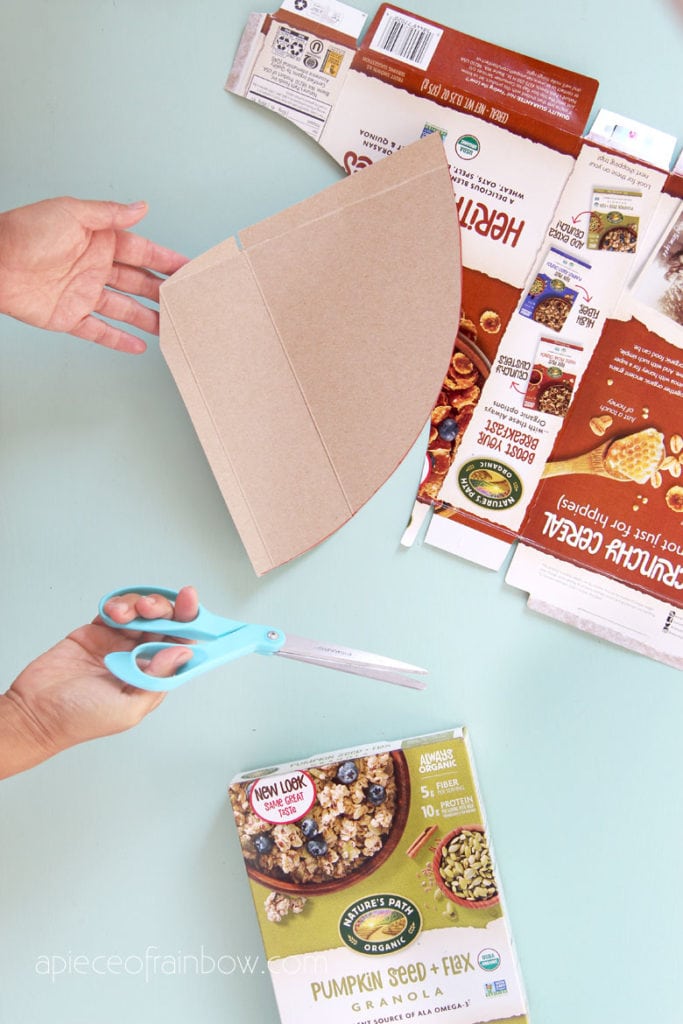
Use a protractor, or make one as shown in this similar tabletop Xmas tree tutorial.

Cut out the quarter circle shape, with a bit extra tab on the end for gluing. Use hot glue or glue to glue together the cardboard cone .

You may also like: 5 Minute DIY snowy tree winter and Christmas table decorations!

Step 2: glue small branches to Christmas tree cone

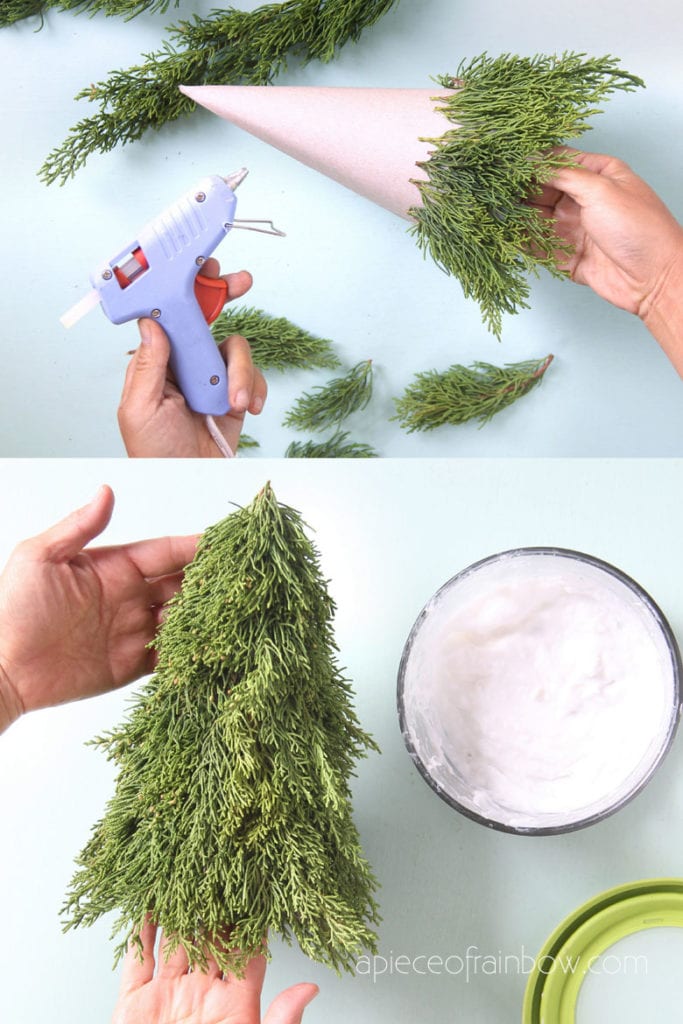
Start at the bottom, take small pieces of clippings from cedar branches and glue them around the bottom of the cone, over lapping them so the cardboard doesn’t show through.

The clippings should be about 1″ to 2″ passing the bottom edge. You can always trim them later.

Next, glue another row of clippings above the first row. Always overlap adjacent branches. Repeat until the cone is completely covered all the way to the top tip.

You can use this tabletop Christmas tree as is, or add some snow flocking to it! The cedar will stay green for at least a couple of weeks.

Step 3: how to make snow flocked Christmas tree
You can use snow spray, snow flocking powder like this on Amazon, or make your own easily in just 10 minutes using white soap bars.

Check out this easy homemade snow flocking tutorial here.
Take a handful of snow flocking mixture and rub it onto the Christmas tree.

You can use more flocking to create a very heavily snow flocked Christmas tree, or use a smaller amount so some green still shows through the snow.

The snow flocking will take about 5 to 8 hours to dry. The dried snow is really durable and doesn’t fall off at all when you move the tree around.

You can use the same method to flock bigger Christmas trees, real or fake branches, wreaths, garlands, etc.
















Love this, THANKYOU
Very pretty either way with lights too. Smart ideal
thank you Debbie! so glad you enjoyed this DIY! 🙂
Nice! I can now decorate my small room for this Christmas, because there’s not enough space for a regular sized Christmas tree.
These are so cute; would be lovely in a village or a trio of them in different heights as a centerpiece. Now to find some cedar clippings!
hi kathy! yes a group of them would make the perfect winter village, which is something i always wanted to create every year, and always run out of time because of all kinds of projects! good luck finding the perfect cedar! 🙂