$1 Farmhouse DIY Tabletop Christmas Tree
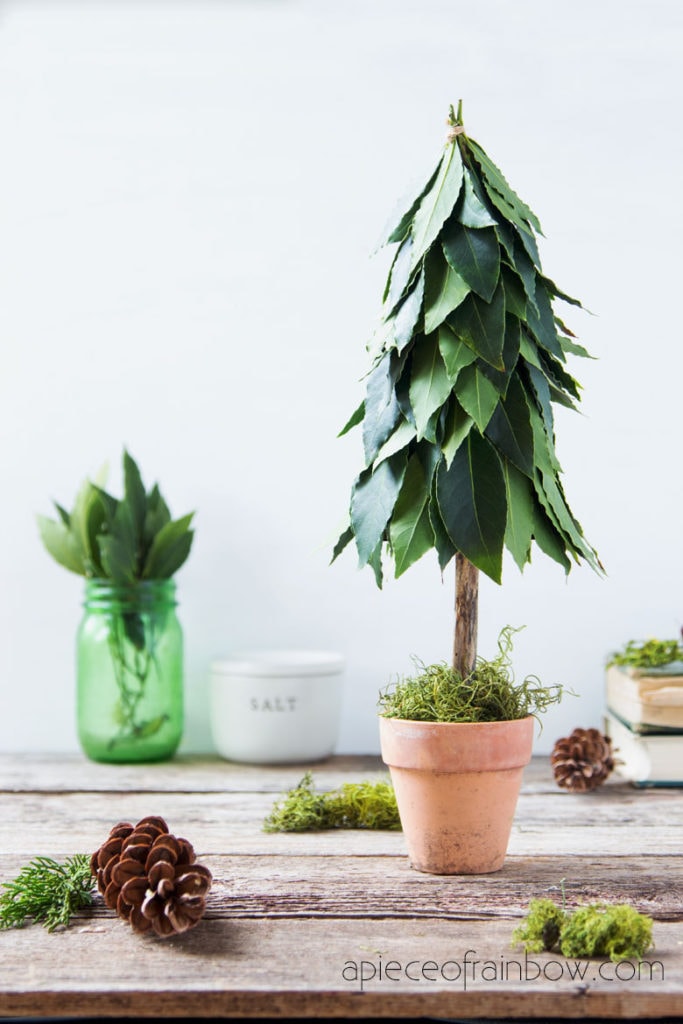
Make a beautiful DIY tabletop Christmas tree in farmhouse topiary style, using fresh green leaves and recycled materials! Easy Christmas decorations and gift idea for anyone who loves boho, modern, and farmhouse decor!
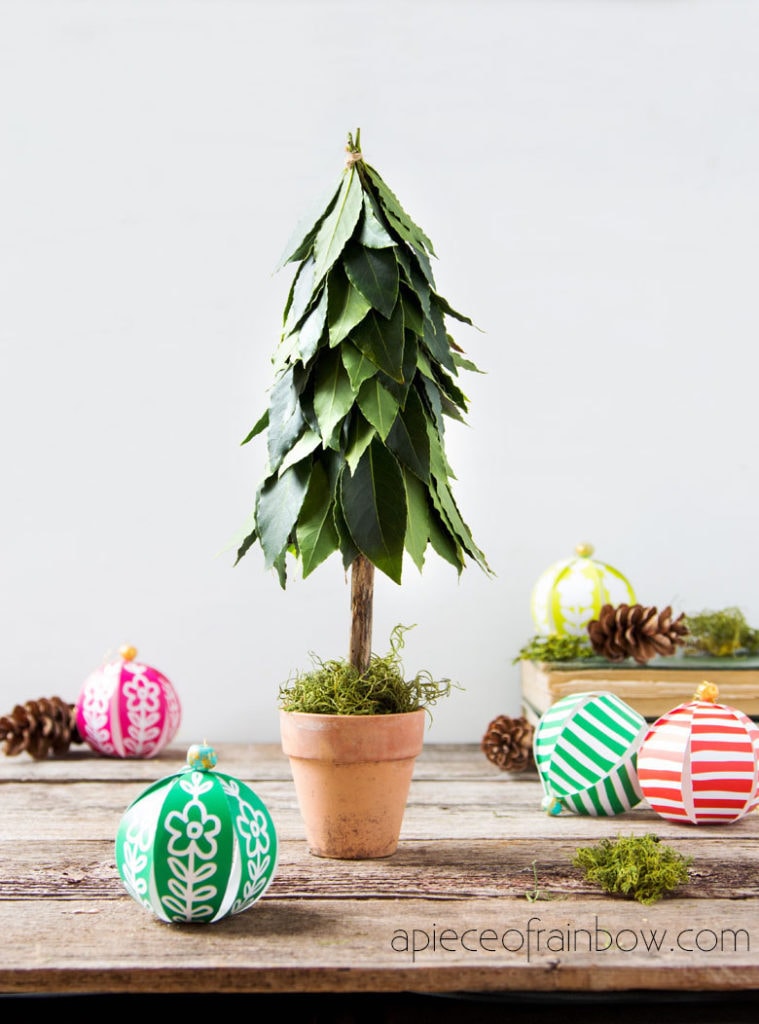
We have a bay tree and it is so nice to share bay leaves with family and friends who love to use them as cooking herbs. This Christmas we decided to try a new idea: making a tabletop Christmas tree from fresh bay leaves.
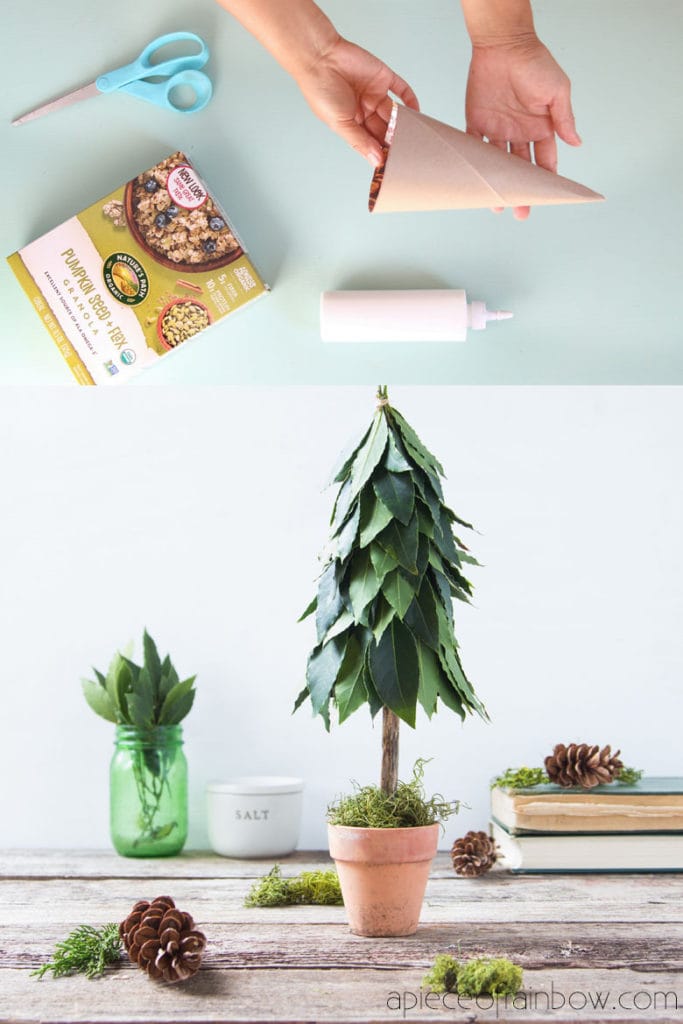
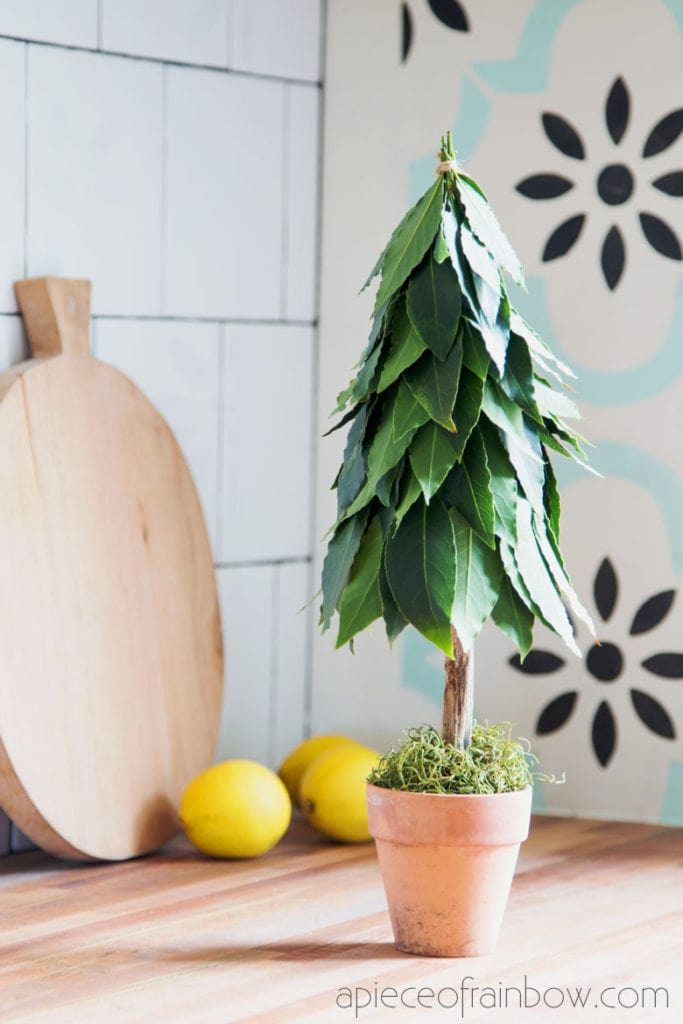
We are so thrilled with the result! Can you see how pretty this would look in a modern farmhouse kitchen? Or as any style Christmas decorations?
This is also a great Christmas gift idea for foodies! They can peel off the bay leaves when Christmas is over, and enjoy them in many winter soups and stews, yum!
*Some resources in article are affiliate links. Full disclosure here.
Materials and tools to make a tabletop Christmas tree :
- bay leaves or other leathery evergreen leaves for a decorative tree.
- paper tape or hot glue, see Step 2 for more details.
- a branch, a 4 inch Terra Cotta pot and some green preserved moss, and a small piece of string or jute twine.
Step 1: make a cardboard cone
Don’t you love cereal boxes?! They offer the perfect kind of cardboard for our project! Corrugated cardboard would be more difficult to work with.
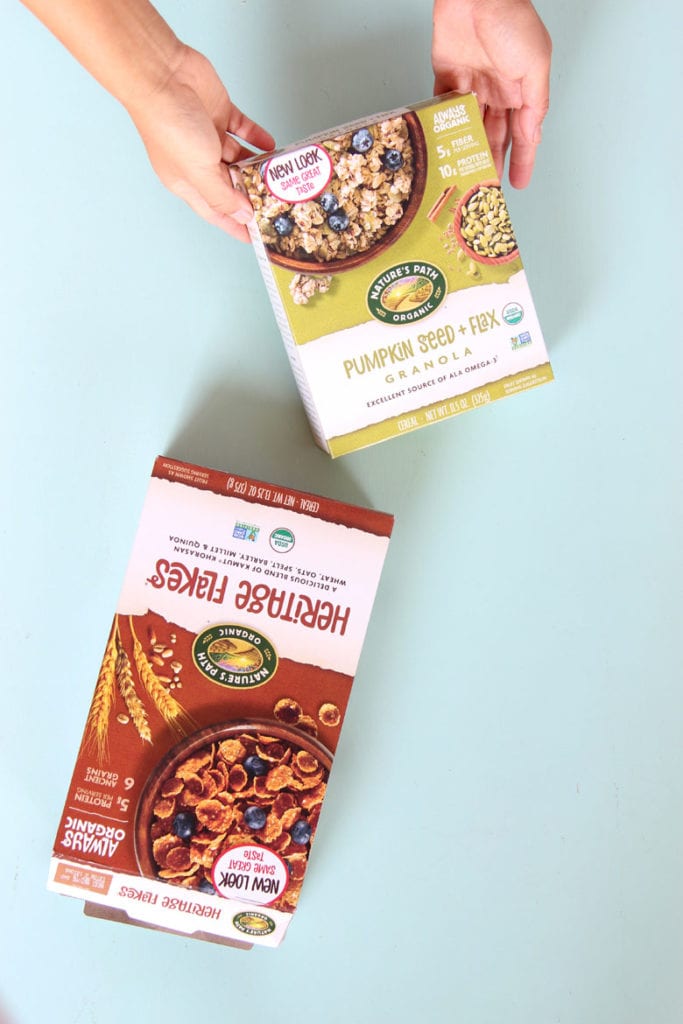
Open up a cereal box. Draw a quarter circle with the circumference about 8 inches. You can change this number, just remember your total tree height will be the height of this cone plus the trunk and planter height.
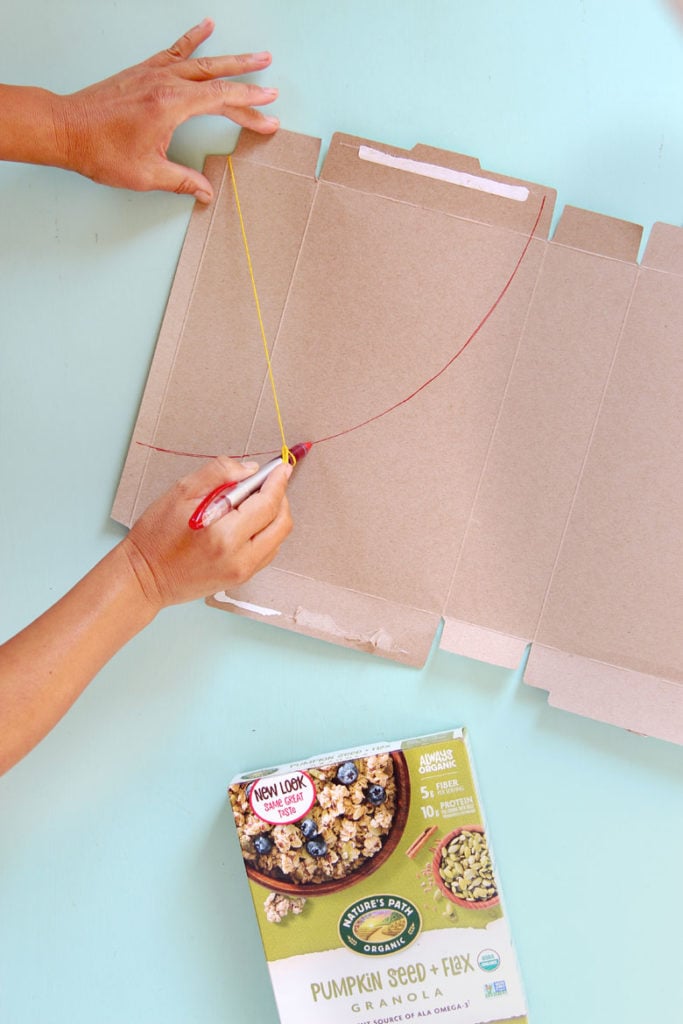
Use a protractor, or make one by taping a string on the backside one end (as the center point) and a pen on the other end, and draw a quarter circle.
Cut out the quarter circle shape, with a bit extra tab on the end for glueing. Use hot glue or glue to glue together the cardboard cone .
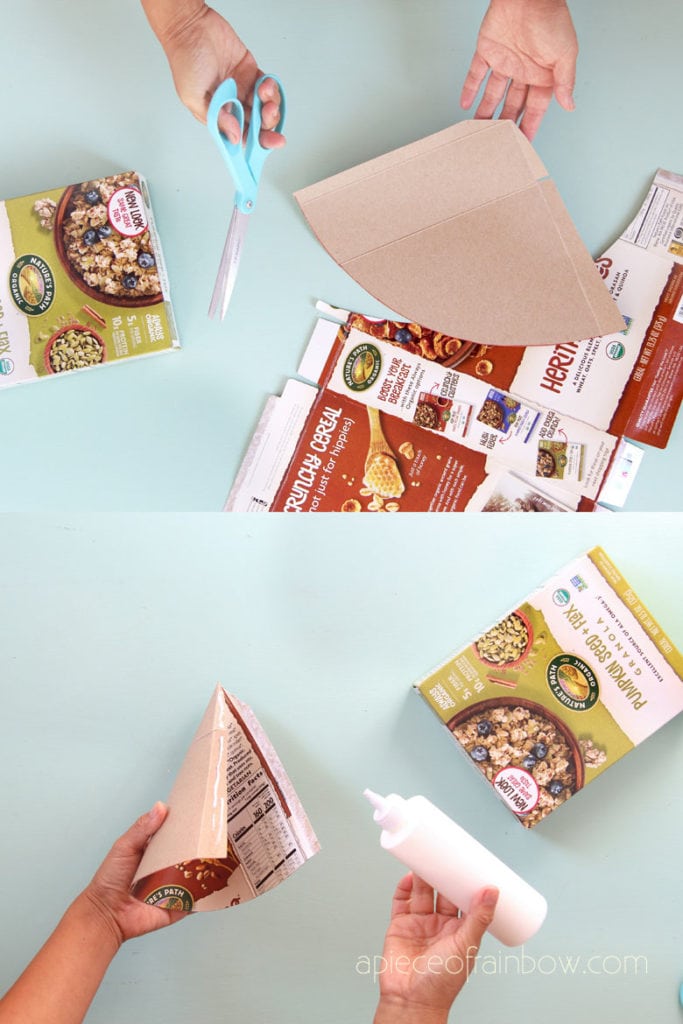
Also cut and glue the bottom piece as shown. Use the branch to poke a hole in the center. The bottom piece helps to stabilize the tree and create a more finished look.
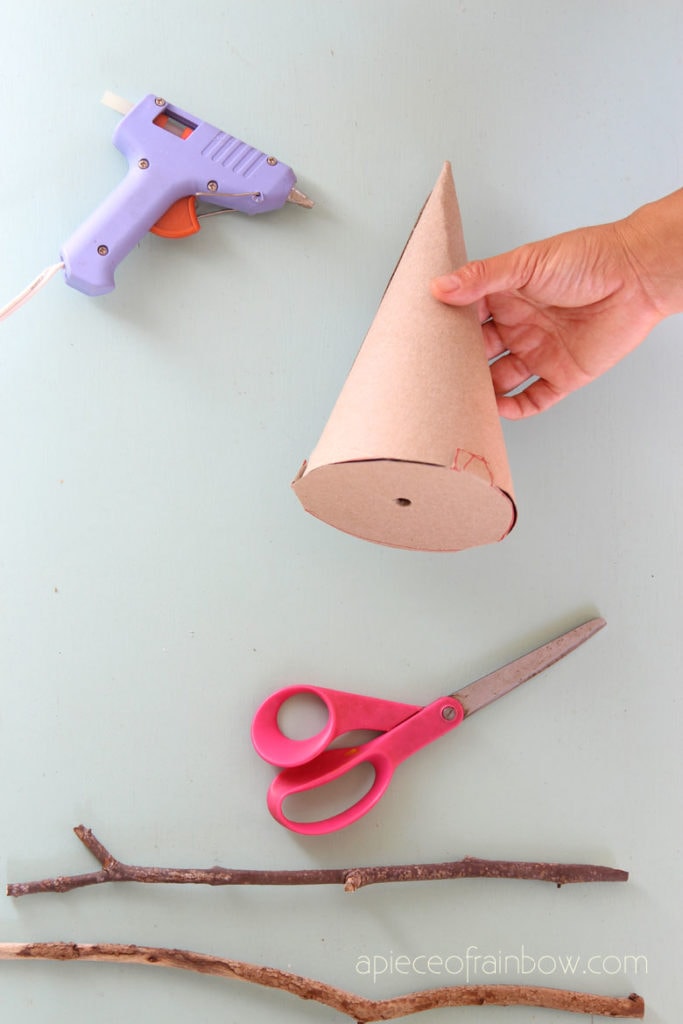
You may also love: magnolia wreath also made from cardboard and natural leaves!
Step 2: attach leaves to cardboard cone
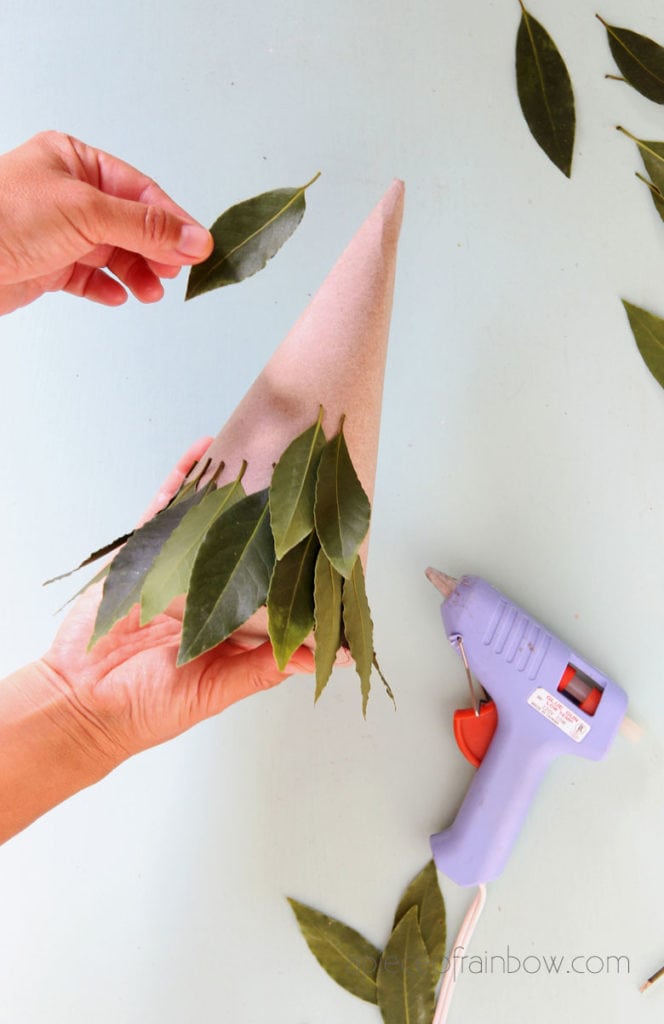
There are two ways to attach leaves: using paper tape or hot glue. Hot glue is much easier and faster! 🙂
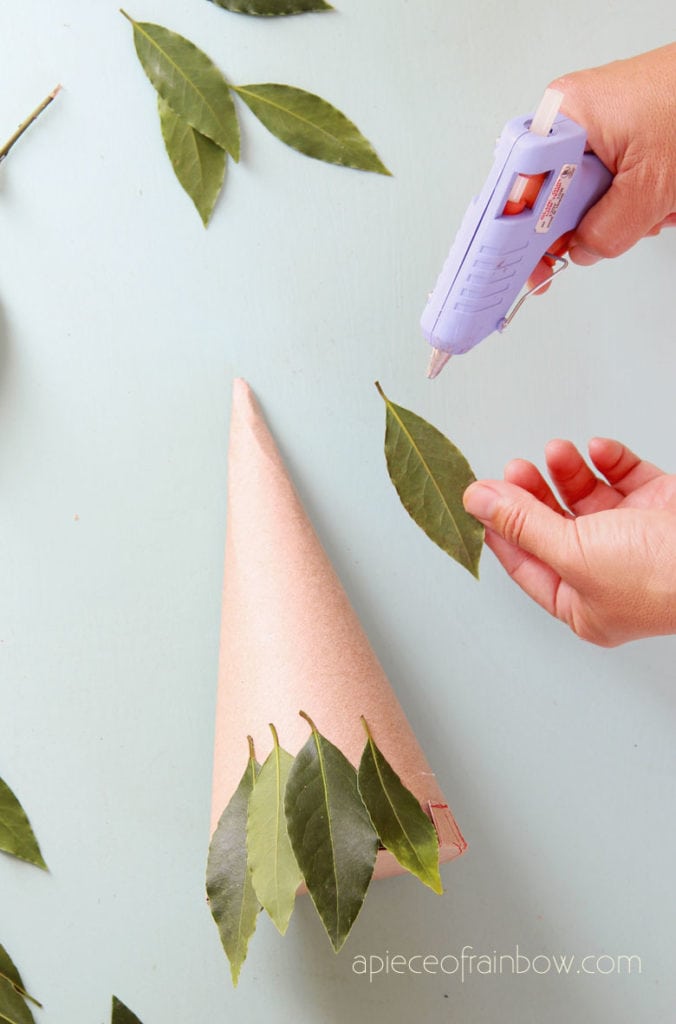
Because these bay leaves are intended to be used in cooking, we used paper tape. However, you can still use hot glue on the tip of the leaves and just clip each leaf off later.
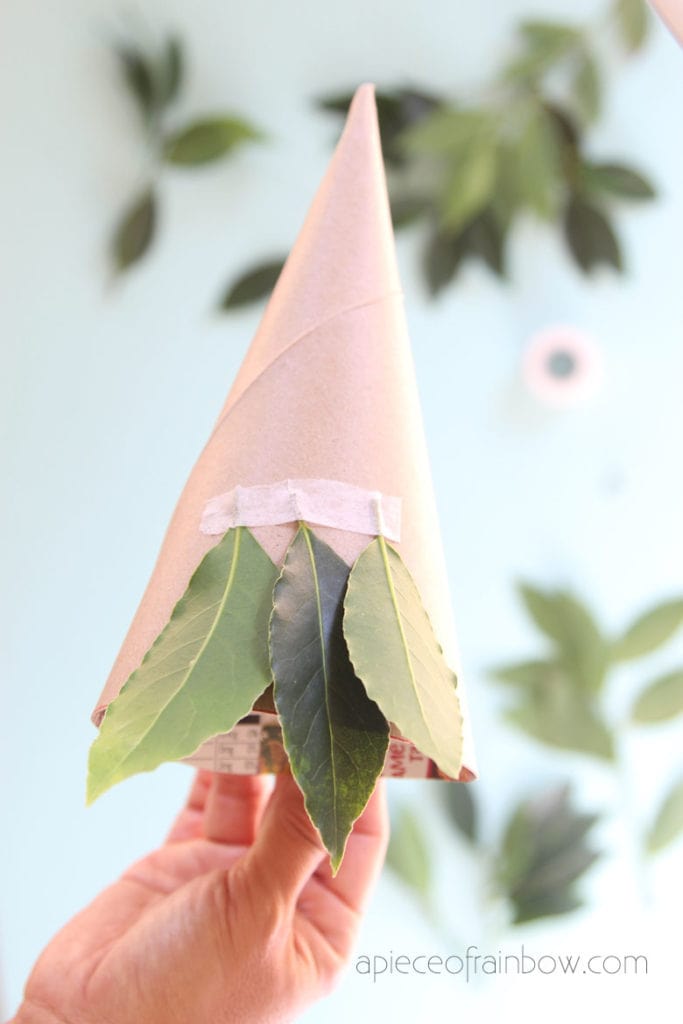
Start at the bottom. Make sure the leave overlap one another and cover the bottom edge of the cardboard cone. You can alternate the front and back face of the leaves to create various shades of greens.
After the bottom row is finished all the way around, continue to the next rows above. The key is to overlap the leaves so no cardboard is showing.
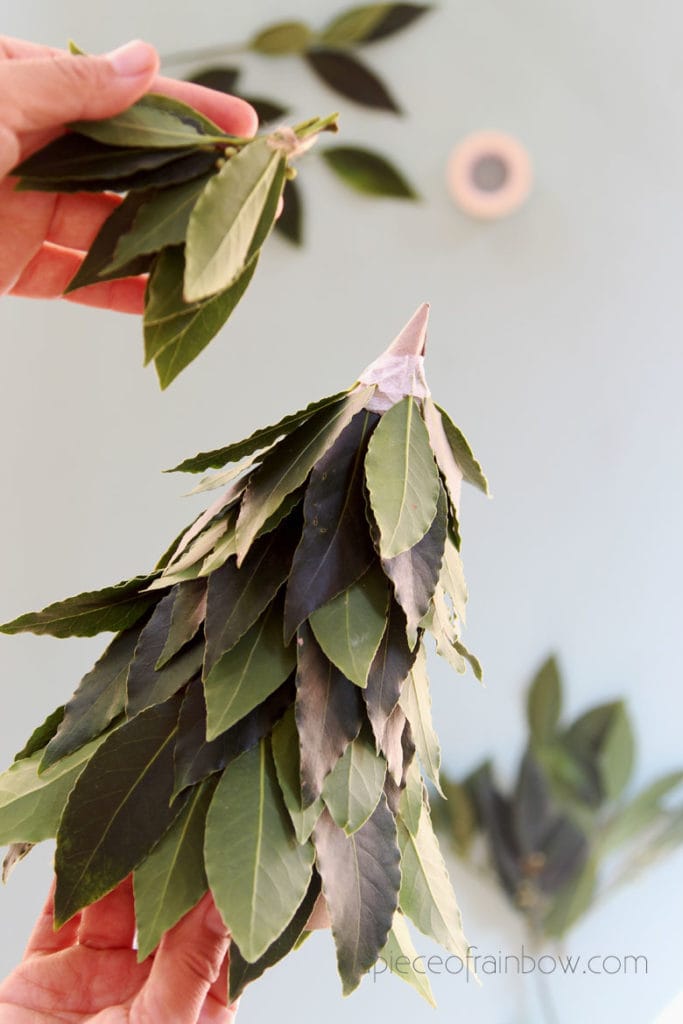
When you reach the top, make a little bundle of leaves using a small piece of string or jute twine to cover the tip of the cardboard cone, and glue it to the top.
Step 3: “plant” your tabletop Christmas tree in a pot.
Insert the twig through the bottom hole of the cone. Fill a pot with sand or gravel, and “plant” your tabletop Christmas tree. Cover the top of the sand or gravel with moss.
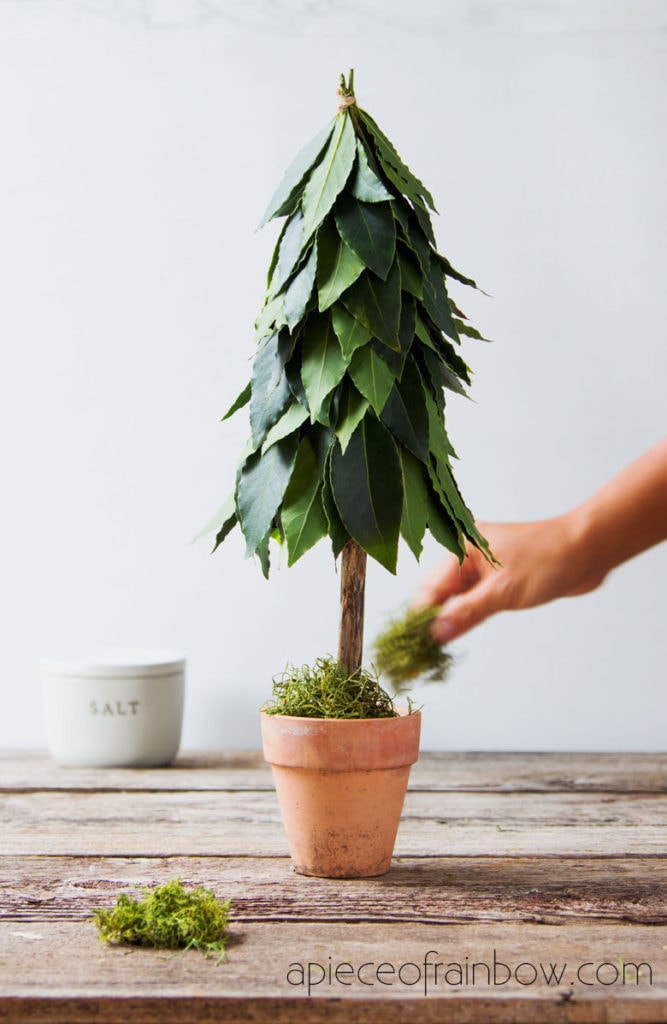
Now you have a lovely tabletop Christmas tree perfect for a farmhouse kitchen or a modern living room!
Additional tips and FAQ
How long do the fresh leaves last?
Fresh bay and many leathery evergreen leaves dry slowly in about 1-2 weeks. They still look nice after they are dried, but less vibrant in colors.

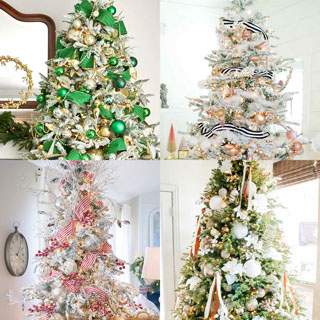
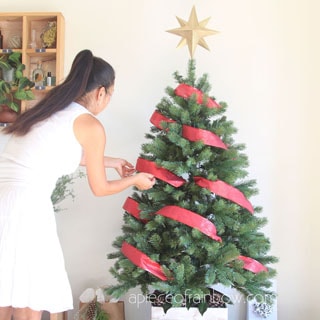
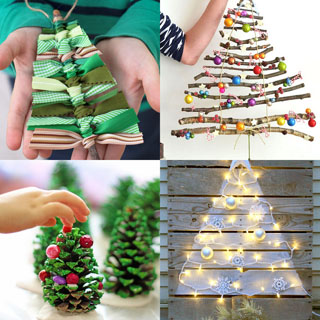
Love Christmas tree ideas?






Love the bay leaf tree idea!
Where can I buy that many fresh bay leaves?
hi Cynthia! it’s easy to find big bay trees in warmer climate across the south and west states if you have friend and family there. otherwise, you can use other leathery leaves from bushes and trees like Holly, Privet, etc. 🙂
I like your site but please is it possible to translate in french?
I thank You,and hope you don’t minde for all my mistake,i don’t Wells English.
I mon so sorry!
Thank you, thank you, thank you! I don’t comment much so I thought I should let you know how much I enjoy you and your inspiration. I am always pinning and sharing. Thanks again for all the wonderful ideas and motivation!
thank you so much Linda for your sweet comment! really appreciate your sharing!! 🙂