Homemade Salt Dough & Air Dry Clay Ornaments (3 Ways!)
How to make salt dough or air dry clay ornaments and a lighted star Christmas garland using easy and fun techniques with cookie cutters and custom paper templates. Plus helpful tips on how to prevent cracks.
Recently I shared two easy homemade air dry clay recipes here – a baking soda clay, and a glue and cornstarch clay. This week let’s explore some creative and fun ways to make air dry clay Christmas ornaments, decorations, and gift tags! Also check out Part 3: how to decorate beautiful air dry clay and salt dough Christmas ornaments. You will love them! 🙂
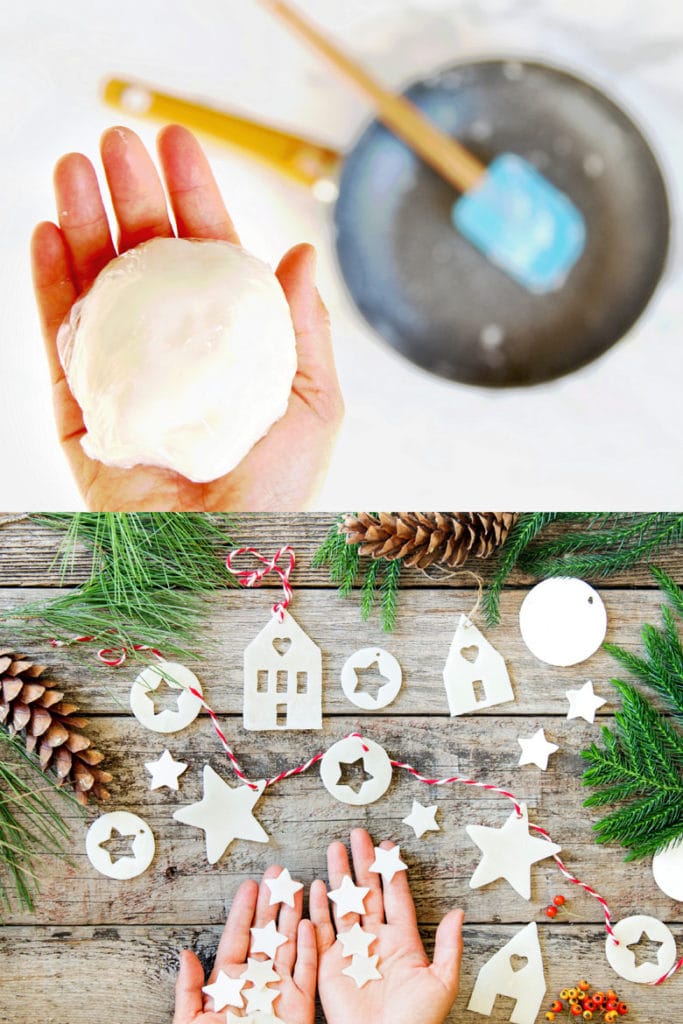
Homemade corn starch and baking soda clay is so easy to make and can be quite strong and durable. You can also use salt dough. Once you finish making your air dry clay or salt dough, lets explore some fun techniques to make Christmas decorations that look fabulous in so many styles from farmhouse to Scandinavian!

Materials and tools to make salt dough or air dry clay ornaments
*Some resources in article are affiliate links. Full disclosure here.
- Air dry clay or salt dough: you can make them using simple recipes here, or buy them here. These techniques can also be applied to salt dough.
- Rolling pin and cutting board. You can even use embossed rolling pins to add beautiful patterns to your ornaments!
- Cookie cutters: mini cookie cutters like these are great for adding interesting details and making mini stars, round cutters ( I used this set) and Christmas cookie cutters are great for ornaments
- LED fairy lights for the star garland
- I used hemp twine to hang the ornaments. You can also use peppermint twine, thin ribbons, or metallic strings.

Make it portable
How to roll out air dry clay ornaments and how thick should it be?
Dust the surface generously with corn starch before rolling the dough, otherwise it may stick.

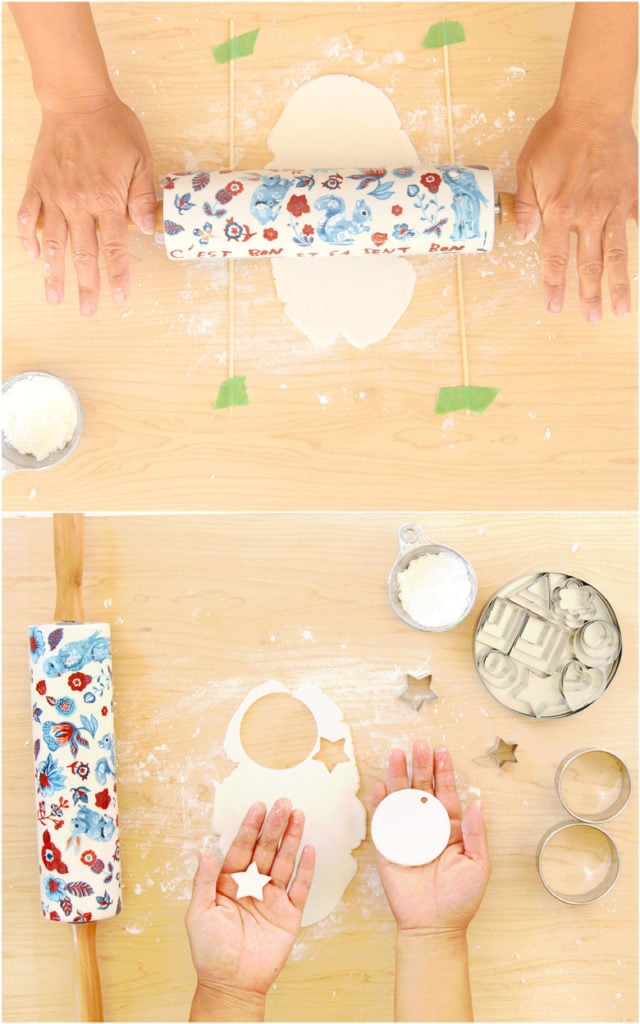
I found the best thickness to roll both types of air dry clay is around 1/8 to 1/4 inch (3mm to 6mm) thick. Bigger ornaments should be on the thicker side so they are stronger.
Here’s a great tip : tape two of these 5mm skewers onto the board as you roll the clay. This will keep the clay at a uniform thickness.
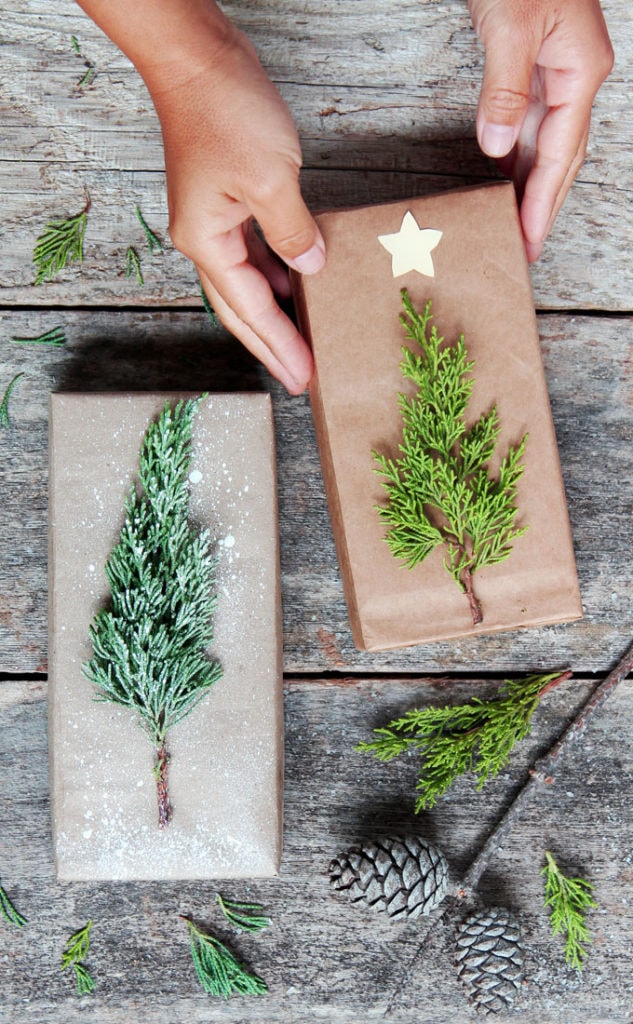
Don’t you think these ornaments would also make great gift tags? Check out our easy, free and gorgeous Christmas gift wrapping tutorial here!
How to make salt dough or air dry clay ornaments using cookie cutters
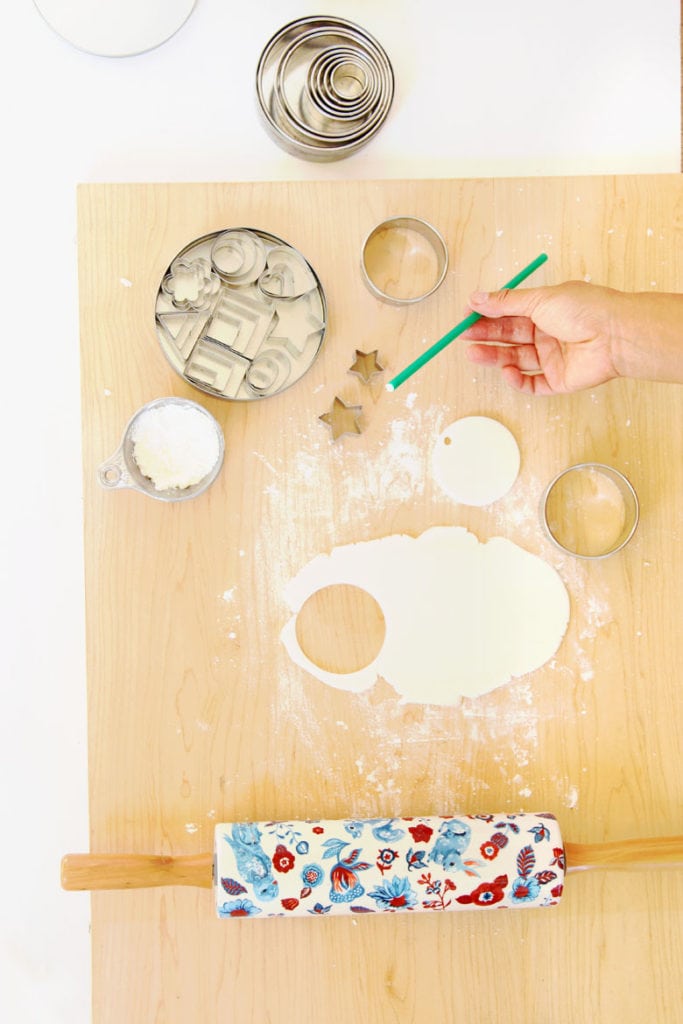
You can cut all kinds of Christmas ornaments with different shape cookie cutters. You can also combine the cookie cutters to create interesting designs and details.
Use a drinking straw or a small twig to create holes for hanging the Christmas ornaments.
What if you don’t have the cookie cutter shape you want? Let’s make a custom paper template!
How to make mini house Christmas ornaments
Of course you can use Christmas ginger bread cutters to cut out mini house shapes. The great thing about a paper template is that you are not limited to just a few shapes, and it is very easy to use!
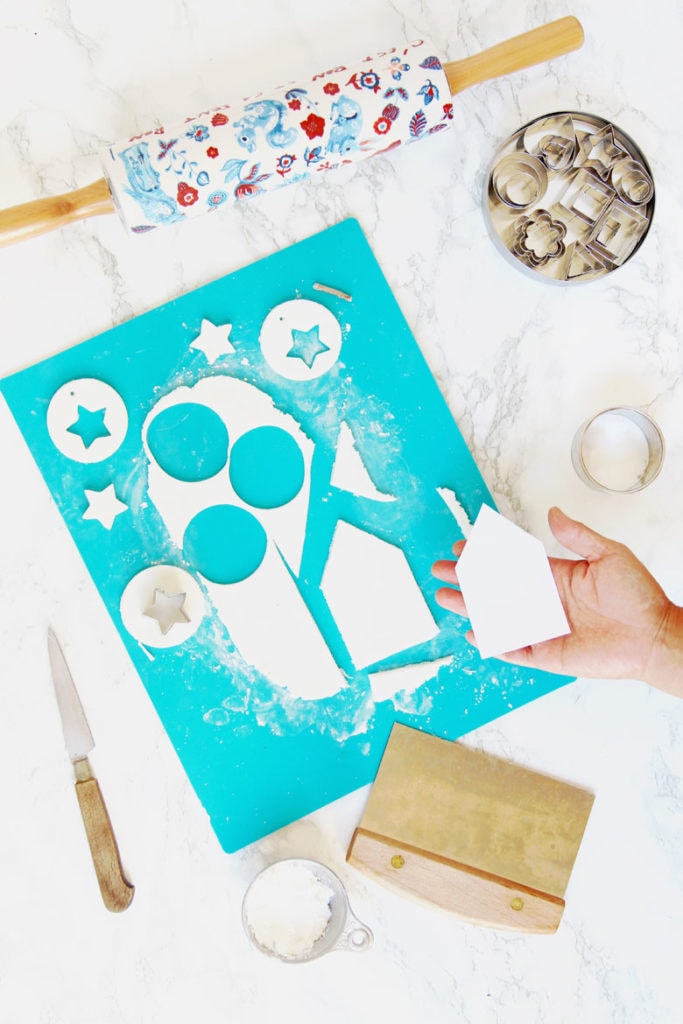
Draw and cut out a house shape on thick paper or card stock. Place the template on the rolled clay dough, and trace the edges carefully with a knife. To make clean cuts, Try to press down instead of dragging the knife.
You can also press the edges of the template gently on the dough to print the shape, then remove the template and cut out the shape.
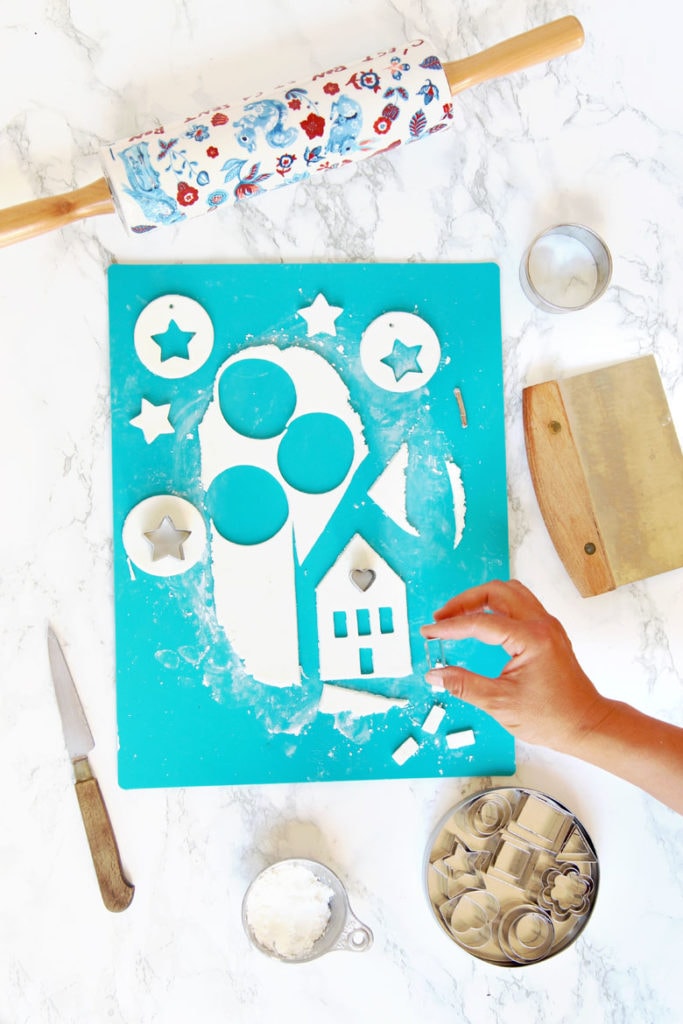
Next, add design details such as windows and doors using my mini cookie cutters. Have fun improvising!
Note: The baking soda clay and the corn starch clay with glue have different characteristics. You will be able create more small details using the second recipe here for corn starch clay with glue.
How to make lighted star garland using salt dough or air dry clay
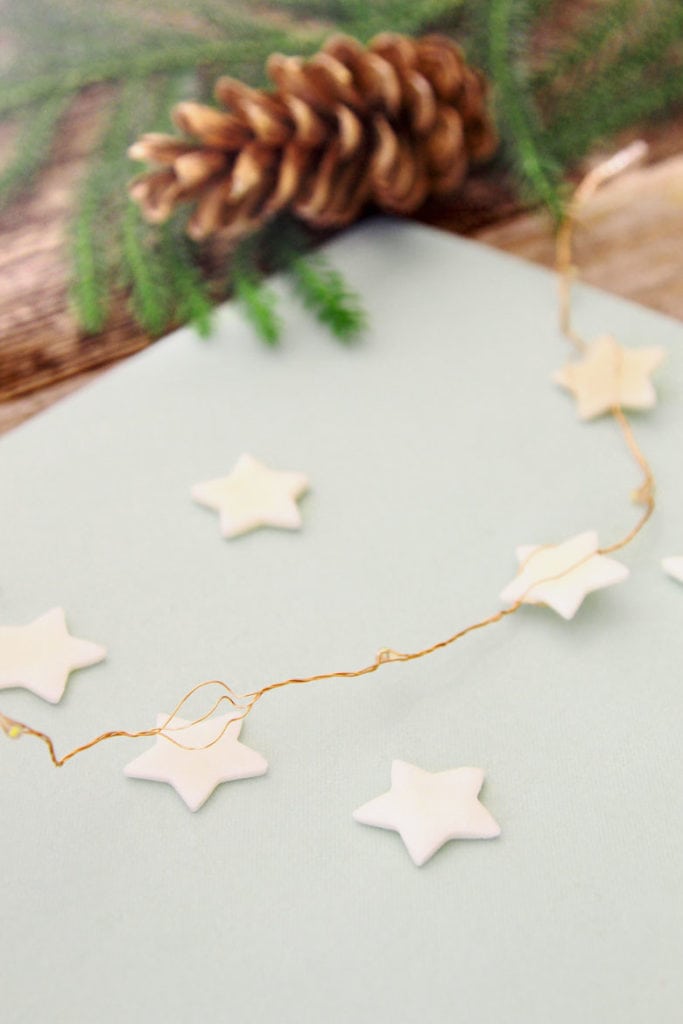
The secret here is to use copper LED fairy lights. These string lights are made of two to three strands of copper, see close up photo.
Gently open the strands, put a star in between, and twist the copper strings just a little bit to secure each star. That’s it!

Additional Tips and FAQ
How to prevent baking soda clay ornaments from cracking?
Baking soda air dry clay (recipe here) is beautiful and so fun to make, but sometimes it can crack while drying.
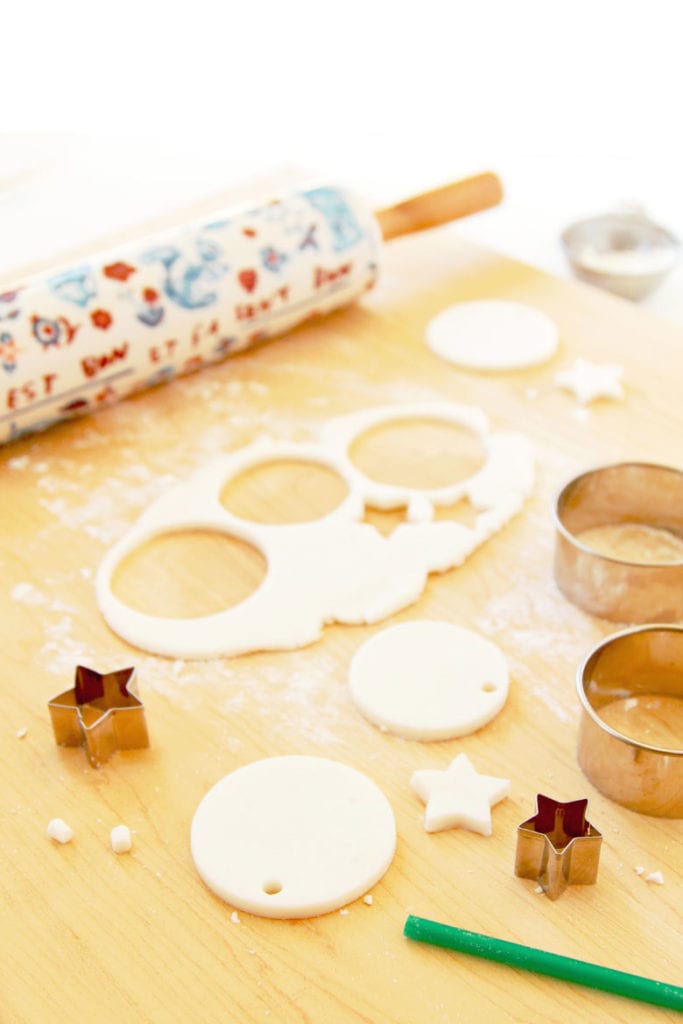
To prevent cracking, the short answer is to cook it thoroughly, and dry it slowly.
Make sure you measure the ingredients accurately, cook it thoroughly, roll it to thickness of 1/4″ to 1/8″, and let it dry slowly during the first 1-2 days. Flip the pieces gently every few hours to ensure even drying.
If your dough is sticky, it is likely to be under-cooked or have too much water, which can lead to cracking in the drying process.
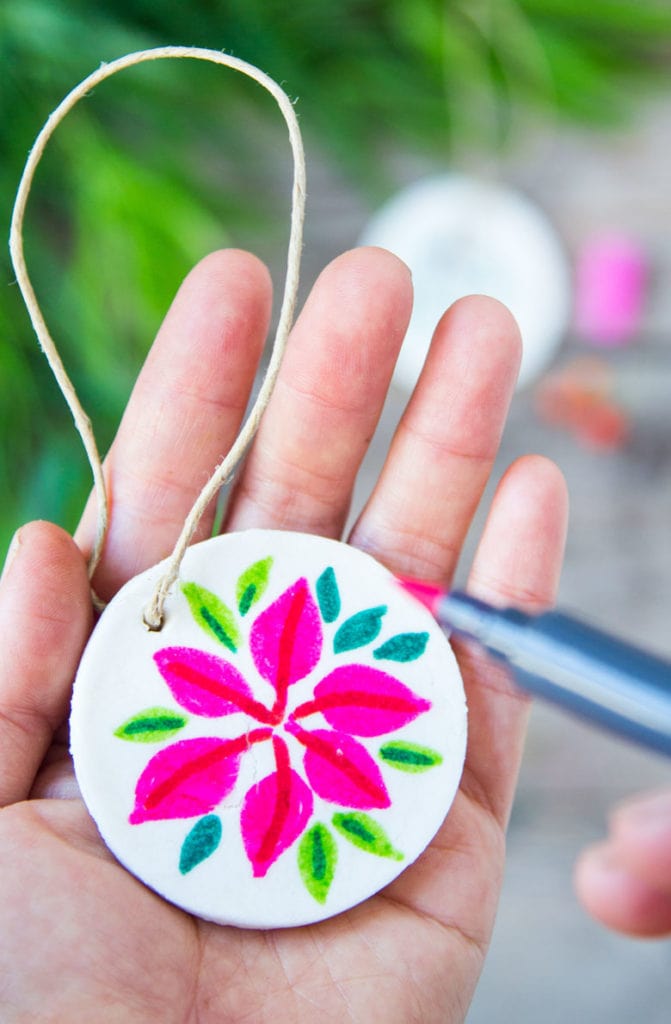
Baking soda clay can be finicky, but the pure white clay decorated with watercolor markers (tutorial coming soon) are SO pretty, and worth a try in my opinion. 🙂
If you want something fail proof, make the glue and cornstarch clay! It never cracks, and does not need baking to become very strong and durable. so that can be a good alternative. Recipe and comparison here.

How long does salt dough or air dry clay ornaments take to dry? Can I bake them?
The air dry clay ornaments are thoroughly dry in 4-7 days. The glue and cornstarch clay is very durable, and should not be baked.

The baking soda clay and salt dough ornaments become a lot stronger after baking. However they should be air dried first for at least 2 days to prevent cracks. See more in the previous tip.
Check out Part 3: how to decorate beautiful air dry clay and salt dough Christmas ornaments. You will love them! 🙂
Decorating Homemade Clay & Salt Dough Christmas Ornaments
How to Make a Wreath : 25 Best Ideas & Tutorials
Make a Fresh Christmas Wreath in 20 Minutes
$1 Farmhouse DIY Tabletop Christmas Tree
Beautiful DIY Gift Wrapping Ideas for $1 or less (So Easy!)
Easy & Free DIY Magnolia Wreath
Festive DIY Pop Up Christmas Card (Free Template!)
DIY Christmas Candles: 3 Easy Decorations!
27 Gorgeous Christmas Table Decorations & Settings
The Easiest DIY Christmas Swag Ever
Beautiful Fast & Easy DIY Pinecone Wreath (Improved Version)
Homemade Salt Dough & Air Dry Clay Ornaments (3 Ways!)
Happy creating!










We had trouble with this recipe–until we tried cooking it. But, we still have trouble with the pieces curling as they dry. You don’t mention this, except maybe a nod to it by saying to flip them every so often as they dry. Do you not have the curling problem somehow?
Thanks!
hi Julie! so sorry for the very late reply, we lost some comments due to spam bots! yes i believe we mentioned flipping the pieces often. 🙂
When I saw this come up, it took me back decades to when my son was real little.
We didnt have any Christmas tree ornaments for the tree and decided to make most of ours. We did a recipe I think with baking soda ( not sure, it’s been so long). We used cookie cutters baked the “clay” not the best looking ornament, but we had fun making them. Some, like the reindeer puffed up like they were stuffed, some cracked or were ” warped”..we painted and sealed them with a spray…they were good for a couple years then in the basement must have been humid and they molded…and had to be thrown away.
Do yours have to use a sealer on them?
Now I’m going to make these again with my 3 grandsons…am sure they’ll love it as much as their dad did. It’s all about making the memories when doing these things…thanks for reminding me of them!
We also made what we called “Nut Babies” have you ever made those?..believe it or not, I STILL have them..are packed away with Christmas things…will hang them on tree every year.
Will be passed on as son has told me ” if you decide to get rid of them, I want them…” they’ll be passed on…
Thanks again!
hi Sharon! thank you for sharing your sweet memories! 🙂 i did not seal any of these and they are still holding up like new! it is dry here in SoCal, and i just kept them in a cardboard box in a closet. happy crafting!
Small and cute ornaments now i am searching some plastic ball ornaments and suddenly reach your post. My thought totally changed when i saw your dough air ornament. I will try to make this kind ornaments.
Small and cute ornaments now i am searching some plastic ball ornaments and suddenly reach your post. My thought totally changed when i saw your dough air ornament. I will try to make this kind ornaments.
Love your creativity!
thank you so much Carol! happy holiday season! 🙂
I adore this, can’t wait to try it. Have you tried making 3D houses w the glue clay? I love the look of little villages but most are expensive and hard to find. As i want them all white this would be perfect. I like the porcelain finish. Have you tried making 3D flowers w this? I am going too, now I’m over pneumonia! Will post pictures if possible. This is such a charming thing to do and i love being crafty. I always have to push the envelope!
hi jauquetta! such great questions! i have see people making flowers with the glue clay and it is very easy, just use it like clay! 🙂 i tried the mini houses idea because i love them too! however, it was complicated either joining pieces of making a one piece house, but i will definitely have something good worked out before next season ( a lot to publish right now). if you figure it out let me know! 🙂 xx