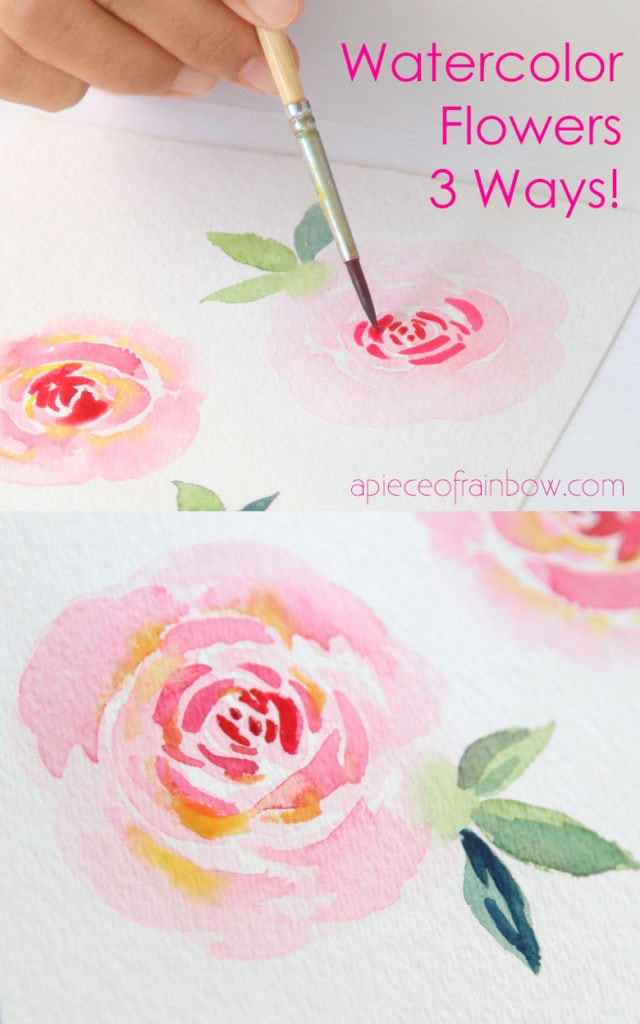
Easy Watercolor Rose Painting: 3 Video Tutorials!
Learn to paint beautiful watercolor rose easily in this beginner’s tutorial and video! We will practice 3 essential techniques to paint simple watercolor flowers: the simple brushstrokes, wet-on-wet, and wet-on-dry painting techniques.
It’s been a while since I made a watercolor flower tutorial, and I have so much to share with you! Today we will focus on how to paint a watercolor rose in 3 ways and compare the 3 popular and essential techniques in watercolor painting.
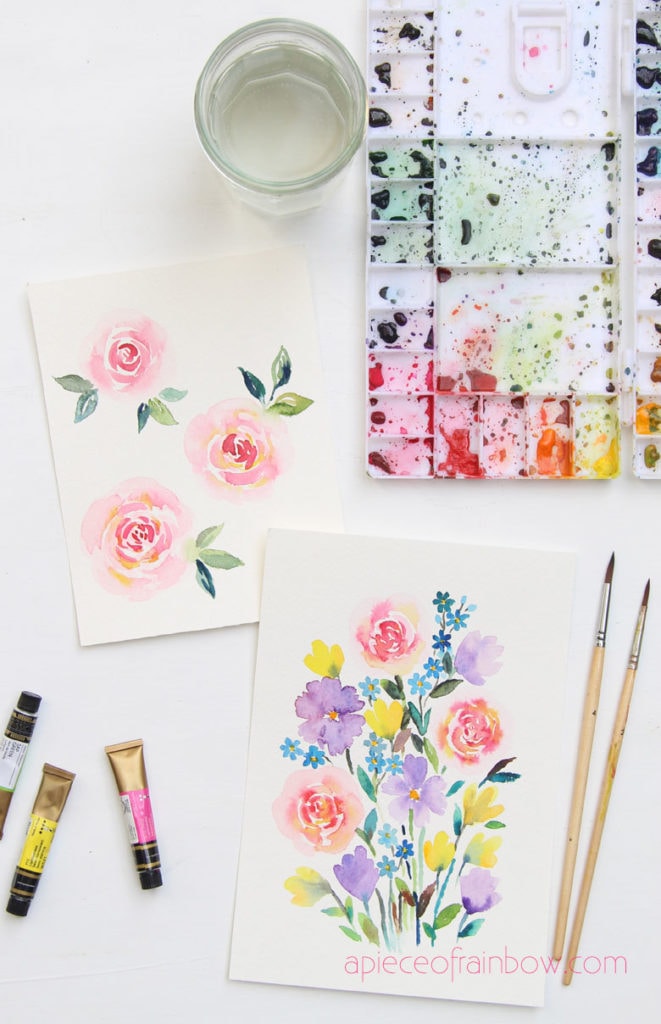
Once you learn these watercolor painting techniques, you can combine them in your own way to paint loose watercolor flowers that are modern and fresh, or detailed botanical illustration style paintings. I will share the watercolor mixed flower tutorial soon. Stay tuned! 🙂
Favorite Watercolor Painting Materials:
*Some resources in article are affiliate links. Full disclosure here.
- watercolor paper : Strathmore watercolor papers are my favorite to use. I like the cold press 300 or 400 series.
- brushes: I like using soft watercolor brushes with a nice pointed tip like these , and this set. They are great for watercolor washes, and for finer details.
- watercolor paints: this is a good basic set, and this is a fabulous artist grade set which I LOVE, and a palette that can be used to mix colors. This palette with lid is a great choice too.
- a jar of water for wetting and rinsing brushes
Check out the video tutorial or skip to written tutorial below!
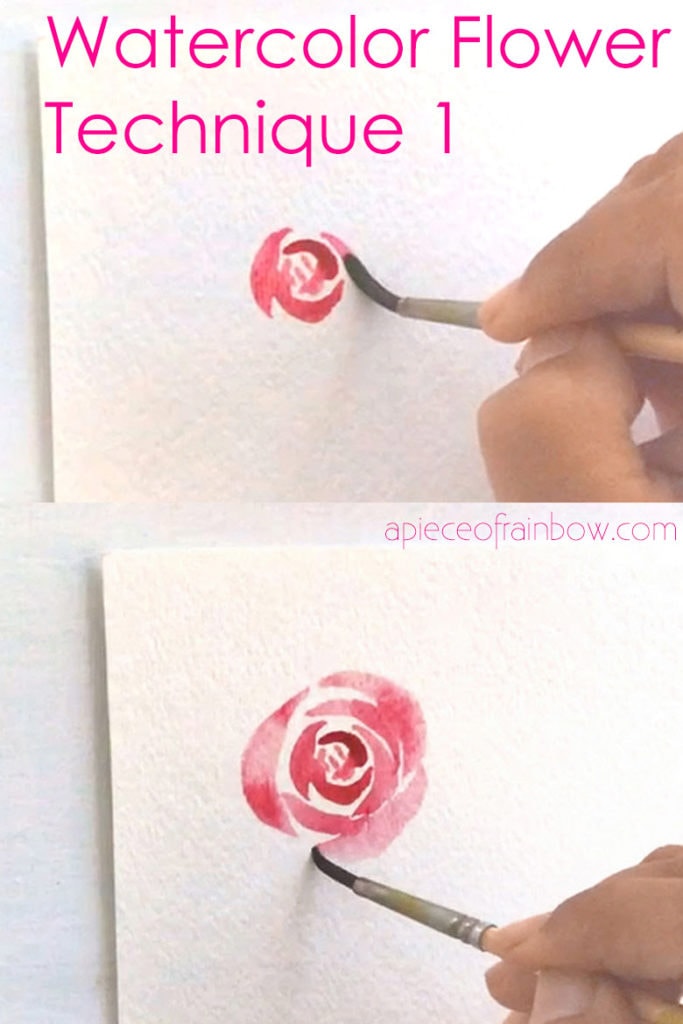
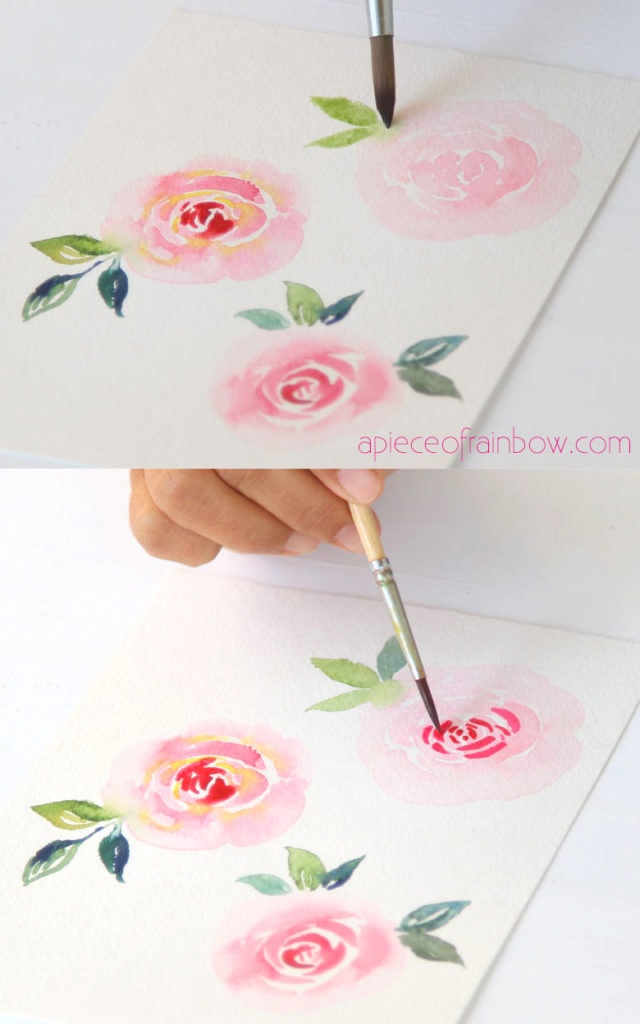
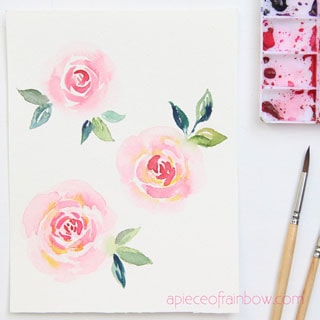
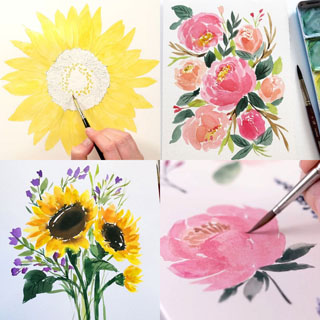
Technique 1: paint a watercolor rose with simple brushstrokes
This watercolor technique is inspired by traditional Chinese ink and brush painting, and Japanese Sumi-E painting, in which the emphasis is placed on the beauty of expressive and intentional brush strokes.
Keep in mind that you can even invent your own brush strokes! In this tutorial, we will use brushes with pointed tips, and a couple of simple brushstrokes to paint the watercolor flower petals and leaves.
I used the Rose Madder color in this set. The brush should be medium wet, and not drippy with wet paint. Start at the center of your watercolor rose. Paint a couple of small dots and lines as the center of the flower.
As you paint the bigger petals outwards, press the pointed tip on one end, and drag the brush as you press to create a wider center part, then lift the brush to the pointed end again to finish the petal.
To create color variations, if you use more water and less pigment on your brush as you paint, the petals will get lighter and lighter.
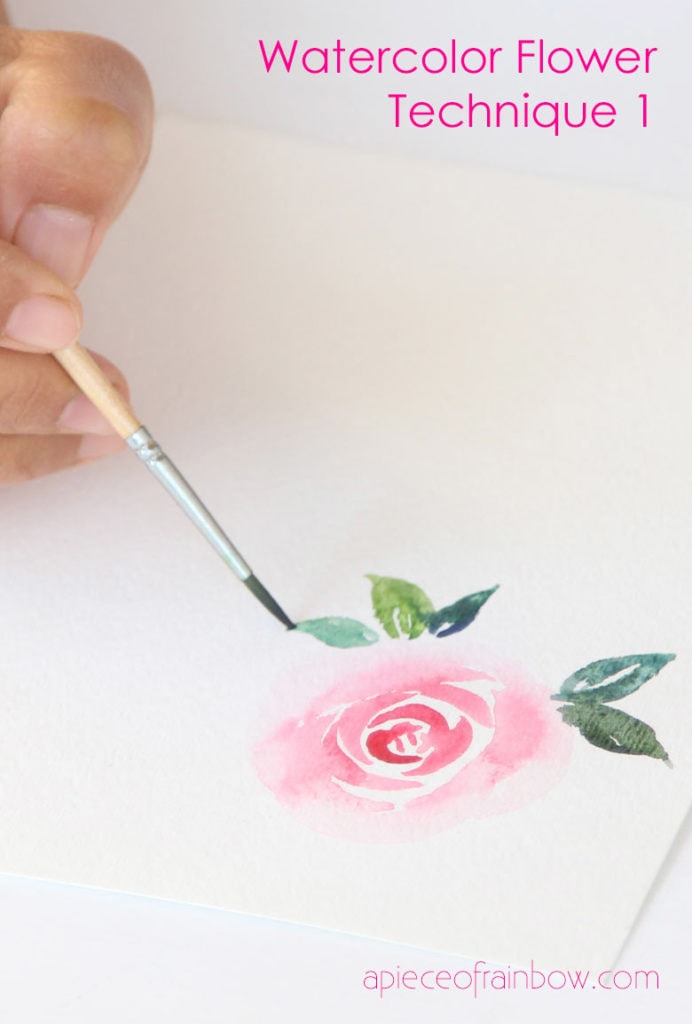
The leaves are painted with various greens and blues in this set.
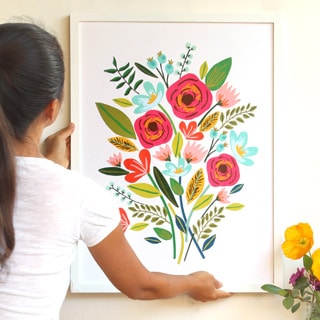
You may also love: paint easy watercolor flower bouquet, and watercolor spring trees with a simple technique!
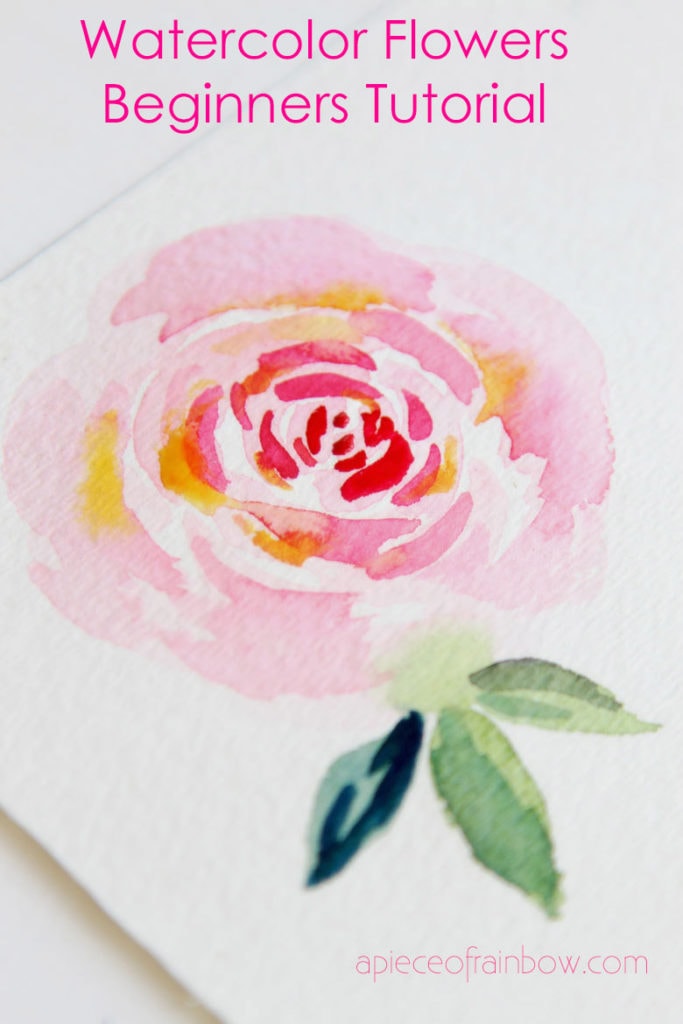
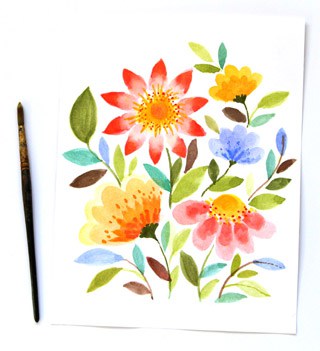
Technique 2: wet-on-wet loose watercolor flower painting
The wet-on-wet technique is my favorite watercolor technique! When wet paint is applied onto wet paint, the colors start to flow and blend, and create endless surprises and gorgeous variations of colors and textures.
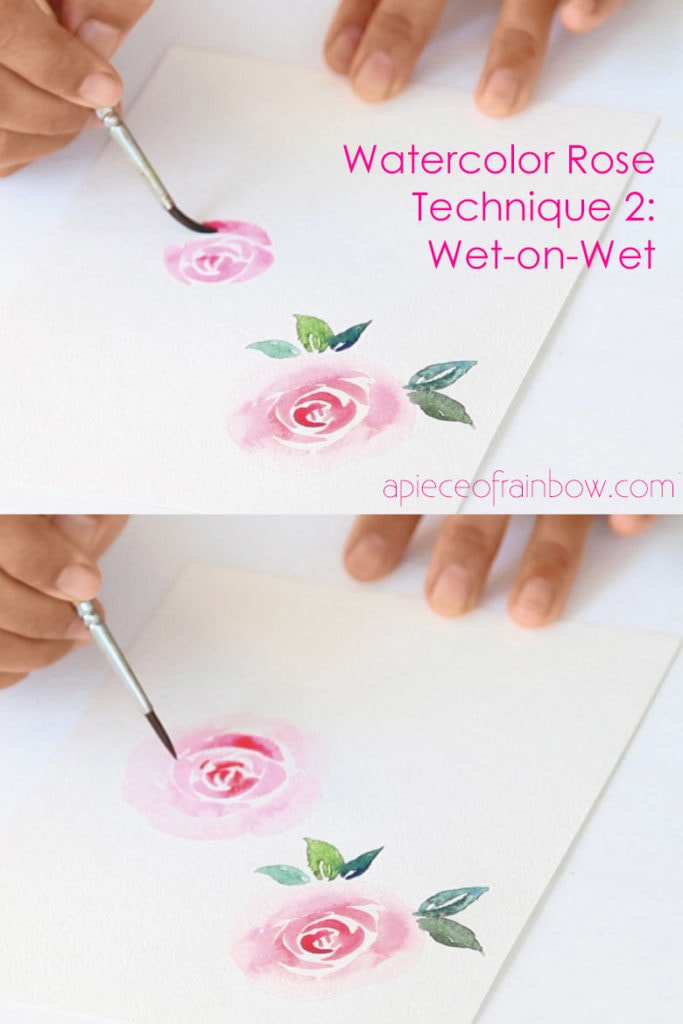
The brush should be pretty wet. I would start with medium wet, because it is much harder to control the colors when it is dripping wet. There is not a set rule, but as you observe how wet your brush is, and what kind of effect it creates, you will become more confident and develop your own style of painting with watercolor.
First paint the watercolor flower with simple strokes as in the previous technique. While the paint is still wet, paint over some of the areas with deeper or different colors.
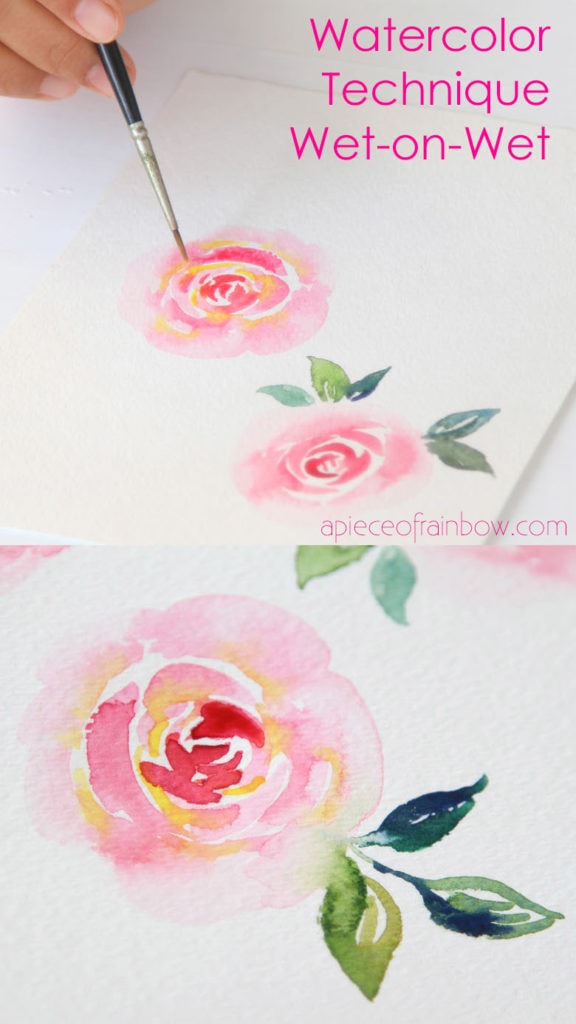
I like to use a little yellow in addition to shades of pink. It adds richness and depth to the colors.
Here’s a helpful tip: if a color is flowing too fast, you can use a clean dry brush to dab the spot and stop the color bleeding. As you can see in the video, I did it where one of the leaves touch the petal.
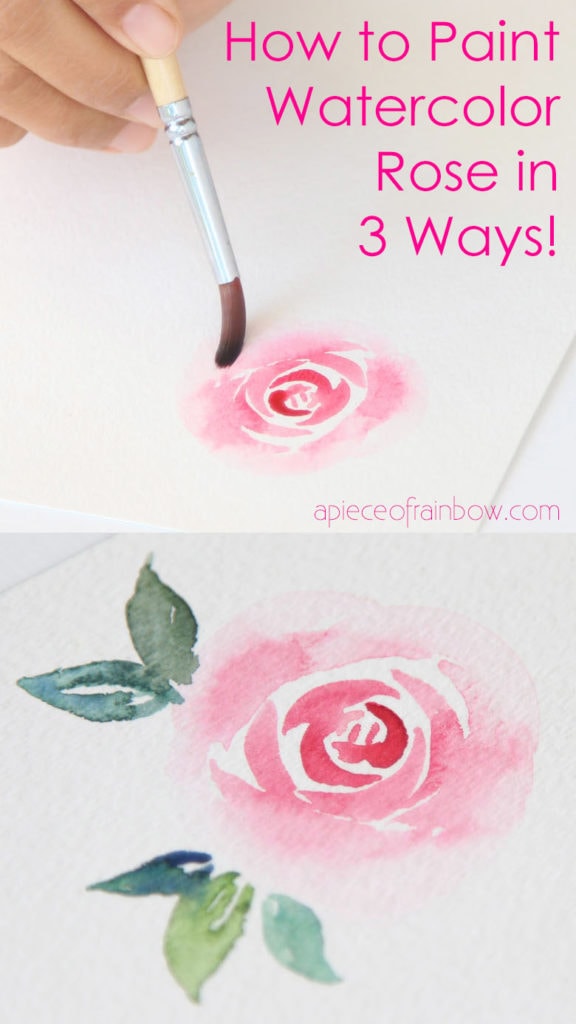
Technique 3: wet-on-dry watercolor rose
The wet-on-dry technique is a great watercolor technique for beginners! When wet paint is applied onto dried paint and paper, the colors are built up in transparent layers.
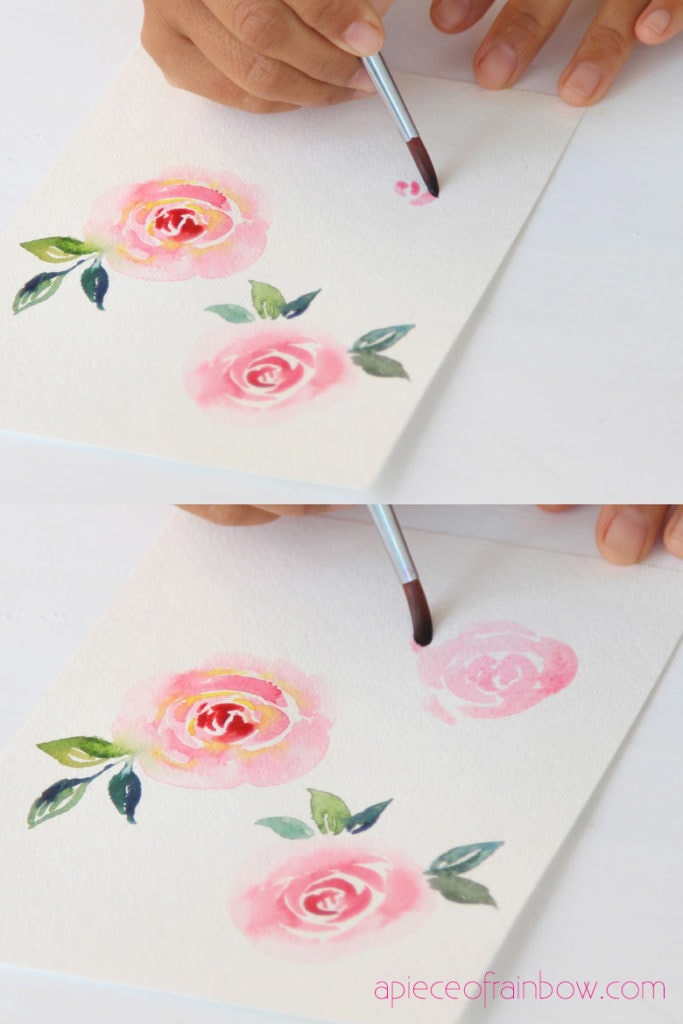
First paint the watercolor flower and leaves with simple strokes as in Technique 1.
Let the paint dry, then add more layers of shapes and colors.
You can the wet-on-dry technique with the wet-on-wet technique to create endless layers and variations!
Here’s the video tutorial again! 🙂
Usually in a watercolor painting, we would see all the 3 techniques in use. Now that you learned them all, have fun combining and playing with them!
Spray Paint Galaxy Art in 30 Minutes!
5 Minute Beautiful Leaf Prints Art (& 3 Secret Tips)
DIY Beautiful Large Wall Art {$5 & 1 hour!}
Easy Watercolor Rose Painting: 3 Video Tutorials!
Paint Beautiful Watercolor Flowers in 15 Minutes
12 Free Mandala Coloring Pages and 5 Artist Best Tips
20+ Best Watercolor Flowers Tutorials & Videos

3D Paper Birds Christmas Crafts & Ornaments

Free Printable Quote Art – Inspirational Quotes on Life
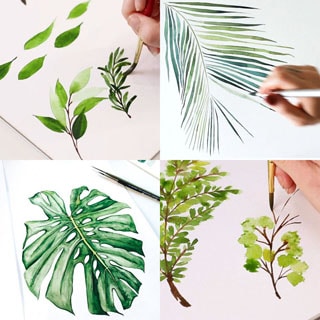
12 Easy Watercolor Leaves Painting Tutorials

Favorite Hand Lettering and Art Classes to Take Online


Wow, these roses are BEAUTIFUL! I can definitely paint this for my sisters! Thank you so much for sharing this with us!! 😊😍😃 You are so talented!
thank you Arawyn! happy painting! 🙂
I have.never watercolored.but I pinned this.tutorial and.i amngoimg to try it
I think watercolor is beautiful. Thank you for showing us how
I also subscribed to your you tube channel.
hi Cheryl! thank you so much!! you can totally paint this! it will be beautiful in its own way! 🙂
Well it took me almost an entire year to get around to paying closer attention to this tutorial, but it was worth the wait! I intend to put this technique to use right away. Thank you so much for sharing your skills with us!
Best!
Linda W.
Happy painting Linda! We all have so many projects to try, don’t we? 🙂
Hi! I love roses, but I also have had trouble finding tutorials on the internet on painting Iris. Can you do one?
hi annie! will add your request to our list! we searched on YouTube for “watercolor iris tutorial”, and quite a few came up. give it a try! 🙂
These are so beautiful! I don’t see the videos though… Can you please share a link? Thanks!
hi Cathy! 🙂 just added our YouTube video at the end of this tutorial for you. enjoy! 🙂
Extremely gorgeous I really love to be able to do something like this and I love flowers and I specially love roses and yours it’s fabulous thank you for sharing
thank you Ivory! 🙂 these are quite easy, happy painting!
Amanda,
I LOVE these! I NEEDED this beauty, inspiration, and instruction today. Thank you for sharing your talent, your work, and your Spirit. I send you my love, gratitude, and best wishes for the new year!
hi Chalane! thank you so much for such a sweet comment!! wish you a beautiful and happy 2021 as well! 🙂