Easy DIY Christmas Salt Dough Photo Ornaments
How to decoupage & make salt dough photo ornaments as beautiful Christmas decorations & handmade gifts! Easy craft ideas for kids & family!
Are you looking for a quick way to add some unique ornaments to your Christmas tree, or handmade little gifts to stuff those stockings? Try these DIY salt dough photo ornaments!
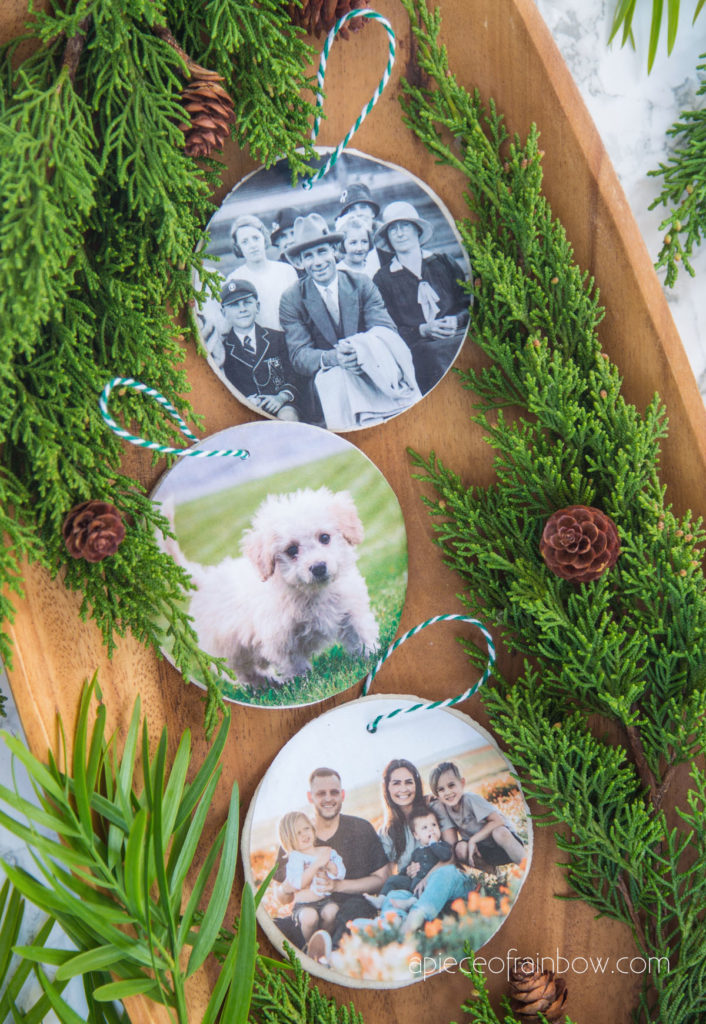
They are so much fun to make with simple materials such as paper and glue. Once you make the basic salt dough ornaments, it only take a few minutes to transform them into personalized Christmas decorations and gifts.
In this tutorial I will share with you all the tips and tricks on how to decoupage salt dough ornaments with your favorite photos or art for Christmas!
Check out this short video tutorial or skip to written tutorial below!
*Some resources in article are affiliate links. Full disclosure here.
Materials and tools:
- Regular copy paper and a printer (both inkjet and laser will work)
- Mod Podge or craft glue such as Elmers, and some Christmas twine (optional)
IMPORTANT: keep our furry friends safe! Many things safe to humans such as salt dough, play dough, and even chocolate , can be harmful if eaten by dogs or other pets. So please take necessary precautions, and remind others too!
Best salt dough recipe for ornaments and crafts
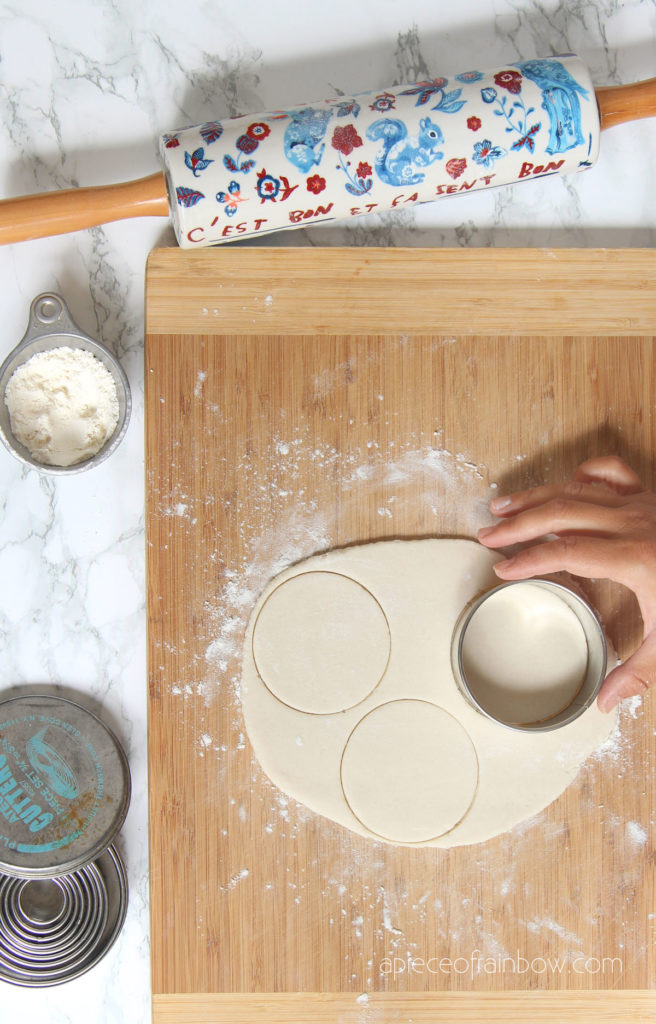
We tested 4 popular salt dough recipes to find the best one in this tutorial here, plus lot of tips on how to bake them.
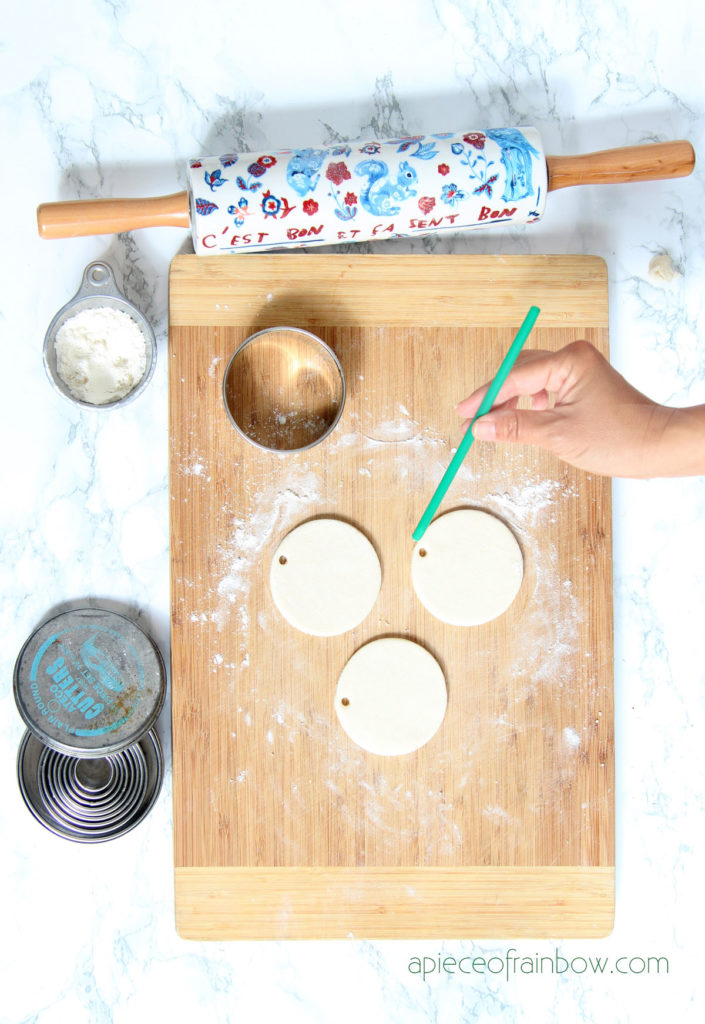
If you need more details on how to make basic salt dough ornaments, check out this tutorial here!
Step 1: prepare salt dough ornaments for decoupage
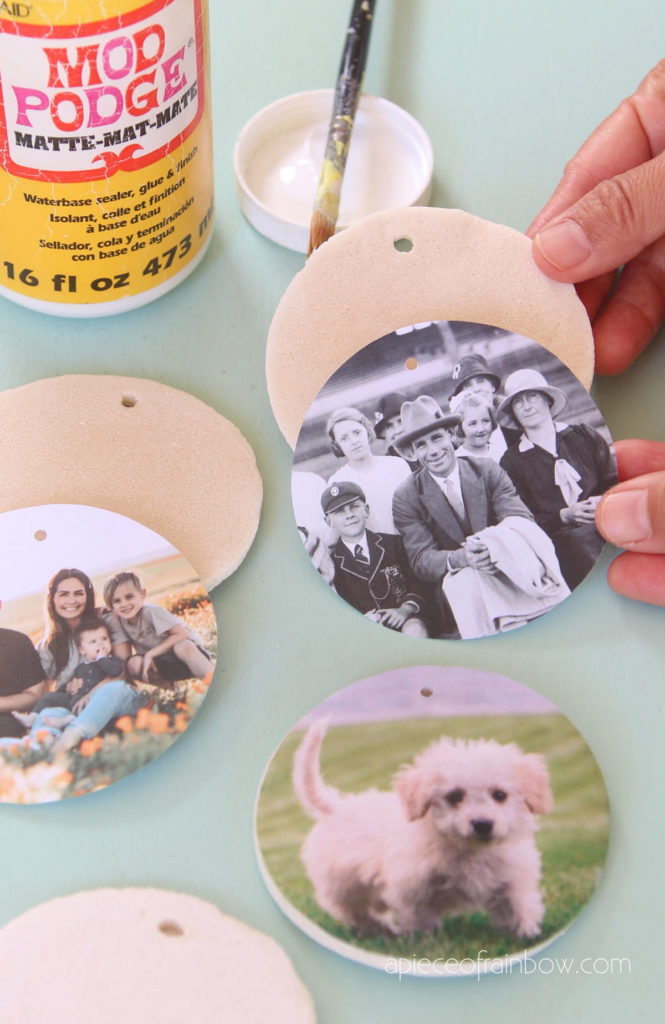
Once you have some baked ornaments ready, brush a layer of Mod Podge or glue onto the surface which the photos will be decoupaged later. Let them dry.
This is important because the surface of baked salt dough is very absorbent. The first layer acts like a sealer, so the paper can absorb the second layer of glue or mod podge much better.
Step 2: Print and cut photos
Measure your baked salt dough ornaments to determine the size of you photos to print. You can use an image editing app or a free collage maker like this to size your photos.
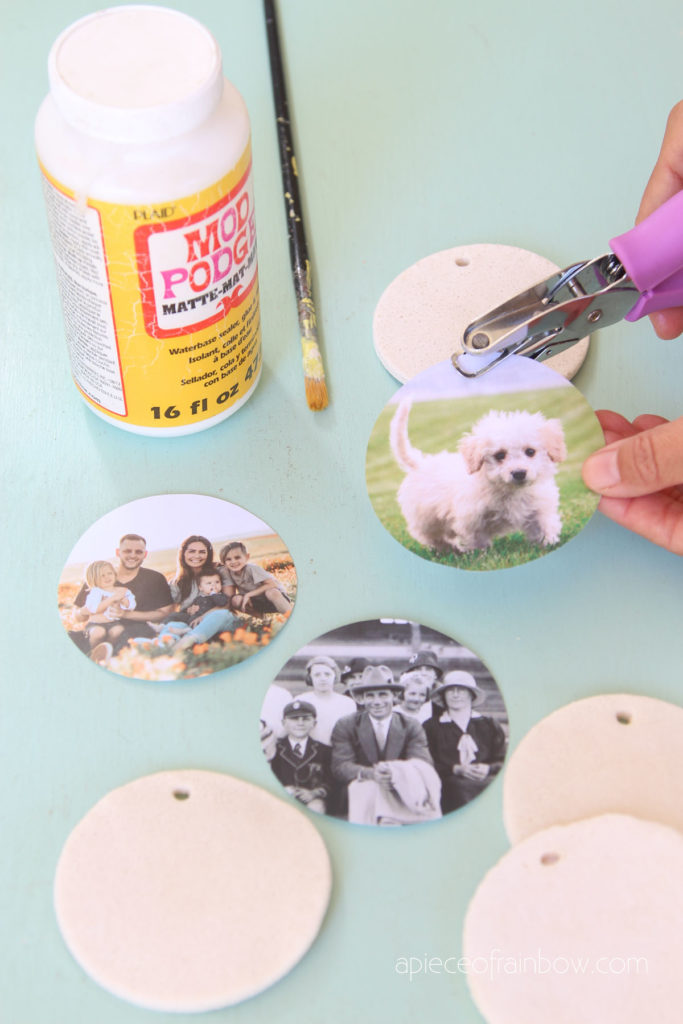
Print the photo on regular paper (not thick photo paper). Trace the ornament on each photo and cut to size.
Line the cut photo up with the ornament and mark where the hole is. Use a small hole puncher or thick needle to punch a hole on the photo.
Step 3: how to decoupage salt dough photo ornaments
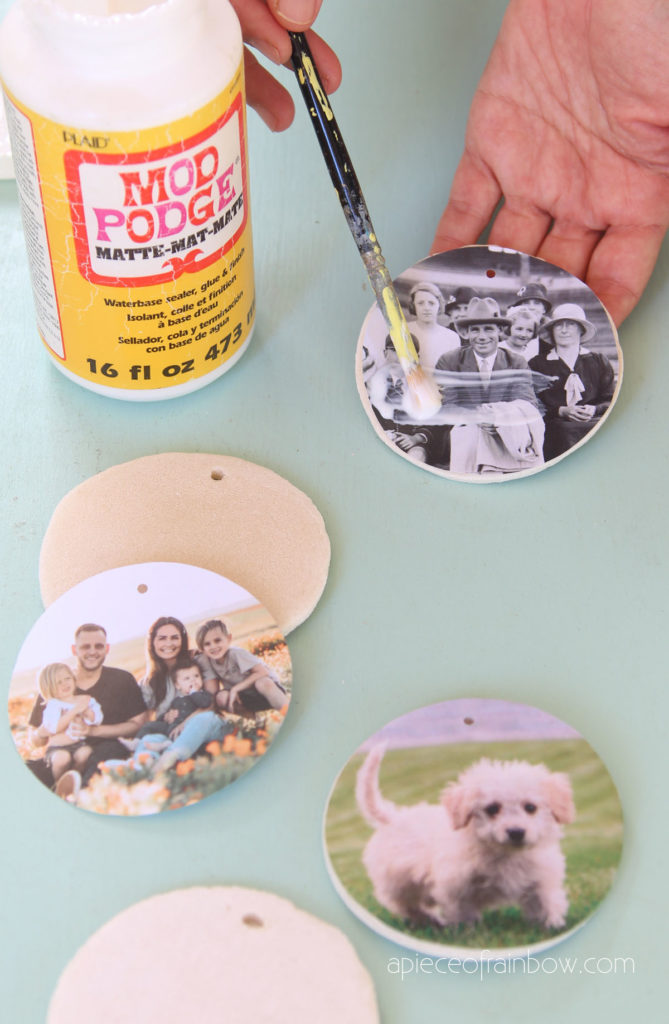
You can use any craft glue that dries clear to decoupage photos or art onto salt dough ornaments. I am using Mod Podge here which is great for decoupage projects.
Remember Step 1? Now we will brush the second layer of Mod Podge onto the salt dough surface. Quickly and carefully line up the photo with the ornament, starting at top where the punched hole is, and gently press it down.
Brush a layer of Mod Podge onto the photo. Resist the temptation to brush the surface over and over! Once or twice is enough. Most brush marks you see will be almost invisible once the ornaments are dry. You can also use a foam brush if you want a super smooth look.
Don’t worry if you mess up for some reason. You can always remove the photo and start over, or decoupage over the photo if it’s dried already.
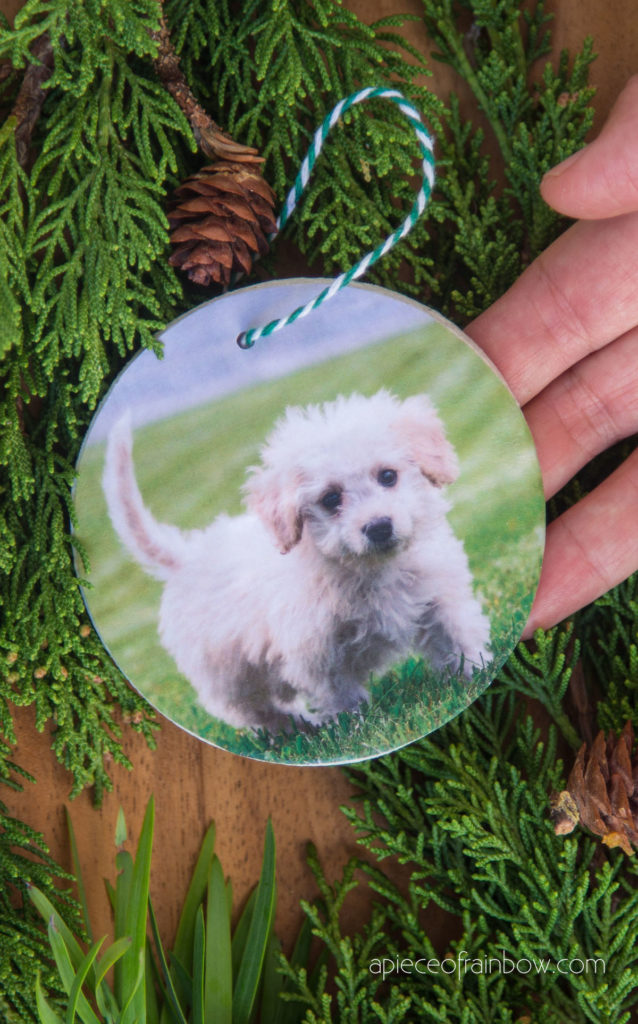
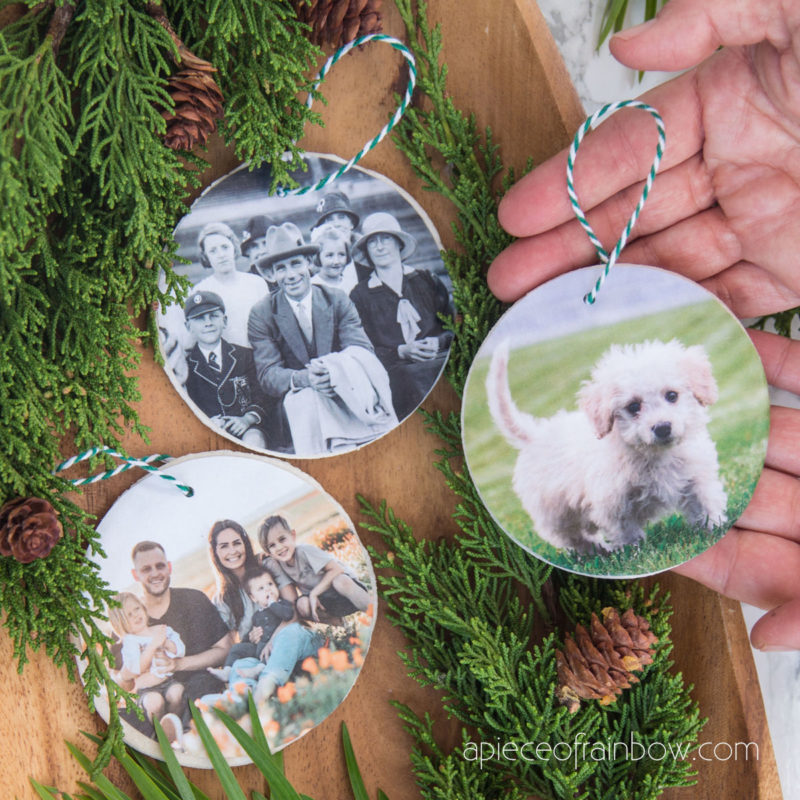
Now you can tie some Christmas twine to hang these ornaments or share them as gifts for family and friends! Wouldn’t someone be delighted to get an ornament of their beloved dog or other pets?
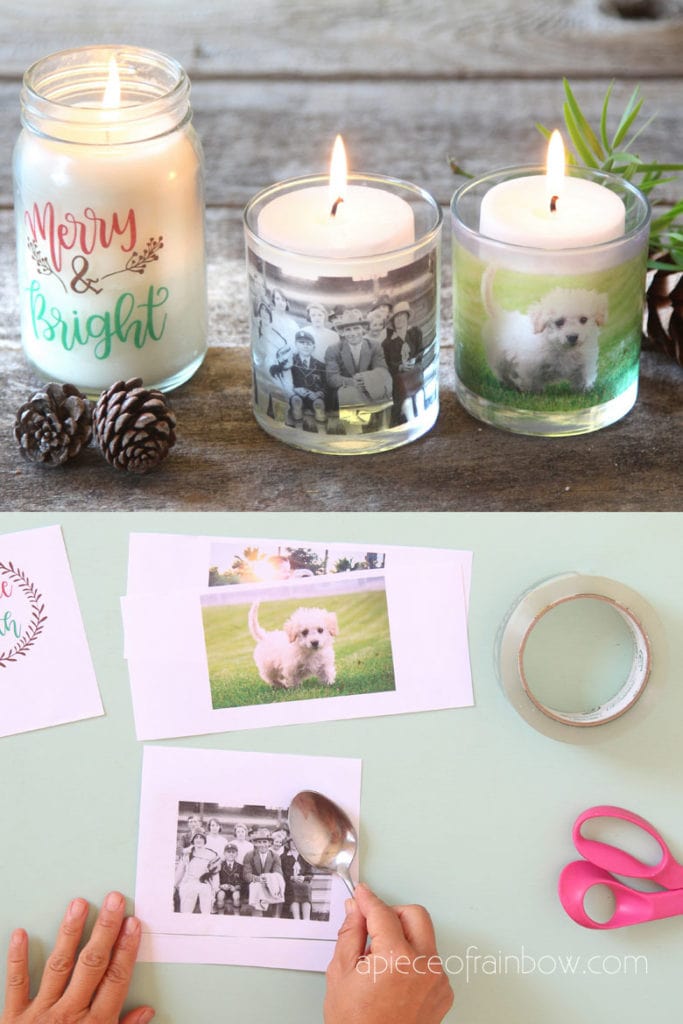
Want more photo ornament ideas? These DIY photo candles are made with … packing tape!
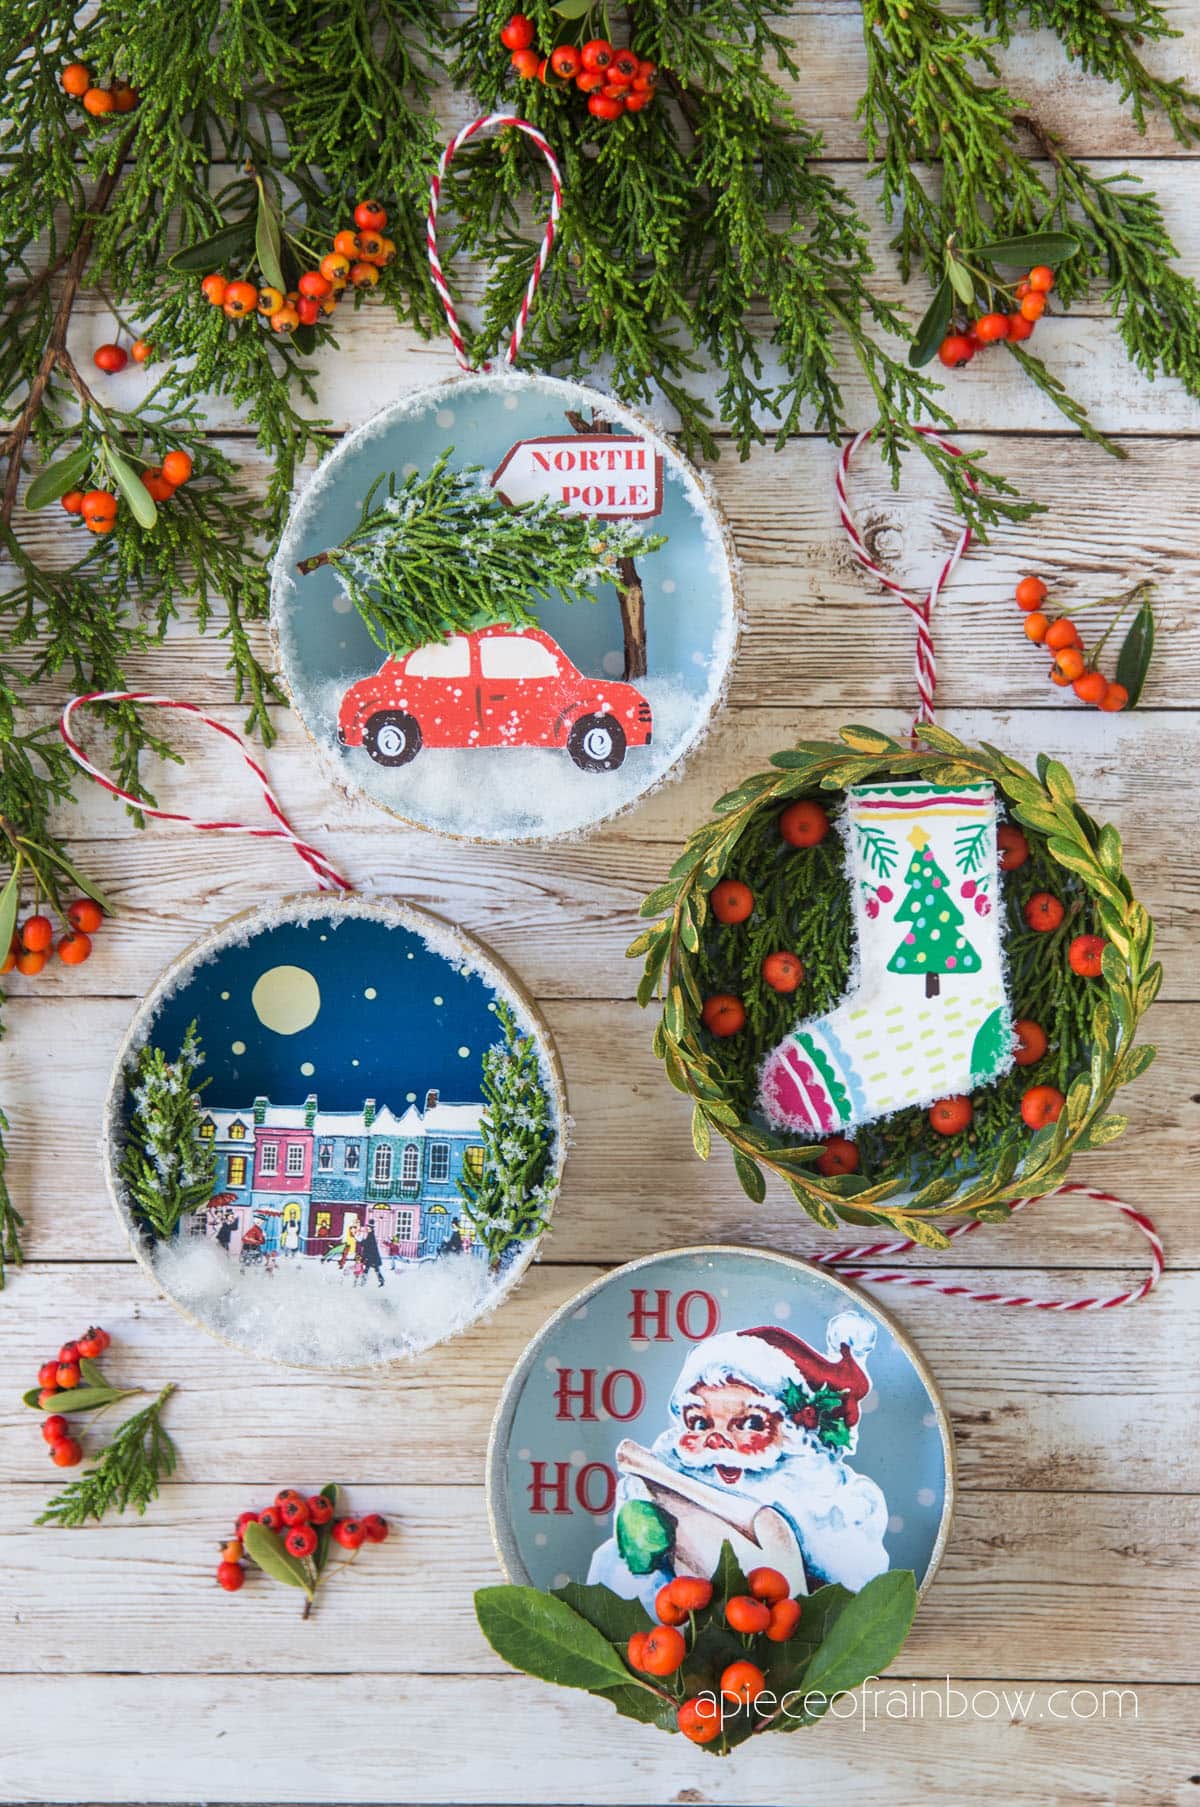
You may also love these easy DIY tuna can ornaments!
Happy creating! See you soon!


How do you use the collage maker that was given in this piece to resize photos for ornaments?
hi! i would choose a template on there that gives the size of photo that fits the ornament size, then follow the prompts to upload photos etc! 🙂
I’ve been making tuna can vignettes for years. Happy to see I’m not the only one. Going to try your salt dough ornaments. Give the grandkids an ornament each year and this will allow them to be more personal.
oh i would love to see your tuna can ornaments Gail!! 🙂 happy crafting always!