Make Easy Tuna Can Vintage Christmas Ornaments
Upcycle tuna cans to make vintage Christmas ornaments for almost free! Beautiful farmhouse decor & easy paper crafts with printable templates!
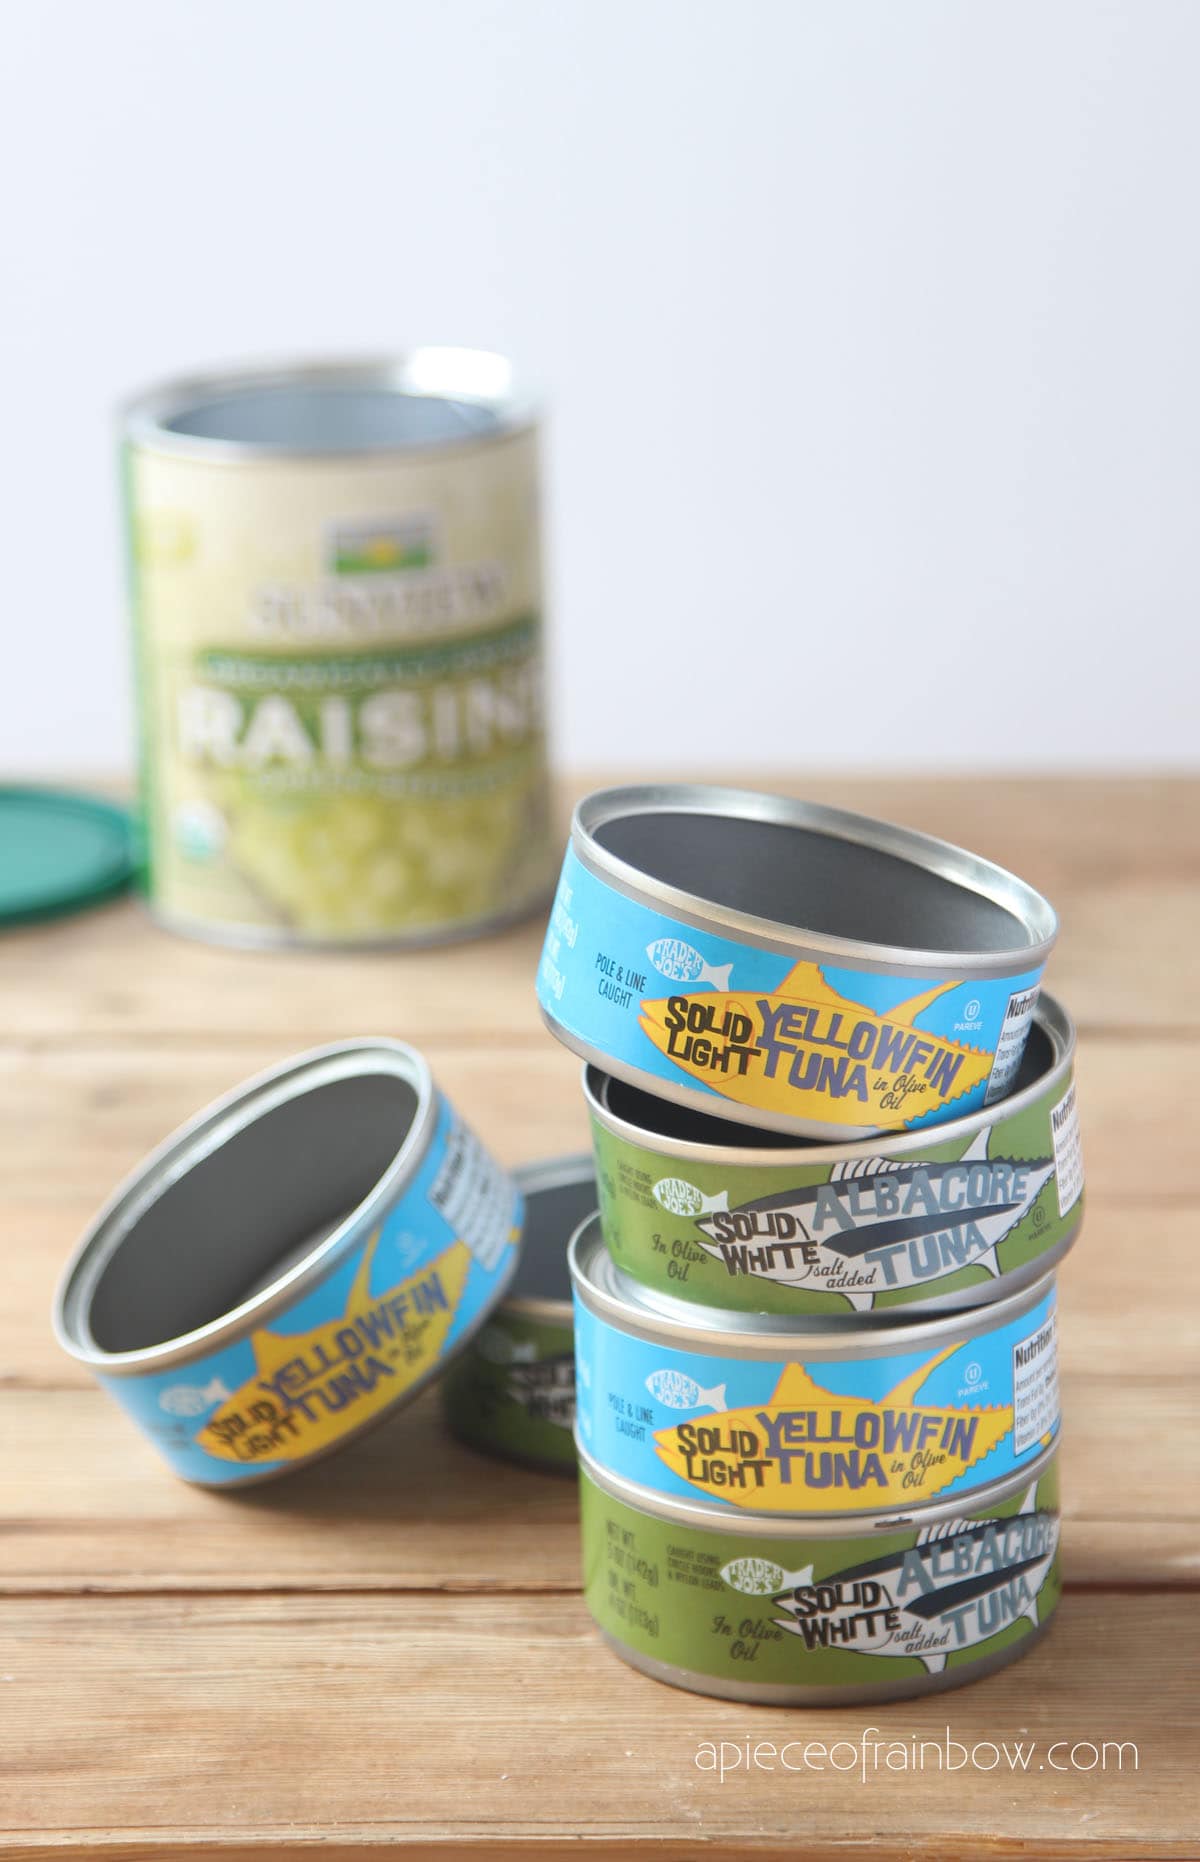
We all have some kind of paper or metal cans in our pantry, such as tuna cans, nuts or raisin cans, small cookie tins, etc. Let’s save a few empty cans and make some beautiful DIY Christmas ornaments for almost free! Yes, budget decor can be gorgeous too!
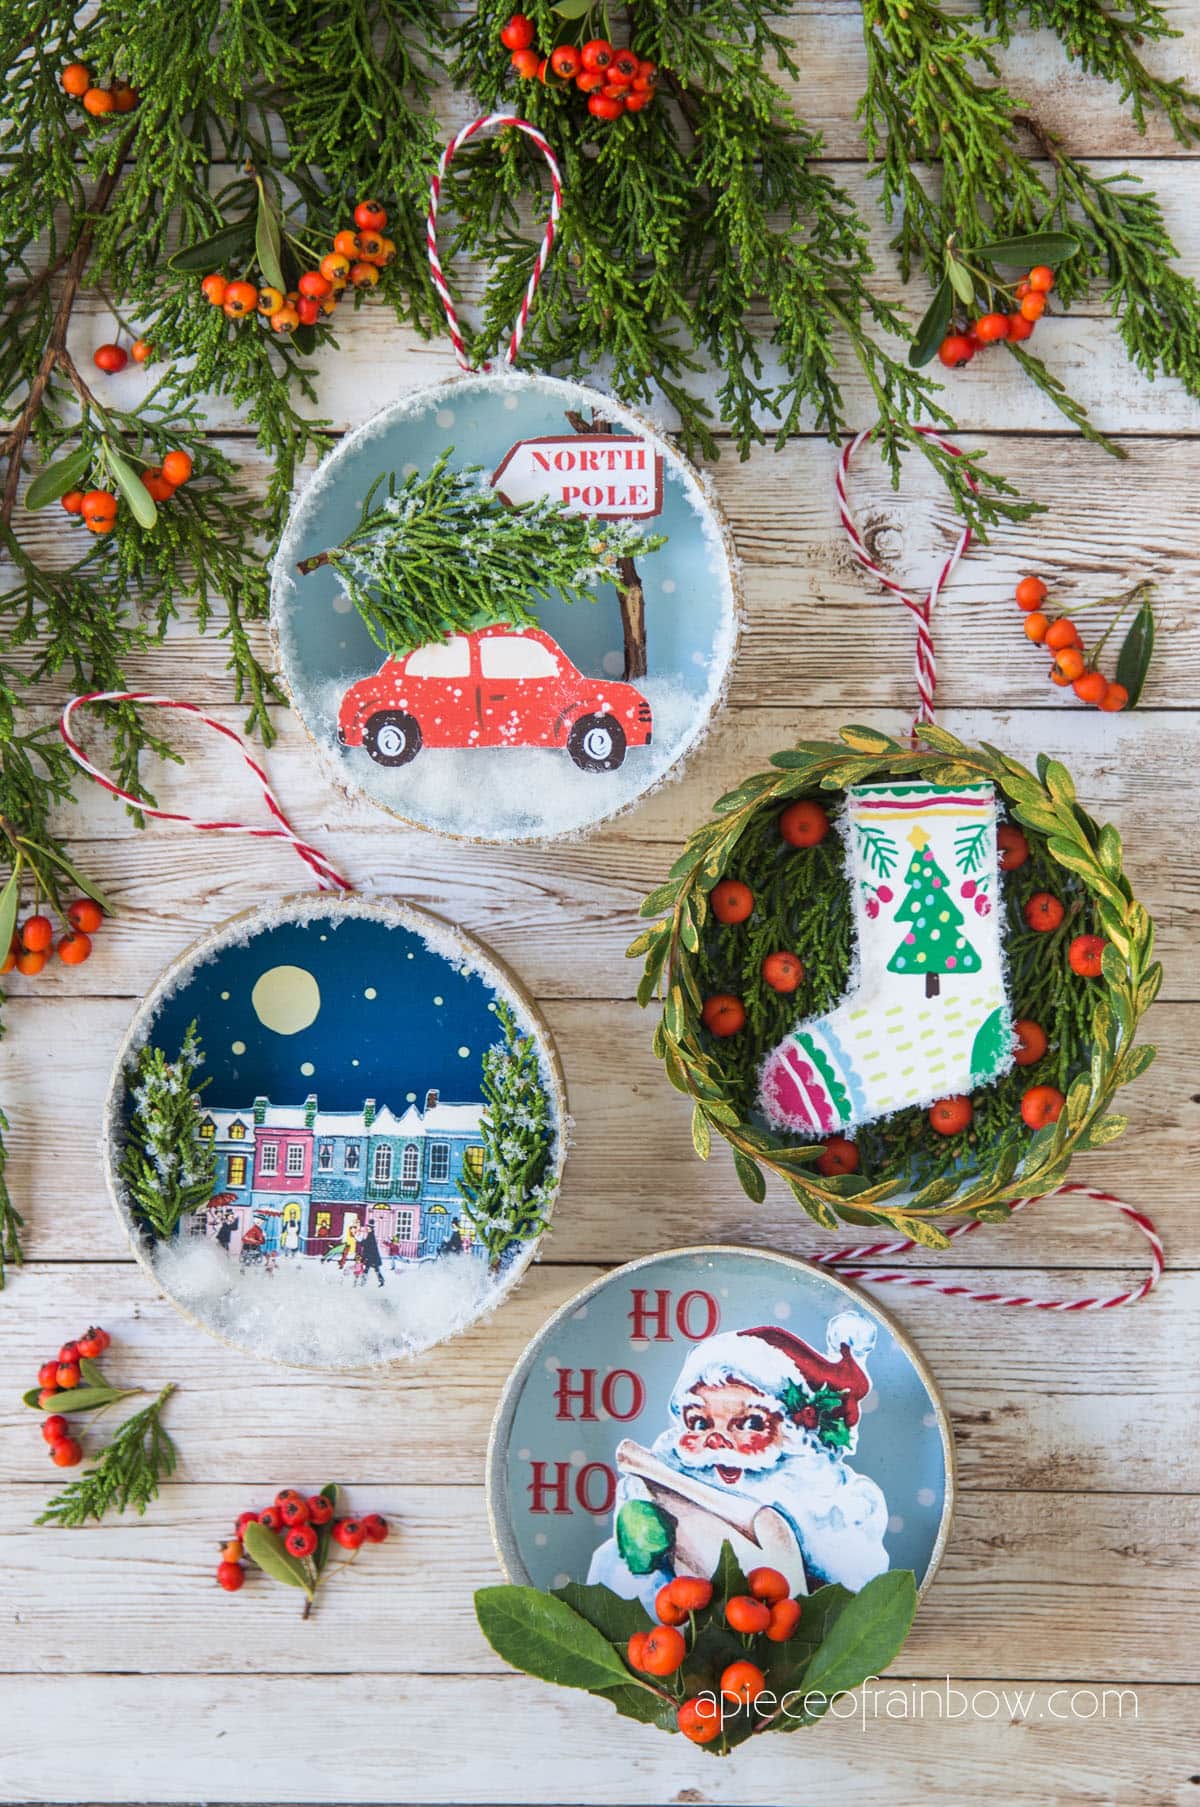
Here’s one with Santa, inspired by vintage Christmas cards, and another one with fuzzy Christmas stocking, inspired by Scandinavian folk art. I will share all the designs and templates with you as a free download so you can make your own easily.
These ornaments were so much fun to make that I had to make another set: check out our Christmas village and red car ornaments also made from upcycled cans here!
*Some resources in article are affiliate links. Full disclosure here.
Check out the video tutorial or skip to written tutorial below:
Materials and tools to make tuna can vintage Christmas ornaments
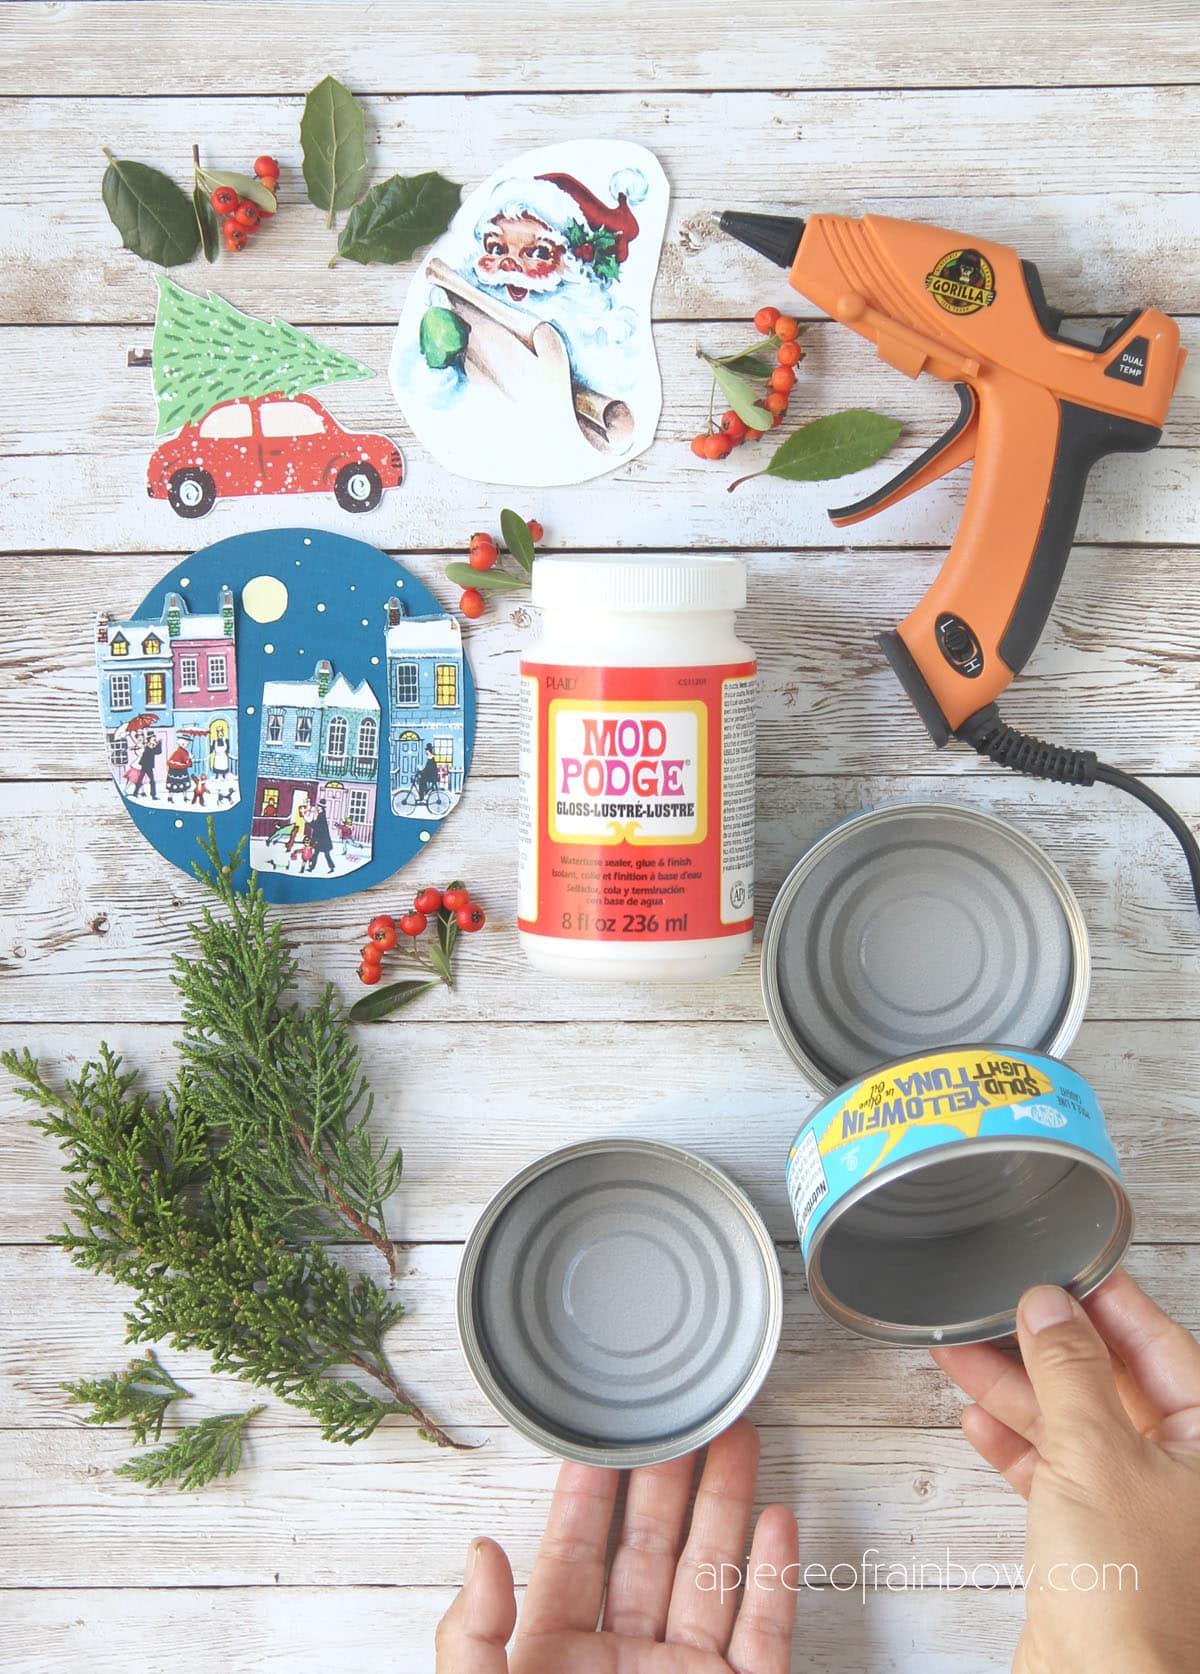
- Card stock to print the templates & designs: here’s my go-to card stock for many projects.
- Glue or Mod Podge to add sparkling glitter or faux snow to the cans. Hot glue gun and glue sticks: I really like this brand.
- Tuna cans (sand the sharp edges first!) , raisin cans, small tins, or similar. Optional: gold spray paint to paint the cans. Some magnets if you want to use these recycled can Christmas ornaments to decorate your fridge.
You may also love these really easy & pretty no-sew donut ornaments, tutorial here!

Step 1: prepare cans to make vintage Christmas ornaments
You can use tuna cans, raisin cans, or similar: I am using raisin cans in this tutorial since they are slightly bigger (4” diameter vs 3” tuna cans) and easier to show the details.
IMPORTANT: if you use metal cans, make sure to sand the sharp edges first!!
The raisin cans are made of cardboard and very easy to cut. Use tape to mark a depth of about 1.5”, and cut the can with a craft knife. You can make several ornaments from one raisin can. Just cut more 1.5” rings and glue cardboard circle to the bottom of each ring.

You can use glitter or spray paint to make the outside of each can look nice, or wrap them with paper or ribbon later.
Step 2: add background and glitter inside cans
Download and print the free templates on card stock like this.

If you are one of our awesome subscribers 🙂 you can find the link to our free goodies library in the weekly newsletter. If not, you can subscribe here for free and get all the creative templates and printables in the welcome email!
I made the free elements and backgrounds for both 3” and 4” cans. Just look at the descriptions on each page of the pdf when you are ready to print.

First, cut and attach the background to the inside of each can using double sided tape or glue. Brush glue or Mod Podge on the inside of the cans.

Sprinkle glitter to coat the surface and edges evenly. Shake off the excess on a piece of paper which you can save and reuse in future. I used sparkly white glitter which is so pretty!
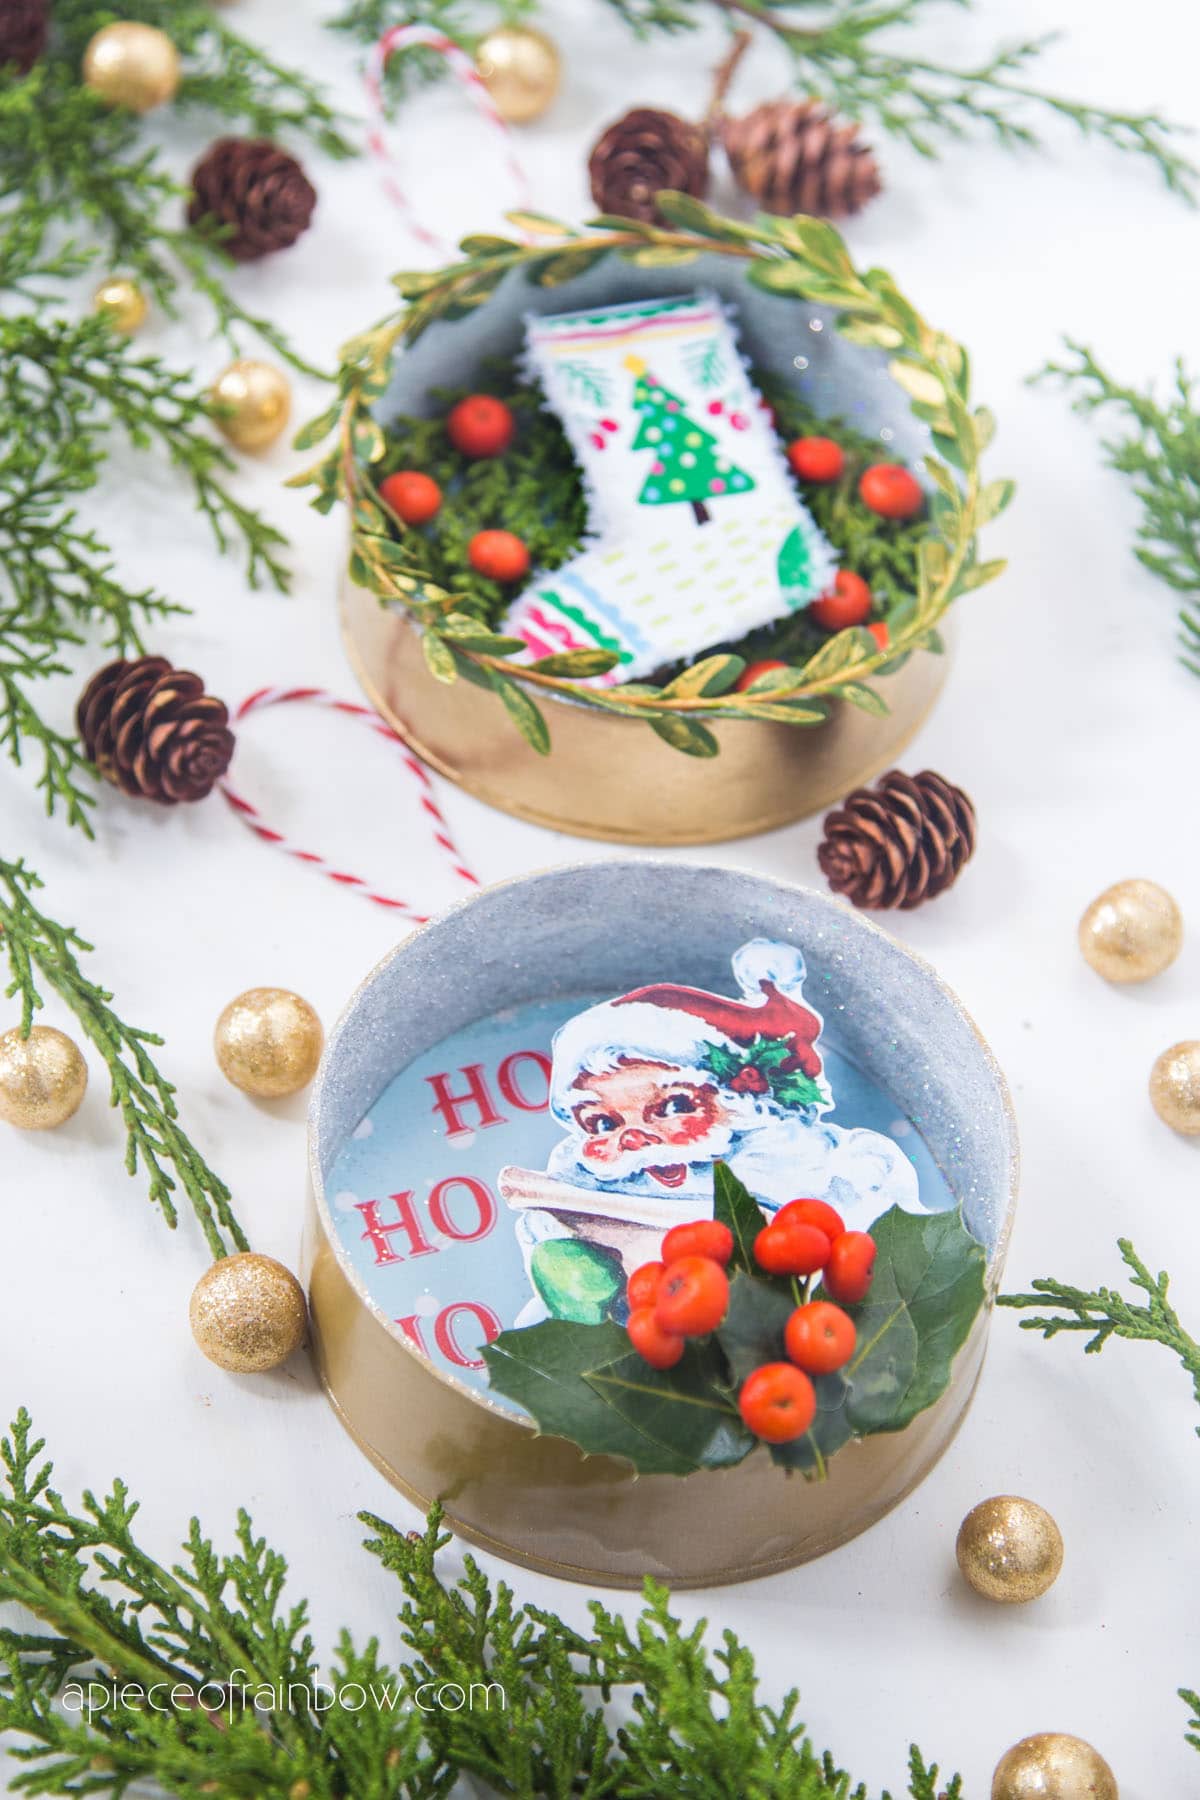
Step 3: make Santa vintage Christmas ornament

“Ho ho ho!” Santa is coming to town! 🙂
I found a vintage Christmas card and thought it would be perfect for a Santa ornament!
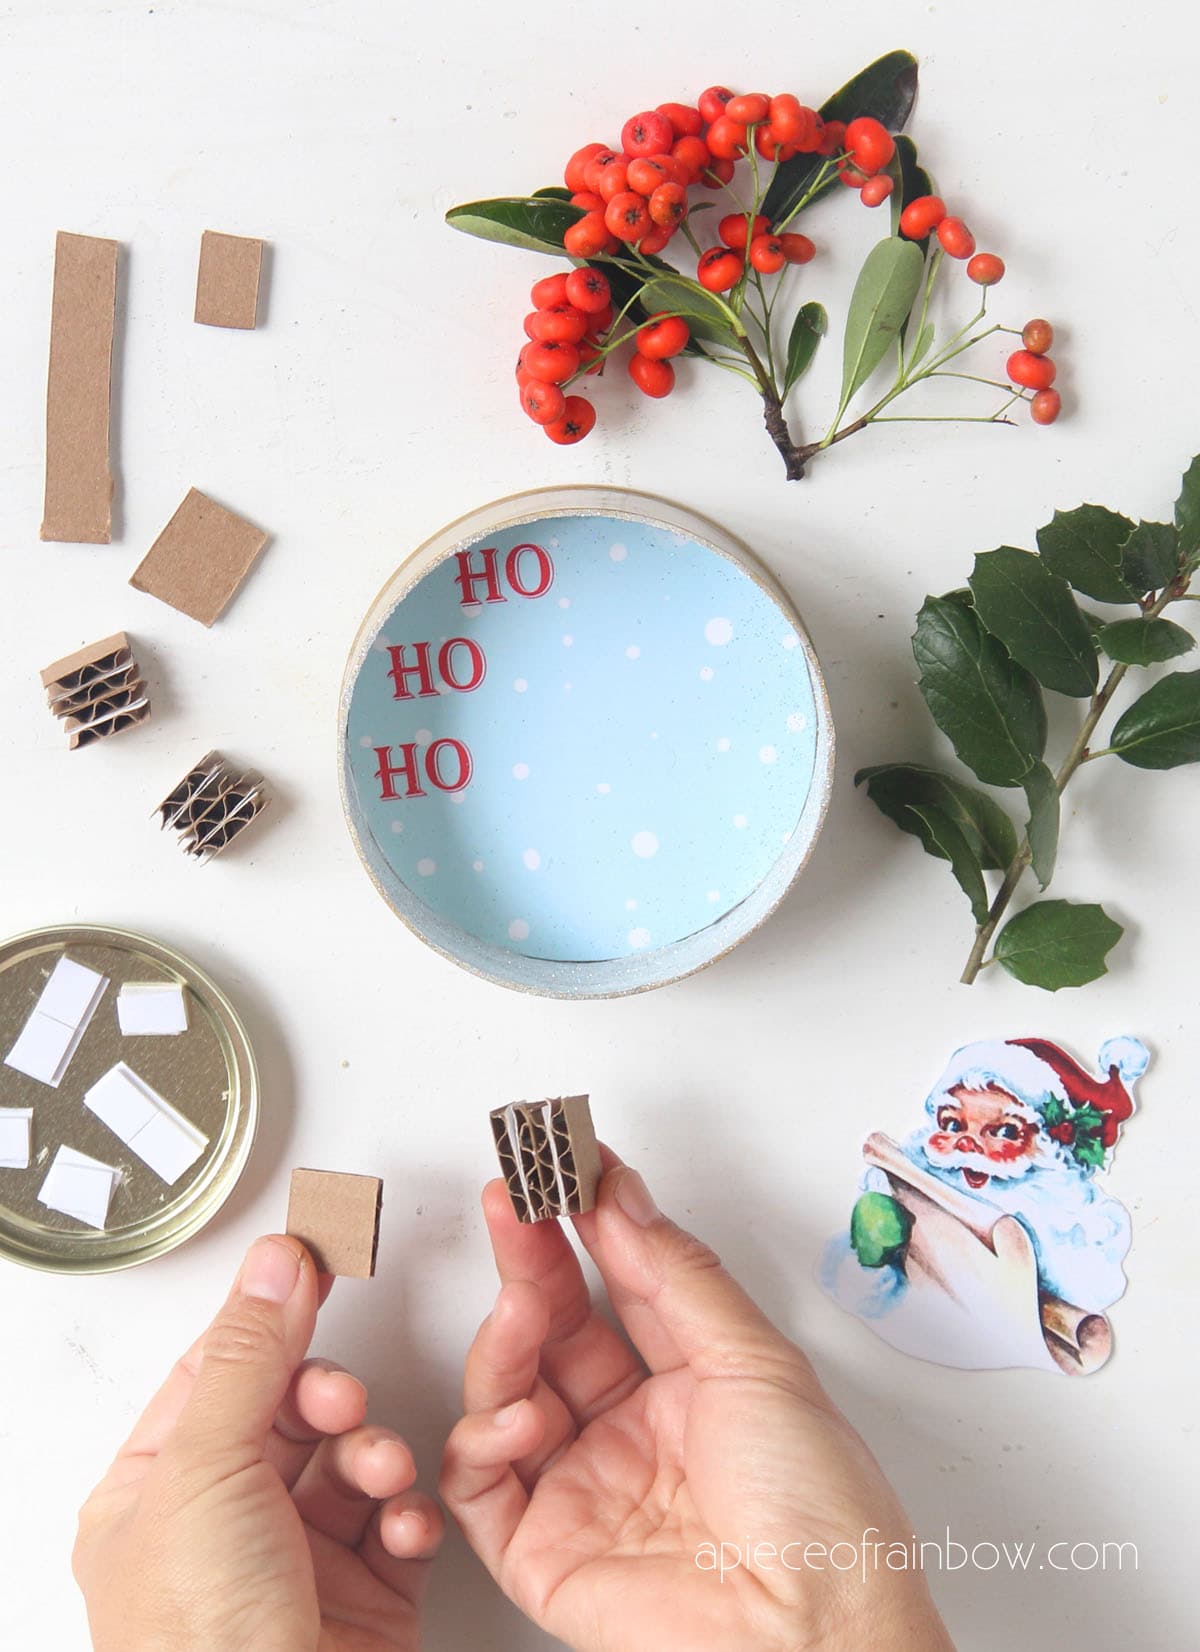
Glue 4 small pieces of cardboard together to make a cardboard stack. We will need 3 cardboard stacks.

Cut out the Santa image. Attach 3 cardboard stacks to the back of the cutout, then place the raised image inside the can and attach to the background.

You can use glue, hot glue or double sided tape for this step. I used double sided mounting tape here because I can shift the image before pressing it down to the background.

Next, use hot glue to add some decorations to the outside edge. You can use leaves, red berries, ribbons, beads, etc. Isn’t it so easy and fun?

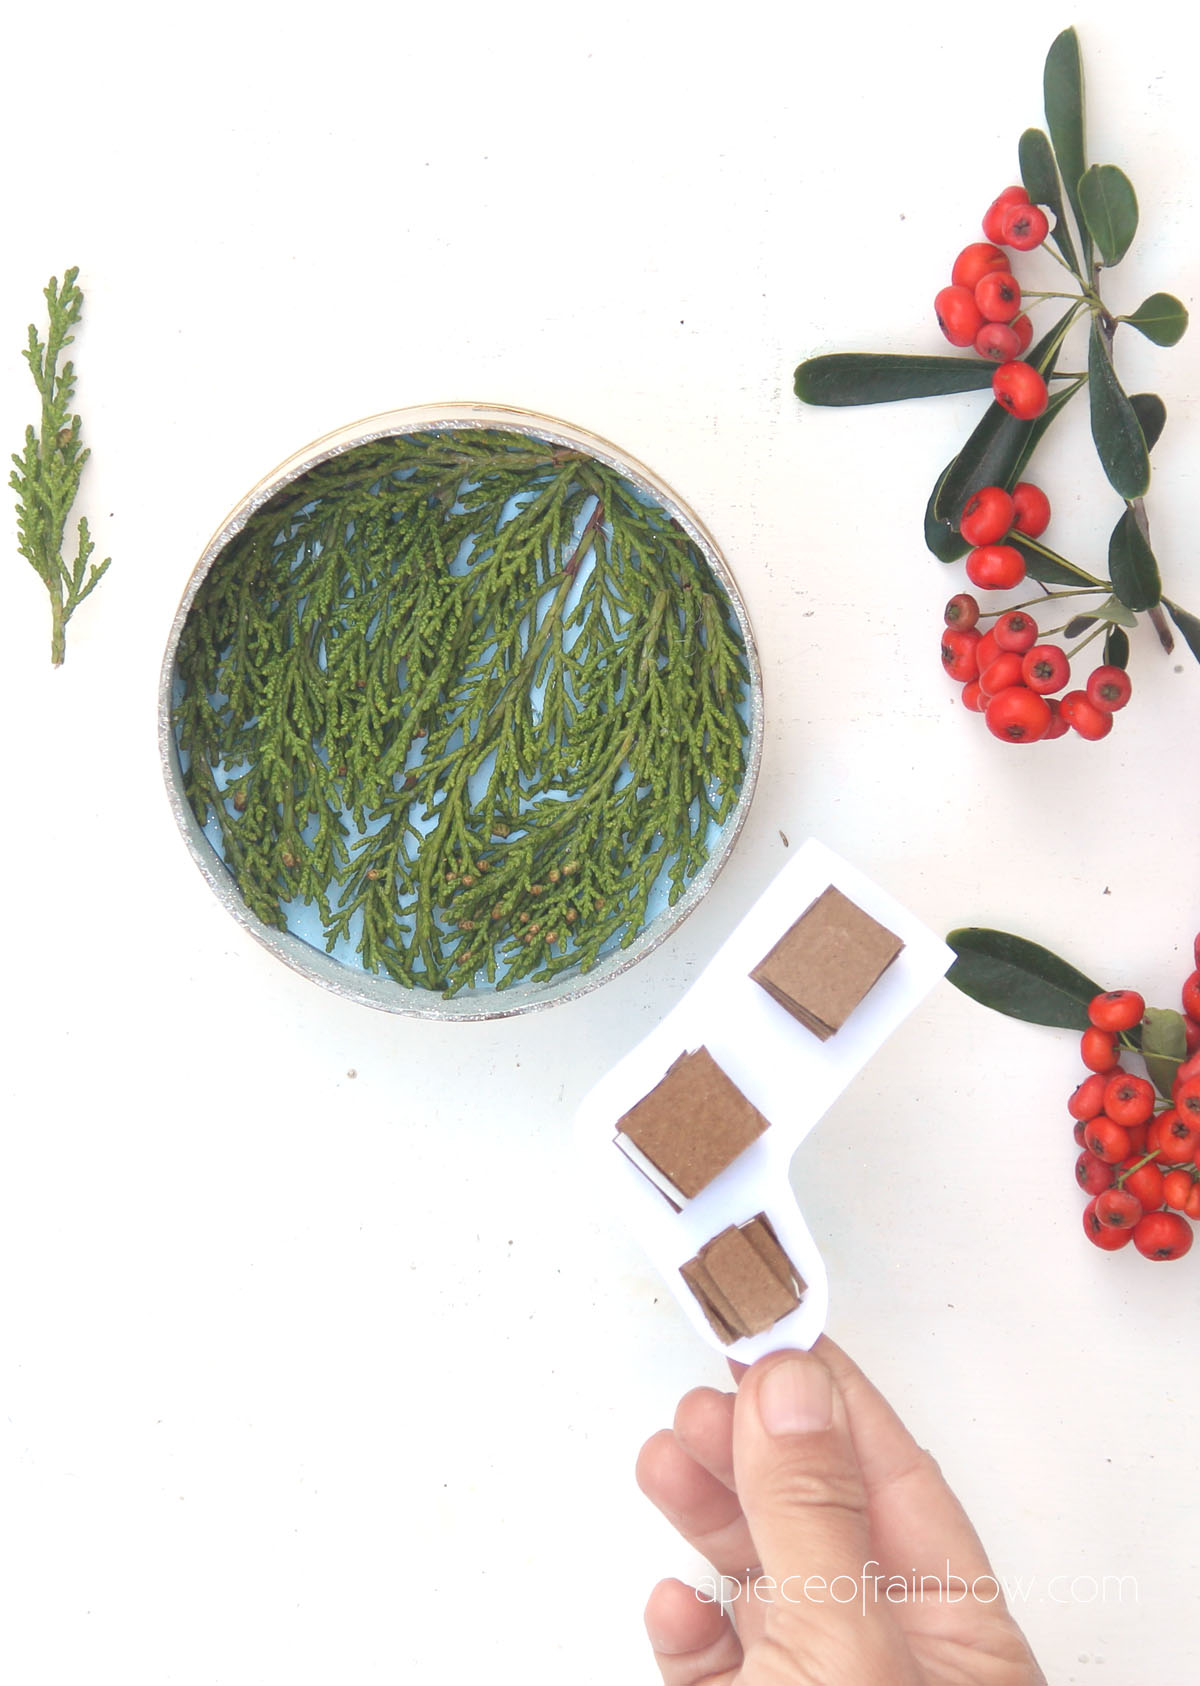
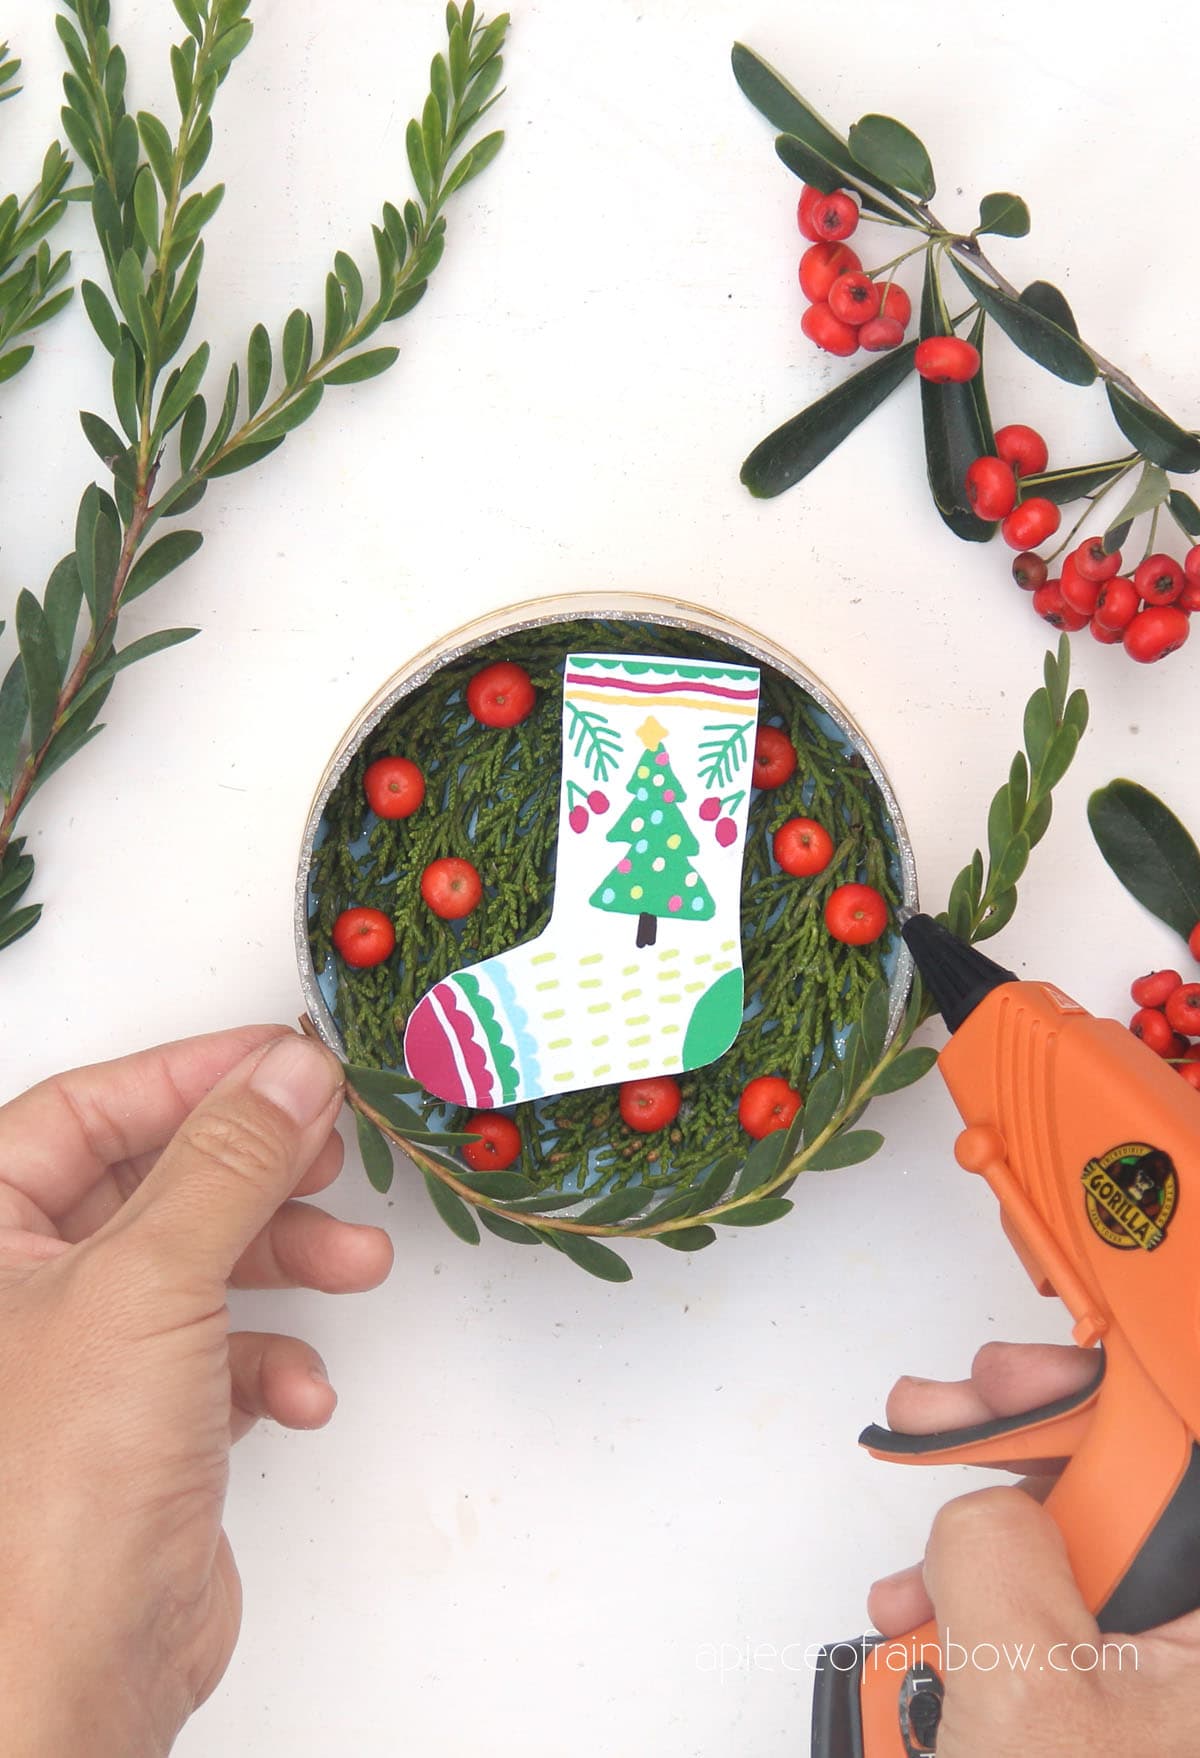
Step 4: make Christmas stocking ornament

I made this Christmas stocking drawing inspired by Scandinavian folk art. I wanted to make it look like the stocking is hanging in front of a Christmas tree, so I used hot glue to create a background with green conifer leaves first.

Attach 3 cardboard stacks to the back of the stocking cutout. Use hot glue to glue the raised image to the background, and add some red berries as well.
You can decorate the edge with trim ribbons, pipe cleaners, or real leaves. As a former garden designer surrounded by all kinds of plants, it’s easy to use real plant here, finished with a touch of gold paint.
Since it’s a fun adventure, my last minute improvisation was to add a fuzzy edge to the stocking. Isn’t it super cute?

Brush or squeeze glue along the edge of the stocking cutout, and sprinkle some artificial snow like how we made these snow covered pine cones and branches!

More Christmas crafts and decor ideas you may love:
48 amazing pine cone crafts to make this Christmas!
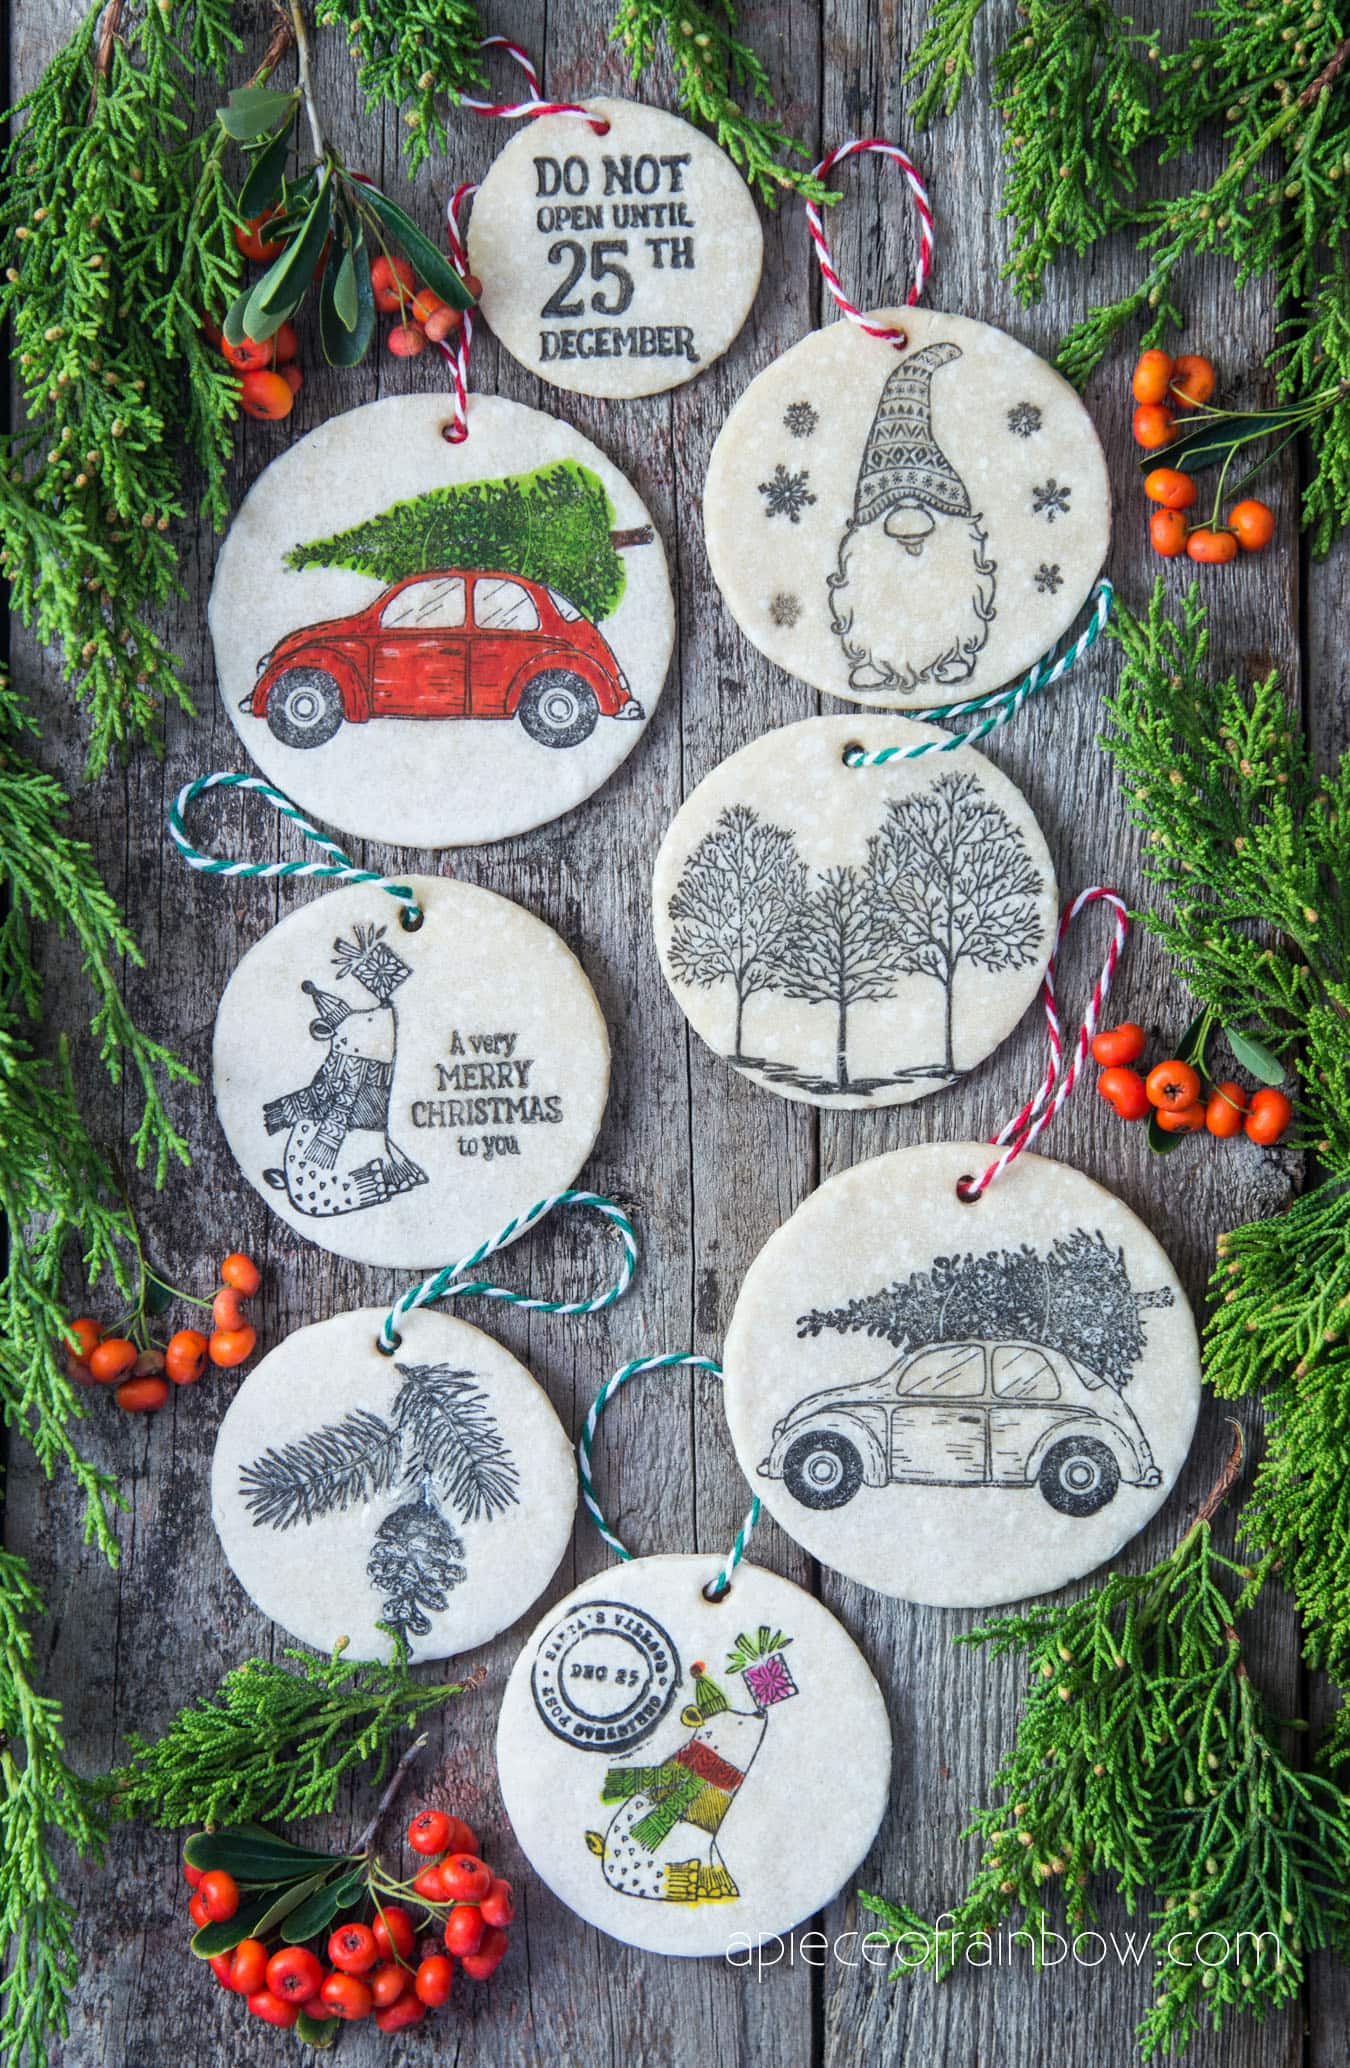
Beautiful DIY salt dough ornaments: you won’t believe how easy it is to create these!
Happy creating! See you soon!


