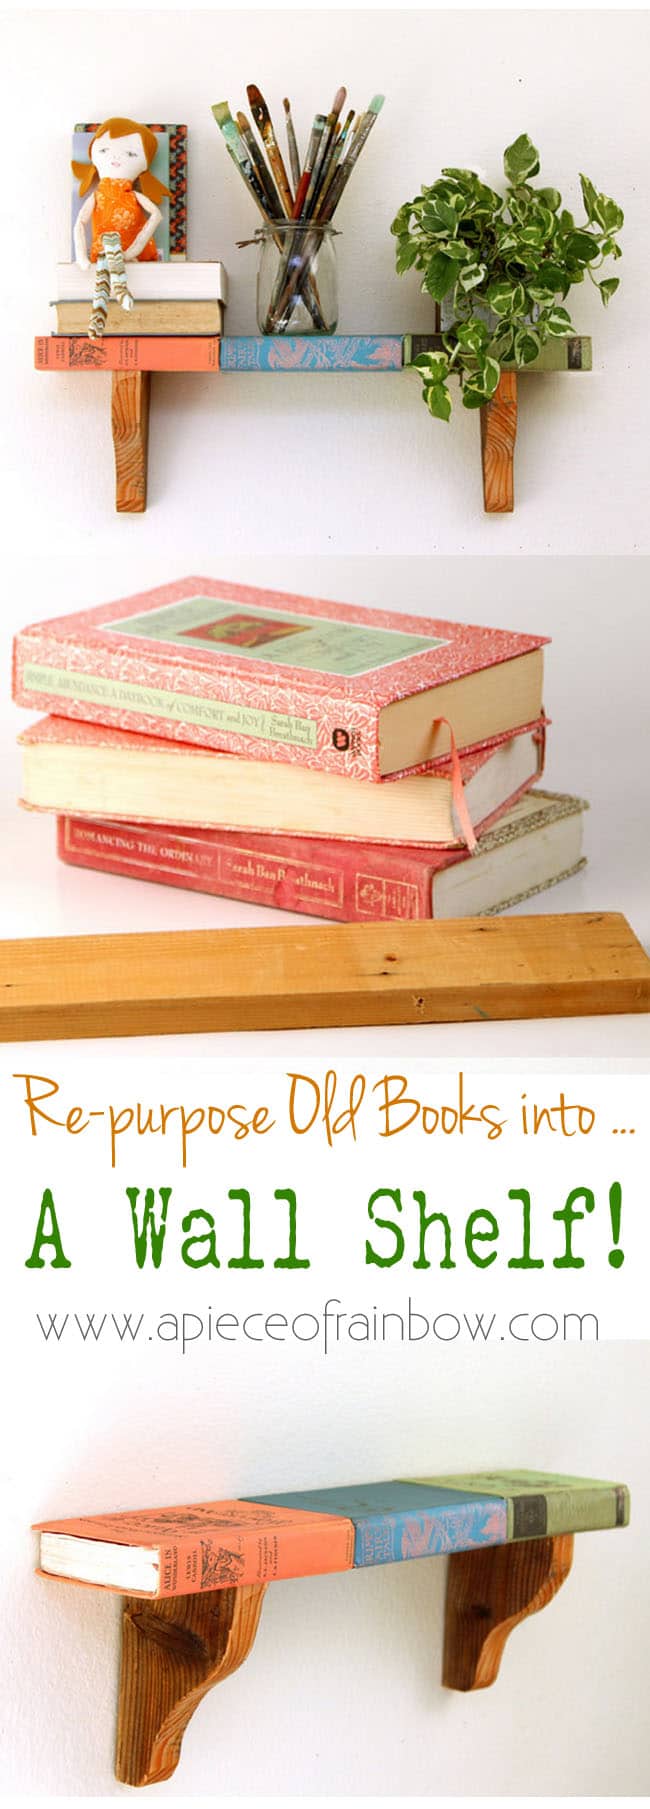
Wall Shelf From Faux Vintage Books
Happy Thursday everyone! Today’s fun DIY is for all vintage book lovers: we are going to make a unique piece of furniture, a wall shelf from 3 old books! Bonus: we are not going to harm your treasured vintage books …
Believe it or not, it is super hard to find vintage books that are the same widths and same thickness. Not to mention cutting them, can’t do it!
Here’s the secret: we will print out vintage book covers and glue them onto any books.
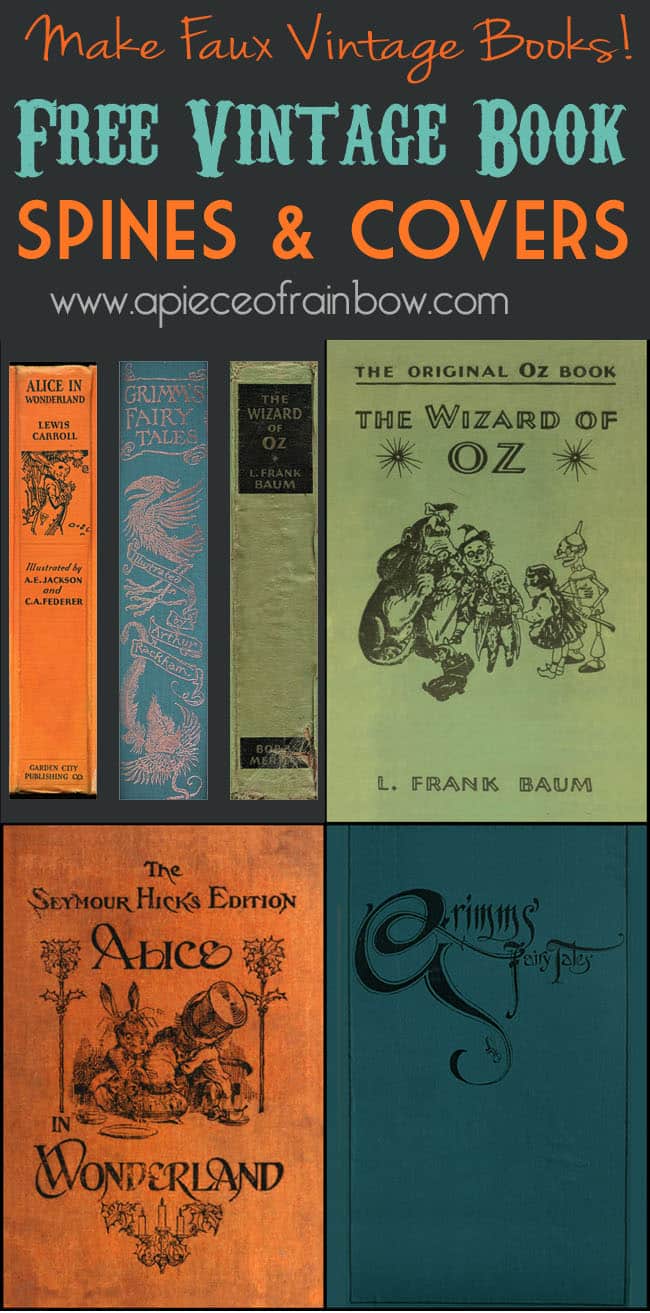
I will include these vintage book covers and spines at the end for you to download!
And a special treat – some of my blogger friends are here to share their fab DIY projects at the end also!
*Some resources in article are affiliate links. Full disclosure here.
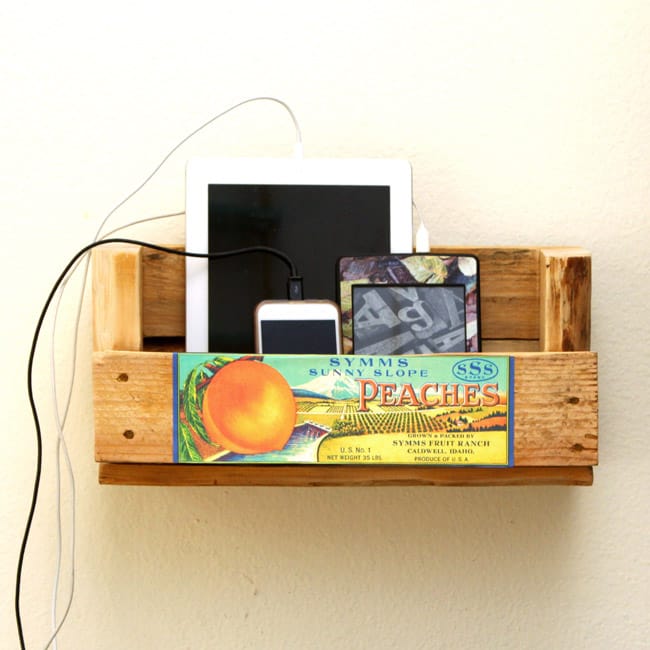
Talking about vintage printables, I love how they can be incorporated into home decor and furniture pieces, like this pallet charging station with vintage crate labels.
Let’s start with materials and tools for our wall shelf :
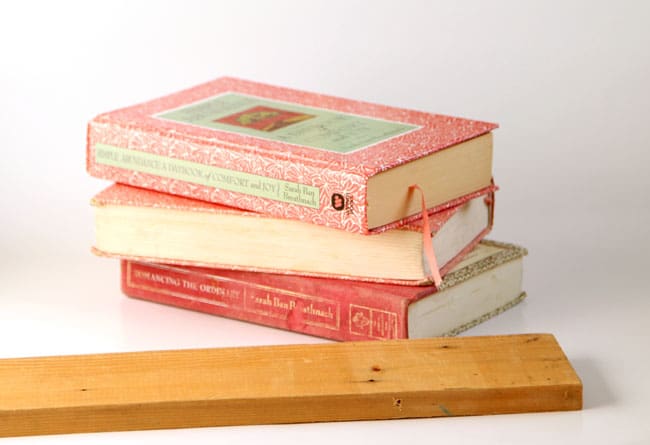
- 3 old books of the same widths and same thickness (check out your local library’s book sales!), the easiest way is to get the same books, and your favorite vintage book cover photos, or download the ones I used (see end of article)
- an Xacto craft knife or a box cutter to cut the book
- a piece of 1″x4″ about 24″ long for the insert, and a piece of 2″x8″ for the corbels, or ready made corbels or shelf brackets
- template for these corbels (download at the end), and a jig saw to cut the corbels
- paper or card stock to print the book covers, and glue or mod podge
- a drill, a few wood screws, and keyhole hangers to hang the shelf
Step 1:
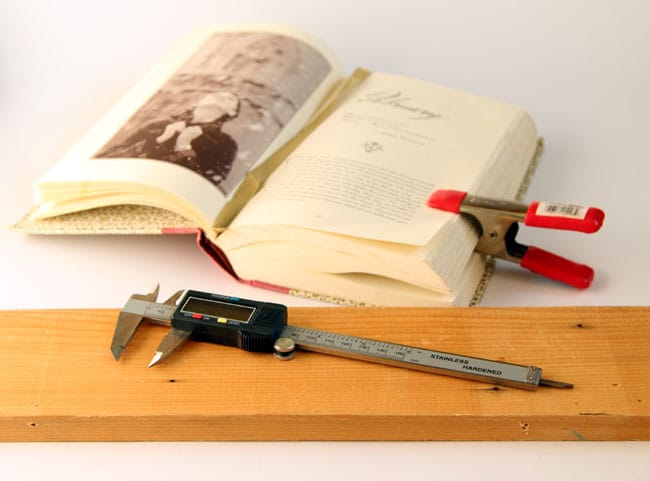
Use a caliper or a ruler to measure the thickness of the 1″x4″, it will most likely be 0.75″, and measure out the same thickness in a section of the book. Any section will work as long as it lines up in all 3 books.
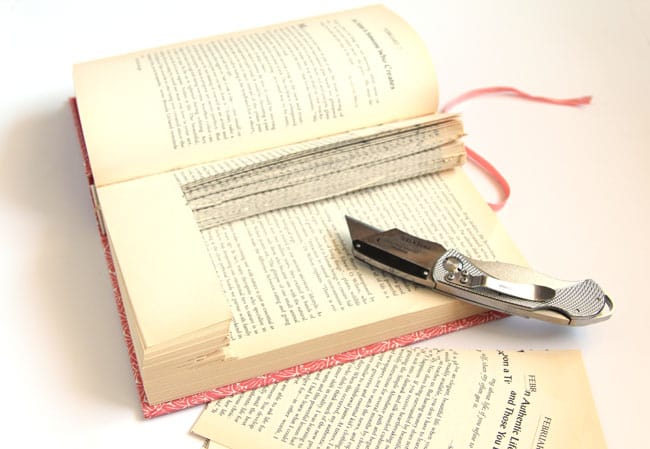
Step 2:
Mark the 3 books using the piece of 1″x4″, cut the pages with a box cutter or Xacto knife so the wood fits inside the cavity.
Step 3:
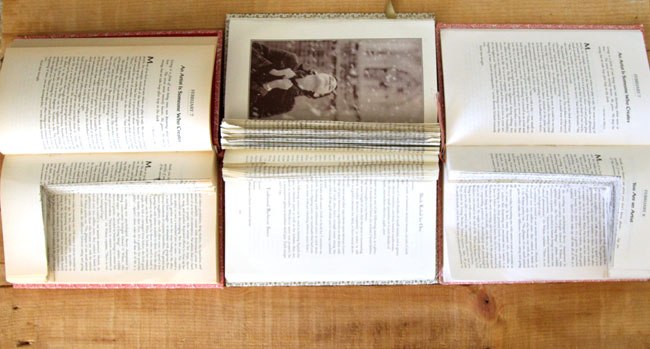
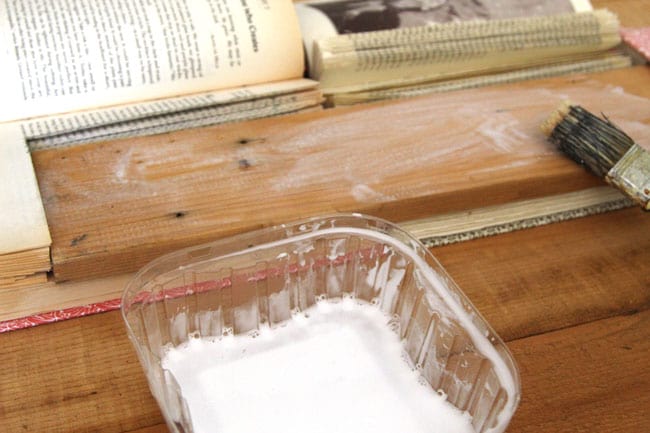
Brush the wood with glue or modpodge, on both sides. Close the books carefully, but leave the front covers open. You will see why in the final step!
Clamp the books, then brush more glue on the edges of the book pages. Let the glue soak in and dry.

Step 4:
After the glue dries, we can pretty up our books with some printable vintage covers: Wizard of OZ, Alice in Wonderland, and Grimms Fairy Tales, my 3 favorites!
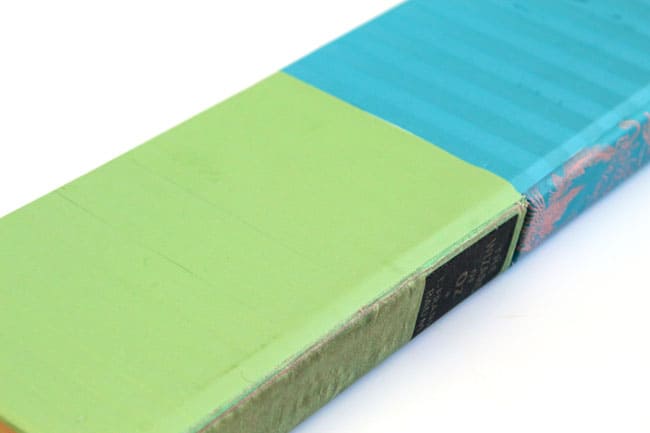
Isn’t it great we don’t have to cut up real vintage books from our treasure finds?
Print and cut the spines and covers to size, a little larger than the actual books so there’s room to fold over along the edges. Glue the spine covers first, then the back and front covers
Step 5:
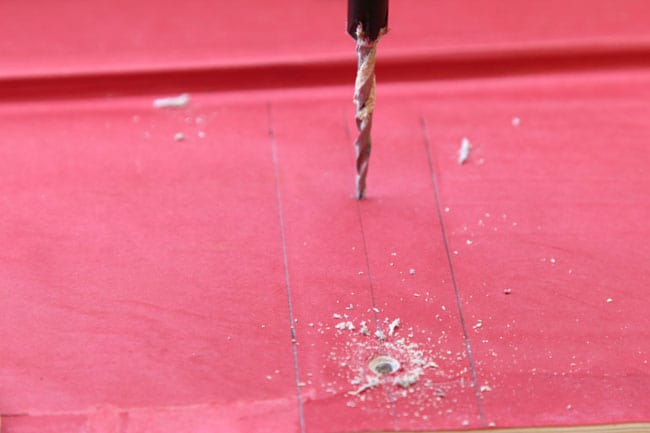
Print out or create your own corbel template, trace 2 piece onto the 2″x8″ wood.
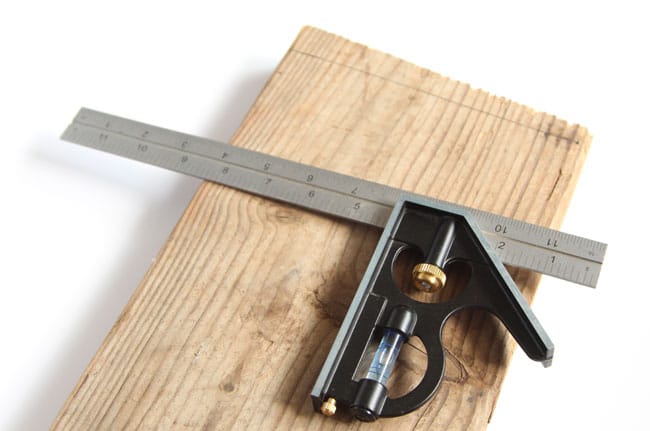
It’s crucial to have the top and back side of each corbel be as square as possible so our shelf will sit at 90 degrees. Use a combination square, super useful tool by the way , or something you have that is square to double check.
Cut the corbels and sand them smooth.

Last step: pre-drill 2 holes on each corbel. Measure and mark corresponding spots on the books and drill through.
Use a long screw for each hole, attach the books to the corbels.
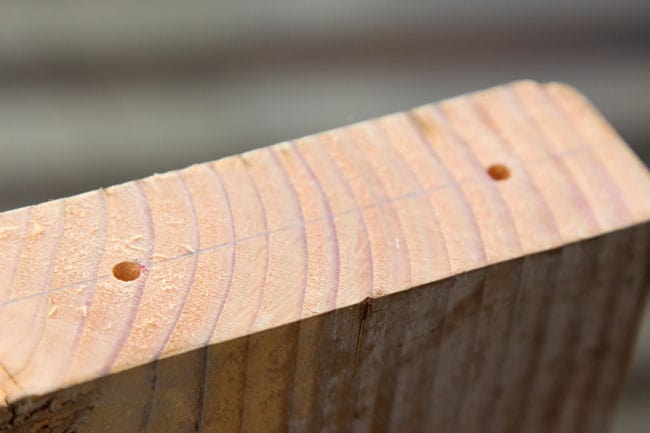
Here’s why we leave the front covers open – no signs of screws when we close the covers!

And don’t forget to attach key-hole hangers on the back of each corbel!
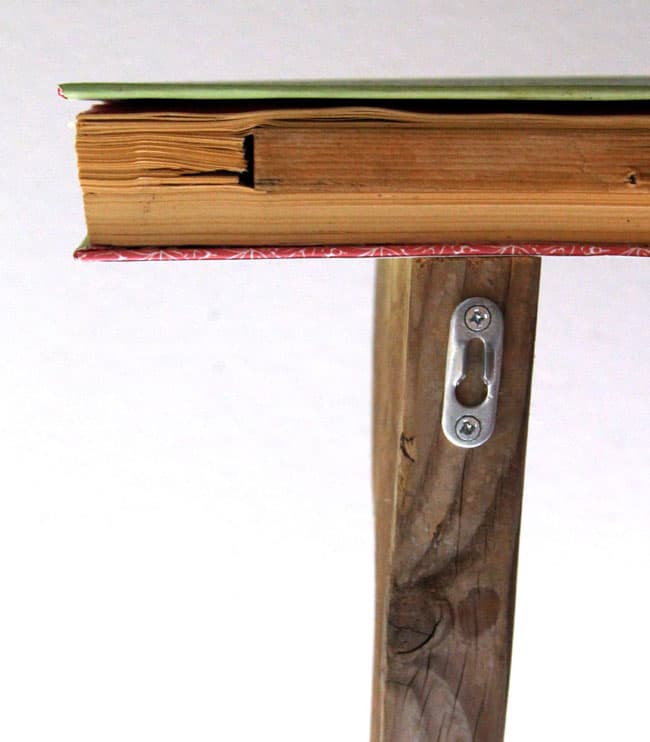
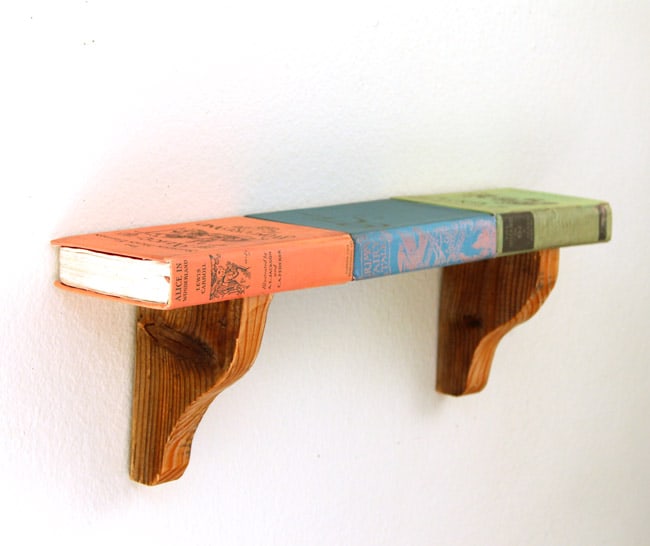
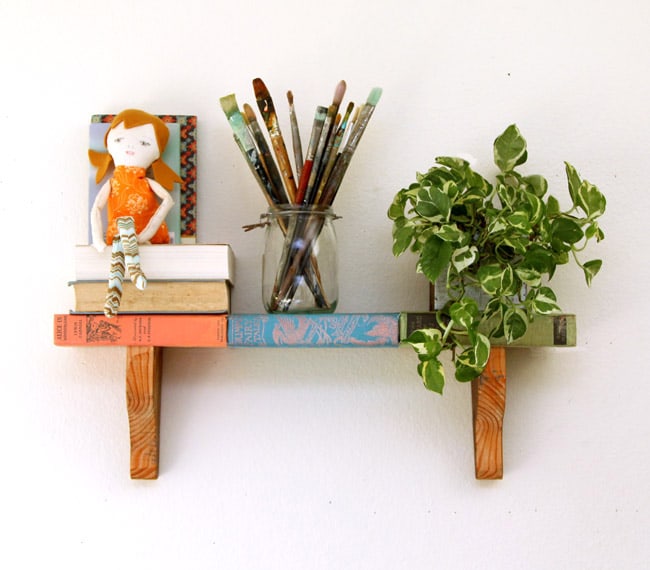
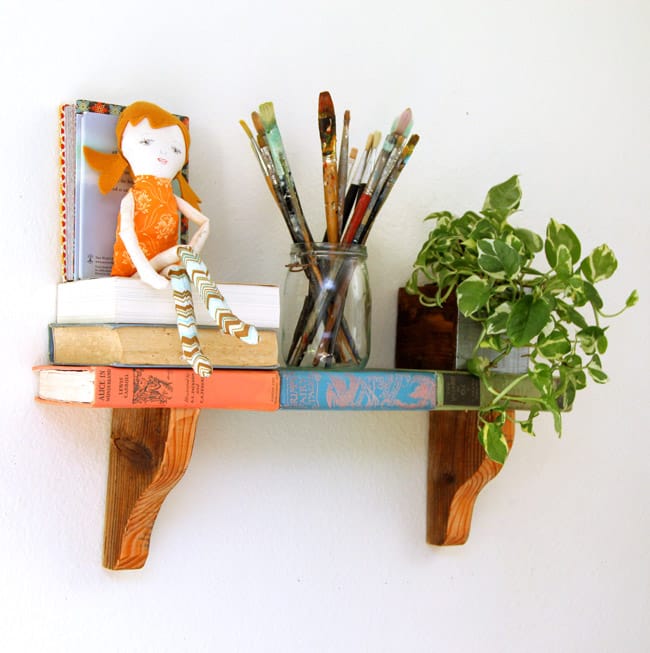
Now we have a “vintage book” wall shelf! It’s also very sturdy and can hold quite a bit of stuff!
Here are the downloads for book covers and spines:
And corbel template. (Use Stuffit to unzip. If you have trouble, please send post link to friends so they can download and email the files to you!)
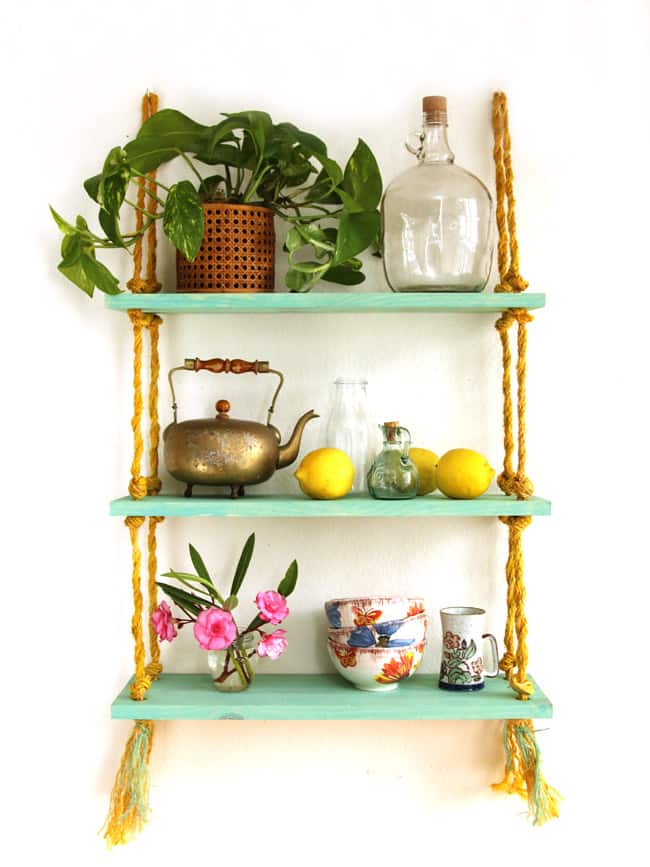
Here’s another super easy hanging rope shelf you can make with just a drill!
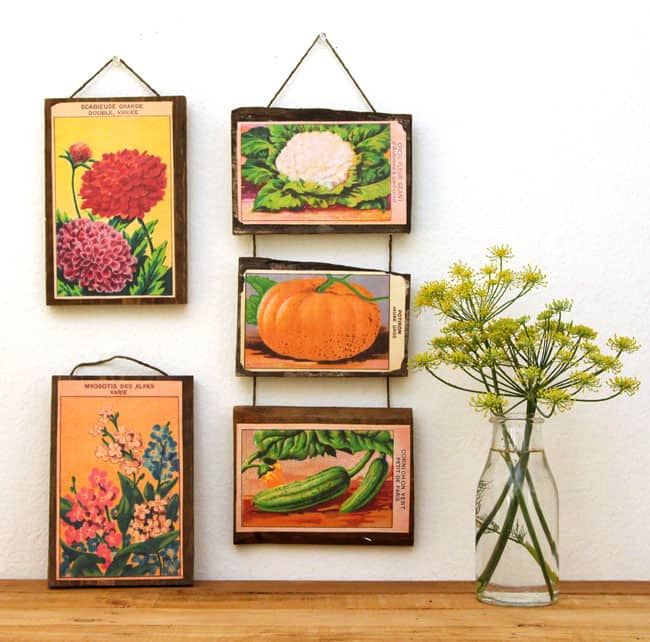
And some free vintage French seed packets to print out for these scrap wood wall art!
Easy DIY Solar Fountain in 1 Hour {with Pond Water Plants}
DIY Wood Pallets Ideas, Tips & Projects: An Ultimate Guide
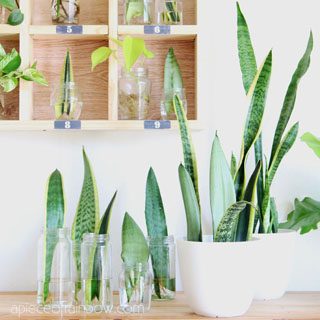
Snake Plant Care & 5 Amazing Benefits of Sansevieria
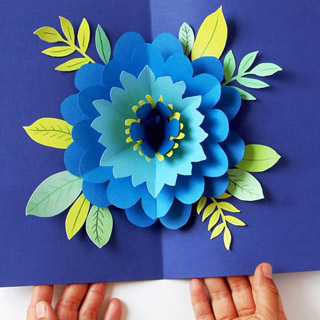
DIY Happy Mother’s Day Card with Pop Up Flower
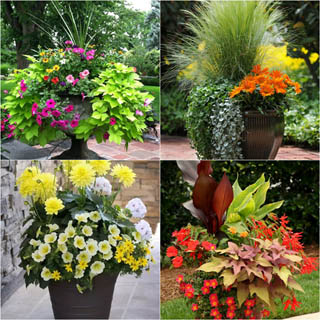
24 Stunning Container Garden Planting Ideas

DIY Bed Frame & Wood Headboard ($1500 Look for $200!)
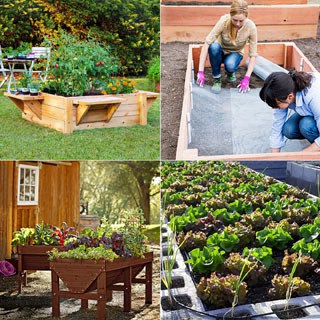
28 Best DIY Raised Bed Garden Ideas & Designs
Vegetable Garden Layout: 7 Best Design Secrets
27 Gorgeous Christmas Table Decorations & Settings
18 Ingenious DIY Christmas Trees For Any Space
100+ Favorite Christmas Decorating Ideas For Every Room in Your Home : Part 1


I been getting your emails for awhile. I have yet to find a big red button. Everything takes me to a sign in page and if I ever had a password I do not remember it.
hi Jeanie, the button is in the newsletter towards the bottom, after 4-5 links to articles 🙂
And I made them tiny and will make some classics for my dollhouse people! Thank you!
hi Kathy! that sounds magical!! 🙂 happy crafting!
Love it! Really want to make for my classroom but what size do the books need to be to fit the print outs?
hi, the books are about 9″ by 7″ , but you can also adjust the print size slightly by 10-20% for larger or smaller books. they just need to be same width and thickness. 🙂
like the book covers ive subscibed to you for a long time but wont let me print the book covers
hi! there is a big button at the bottom of each weekly newsletter that takes you to all downloads! 🙂
Maybe i missed something in your tutorial but one of the ladies that wrote you said something to the effect of not using the book by Sarah BanBreathnach, Simple Abundance. Where in the tutorial is that book shown? I have been through the tutorial 5 or 6 times and nowhere do I see that book anywhere!! I know my eyesight is bad but did not realize it was that bad! Can you help me ? I luv that book shelf and I am going to try and make one. Thanks.
it’s shown in the photo with the stack of books, and where they were cut up! 🙂 the book is covered at the end with faux vintage covers lol!
GREAT IDEA AND I HAVE LOTS OF OLD BOOKS I CAN PHOTOCOPY!!!
I love this project & can’t wait to try it myself! One little idea I thought might add to the cool-factor, especially if you’re making this for kids: After seeing how you cleverly left the book’s top cover open, it got me thinking how it could maybe be used as a secret, albeit tiny, spot to hide a bit of cash, love letters, photos, etc. Or, perhaps you could leave a thicker section of the books up top when cutting for the 1×4, then carefully cut a small, shallow “compartment” into the inner pages of each book. A space just large enough to hold keys, small jewelry, etc. I think that would be so much fun! Not 100% sure it would work, so it’s just a little idea, but maybe I’ll give it a try when I get a chance to make your awesome shelf! Thank you very much for sharing, Ananda! Cheers!
hi laura! thank you so much for your sweet comment! i think that would work nicely! happy crafting! =)
I see that all three books had pages left uncut on the bottom. The corbels would have held the pages up against the wood on the two end books. How does the bottom of the middle book not hang down? Did you have to glue all those pages? I suppose one could just screw them to the shelf and then glue the back cover, but there was no mention of anything like that. What did you do?
hi debra, this one is held by the glue. i do like your idea of screwing them to the shelf and then gluing the back cover! =)
This is so creative! I loved it at first glance, but was really surprised to read the entire post and see how you assembled it. And printing the book covers? That’s genius! I have just cut up my vintage books when necessary. (Don’t tell my librarian friends!) Pinned and shared 🙂
What a neat idea! I love your hanging shelf too!
This is so cool! I totally want to make one now!! XO
I’m obsessed with the idea but I don’t think I have the heart to cut books myself! I really want this on my wall!
What a fun idea!! This is so whimsical and functional. (psst…I’m lovin’ that doll too!)
Wow, super great ideas and wonderful tutorial…. Thanks?
Thank you, thank you, thank you for NOT using real vintage books, only photocopies! I’m just waking up with tea in hand and thought, “Oh no, please don’t…” Using books that can be found at any garage sale or library book sale is genious. BTW, I have a first edition Anne of Green Gables book I could photocopy and send a digital copy if you or anyone wants it. Great idea!
thank you kathy! =) yes please post in on my facebook page and i will share it! happy 2016 =)
Love and serenity and peace for you and your family in 2016…
have a nice week end..;
Love your DIY Bookshelf :o).
That is so clever! Love using the vintage books.
Your ‘bookshelf’ is so cute, very fun idea!
Amazing! What a great idea – I love it. And thanks for providing the book covers!
What an incredibly creative idea! I now want to make one!
This is seriously awesome! Excellent tutorial too and thank you for the book cover printable. Now I must admit I gasped when I saw you used Sarah BanBreathnach’s Simple Abundance book. LOL That book pulled me through a difficult period in my life so it holds huge sentimental value.
Ananda,
How clever to use the old books to make this awesome shelf. I appreciate you giving all the steps so clearly. I wouldn’t have known where to start.
Your shelf looks great!
pinning!
gail
I had to look twice at the project picture! Initially I thought that’s old books…how’d she do that? This is CRAZY creative! Especially printing the covers! As always, you outdid yourself:)
Wow, what a really neat idea!! I love how you created the shelf!