3-Minute DIY Snow Covered Pine Cones & Branches {3 Ways!}
3-minute DIY snow covered pine cones & frosted branches! Easy pinecone crafts for winter, weddings, centerpieces, & Christmas decorations!
Want some winter magic or dreaming of a white Christmas? These DIY snow covered pine cones & branches will instantly transport you to an enchanted snowy wonderland!
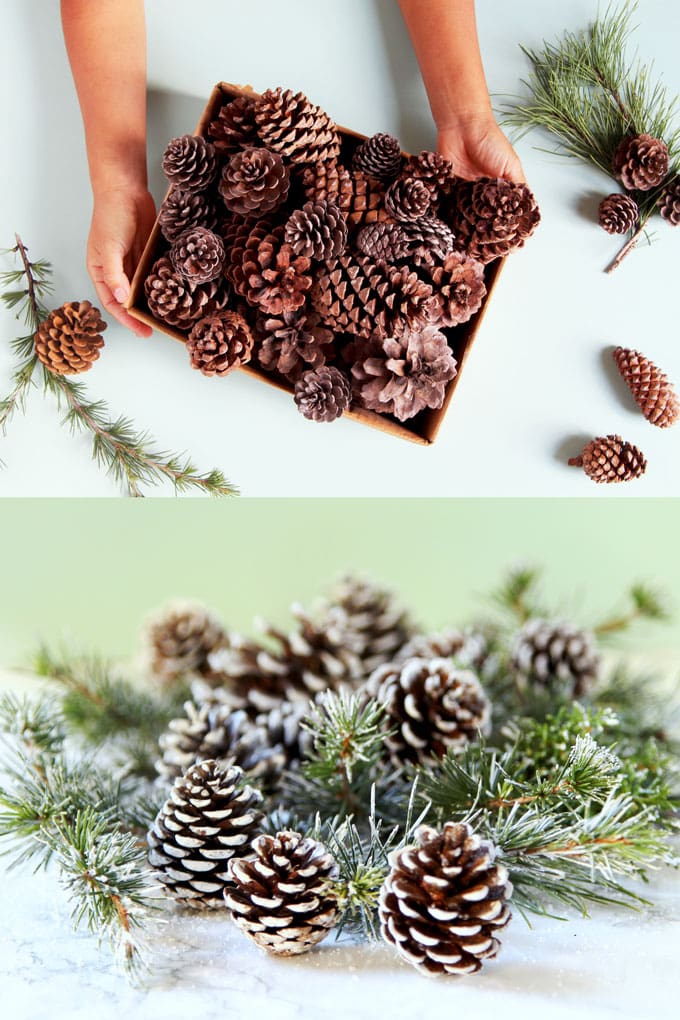
This year we are using lots of pine cone crafts in our Thanksgiving and Christmas decorations. No need for spray snow or anything fancy, just some household items are all you need to make these beautiful DIY snow covered pinecones & branches for practically free! I will share with you 3 easiest proven ways to make them, and how to choose which method to use.
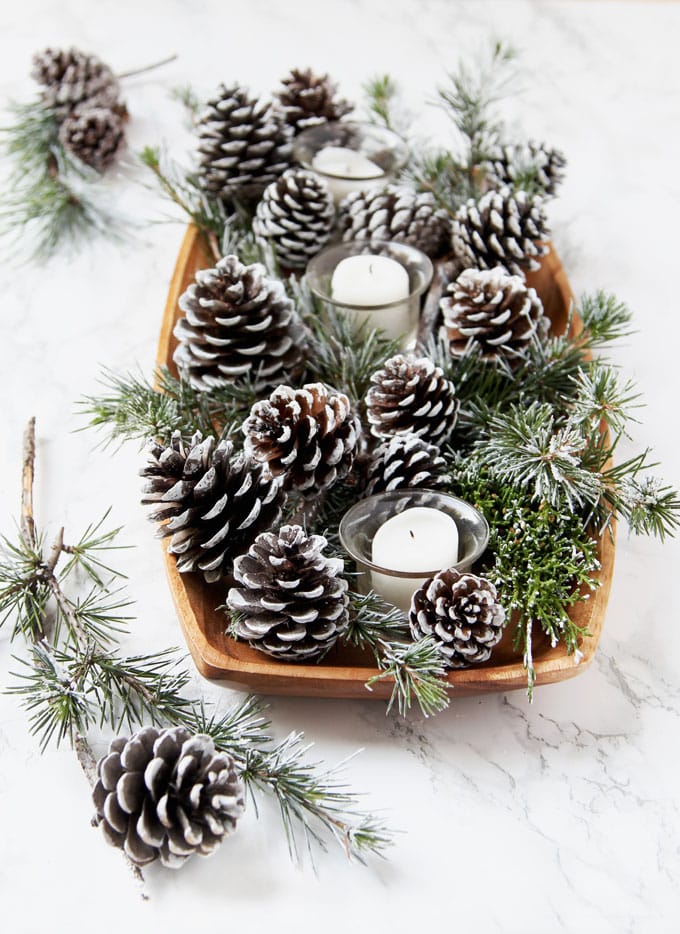
We will also explore some creative examples on how to use these snowy pinecones and frosted branches for holiday and winter decorations such as Christmas table centerpieces, frosted mason jar candles, and Christmas tree ornaments & creative gift wrapping!
*Some resources in article are affiliate links. Full disclosure here.
This pine cone craft is great for the whole family. Have fun gathering your pine cones! When you come back, let’s create some beautiful frosted pinecone decorations for the holidays and New Year!
Check out the DIY snow covered pine cones video tutorial below, or skip to step by step written tutorial.
Technique 1: How to make DIY snow covered pine cones & branches with salt or epsom salt.
This fun and fast technique is great for use indoors, or outdoors where it’s protected from rain.
REALLY HELPFUL TIP: the difference between salt and epsom salt is that if you use them on fresh branches, epson salt ( or the technique 2 & 3 ) works better because salt can discolor the green foliage after a few days. On pine cones or dry elements, salt works great.
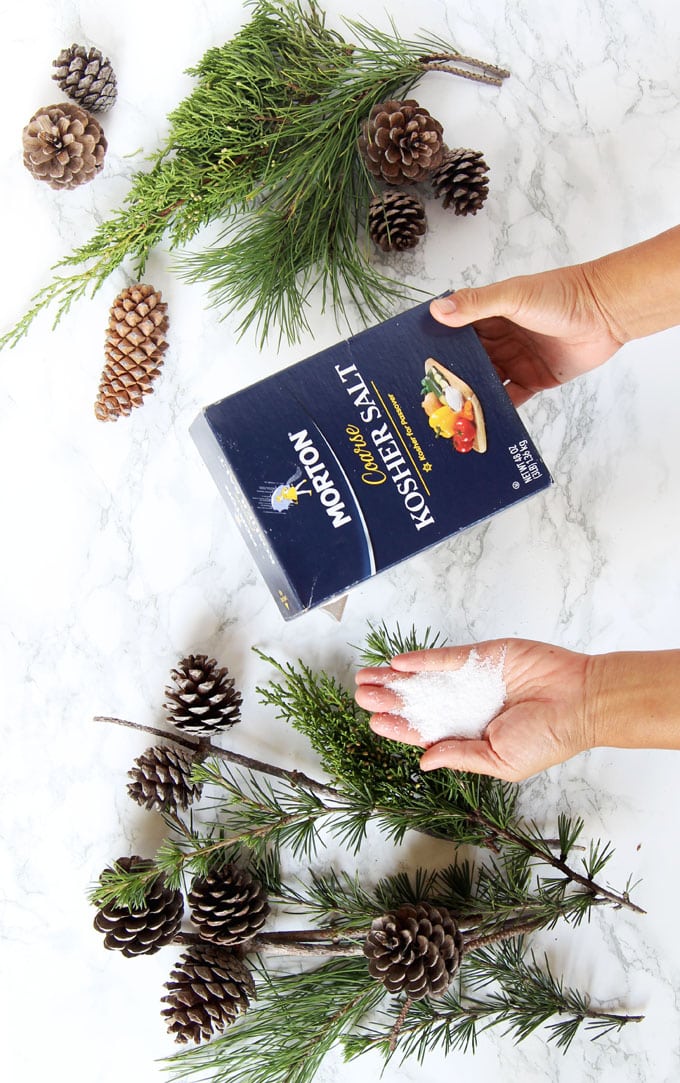
Materials you will need:
The snow is in your kitchen! You can use Epsom salt, regular salt or kosher salt. We used Morton Coarse Kosher Salt here because the larger flakes look beautiful as snow. ( See REALLY HELPFUL TIP above on the differences!)
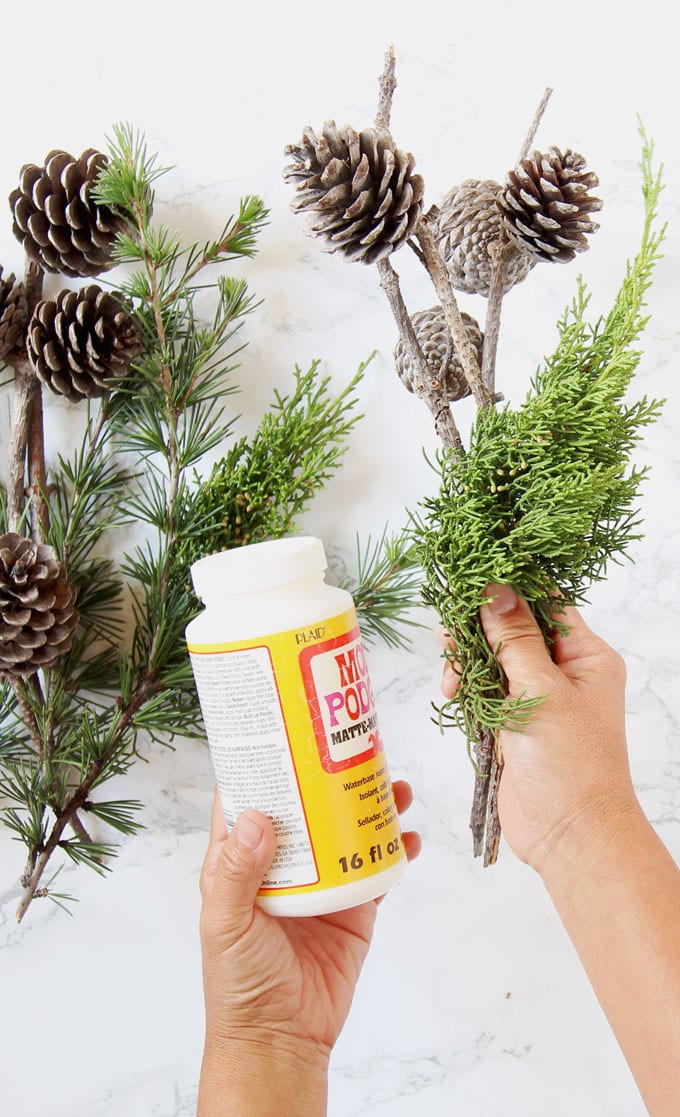
You will also need any craft glue that dries clear, like Elmers glue, or mod podge ( I used the original matte version here)
The key to success here is to work quickly so you can apply the “snow” before the glue starts to dry.
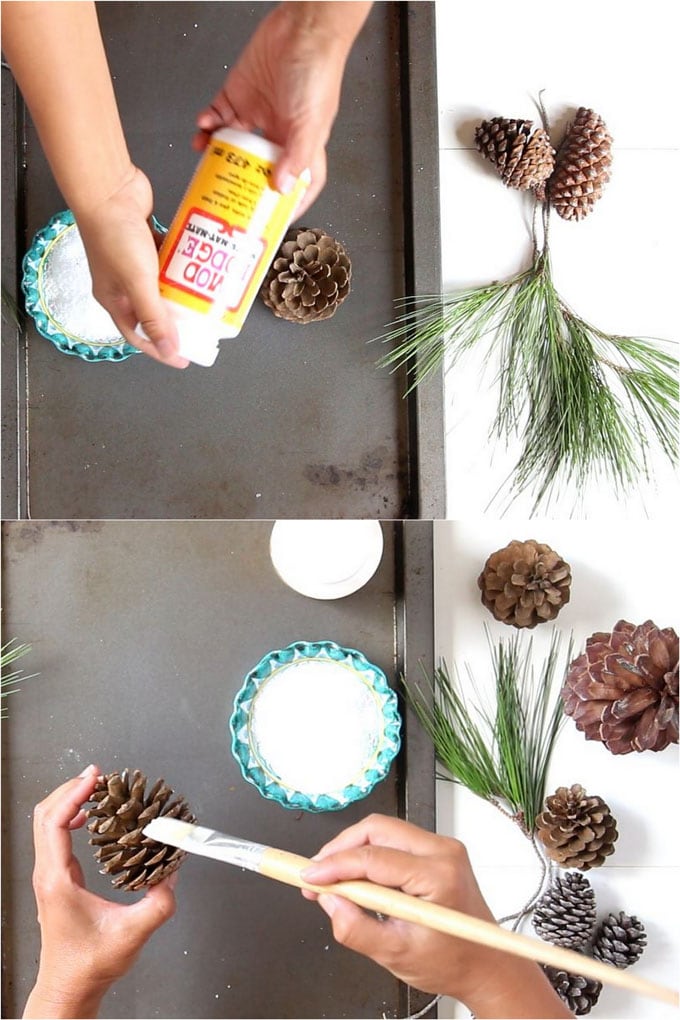
Coat the edges of a pinecone, a branch, or clusters of leaves with a generous coat of glue or Mod Podge, some spots will have little puddles of glue, which is fine. They will look like thicker snow later.
Take a handful of salt, sprinkle onto the glue coated surface as you rotate the pine cone or branch. Don’t touch the glue and salt coated surface.
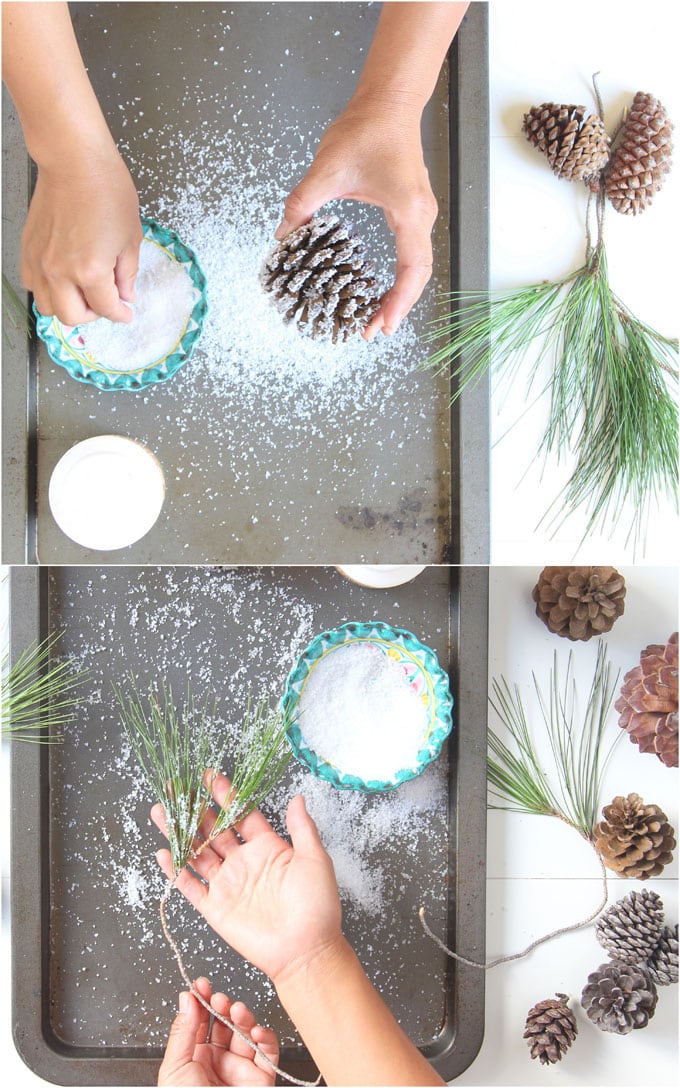
When you finish, set them aside to dry. It will take only 10 minutes. Once they are dried, gently brush off the excess salt on the surface, you will still have plenty left for the snowy look.
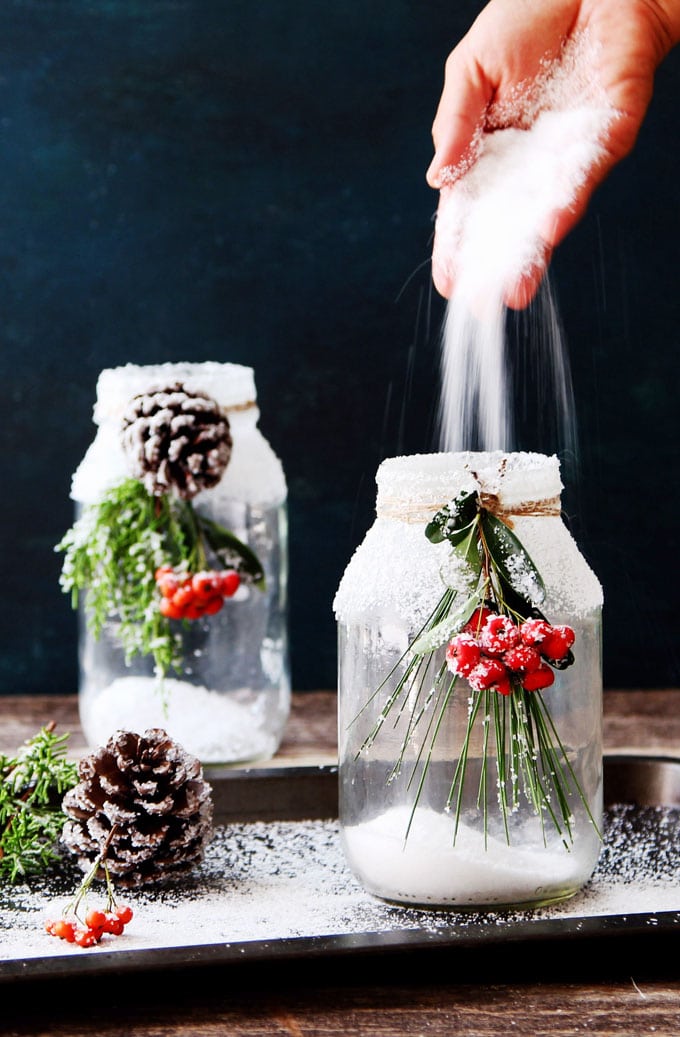
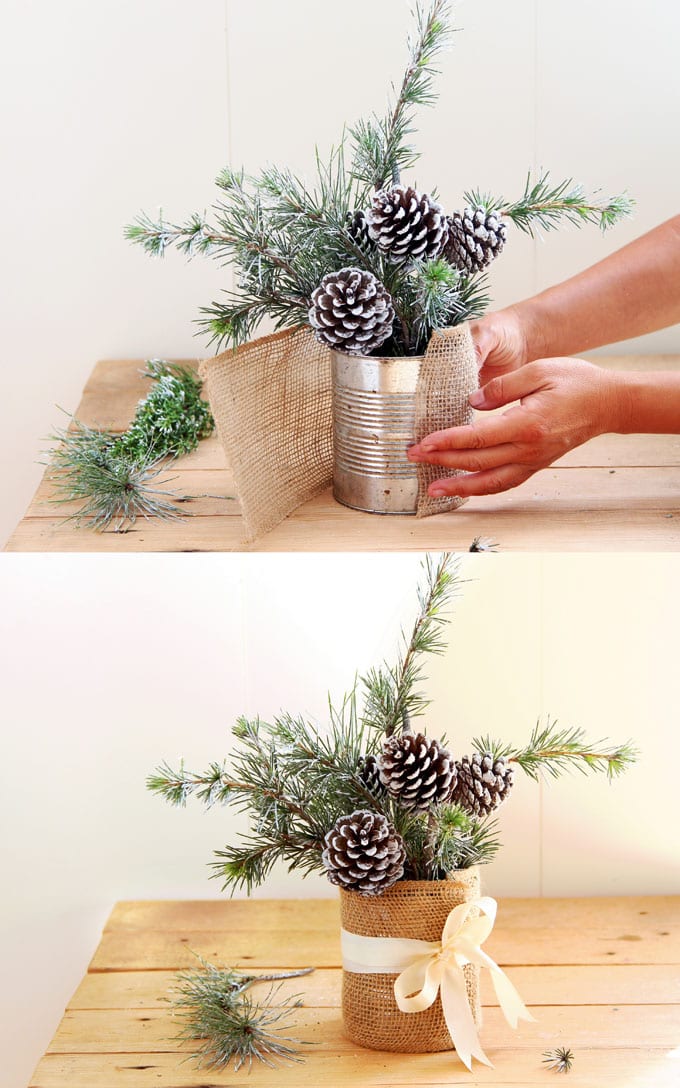
I used these DIY snow covered pine cones & branches in our enchanting snowy DIY mason jar centerpieces, tutorial here!
UPDATE: now we also have a fun way to make snow flocking with a $1 secret ingredient! You can use this method to make 3d snow flocked pine cones!
Technique 2: How to make DIY snow covered pine cones & branches with artificial snow or glitter.
If you plan to use your DIY snow covered pine cones and branches outdoors where they are exposed to rain, this technique is great because unlike salt, the “snow” will not be washed away.
IMPORTANT: some white glitter and artificial snow flurry particles are really small, and they may cause breathing hazards. Be careful and don’t leave children with these materials unattended.
This method is very similar to technique 1. The only difference is that we are using artificial snow flurry ( you can also use white glitter ) instead of salt.
The process is the same as technique 1, brush glue, and sprinkle with white glitter or artificial snow flurry .
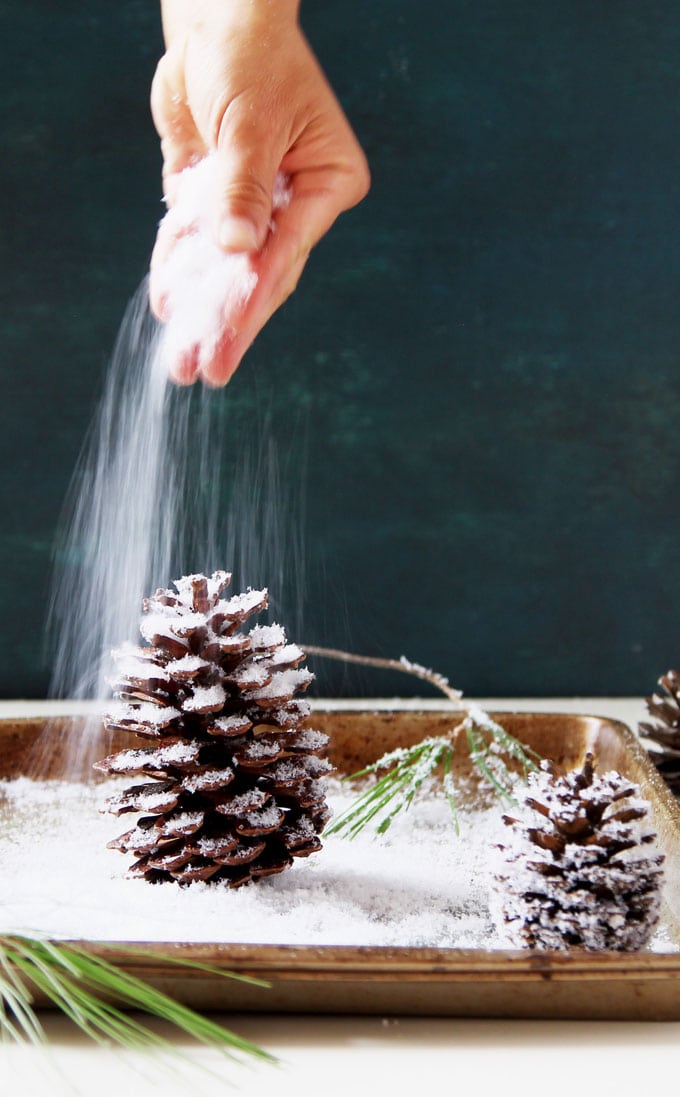
You can see in the photo above that the artificial snow flurry we used really resembles fresh snow!
My only note for this technique (besides the safety note above) is that materials like plastic is not bio-degradable. I like the idea of returning everything back to nature or the compost bin, instead of just throwing things away in trash, which goes to the landfill. If you make your snowy pincones with them, you can reuse them for many years, because they will last a long time. 🙂
Another great way to decorate pine cones for Christmas is to make them look bleached. Here’s the secret on how to make “bleached pinecones” without using any bleach!
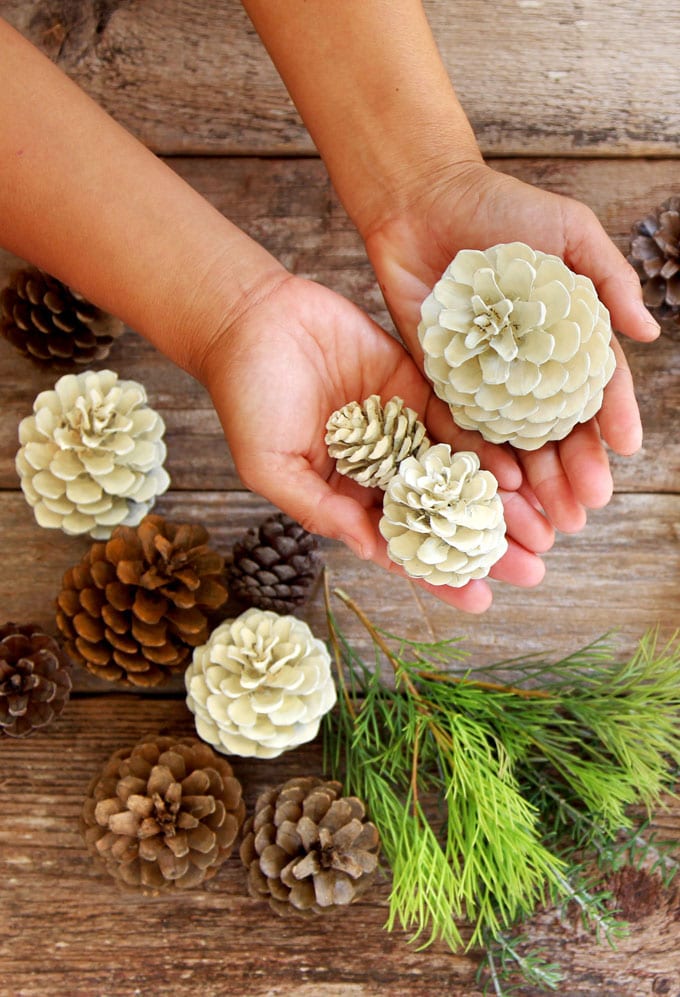
These easy decorative pine cones are perfect for any style home decor from modern to farmhouse!
Technique 3: How to make DIY snow covered pine cones & branches with paint and a tooth brush.
I love this technique because it is just as easy as the previous ones, and you can use your DIY snow covered pine cones & branches outdoors both indoors and outdoors.
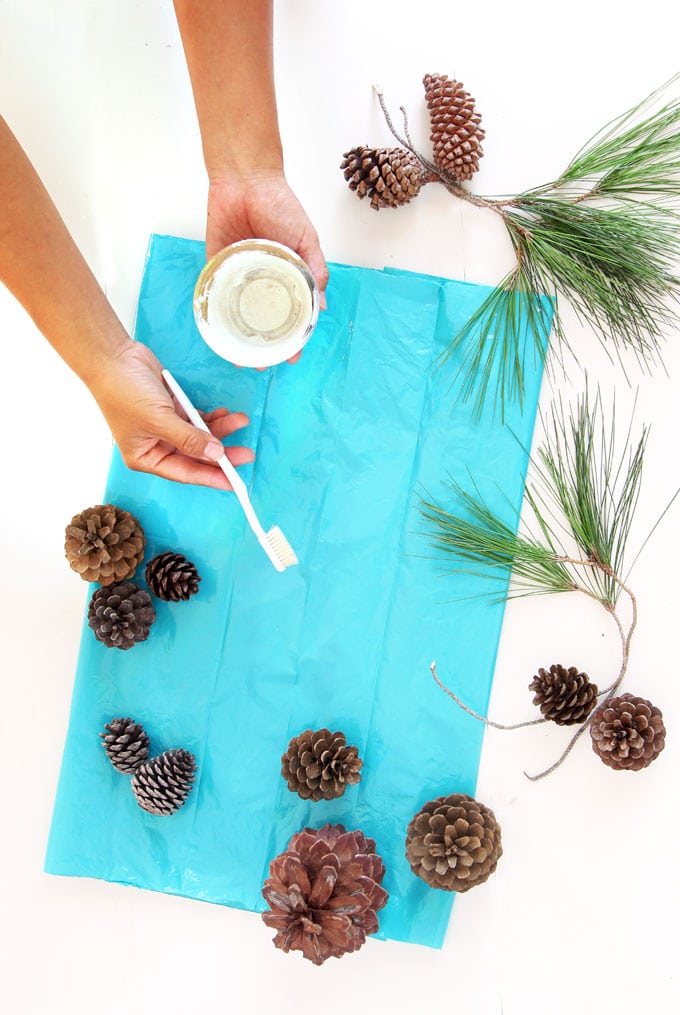
A tooth brush is the best kept secret here to make these painted pine cones look like they are frosted! I used this tooth brush technique when painting these watercolor trees with fall colors, tutorial here.
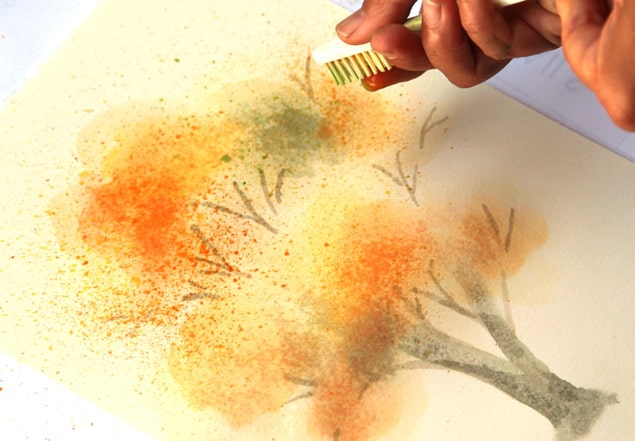
How to paint watercolor trees with fall colors.
We are using the tooth brush in 2 ways here. First, dip the tooth brush in some white paint, and tap on the pinecones and foliage quickly to create spots of “snow”.
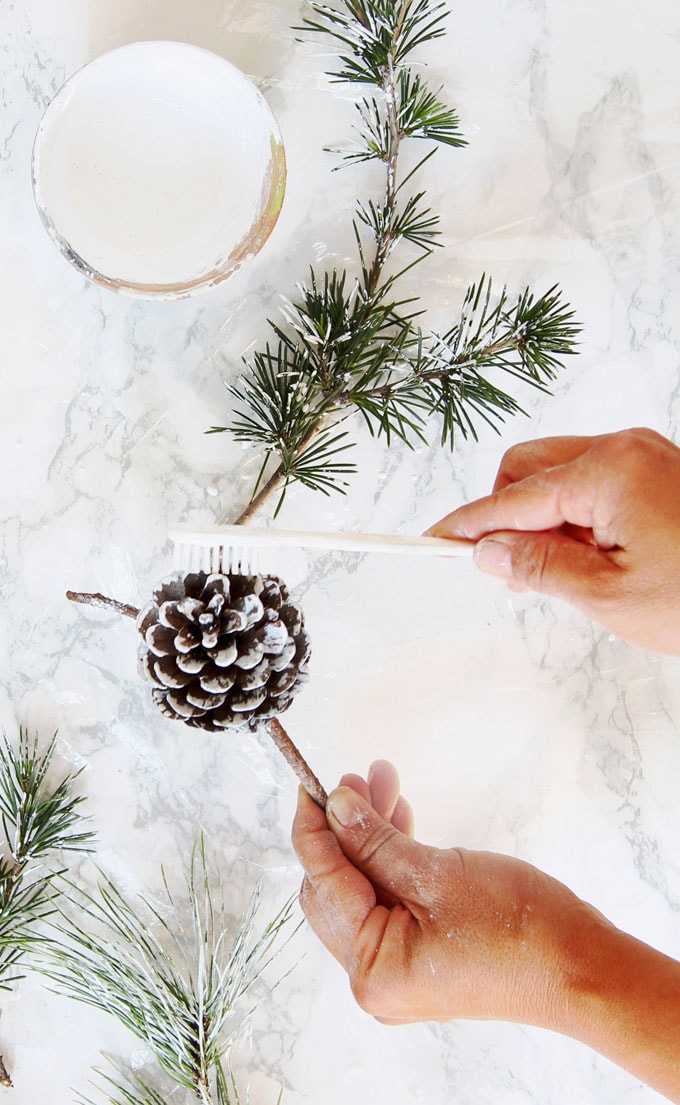
Then, use your fingers to press and release the bristles to create small random splatters that look like specs of snow.
See how to make DIY Christmas gift wrap using these snowy pinecones!
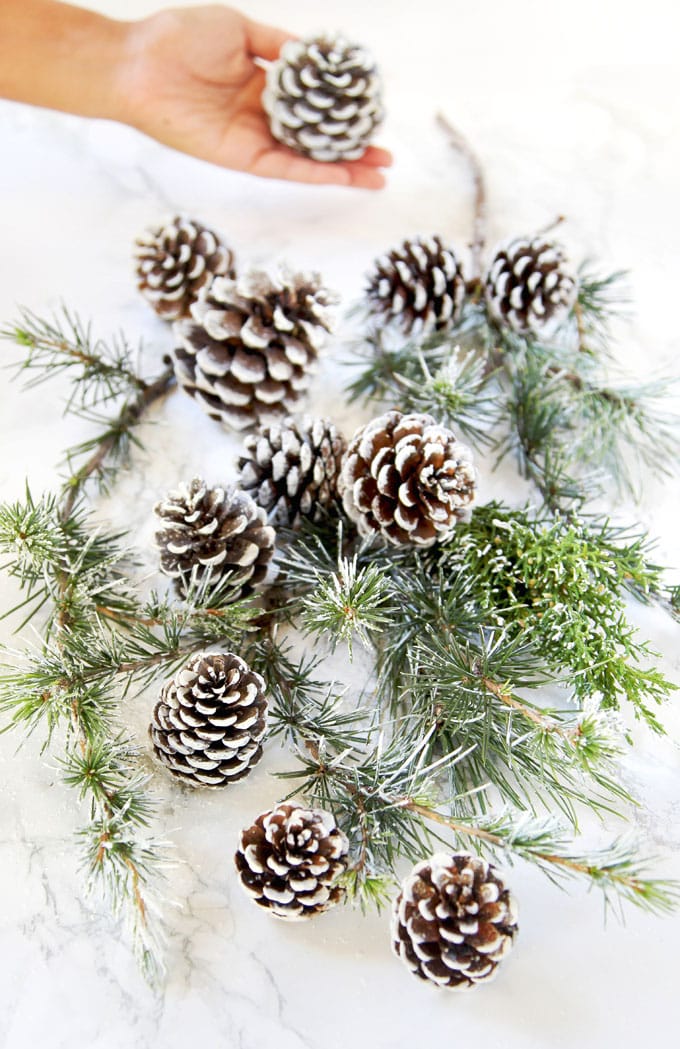
I love this technique because it is so easy and so beautiful! It is also non-toxic and so much fun as kids crafts.
I used a combination of technique 1 and 3 ( start with paint, then use glue and salt) to create a more 3 dimensional look in these Snowy pine tree DIY table centerpiece decorations. Tutorial here –
Choosing which one of the 3 techniques to use:
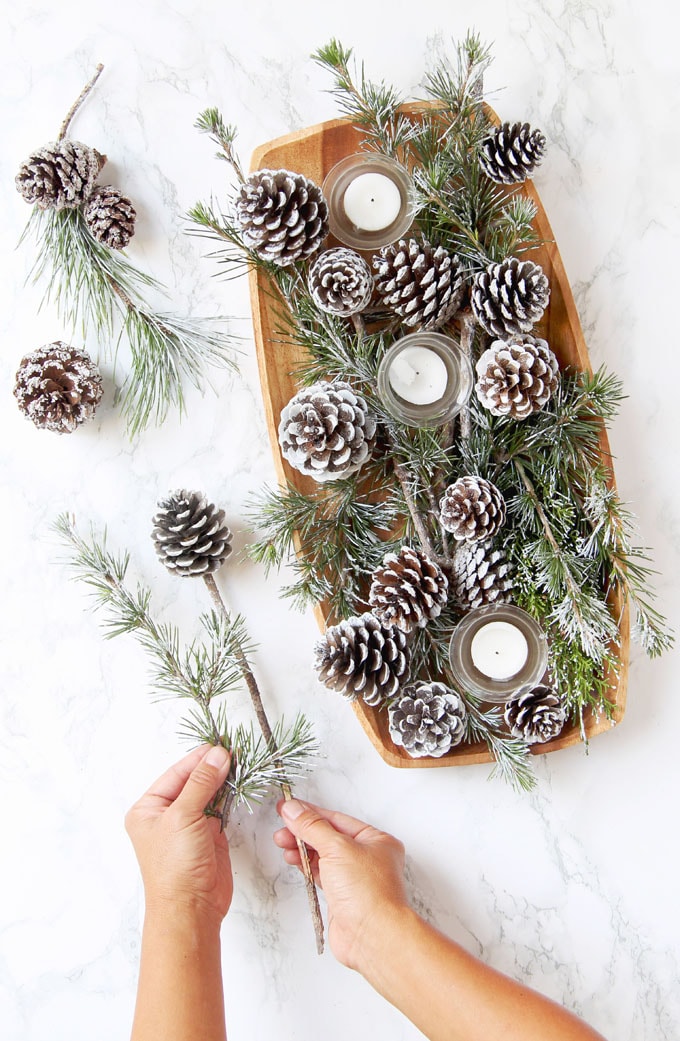
If you are making these DIY snow covered pine cones and branches with kids as a great craft project, or if you want to return the pine cones and branches back to the soil, use technique 1 or 3, because the materials are easy to work with and biodegradable. I mixed the snowy pine cones and branches made with these 2 techniques in a Christmas centerpiece!
For outdoor locations exposed to rain, use technique 2 or 3.
If you prefer more 3 dimensional details, use technique 1 or 2. You can also use a combination of technique 1 and 3.
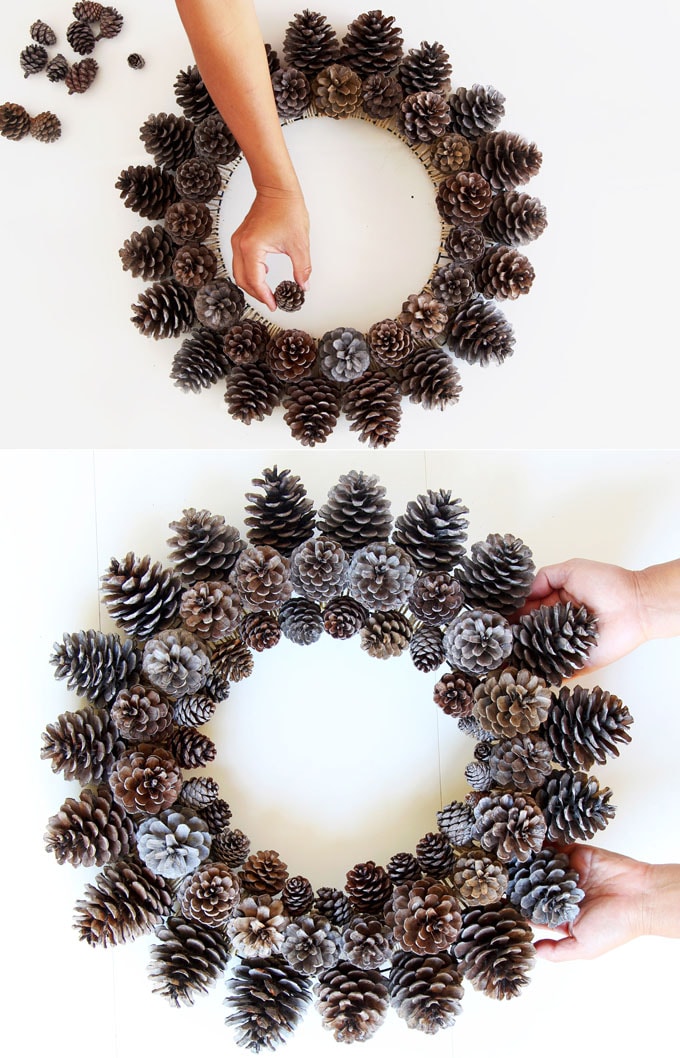
You may also love this pine cone craft: an easy DIY pinecone wreath great for fall, winter, and Christmas decorations!
Happy creating! See you soon!



Be careful using Glue & Salt/Epson Salt if you have Kitties. They like to lick/chew these things (as well as some plastic because of the way it smells) It may result in a trip to the Vet or a sick animal (doggies too) Make sure these kinds of crafts are Out Of Reach of Animals if you do make them
thank you Mary for this tip! 🙂 happy 2024!
I often work with kids and the soaking & baking helps remove any “bugs”, sap and/or dirt that may be undesirable. When you soak them (I use hot water & dish soap) they close up, so be sure to clean the extra dirty ones before they close. Then after a 200-300 degree oven drying (on a foil lined baking sheet) they open back up, the sap melts & are usually even prettier than before.
Can’t wait to try some of these out for the winter decorating.
I have baskets and bags full of pinecones that I’ve had for years. Some of them are more than 50 years old. I periodically take some out and make some things with them. I love your ideas and intend to use them this winter and next Christmas. Thank you for sharing
thank you Mar! they are great materials for so many crafts! 🙂
Your pinecones look awesome. I have prepared mine by soaking them in vinegar, then baking them – some I bleached and baked, but haven’t “sealed” them. Did you seal yours before working with them, and how did you do that, or Is the glue or Mod Podge enough to seal my prepared pine cones?.
BTW – I love the music along with the video – another version of Ave Maria – I used this to walk down the aisle.
thank you Sandy for sharing your lovely story! 🙂 i never seal or bake our pine cones, just brush the dust off, that’s it! 🙂
I was looking at your beautiful gift wrapping ideas and I had to find out how you made the snow appearance. These are such great ideas. I’m going to experiment with all 3 methods for different projects. Thanks for the inspiration.
thank you helena! have fun crafting and happy holidays! 🙂
How do you get such long stems on your Pinecones? I’ve never see that.? We have over 50 pine trees in different trees and we’ve never seen long stems like that.
it must have to do with the species. you can totally glue pine cones to branches though! 🙂
I REMEMBER MY DAD MADE SOME FOR OUR TREE WHEN I WAS A CHILD, MORE THAN 65 YEARS AGO. HE USED IVARY SOAP WATER AND WITH A MIXER BEST UNTIL REAL FLUFFY. HE PUT IT ON THE BRANCHES. It dried very HARD and looked beautiful.. Thank you for the memory!!!! Your ideas are great!!!!!
wow that sounds amazing! thank you so much bonnie for sharing your beautiful memories and this technique, i am going to try it! best wishes! 🙂
It’s looking soo beautiful
Beautiful crafts