Turn a $30 Cabinet into a Custom Kitchen Island
This great looking DIY kitchen island started with a simple IKEA base cabinet. It’s much easier than building a kitchen island from scratch. Today we will share with you how to design and build a kitchen island, choose paint colors, install butcher block countertop and optional wheels, and add a great looking towel bar.
Portable kitchen island
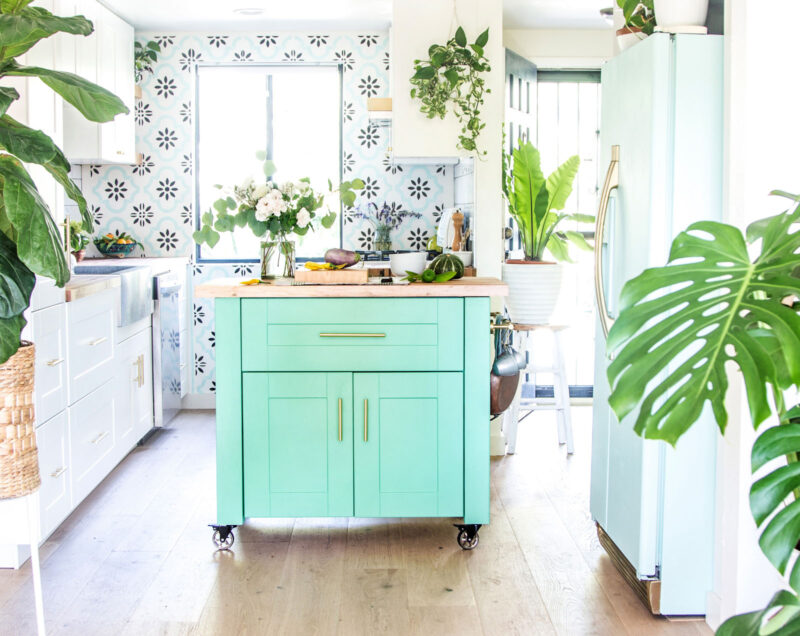
This is the final big step in our DIY IKEA kitchen remodel. We are thrilled with how our kitchen island turned out! Because our kitchen is small, we made it into a portable kitchen cart style so we can wheel it around easily.
Benefits of a DIY kitchen island

*Some resources in article are affiliate links. Full disclosure here.
This easy DIY kitchen island added lots of useful work and storage space in our kitchen. For more our DIY IKEA kitchen remodel before and after here for a tour! Now let’s start designing and building!
Start with kitchen island design

A kitchen island should be 36″ to 37″ high. You should have at least 30 inches, preferably 3 feet of space around a kitchen island for comfortable working and easy circulation. A kitchen island should be at least 20 inches wide, preferably 2 feet or wider (2′ is the standard kitchen countertop width) and longer than 30 inches.
How big does a kitchen need to be for an island?

Adding these numbers together, you will need a 7′ by 8′ area for a small kitchen island. A kitchen cart on wheels is great for a small kitchen like ours. For bigger kitchens with stationary island, you can easily adapt the design by using longer 4×4 posts and skip the casters.
If you want to paint the kitchen island

Check out this tutorial here on how to paint kitchen cabinets, especially laminate cabinets such as those high gloss ones from IKEA. Once the paint is cured, we can assemble our kitchen island!
Materials for DIY kitchen island

IKEA 30″ x 30″ x 24″ deep base cabinet case (or other brands), 30″ wide x 24″ deep drawer, 4×4 wood posts, heavy duty swivel locking caster wheels designed for hardwood floors, gold cabinet hardware and towel bar, and butcher block countertop.
Assemble cabinet case

The IKEA kitchen cabinet case is very easy to assemble when you follow the directions booklet. It only takes 30 minutes.
Attach the legs to cabinet case

To attach the wood legs on the DIY kitchen island, place the case upside down, hold or clamp each leg to the case, pre-drill holes, then screw them together with 2″ or 2.5″ wood screws.
Add custom details to the back panel

We also added custom details to the back panel using 1/4″ plywood cut to size as shown below, because IKEA kitchen cabinets have an unfinished back. You can also measure and glue the plywood design to the back panel first, then finish assembling the cabinet.
Add casters
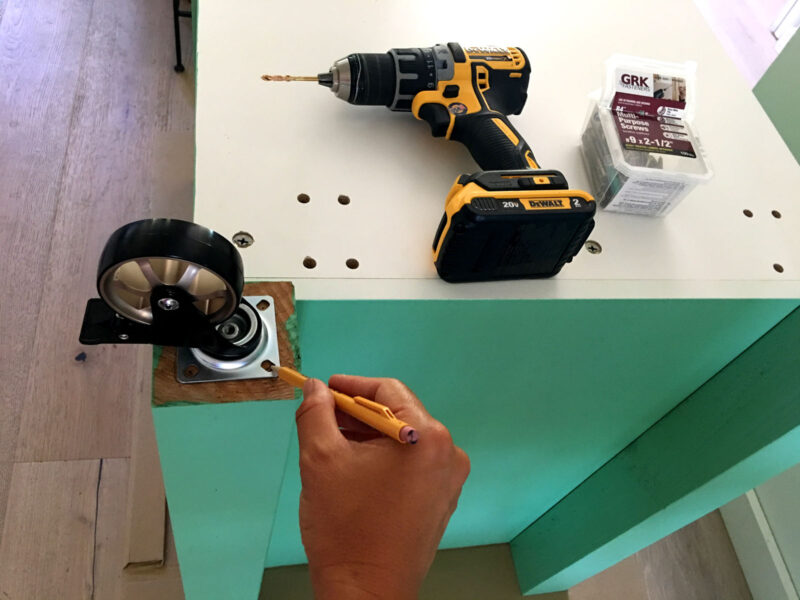
Center each caster on the 4×4 posts, predrill, and attach with 2″ screws. You probably don’t need to use screws this long, but we want this kitchen island to be super sturdy, thus a little overkill here.
Add butcher block countertop

IKEA base cabinets come with metal rails at top, which makes it very easy to attach butcher block countertop. We used the 1″ screws to attach the countertop from underneath, after pre-drilling.
Add doors and drawers

Almost finished! Just like the cabinet case, IKEA cabinet doors and drawers are really easy to put together too.
Add cabinet hardware

We used a cabinet hardware jig throughout our kitchen remodel, which made it really easy to attach drawer pulls and door knobs precisely. Here the full DIY kitchen island tutorial with a list of all the hardware and tools we used.
Add towel bar

It took a while to find a towel bar just right for our kitchen island. We love the look of it and the added function.
Finishing touches

If you are using an unfinished wood countertop, you can finish it with ready made butcher block oil conditioner, or make your own easily! Here’s our favorite recipe to make an all natural food safe butcher block oil and wax conditioner that is also great for wood cutting boards, salad bowls, etc. You can also finish the butcher block countertop with polyurethane, which is very durable and looks great.
How much does it cost to build a kitchen island?

You can definitely build a kitchen island for less than $100 if you repurpose old cabinets or table tops, and you don’t need casters to wheel it around. We spent about $300 on this custom kitchen island, $100 of which were for the 4 caster wheels. We could probably have found much cheaper and good quality used materials at places like Habitat for Humanity stores, but we opted for a quicker option.
Can a beginner build a DIY kitchen island?

Yes! A kitchen island can be as simple as a wood panel attached on top of a simple shelf. Here are several IKEA hack kitchen island ideas you can make which are quick and easy. Building our kitchen island is not that much harder than putting together IKEA furniture.
More DIY kitchen remodel tutorials

For more kitchen remodel and design ideas, check out these 15 inspiring DIY kitchen remodel before afters, and 25 best kitchen cabinet paint color ideas.