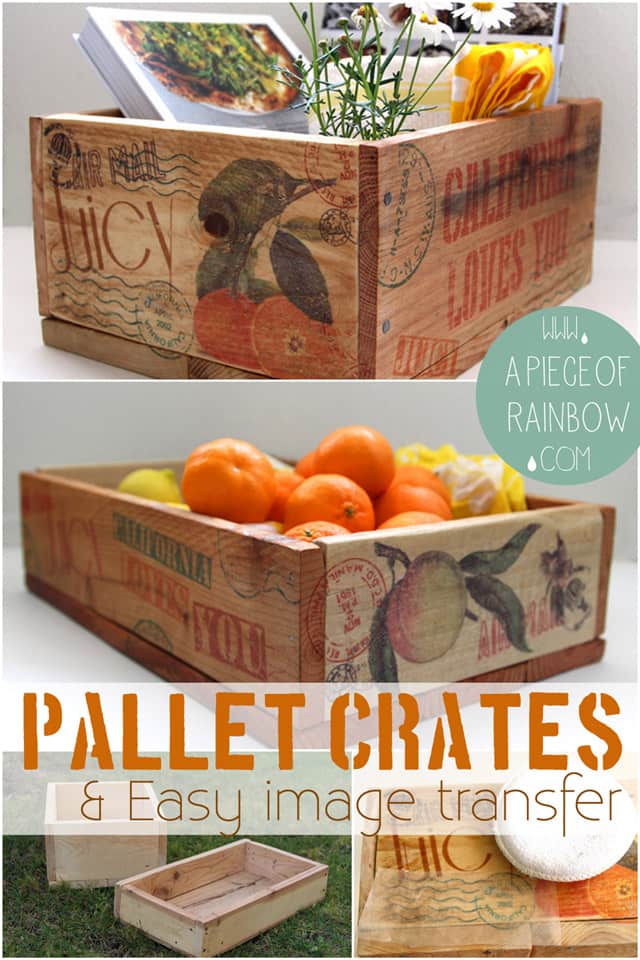
2-Ingredient DIY Natural Wood Finish & Clear Furniture Wax
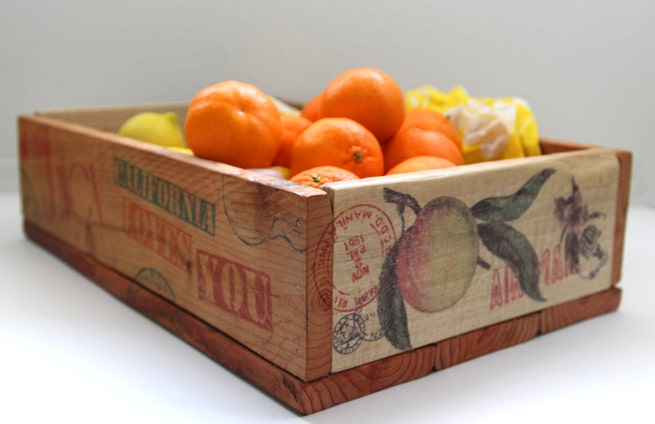
We LOVE this easy DIY natural wood finish and clear non-toxic furniture wax! In the last 3 years, we have used them on many things such as cutting boards, wooden utensil and bowls, tables, and on our lovely DIY pallet wood crates!
The purpose of a wood finish is to protect the wood surface from moisture, stains, and other damages, and to enhance the look of the wood.
There are many types of wood finishes. Some are more durable and labor intensive, which I will share in a future article.
This luscious and easy to DIY natural wood finish and clear furniture wax is great for so many uses and safe for children’s toys (unless there’s an allergy issue with the wood or ingredients) . It also has such a pleasant smell of honey, yum!
This is the final part 3 of our DIY wood crates tutorial.
Here’s Part 1: How to make your own wood crates from pallet wood or other wood.
And Part 2: How to transfer image to wood easily using only wax paper and water.
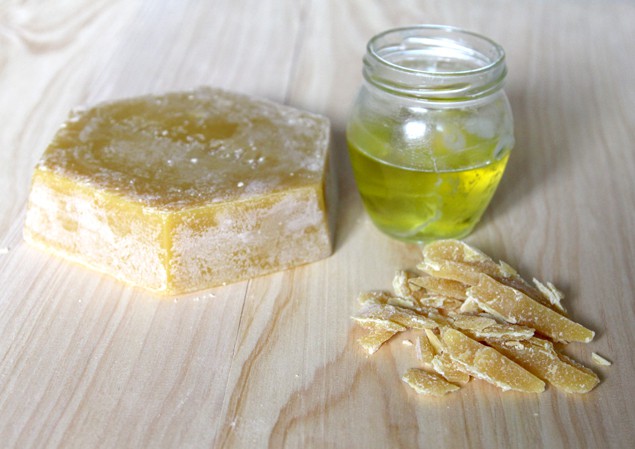
Materials and tools to make natural wood finish / clear furniture wax :
( Some of the helpful resources are affiliate links. Full disclosure here. )
- glass jar with lid, a small pot to boil water
- 1 part bees wax, 4 parts jojoba or olive oil (I used olive oil).
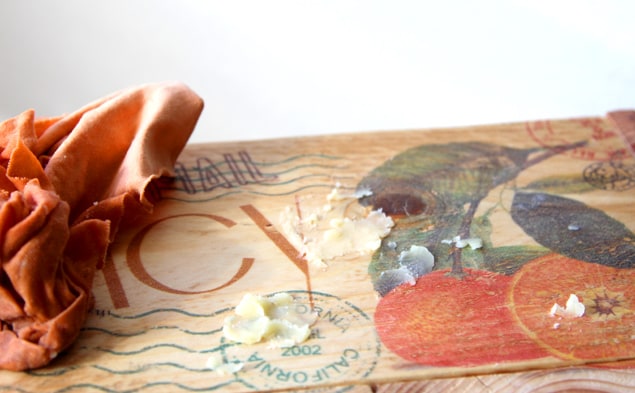
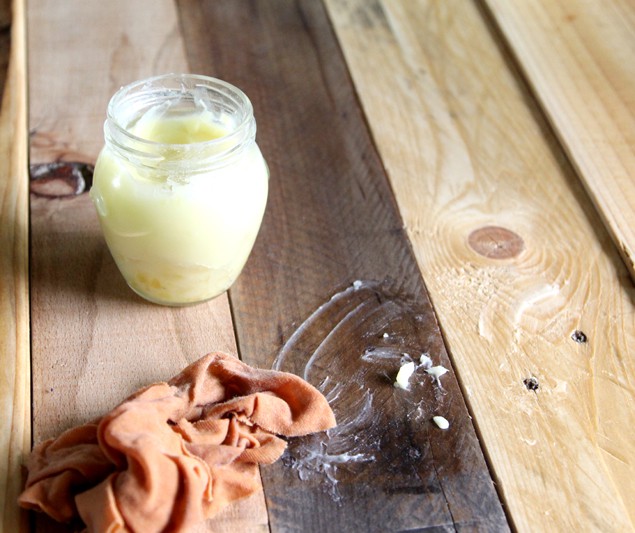
Place the shaved bees wax and olive oil in a bowl, and slowly heat over a double boiler till the wax is melted. Stir and transfer into a jar.
This wax is non toxic, and so nice to work with. It’s actually a great hand lotion!
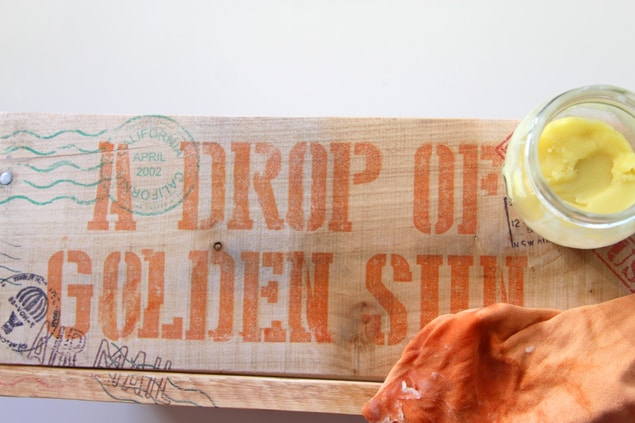
You can see from the photo above that the color of the wood and images become richer and deeper once you apply the wax. Let sit for 24 hours, and you are ready to use these beautiful wooden crates or give them as gifts.
We have also used this natural wood finish furniture wax on our DIY pallet coffee table and bench here.
Here are the collage sheets of stamps, images and phrases used to create these pallet wood crates. DOWNLOAD here.

Happy creating!


Hi , I like that you made your own clear wax ,I did the same with Turtle Wax (yes car wax) and Coconut oil ,I paint it on really good wait about an hour then buff it off..Ta-daa… Finished!
thank you Paula for sharing this idea! i will give car wax a try in future! 🙂
Hi! I’m currently building a bed from your DIY bed frame plan, and I’m wondering if it would be sufficient to finish the wood with this wax after the bed is built, but not stain the wood at all. Also, do you need to reapply this to wood over time, or is the one time application enough?
thank you!!
hi Kathleen! yes you can use that wax, or this one below, both will make the wood water resistant. i would apply the wax 2-3 more times in the first year, then only when the wood feel dry. 🙂 https://www.apieceofrainbow.com/diy-butcher-block-cutting-board-oil-conditioner/
I’m concerned about the olive oil going rancid over time. Have you had a problem with this?
hi Shelly! the oil gets absorbed and the beeswax has preservative quality, so i have not experience anything smell rancid at all 🙂
I wonder if there is a way to make the finish just a bit darker? Is there a natural pigment that you can add to the wax and oil finish, like coffee or something?
hi tatiana, you can add a little oil paint to tint the wax 🙂
Does this work over a craft paint design? Will it rub paint off of the wood?
hi! it works fine with painted surfaces. however, most latex or acrylic paint do not need wax finish on top 🙂
I will be using this on pallet wood that may by a little on the rough side. It appears that you used a rag to apply it and I am concerned that I will end up with a bunch of threads caught in the splinters of the pallet wood, which I would want to avoid. Have you applied this in other ways?
hi ruth! we always sand the pallet wood a bit with 100 to 150 grit sand paper before staining or painting, so there are no splinters 🙂
Thanks ever so for this project, great instructions and images. I’ve pinned some of your projects and I’m sure I’ll use more. Happy creating to you too!
thank you so much TG! 🙂