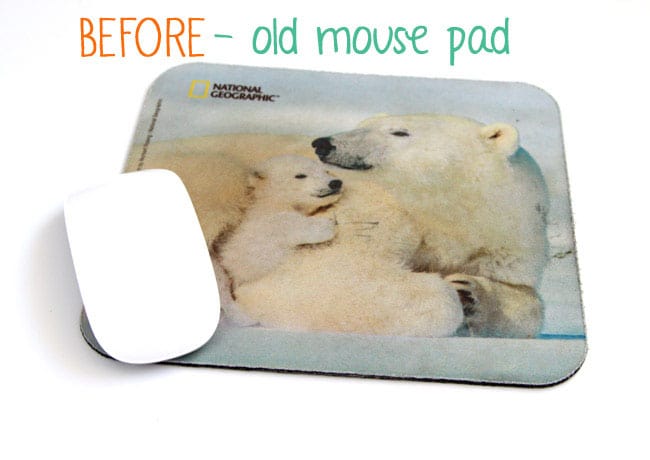
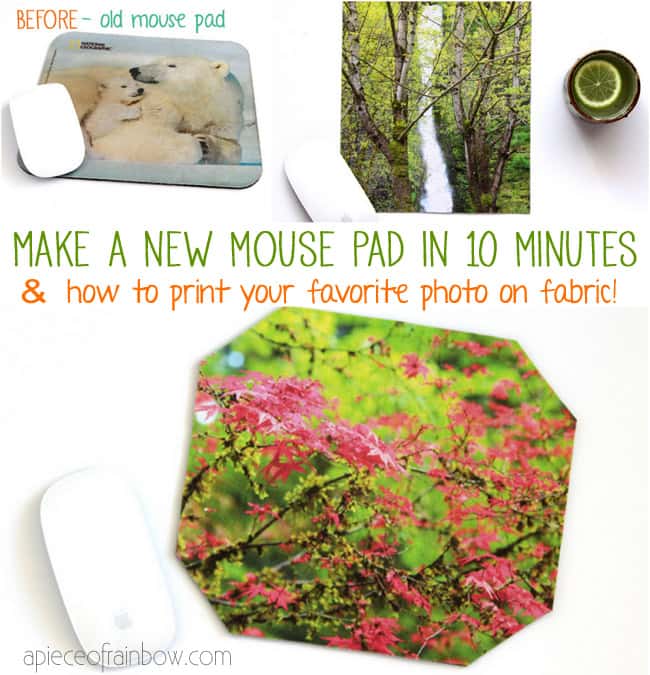
Make Mouse Pad in 10 Minutes

Are you MADLY in love with your mouse pad? If not, let’s change that, in 10 minutes!
You won’t believe how easy and fun it is to make mouse pad, either from an old one you have, or from scratch, using your favorite photo!
I also have a little gift for you! If you like the 2 photos I used here, you can download them at the end of this tutorial !

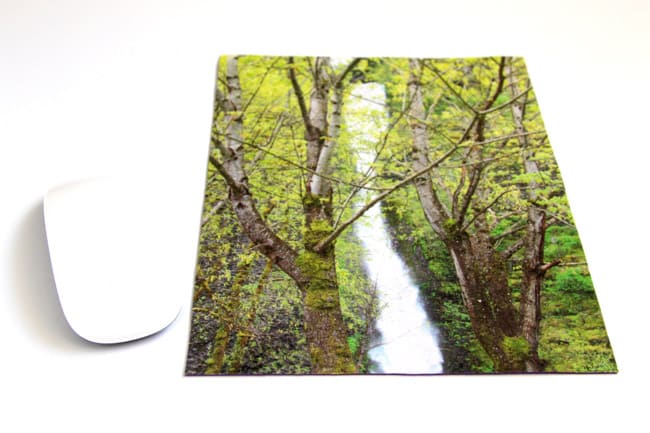
As you can see, I liked the result so much, that I made 2! One from scratch, and the other from and old mouse pad!
Materials and tools:
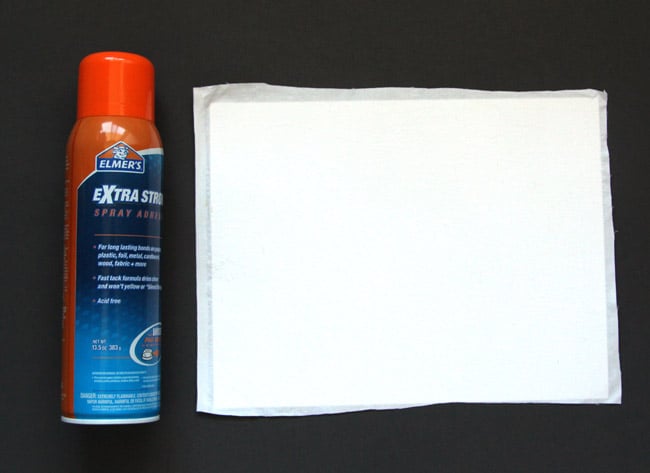
- a Inkjet printer, paper or card stock as backing
- Elmer’s Spray Adhesive
- fabric: I used a piece of 100% cotton fabric. Synthetic fabric may not absorb ink as well.
- an old mouse pad, or if you want to make from scratch a sheet of craft foam can work pretty well
First step is to print our favorite photo or image onto the fabric, using the spray adhesive method, which I personally find easier than the freezer paper method.
Remember last week’s little project of how to print on fabric with our home printer? You can read more about the details of the process here.
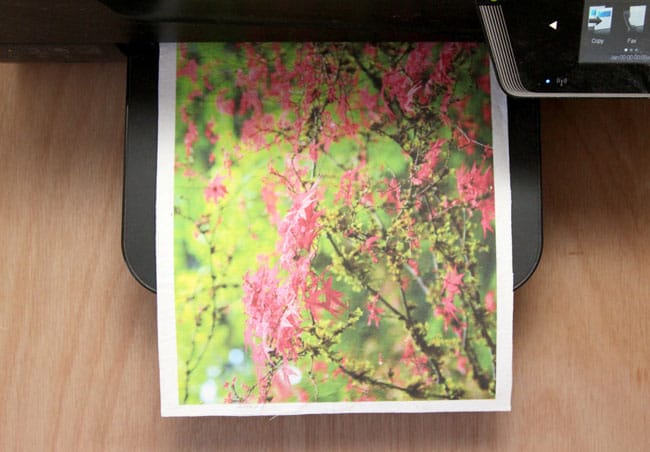
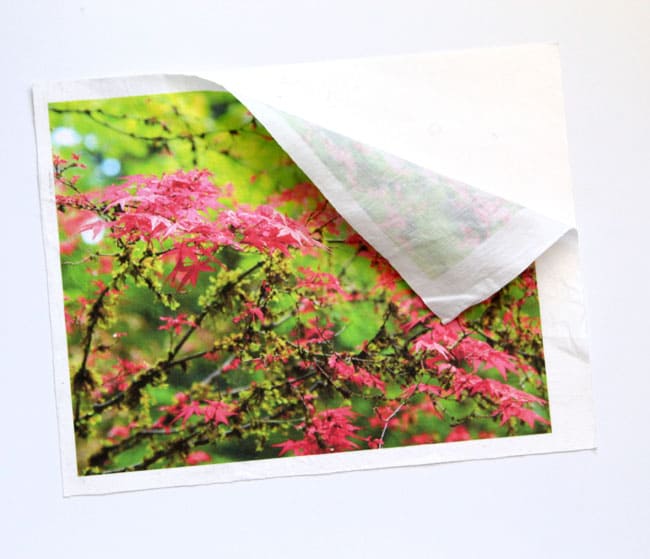
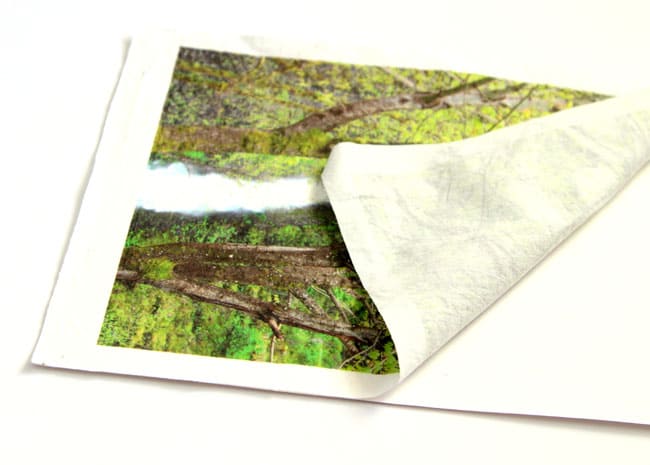
After peeling off the printed fabric, you can iron it a little if it looks wrinkled.
I trimmed the old mouse pad to a more geometric shape for fun.
The craft foam sheet is kept at a rectangle shape. The photos are sized slightly smaller than 8.5″x11″.
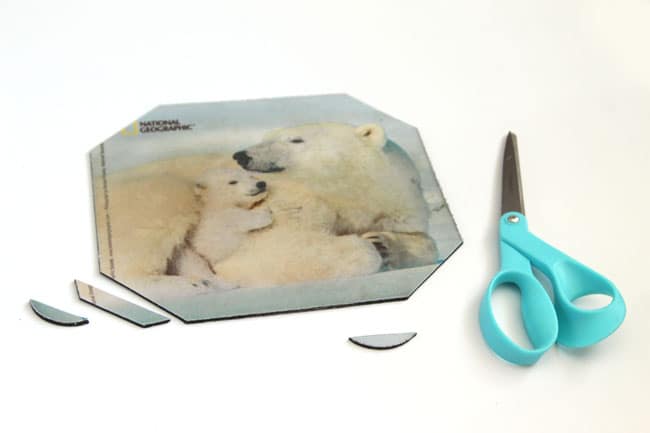
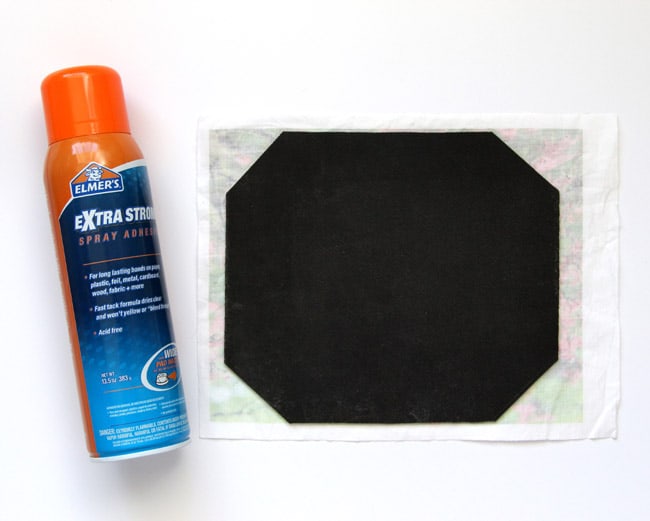

Next, spay a thin coat of the spray adhesive on the old mouse pad, or craft foam, attach the fabric. Then trim off the excess fabric.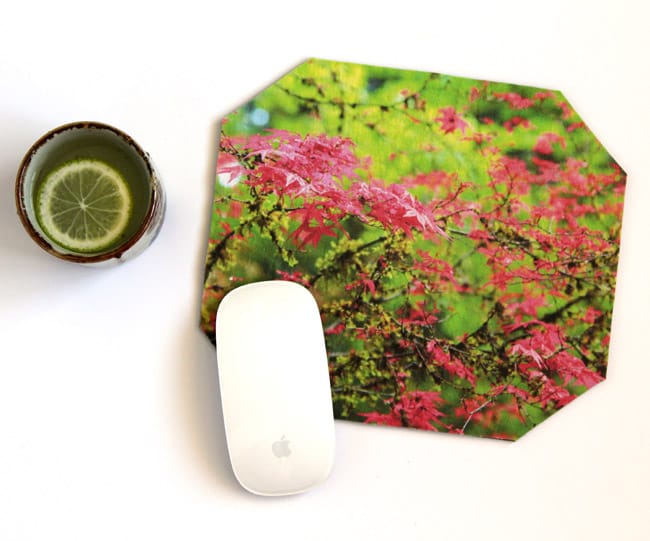
See how easy it is to transform an old object into something new and beautiful? Here’s a similar DIY you may enjoy- transform old switch plates and outlet covers into designer ones! (with free printable download as well!) 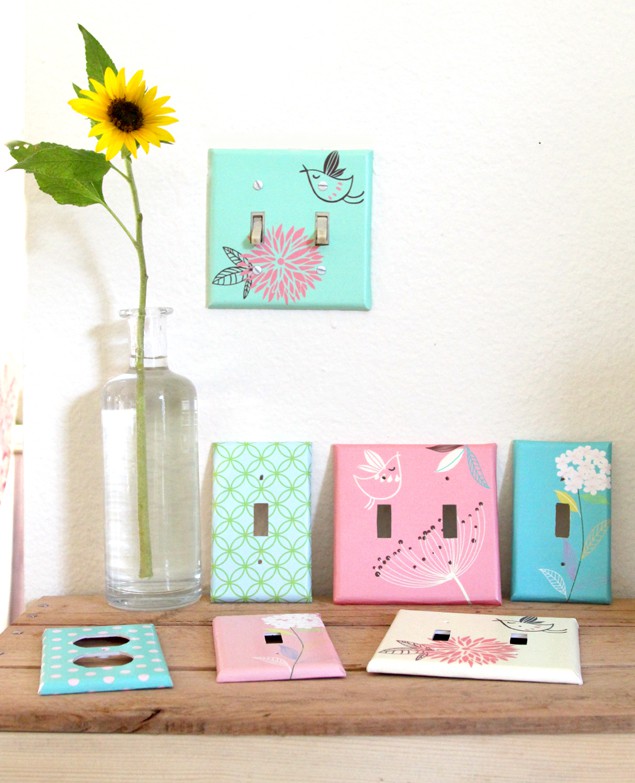
Now the photos for you to download as I promised- the waterfall photo is from our trip to Columbia Gorge, you can see more of the magnificent waterfalls here.
And the maple tree one if from the amazing Portland Japanese Garden, see more photos from that trip here. 
Download photos- 1.Waterfall. 2. Maple tree. (If you have trouble downloading, please know that it works!! May be a browser issue, just ask friends to download and email them to you!)
Have a lovely day and happy creating! xo


This is just what I am looking for and the DIY mouse pad looks so nice! Thanks for sharing this creative technique!
With pictures like yours, no wonder you feel like making new mouse pads 🙂 I’d need to start getting nice pictures… Your post made me smile because I actually got rid of the mouse pad altogether. Gone. Our latest one fell apart, so I thought it would be simpler without. BUT this, this is fun and the customization takes it to the next level (and is very much en vogue right now, in all fields…). Have a beautiful and creative February, dear Ananda!
thank you my dear friend! your photos are gorgeous- i have seen them! =) xo
WOW! This is genius! What a great idea. I thought for sure you were going to say we had to send a file somewhere to get it professional printed!
okay, now this is COOL! I love how simple it is to do!
A great tutorial, and a great project to do. I love your pictures too.
I love the light switch covers! I want to make some for my daughters’ rooms!
In fact mine is a free one I got from a convention I attended years ago.. it is time to upgrade my mouse pad and my entire workspace to be honest
This is such a clever idea – definitely something I’d love to try at some point! I still don’t get how you printed onto fabric without a special printer!!
Katie <3
Where can you buy stuff to make it from scratch? I don’t have an old mouse-pad that isn’t plastic. I love how creative you are, it is inspiring.
links for supplies are in the material list, have fun ashley! =)
oh wow how cool is that? love that it only takes 10 minutes and saves me a load of bucks instead of buying new one i can make me one. Cheers
and customize it too! cheers! xx
Wow! I so need to do this! I love the idea of being able to change up my mousepad more often.
thank you brenda! that’s my plan too, change them often! =)
Oh cool! I don’t use a mousepad but if I did this would be an awesome DIY activity!
This is such a cute idea! I love it!
I love this idea and your photos are beautiful!
Super fun! My Dad loves fun mouse pads!
This is really great, I love the light switch covers.
Great post ! I will definitely be doing this 🙂
thank you and have fun emily!
This is so awesome.. I am totally do it!
what a lovely idea! I will totally be sharing this!
Ahh that’s a lovely idea. how nice to be able to look down at something inspirational all the time!
thank you alice! i smile at my mouse pad a lot ! =)
Great idea! I have a dirty one at work that I can change now!
you have lots of photos to choose from! xoxo
This is such a fun and creative project! It makes me wish I still had a mouse attached to my computer! The major downside to a laptop, I suppose. lol!
thank you leah! =) i am too clumsy, so a mouse is always needed =)
This is a really cool tutorial. I stole my husband’s mousepad a few months ago lol (it has a pirate flag on it, of all things). I might have to get creative and put my own together 🙂
definitely need something prettier on it! =)
this is a really simple tutorial. I can’t believe how cute you can make a simple mousepad!
This is really great! I use a laptop but I know quite a few people with desktops and that use a mouse so I woukd love to do some of these as gifts!
that’s a good idea! gifts, yay!
What a fun project! I never thought of customizing my own. I will have to share this with my sister so her kids can help and make it the craft for the day. They will think they’re really “big kids” by getting to help with something in the office. Thanks!
this would be fun and easy for kids! thank you charlotte! =)
I tried every material and back ground for my Magic Mouse, thinking better abstract means better tracking – wrong. I ended up using an opaque/clear cutting sheet, the kind you chop veges and then bend to pour veges. I got 2 for $1 and had a spare. It laid smoothly on my wood desk and works 100%.