Easy & Attractive 5 Minute DIY Storage Boxes
5 Minute DIY beautiful farmhouse boho style storage box from free cardboard box! Great organizing ideas & tutorial to declutter your home.
DO you know how easy it is to up-cycle cardboard boxes into beautiful instant DIY storage boxes? We can all use a few extra storage boxes in our homes, especially when they are stylish looking!
These 10-minute DIY storage boxes are perfect for farmhouse and boho style decor, and great for organizing a pantry, cleaning supplies or craft materials.
Remember those vintage inspired pallet wood crates? They really showed us the huge difference a simple storage box can make. Truly a long-lasting and effective way to get rid of clutter!
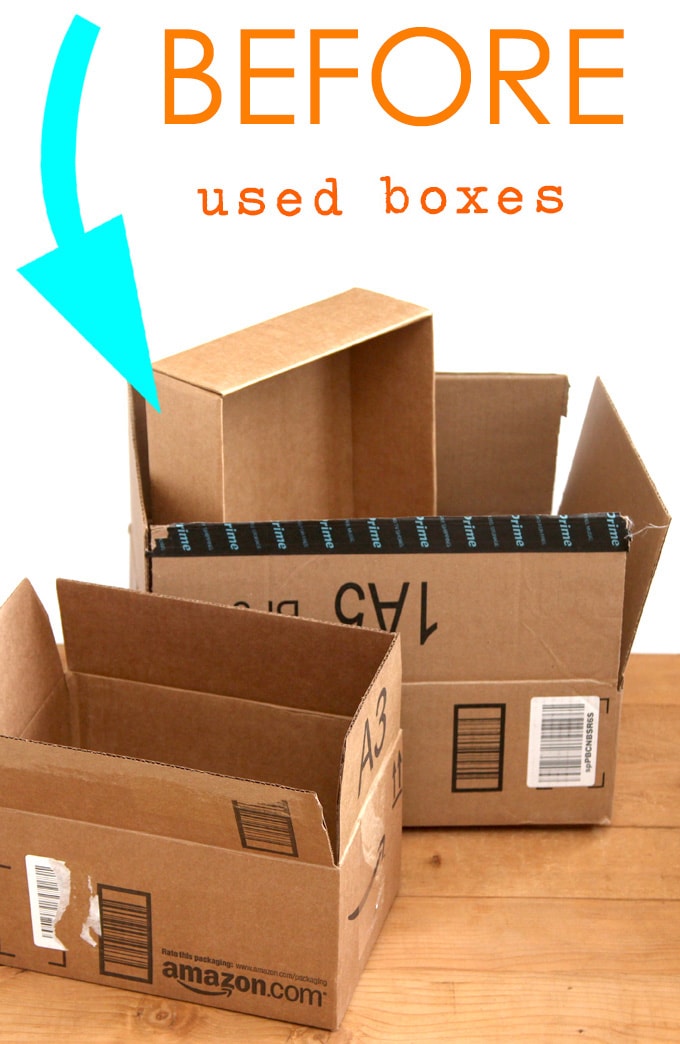
Today’s project is even easier: you don’t need any special tools, just some scissors and glue. So grab a few cardboard boxes from your recycle bin, and let’s start!
*Some resources in article are affiliate links. Full disclosure here.
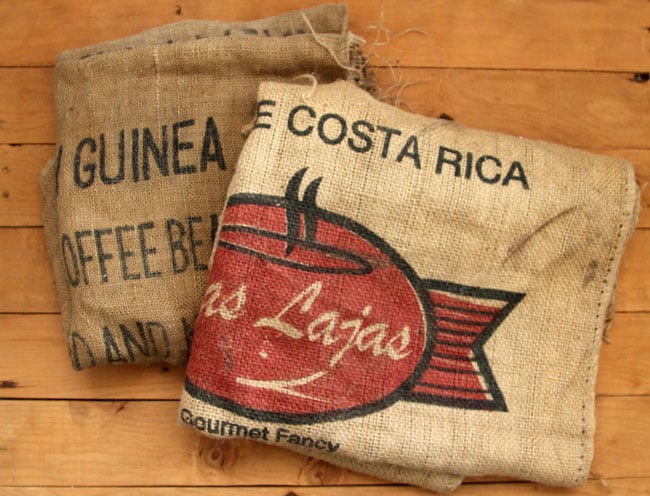
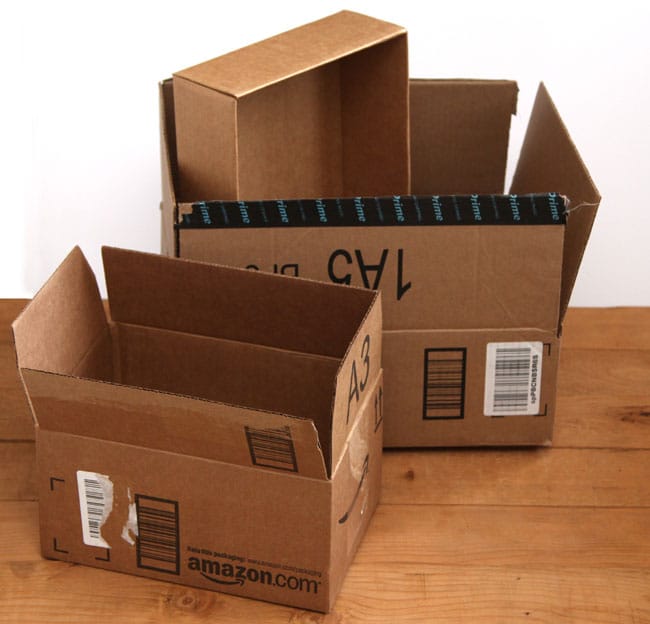
Materials and tools:
- cardboard boxes of any sizes you need
- fabric, such as burlap bags from your local coffee shop
- hot glue gun or regular Elmer’s glue
- for the decorative stencils, optional: acrylic paints or craft paints, Scotch tape, duck tape
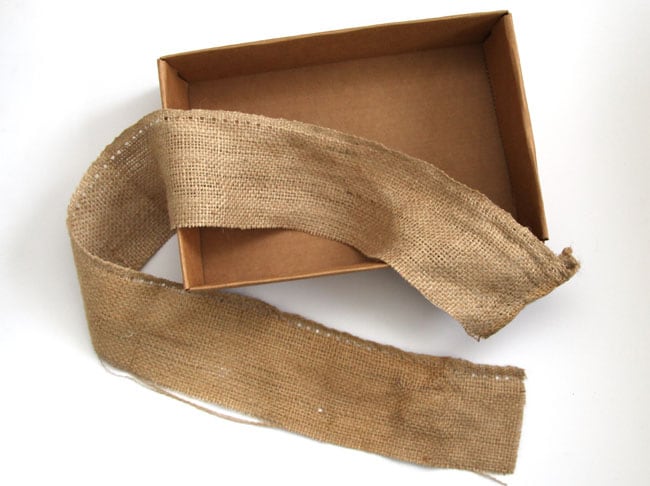
First cut the lids off a box or push them inside against the 4 sides.
As you can see in the images below, there are different ways to attach the fabric to the storage box which will decide how wide to cut the burlap.
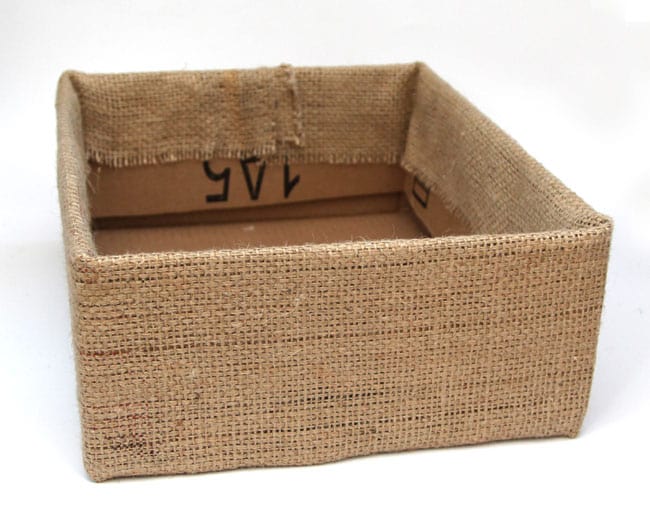
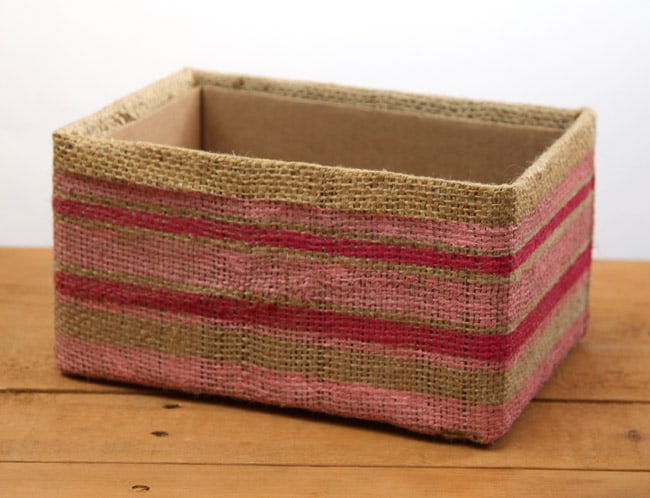
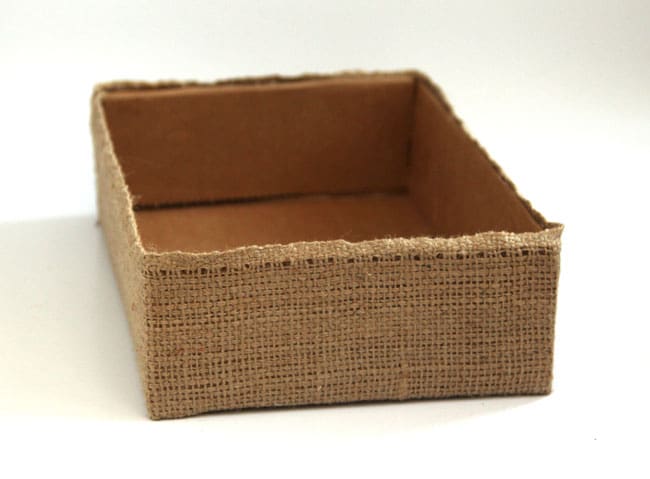
We can fold the burlap over the top edges, then line the inside with more cardboard for a finished look, or, use a finished edge of the burlap as the top edge, and not fold it over.
Cut a strip of burlap wider than the sides of the box, and glue it to the first side panel using glue or hot glue. Press and smooth out the fabric before starting on the next side.
Tip: decide which side is likely to face back, and located the overlapping fabric ends on that side.
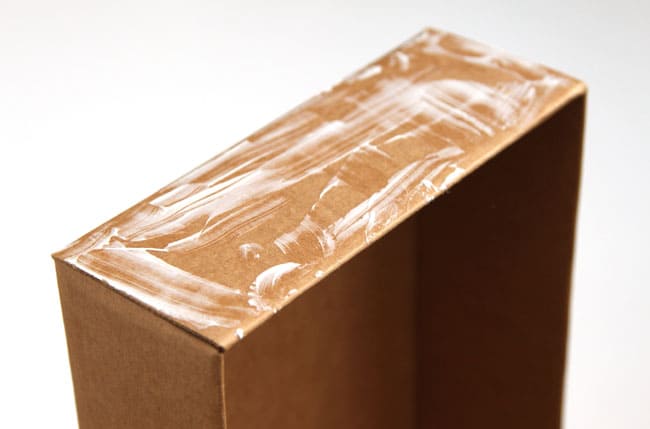
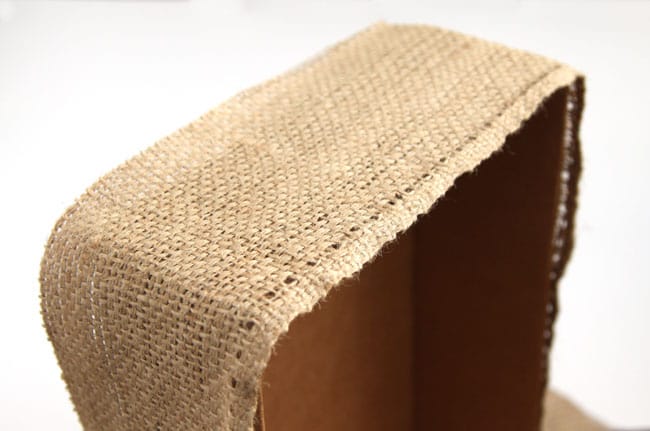
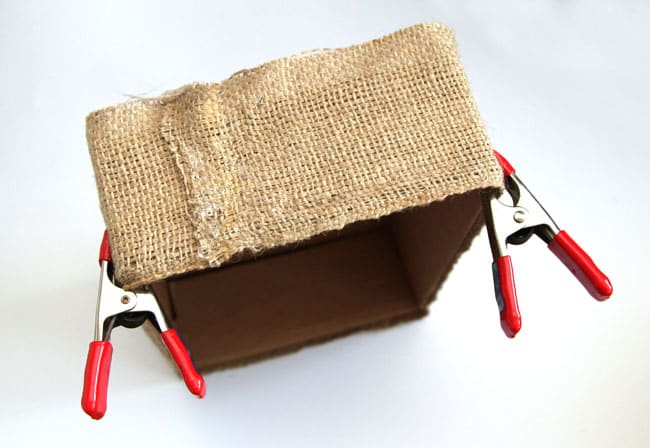
Rotate the box as you apply glue to each side. Some clips can be helpful to hold the burlap in place as you glue.
After the 4 side are glued in place, finish by snipping the burlap where the corner turns, fold and glue the edges to the bottom. This is easier with hot glue. I made a mess with regular glue, then realized it!
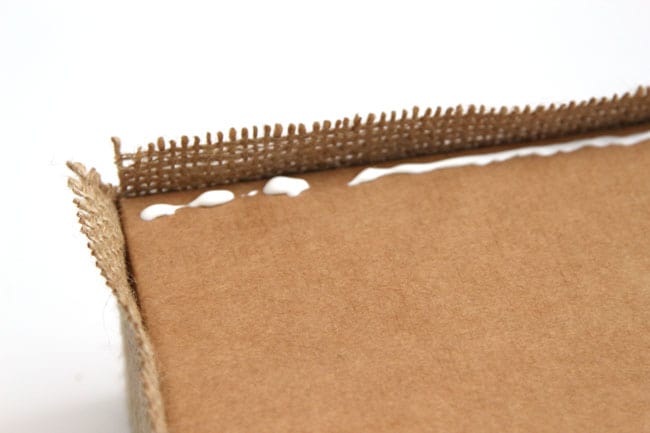
Once the glue dries, we can start stenciling.
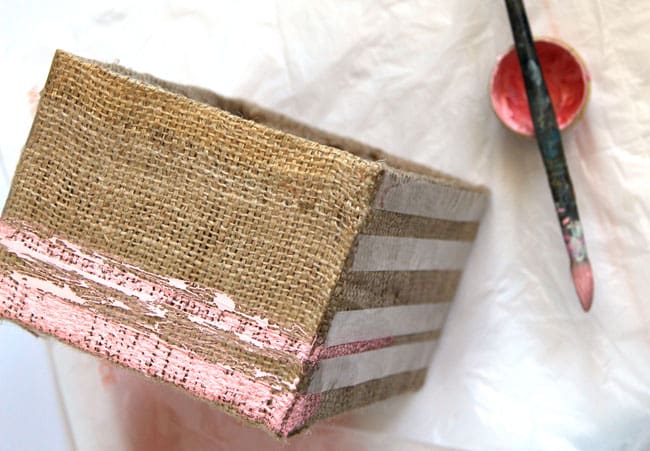
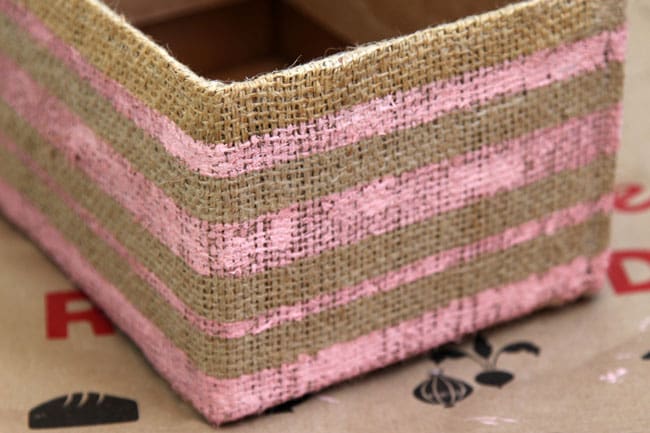
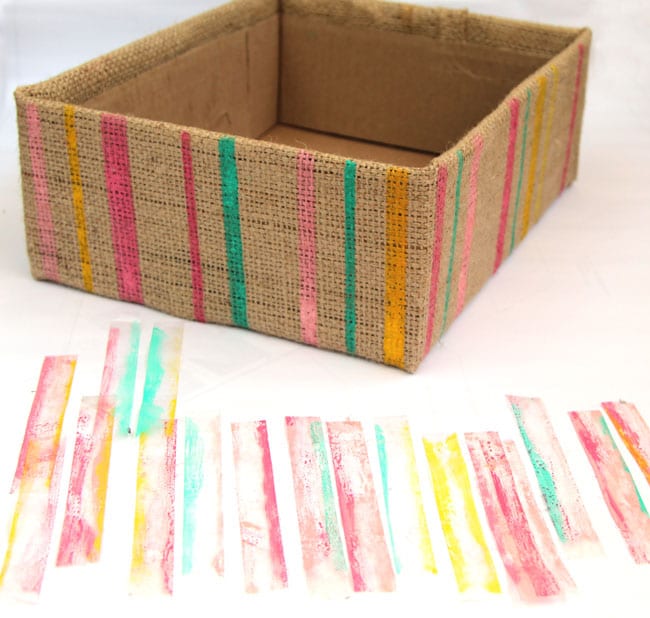
I love simple stripes, so I made one with the tape running horizontally, and another one vertically.
There are so many ways to use this Scotch tape method: layer the stripes, go diagonally, or create a checker pattern…. The tape can be reused a couple of times too!
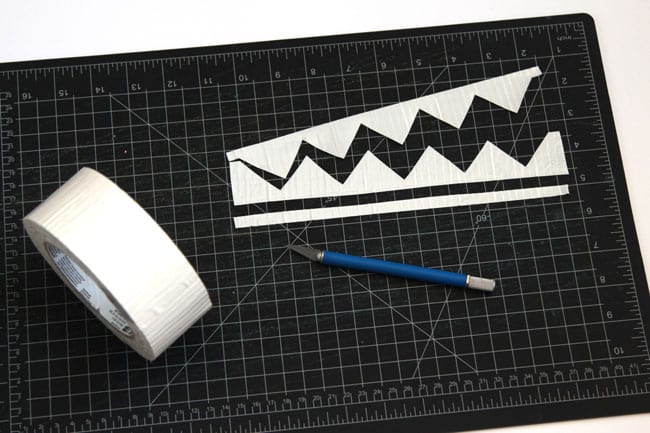
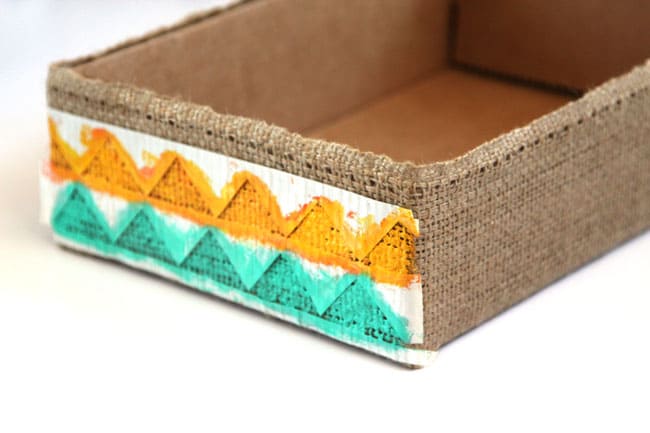
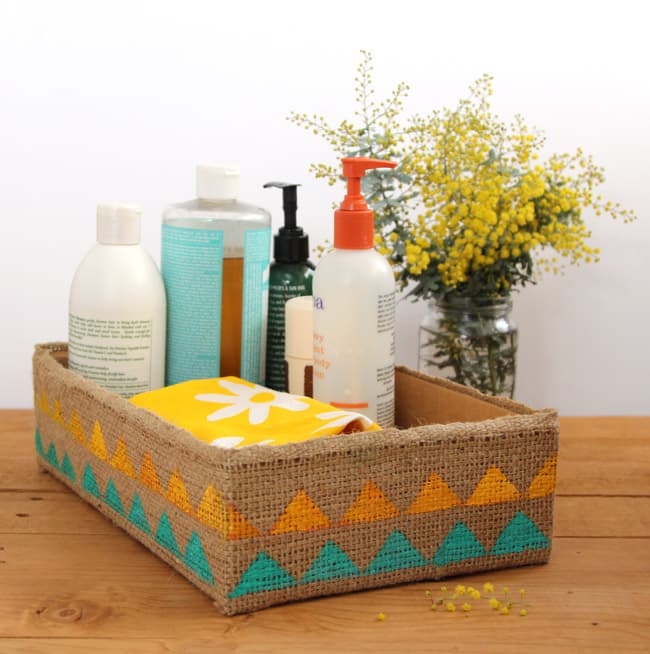
If we use a wide tape such as duck tape , we can create even more stencil patterns, such as triangles on this storage box below!
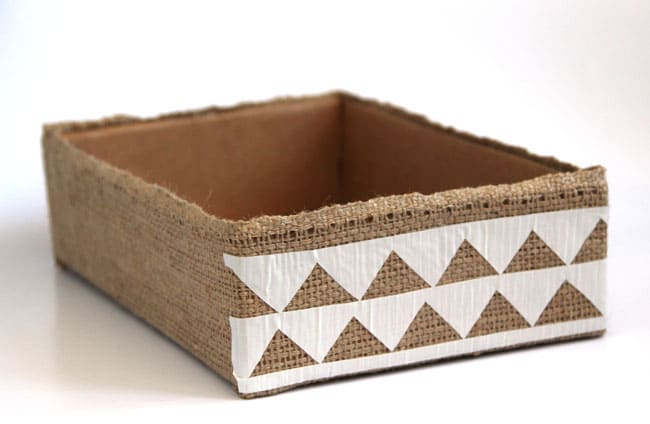
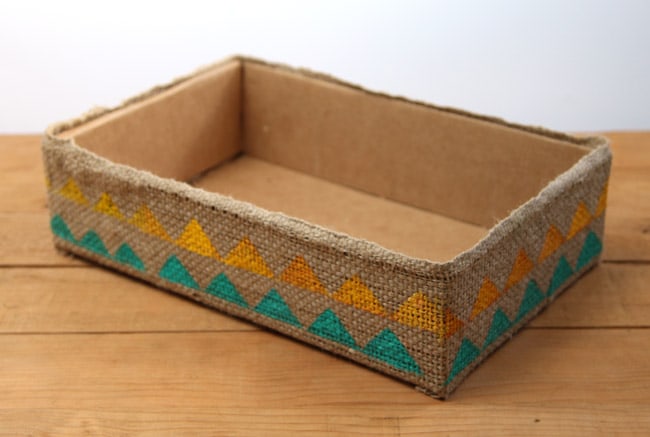
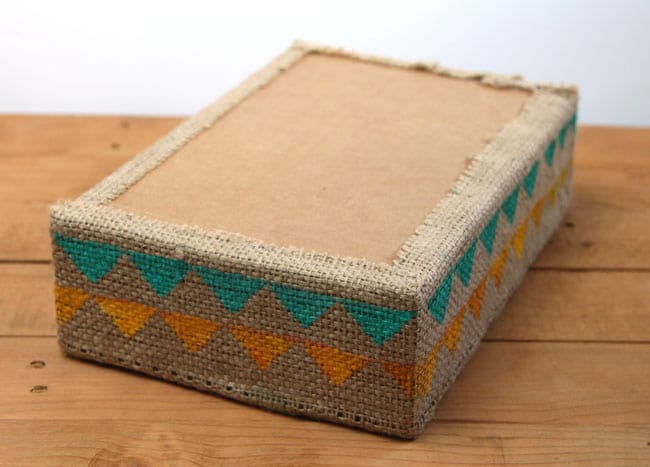
And here’s what the bottom looks like-
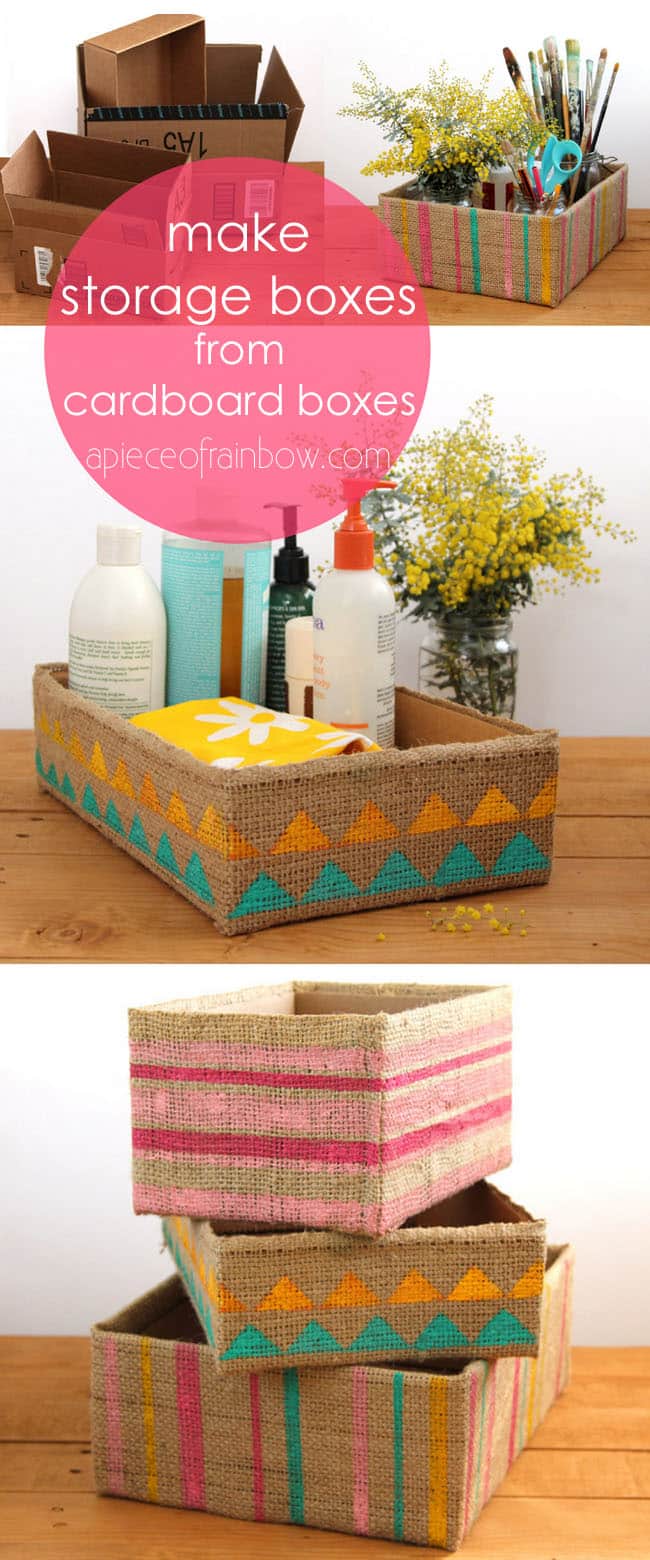
Time to use them! This year we are going to put all the pantry items, cleaning supplies and many other things into beautiful storage boxes, so more of these to come!

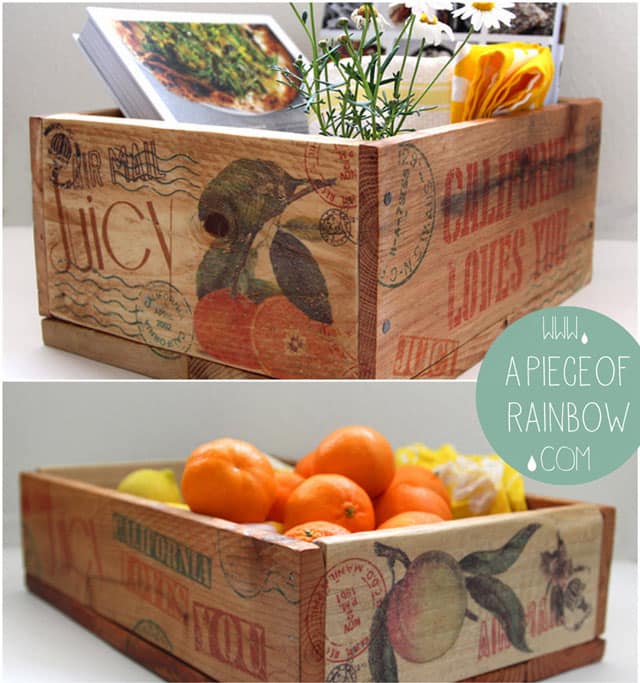
For more organizing or storage box ideas, check out these vintage inspired pallet wooden crates-
And this cardboard shoe rack that’s super space-saving :

Love coffee bean bags? This burlap ottoman is made from one of those!
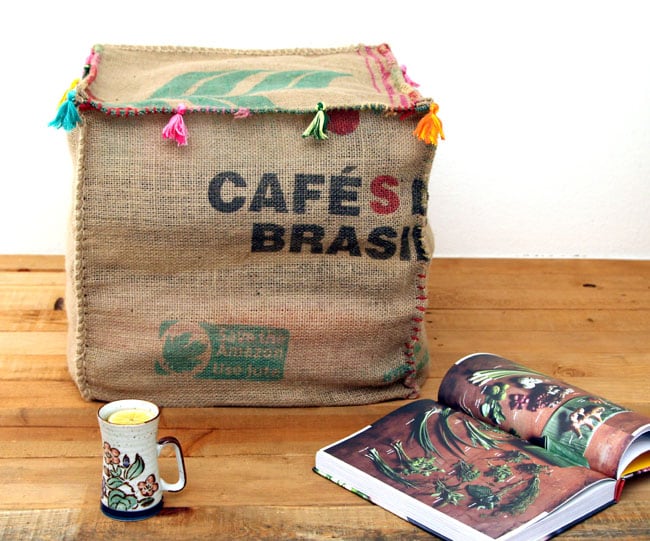
Happy creating! xo


I absolutely love these 5-minute DIY storage boxes! The ideas shared here are not only attractive but also incredibly easy to make. They offer a perfect solution for decluttering and organizing spaces in no time. Kudos for the creativity and practicality of these DIY projects!
amazing
What if I’m allergic to burlap?
you can use other fabrics such as linen, napkins, etc! 🙂
Often I find tutorials that speak to my crafty side and while not all creative elements work for me, say I don’t have burlap but have another fabric or paper I can use. – Take away the parts that DO suit you, and make it your own especially when your health would play a role in your safety. Safety and sense first so the result is a hand made craft piece you can enjoy while not harming your health! I don’t have burlap (wish I did!) so I’ll simply substitute!
When I think of how many boxes I tossed, it makes me sick!!! I came by your site by chance, and am so glad I did…You are so clever to have come up with this idea….. you have inspired me to start covering every box that comes my way from now on…..Thank you so much for sharing … I love, love, love this!!!!! These will make great inexpensive gifts….
thank you Loretta! there will always be more boxes than we can use! happy crafting! 🙂
Great in inspiration!!! I will try your technique soon thanks !!!
Great idea for Christmas Gifts for Grandaughters
Wow! I am so excited to start with making my own boxes..I already have like a hundred Ideas jumping in my mind already. Thank you so much for the Inspiration!
Love this creative DIY storage idea! We have lots of boxes to use for this!
I liked this tutorial. I liked how you used Duct Tape for stencil. Very nice effect.
thank you Diana! 🙂 it’s a good reminder to keep things simple and easy!
Hi, I really liked this method although there is a little more waste of fabric by cutting out the corners than other methods, unless you use the cut out squares to make the handles…Also, wondering if you made the liner a little larger to allow for making the turned over hem around the top of the basket. Thanks!!
HEY ananda
Found your post interesting to read. I cant wait to see your post soon. Good Luck for the upcoming update.This article is really very interesting and effective. People always say you should collect cardboard boxes from stores, but personally I prefer to use boxes designed for moving. And they can usually be acquired for free.
Have you ever watched Melanie on YouTube? She does amazing things with cardboard. Here are a few of her projects.
https://www.youtube.com/watch?v=QLnWgrrJtV8
https://www.youtube.com/watch?v=RraiddTd1AU&t=2s
I’m not so keen on either one but the idea is super and could be made with your taste.
hi lisa! thank you SO much for sharing these!! i am definitely inspired to make my own versions, LOVE these! 🙂
Thank you very much for sharing! Very timely tips! So useful! Thank You for your precious experience. So on time! Genius!
People always say you should collect cardboard boxes from stores, but personally I prefer to use boxes designed for moving. And they can usually be acquired for free. We got our boxes at no extra charge by stopping by the office of the moving company we were using — new boxes cost money, but used boxes were free to customers. You can also pick up free moving boxes from people who have just moved.
I’ve used this idea a lot for keeping my cabinets in order, but I used contact paper instead of burlap. They last forever!
such a great idea! thank you so much Linda!! 🙂 now i want to try contact paper!
I do not have a sewing machine so this no sew idea looks like a winner for me. Besides I have little control of my left hand, so even if I had a sewing machine I’m afraid I’d sew my fingers, I do not need any further reduction in my abilities than I already deal with trying to do every day tasks. Thanks for sharing.
This is just what I was looking for,, AWESOME ideas, thank you!
thank you Janet! happy diy! 🙂
Great Ideas. I like it. I am use your ideas in my house. Thanks!
Love your ideas of recycling cardboard boxes. The print was too loghtest that the print be darker.
Thanks for sharing these, Looks like a lot of great ideas…I’ll have to come back & look more closely very soon!:)
I have to laugh my husband calls me a box hoarder… I use them for lots of different things under kitchen sink for cleaning supplies, smaller ones to organizer linen/medicine/first aid in my hall closet ( never thought to decorate! I also use them for my shop and flatten them to use for spray painting projects keeps clean up to a minimum.. guess now I am going to have to try covering them for the ones I see in my workshop and craft room… thanks for the great idea! You are so clever????????????
thank you so much kim! ???? i can relate! i also use them as cutting mat sometimes!
I could certainly find a spot for one of these! Love it!
you are absolutely right about the cardboard boxes, upcycling never occurred to me, I simply recycled them. Your upcycling is not just a great reuse idea, it’s practical and decorative. LOVE IT.
This project would work well with any fabric, you could even attach some padding before covering the box giving the box a little more “fancy” to it.
thank you sherri for sharing your wonderful idea! 🙂
I love the box idea but instead of putting another box inside. I would keep the flaps up and cover them also then cut the fabric down at the corners and fold the flaps inside the box again.
Great ideas
thank you gayle for sharing your great ideas! 🙂
What a creative idea. I love this!
Wow, this is very nice and amazing! I love it now! I need a storage box like this. I’d like to try it.
Oh my! They are gorgeous and you did a superb job!
Those turned out beautiful! You’re really creative!
These look absolutely amazing! My Mom is a kindergarten teacher and her birthday is coming up soon, I’m totally making these for her classroom!
This is really cool and totally something I wouldn’t have thought of. Awesome post!
Awesome! I have some leftover burlap from my nieces wedding and this is the perfect use for them. Thank you so much for sharing!
Cute idea.
How super clever is this! And the boxes look great too! Thank you for sharing such a great diy!
This is great!! I’ve been looking for new ways to up cycle and make storage boxes. I need them for the future when I begin homeschooling. Thanks for this! 🙂
These are so cute! I’d never guess they were transformed boxes!
Kari
http://www.sweetteasweetie.com
Those are fantastic. I love the look of burlap. Love that you decorated them to pretty them up.
These are incredible! I’ll be trying to make these soon.
Very cute. And it looks easy enough for this non crafter to handle!
Wow! Love this unique idea. I have lots of cardboard boxes lying around after our move. I guess I should get busy and put them to some use. Thanks much 🙂