DIY Reclaimed Wood and Faucet Handle Coat Rack
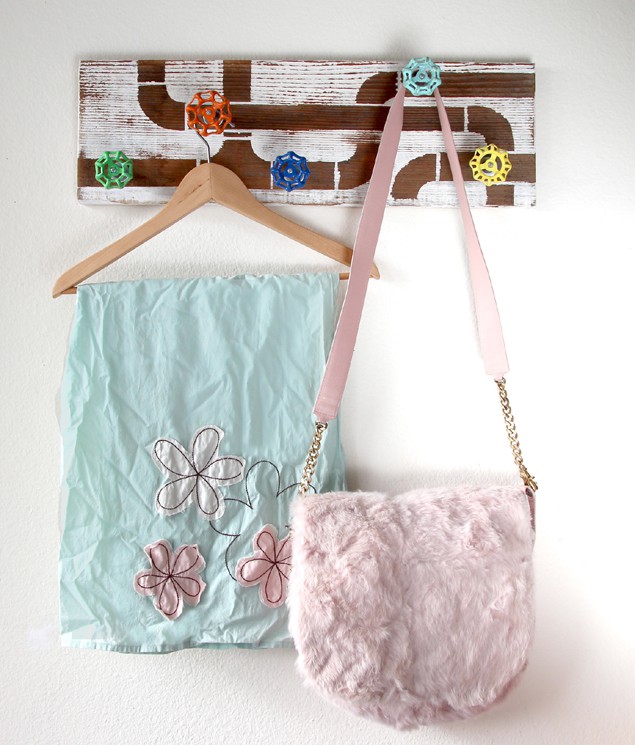
I remember a super cool vintage faucet handle coat rack being sold at Gardeners.com, and it was no longer available! Well, perfect excuse to make one and add our own spin to it, shall we? ( Updated March 31, 2017 )
Materials and Tools: ( Some of the helpful resources are affiliate links. Full disclosure here. )
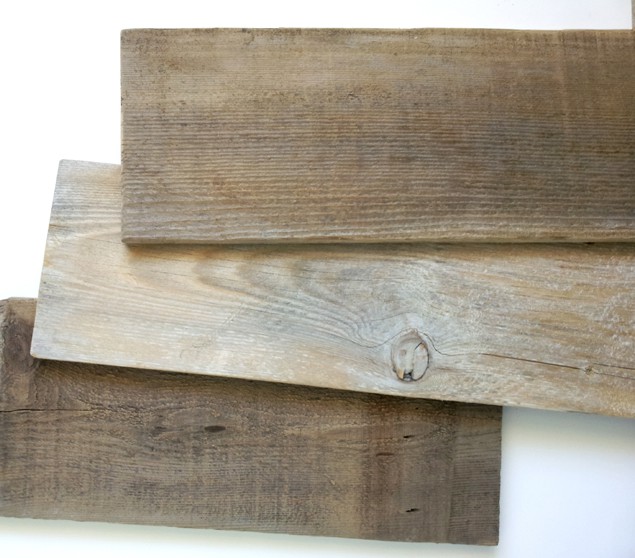
- I used a piece of reclaimed fence wood 1″x8″, about 24″ long, and any 1″x8″ wood piece will work here
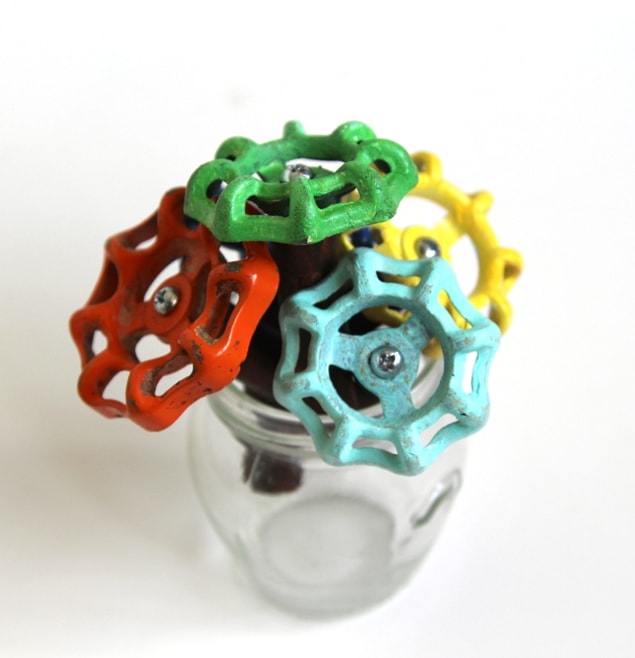
- old vintage [easyazon_link identifier=”B000FH6F66″ locale=”US” tag=”apieceofrainb-20″]faucet handles[/easyazon_link]. I got some on Ebay. You can also find some new ones at Home-depot. Paint them a different color if you’d like!
- [easyazon_link identifier=”B000BPRK0C” locale=”US” tag=”apieceofrainb-20″]masking tape[/easyazon_link], Exacto knife, and paint if you want to add some design elements
- 5/8″ wool dowel, screws, [easyazon_link identifier=”B000CZ4FZO” locale=”US” tag=”apieceofrainb-20″]5/8″ washers[/easyazon_link], [easyazon_link identifier=”B000F5OCP4″ locale=”US” tag=”apieceofrainb-20″]keyhole hangers with matching screws[/easyazon_link]
- drill, plus hand saw or power tool to cut the dowel
Step 1:
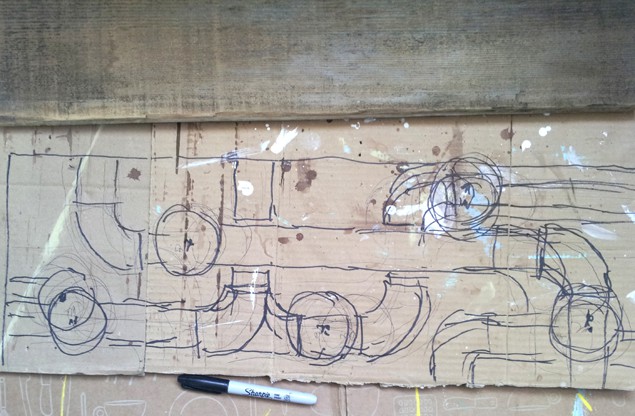
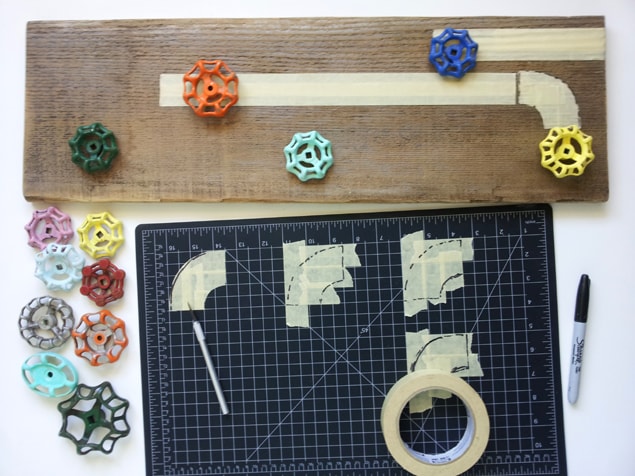
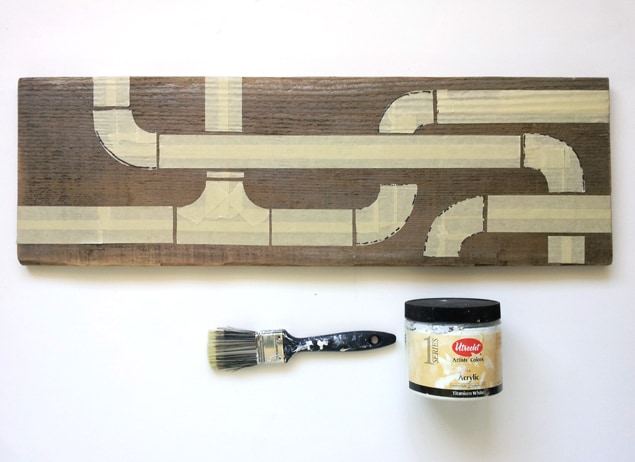
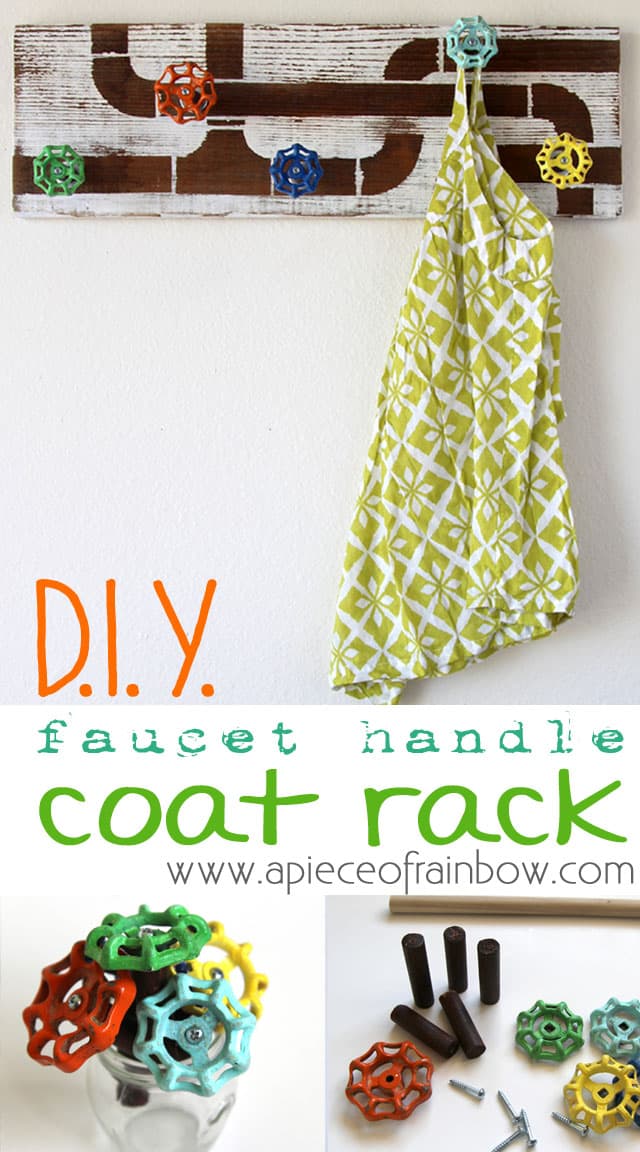
I thought it would be fun to create some graphic design elements using the plumbing pipes as a motif. Use a quick sketch as a guide, place some masking tape on a cutting mat, and cut out the shapes we need.
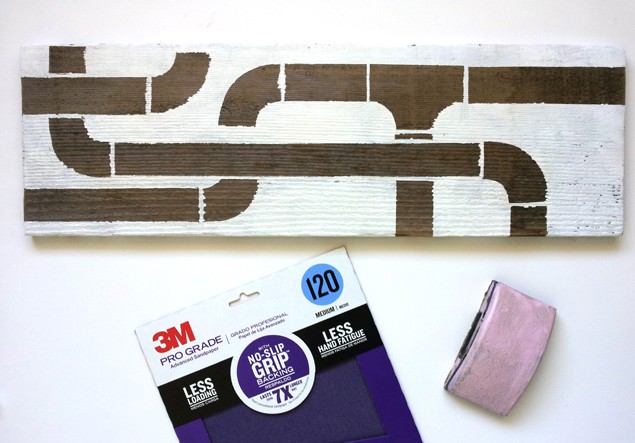
Place the tape on the wood board as our stencil, paint with any color you want. I used white acrylic. Then give it a little sanding for a touch of vintage industrial charm.
Cut the wooden dowel into 2″ to 3″ pieces, paint or stain them so they are a closer match to the wood piece you have. Attach the faucet to each of dowel pieces with screws. Drilling a pilot hole at the center of each dowel piece will make it easier and prevent splitting.
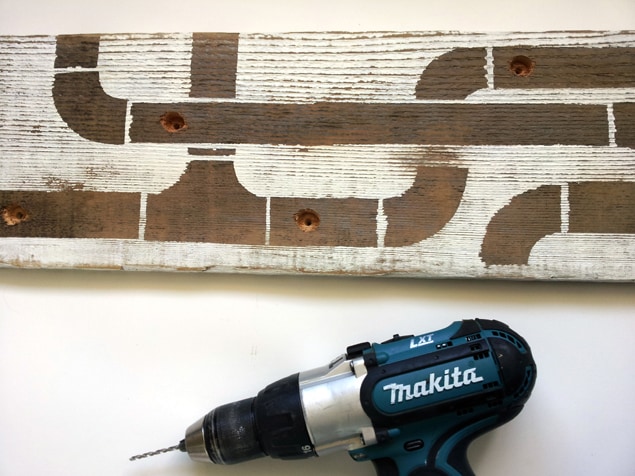
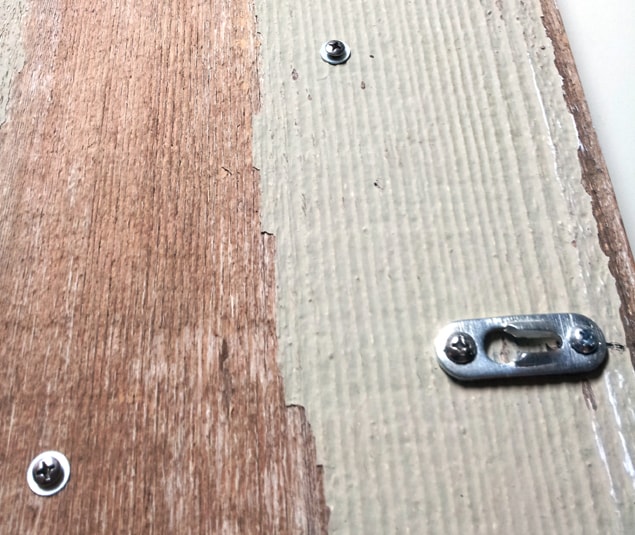
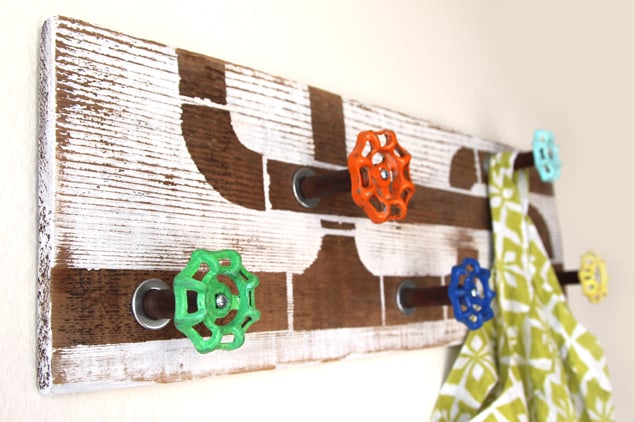
Mark the placement of each faucet handle on the wood, and drill a small hole all the way through. Then drill a 5/8″ hole centered on each small hole about 1/2″ deep, for the dowel to fit. Use wood glue and a long screw from the back to secure the dowel. You may notice the washers which has a 5/8″ opening, on the front face at the base of each dowel piece, they are for a decorative finish. The washers on the back are functional – to give the screws a better grip. Attach 2 keyhole hangers and make sure they are level.
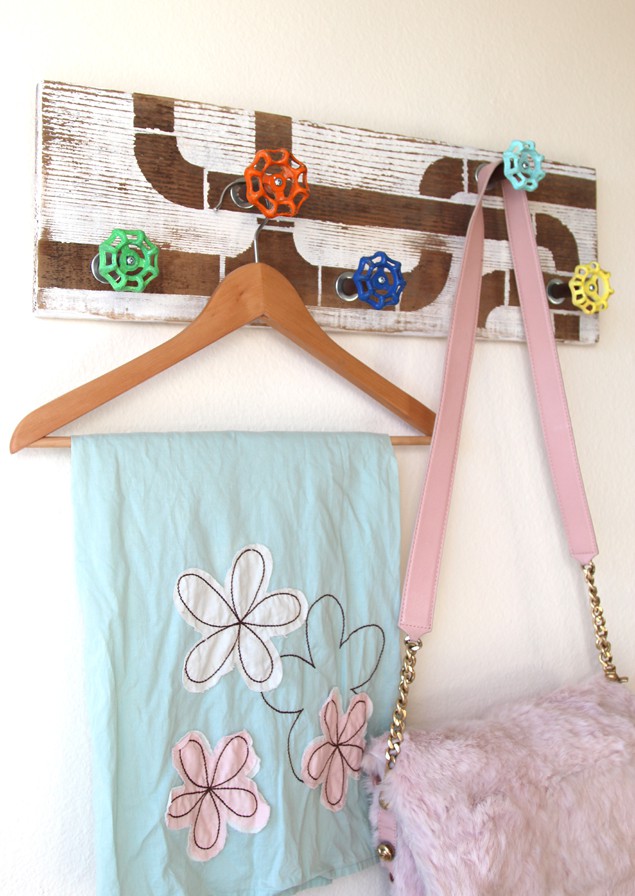
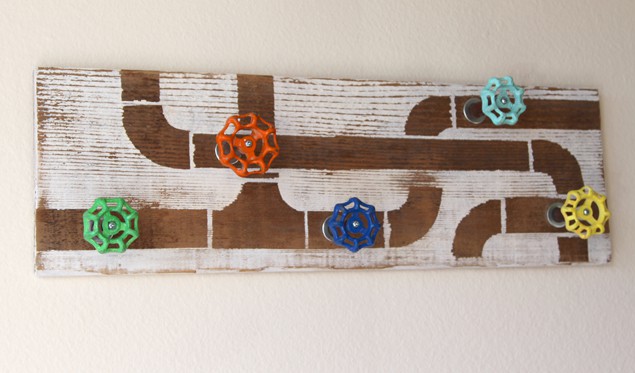 Now it’s ready for hanging! Isn’t this super easy?
If you love reclaimed wood, feel free to check out a couple of other projects here-
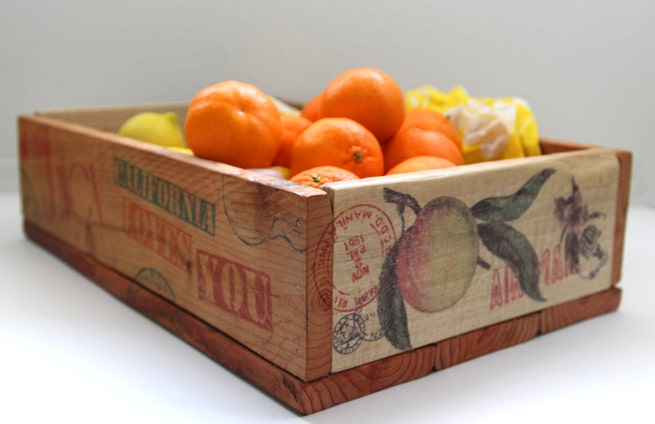
Pallet Wood Crates & Easy Image Transfer
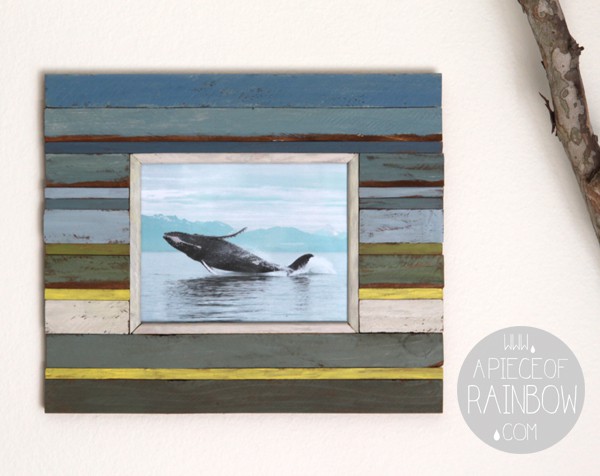
 Beachy Style Picture Frames From Fence Wood
Have a fun weekend!

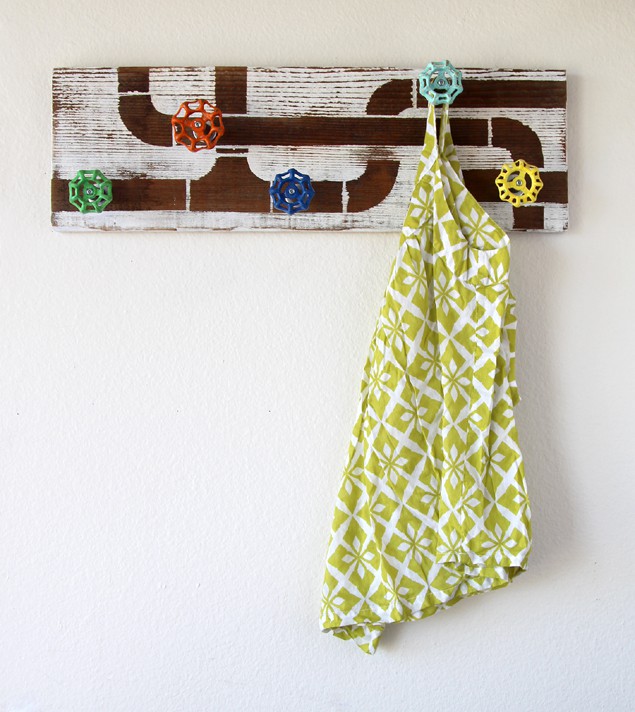




Love your garden faucet handle repurpose
You are so creative girl! I love this!
thank you dear brynne! xo
Love the pipe flow drawing at the back!! So cool
thank you so much dear onel!
So cute–sharing on FB and pinning! You have incredible style!!
dear becky i am so honored!! =)
Lovely tutorial! Thank you for sharing this Ananda! I love reclaimed wood, too. This is just perfect! ☺
thank you peachy for visiting all the way across the pacific! x
Always… I never fail to visit your blog because it’s just SO beautiful and full of inspiration. Lots of DIYs! I always leave your site with so much learning. Thank you for sharing your knowledge and I’m really glad to have found your site and met such a lovely lady! 🙂
thank you so much for such kind words dear peachy ! X
This is so fun! It would be perfect at the cottage to hang bathing suits on. Probably have a box of old facets in the work (junk) room too:)
thank you debbie! i love those old faucets! =)
I am loving this project! Another fantastic project! I am happy to share with my followers!
thank you so much amy! =)
Very creative! Looks fantastic!
thank you for visiting dear Meredith!
What a great piece for an entry! Love it!
thank you so much Jen!
looks awesome – and easy enough for someone like me to do 😀
thank you dear Andrea!
That came out great. Awesome job!
thank you dear robin!
Creative idea! I like it!
thank you anna! =)
How clever and unique! Would look good anywhere !
we may put it by the guest bedroom! 😉 xo
So creative, I never would have thought of doing something like this–amazing
it’s so easy too! =) x