DIY Designer Wall Plates and Light Switch Covers
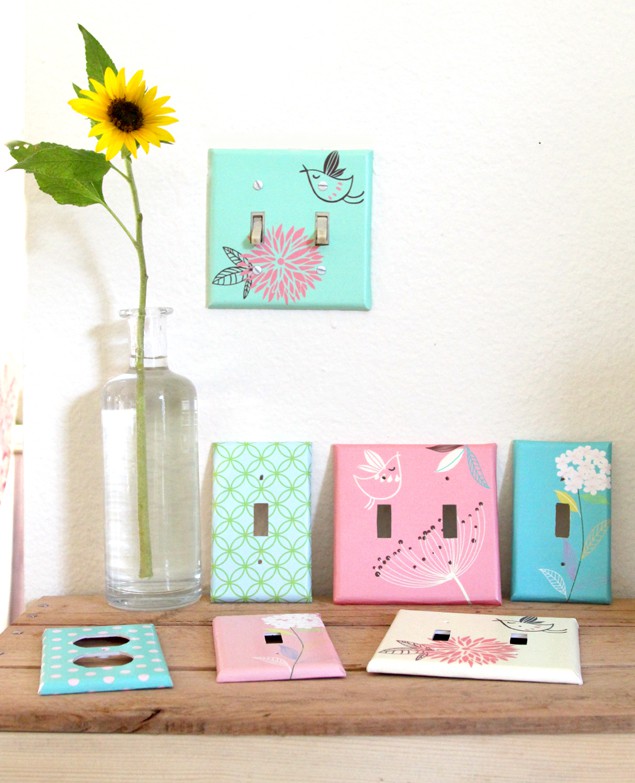
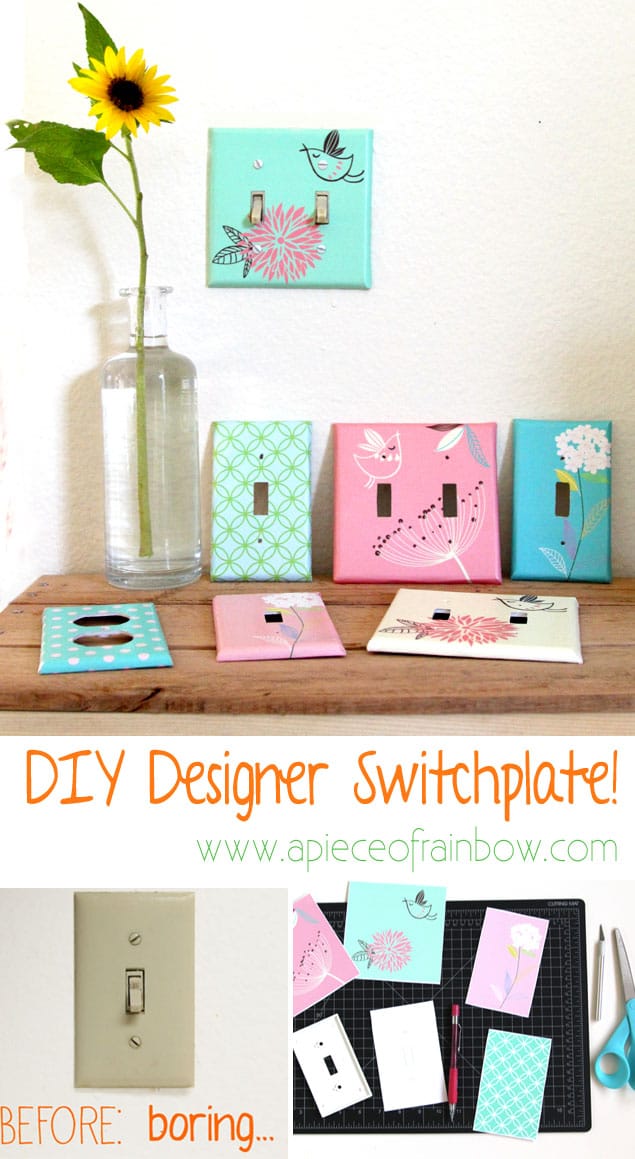
Most wall plates and light switch covers lack personality and flair. Yet it’s so easy to turn them into something special with very simple materials- paper and Mod Podge. See how you can make your own designer wall plates and light switch covers in less than 5 minutes!
If you love these patterns I made for the wall plates and light switch covers , you can download the printable designs at the end!
( Some of the helpful resources are affiliate links. Full disclosure here. )
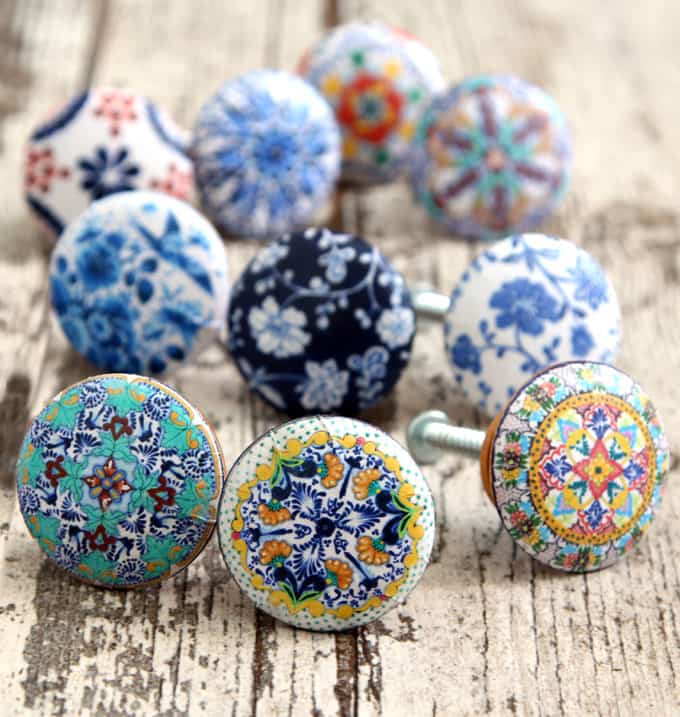
Another great example of how much magic paper can do: 5 Minute designer cabinet or door knobs with free printable designs!
*Some resources in article are affiliate links. Full disclosure here.
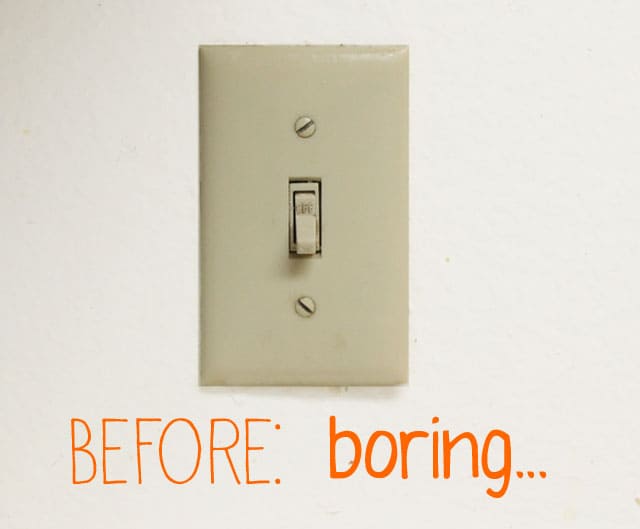
Let’s get to work and transform our boring looking wall plates and light switch covers !
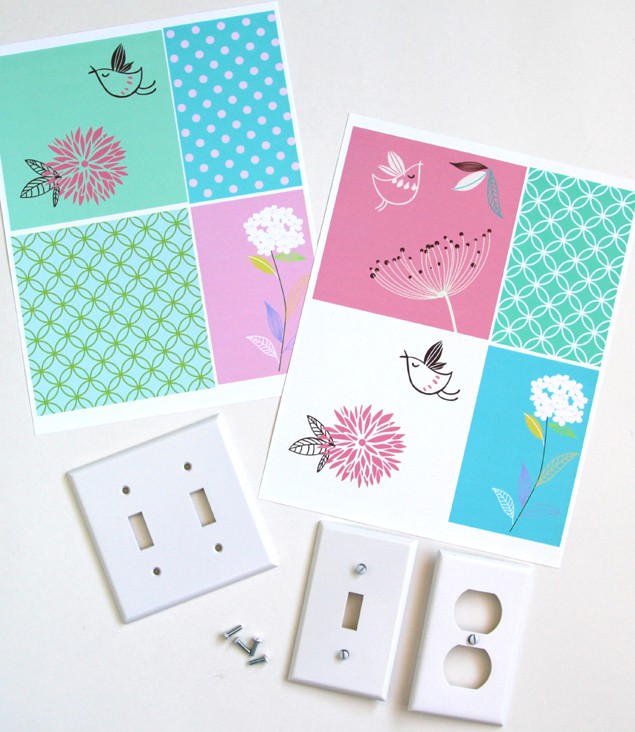
Materials and tools to make designer outlet covers:
( Some of the helpful resources are affiliate links. Full disclosure here. )
- Here’s the medium weight card stock I used, it holds up great without wrinkling!
- Mod Podge or other good quality craft glue
- wall plates you already have, or if you are in a rental, you can get these inexpensive plain plates and put away the existing ones till you move.
First choose designs and patterns you love and print them onto the card stock.
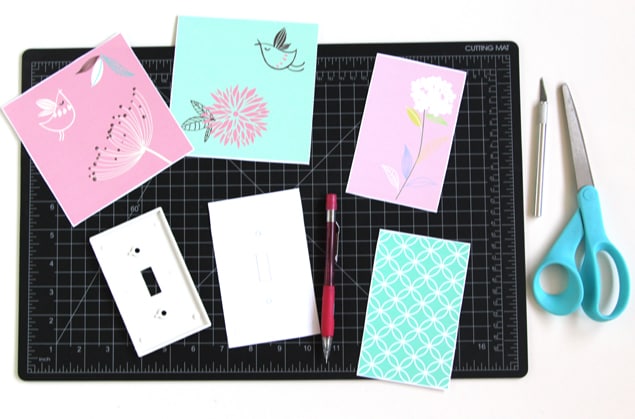
For the single light switch covers, the print size should be about 5″x3.25″, and for the double wall plates, print size is 5″x5″. You can use Photoshop or Gimp to arrange and print them.
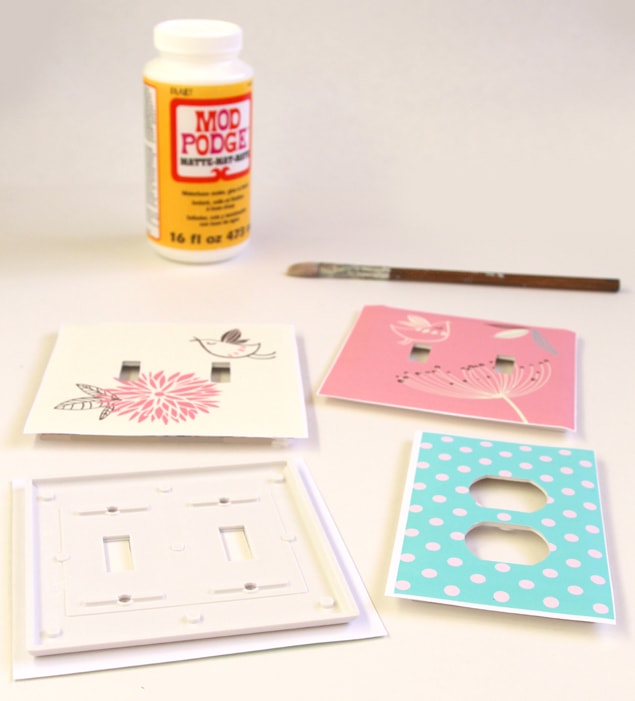
Next cut the pieces to size, trace the openings onto the paper, and cut those out. Brush Mod Podge onto the flat surface of the plates, and lay the patterned paper on top, make sure the openings match and edges align nicely.

The next step takes a little more patience, but it’s quite easy. Make a small diagonal cut at each of the 4 corners, gently curl and fold the paper following the contour of the plates, trim a bit where there’s too much excess paper. Brush Mod Podge on the inside to attach the paper to the wall plates and light switch covers .
TIP: rubber bands make it easy to hold the shape during the gluing process!
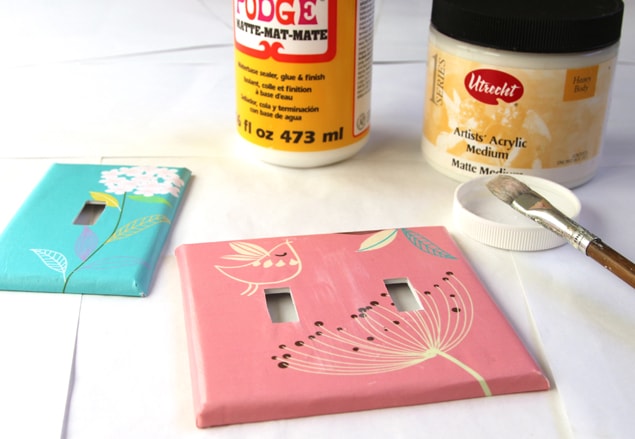

The final step is to coat the surface of these wall plates and light switch covers with 2 coats of Mod Podge or acrylic gel, so they become more water resistant, and in the future easy to clean with a damp cloth.
Explore the possibilities and have fun! Now you don’t have to make a trip to Anthropologie in order to have beautiful wall plates and light switch covers ! 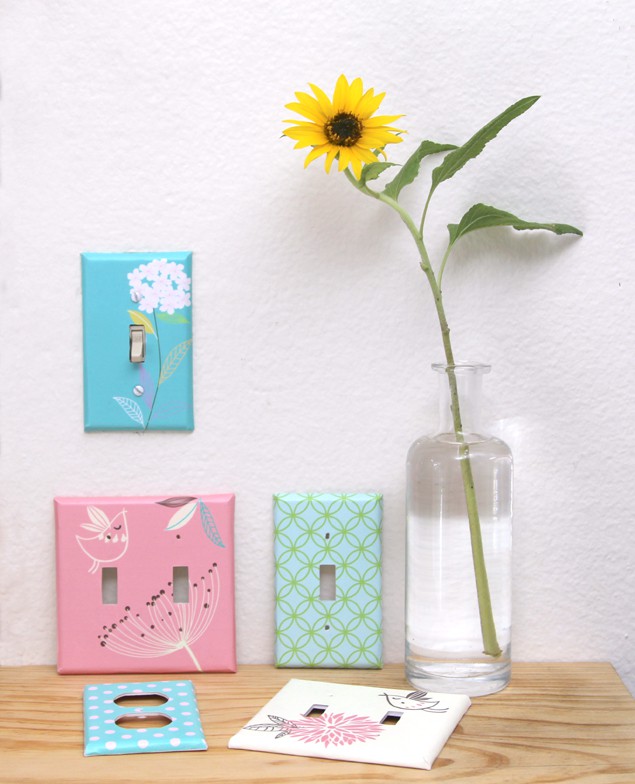
Download printable designs here!
You will love your designer wall plates and light switch covers! They are so easy yet offer such big impact!
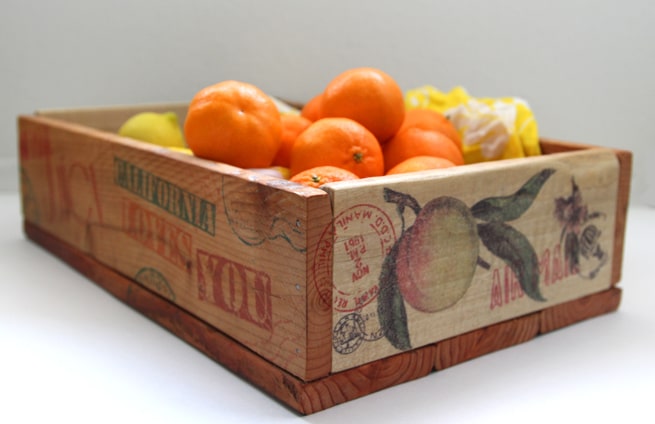
If you love image transfer, check out these lovely wooden crates made from pallet wood, and an easy way to transfer images onto wood!
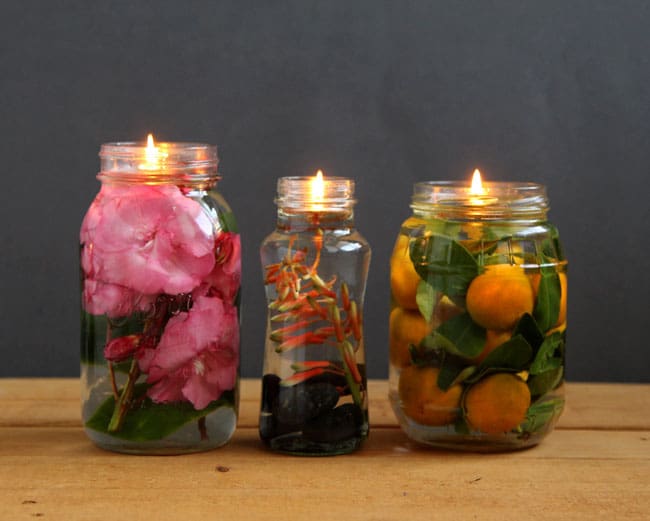
Another easy and beautiful home decor project you may enjoy- 2-minute Mason Jar Oil Lamp with a magic wick!
Happy creating and see you in a few days!


Hey, I really liked your content related to DIY Designer Wall Plates and Light Switch Covers. You give a new idea about Materials and tools to make designer outlet covers to make home décor more attractive.
These are awesome. I covered some of mine with decorative shelf liner I bought at the Dollar Tree.
that’s a great idea Katie! 🙂 thank you for sharing and happy 2022!
We just transformed our outlet covers following your tutorial. They look very beautiful and stylish. Thank you!
thank you Dana for sharing your experience! happy creating! 🙂
Hi! I liked your ideas! Wow! I can’t download images for door handles. Can you send me an email?
hi! A button at the bottom of each newsletter takes you to all downloads, did you get the welcome email?
no, there was no letter. I want to subscribe to your newsletter, but I can’t, I have already filled out the form 2 times
just forwarded you the link! 🙂
The designs are very nice, I like it.
Aww love your designs, they are adorable
Hi, unfortunately I can’t seem to be able to download the printables for the switch plates. I keep getting redirected to sign up for the newsletter, which I have done.
hi sandy, in our weekly newsletter, there’s a big button at the bottom that takes you to all downloads! =)
I cant wait to do this, though I was hoping your downloadable templates were on white backgrounds so I could save some ink & pick different colors!
Amazing idea though
thanks
Amy you could take a picture of a design even from the download before printing & use your editing options in the photo program to remove the color and then you can choose your own colors as you wish, after printing.
Can also use maps or sheet music.
love these ideas Linda! 🙂
Does the thickness of the paper make it hard to fit on the outlets?.
it’s pretty easy because the paper softens with the modpodge! =)
Tried to download the paper circles for the knobs . The links dont work. Would really like to try this if possible can you tell me what I am doing wrong ? or can you send me an active link please.
hi heather, maybe try email the post to a friend? it is being downloaded as of today. i am also creating a subscriber page this month with all the downloads. you will be able to get a password to the page in a few weeks!
thank you so much for sharing.
Aww love your designs, they are adorable
I’ve always hated the look of plain switch covers. I’ve painted designs on them and covered them with contact but this is do much better.
hi judith! happy crafting! 🙂
I really love and probably will do same, thank you.
These are very cute, thanks
Love your designs. I do not see where I can download. Hope this message will allow free pdf’s
yes it is free. there is a download button towards the end! =)
Oh god these are amazing designs well done
Hi I love your blog How can i subscribe by email? I love the knobs and the swithchplates but I can not find the free printables of any of those. Can you please send to me Thank you
hi cristina,
did you find the yellow download button? after entering your email, the pdfs will be emailed, and then you will be subscribed too! =)
Woww these are so cute, hope i can do , i will try it definitely 🙂
CAN I USE REGULAR CARDS FOR THIS. THANK YOU.
yes any paper would work! =)
Hi Ananda,
Thanks you for sharing this tutorial! What a fabulous idea!
I recently featured your work on andalltheglory.com, “17 Easy DIY Ideas for Spring,” with a link to your tutorial. I hope this is okay!
Thank you again for sharing!
thank you shayla! anytime! =)
Thank you so much for the idea, it’s a great one!! Can’t wait to get started on mine. Appreciate it!!!
Happy Crafting…..
Thnak you very much for the printables!
Love the designs, the little bird is sooo cute
Beautiful designs. Great idea to make something beautiful from boring switch plates. Thanks for the instructions.
thank you lily!! enjoy! =)
very cute thank you for the download a couple of these will look so cute in my grand daughter’s room
have fun with them brenda! =)
I’ve done this using wall paper and sections of border, but like your ideas that give me more options. Thanks
How do I open a zip file? I tried opening it in numerous different programs with no luck. Would me being on my iPad instead of a lap top affect it in anyway? I just love those designs! Thanks in advance for any help you can provide
hi cindy, use stuffit expander, it’s free, but i have not tried it on ipad!
Hi, just joined Pinterest and this blogpage was suggested as something I would like. And Pinterest was right! Cool project, thanks for sharing the printables will have a go at this one. 🙂
thank you jacq!! i didn’t know that about pinterest! =)
This is absolutely going on my “to do” list! Love it! xoxo
They are SO cute! Thanks so much for the free-printables. Saving them! 😉
thank you cristina!! xx
I absolutely love them, I don’t think we have modge podge in Italy do You think I can use another kind of glue? Thanks
thank you claudia! yes a white glue similar to elmers will work =)
Just finished retiling the counters and back splash in the kitchen. What a grand solution to my ugly switch plate problem. I have everything I need. I’m saying hello to a wonderful no $$$ project.
have fun annie!!!
Scrapbook paper works great for this too!
Stumble upon this while blogwalking and will def make this!! Super lovely!!
Hi from Indonesia. 😀
hi bee! so great to meet you! =)
These are lovely. Great tip about using the rubber bands. Thanks
thank you dear julie!
How cute are these! i love the flowers. Now i can choose my favorite patterns and make one. Thank you!
Hi maggie, thank you for visiting ! Hugs!
Amanda, these look just darling! I have a BIG QUESTION. Every time I’ve tried to decoupage anything I’ve printed on my inkjet printer, the ink has smudged, sometimes a lot. I’ve never been able to make it work well enough to end up with a usable product. How do you keep your printing from running and smudging? I would LOVE to have the answer to this! Thank you!
Thank you Susan! I let the ink dry for 5minutes, and use modpodge, no water added. It never smudged at all. Hope that helps!
OMG these are darling! I have to make some now! Thanks for the inspiration! I’d love to see you link them up at Skip The Housework party! http://www.reasonstoskipthehousework.com/skip-housework-saturday-11/
thank you melanie! i will stop by and check it out! =)
These are so cute! I love the little birdie. Thanks for linking up at The Makers! We are thrilled to have you join us!
thank you corey for visiting! =)
I like the way you really transform those switchplates!
thank you celia! =)
Great tutorial! Really like your work.
thank you cassidy! =)
They look really lovely, what a great idea.
Emma x
thank you emma! =)
Super cute DIY! 🙂
thank you dear claudia! xo
Ps.. I pinned these!! 🙂
thank you dear marni! xo
Amazing AND Adorable.. What a great idea! I have a 2 year old boy and could come up with some truck related ones for his room 🙂
oh marni, with your amazing talents for patterns i’m sure yours will be stuning! =)
Hello Ananda! I did not know these were called « switch patches », so I’ve learnt something new beside discovering a fun and creative way to upgrade the dull ones we see around. Lovely idea!
thank you so much dear friend! xo
These are genius! My mind is going a mile a minute – photos, quotes, saying (turn out your lights would be a good one for my son:) My daughters would love to do this too!
thank you debbie! words in some cool fonts would be so fun to play with! =)