Snowy Tree Winter & Christmas DIY Table Decoration {in 20 Minutes!}
This enchanting winter and Christmas DIY table decoration reminds me of some of my favorite table top Christmas trees with snow covered branches and pine cones.
Made from a recycled tin can and some freshly cut branches, this snowy tree winter and Christmas DIY table decoration is almost free and only takes 10 minutes to make! Wouldn’t it look beautiful in a farmhouse style home or as a centerpiece for winter weddings and holidays?

Table centerpieces often require floral foam to keep everything fresh and in place. After reading about the potential harmful effects that floral foam may have on the environment and human health, I have been using other creative alternatives.
I am excited to share with you a really simple and wonderful solution here. Can you guess what it is? 🙂
Materials to make snowy tree winter and Christmas DIY table decoration centerpiece:
*Some resources in article are affiliate links. Full disclosure here.
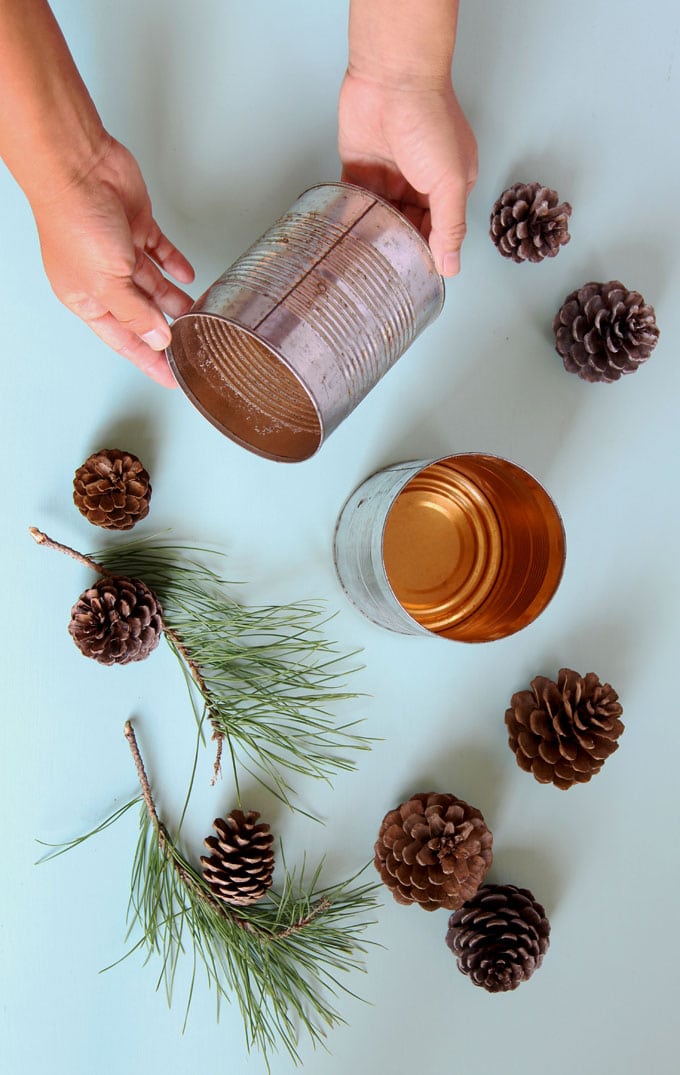
- a 28 oz recycled can, and floral foam substitute: some sand and water! Wet sand provides moisture for the fresh cuttings and works really well at holding everything in place.
- I used a small piece of 5 inch burlap ribbon and hemp twine or jute twine to cover the tin can. You can use any fabric or paint to transform the can at the end, or leave the metal look and just add a ribbon.
Step 1: make snowy branches and pine cones
If you just want to use fresh foliage without the snow, skip to Step 2.

Here’s the detailed tutorial on how to make snow covered pine cones and branches. It is so easy, you can do it in less than 5 minutes! You can use the techniques on real or artificial greens.
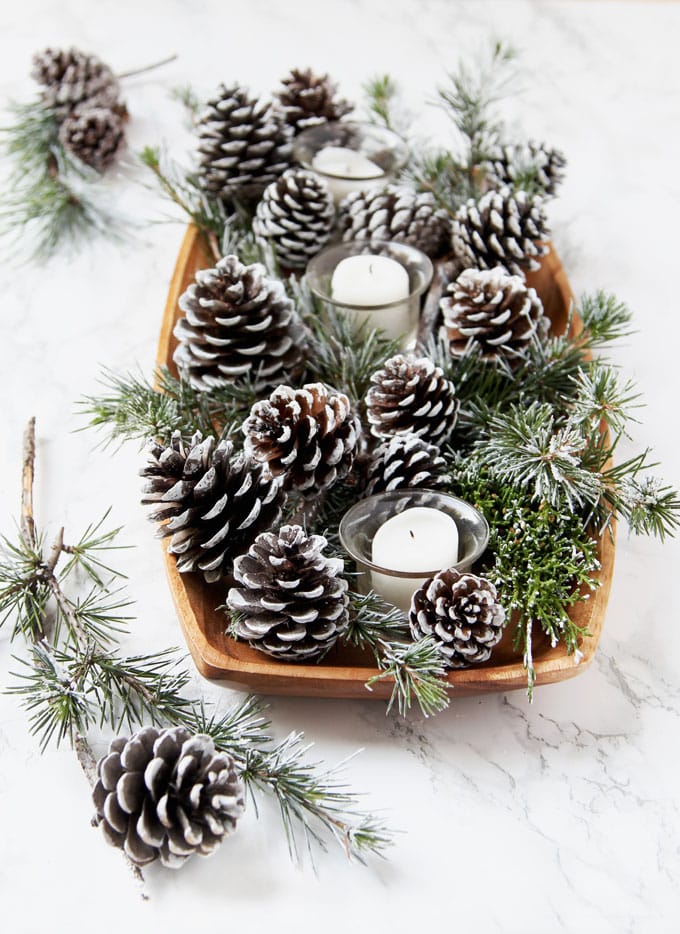
How to make snow covered pine cones and branches easily!
We are using them in many decorations this year! These mason jar centerpieces are decorated with these branches, tutorial here!

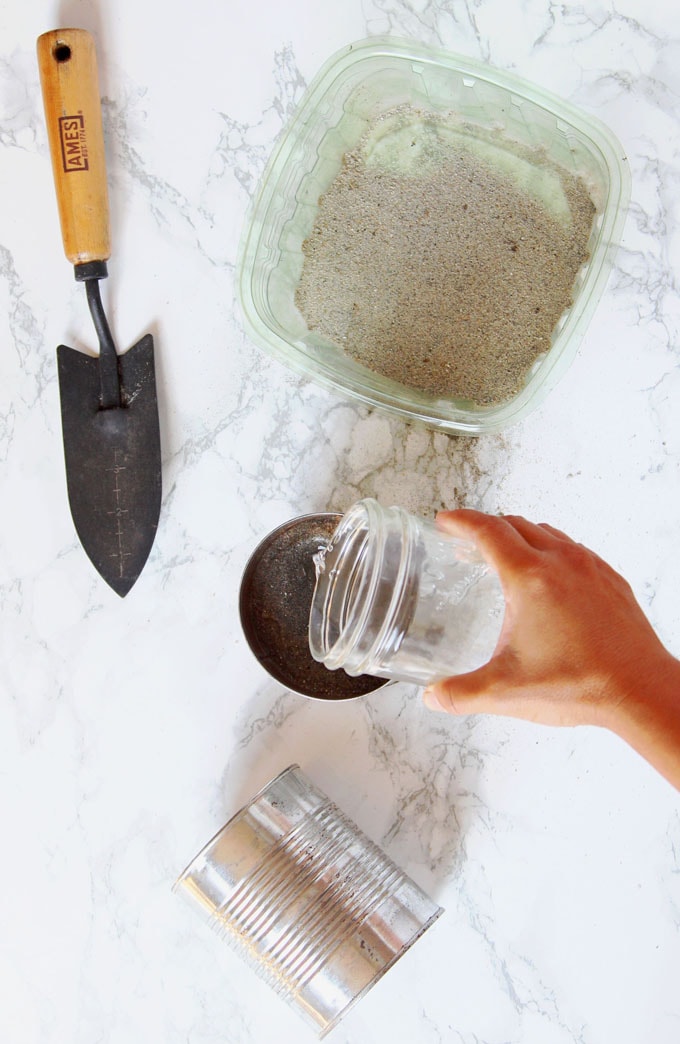
Step 2: add sand and water to container
We used a 28 oz tin can as the container.
The wet sand provides moisture for the fresh cuttings and works really well at holding everything in place, like floral foam.
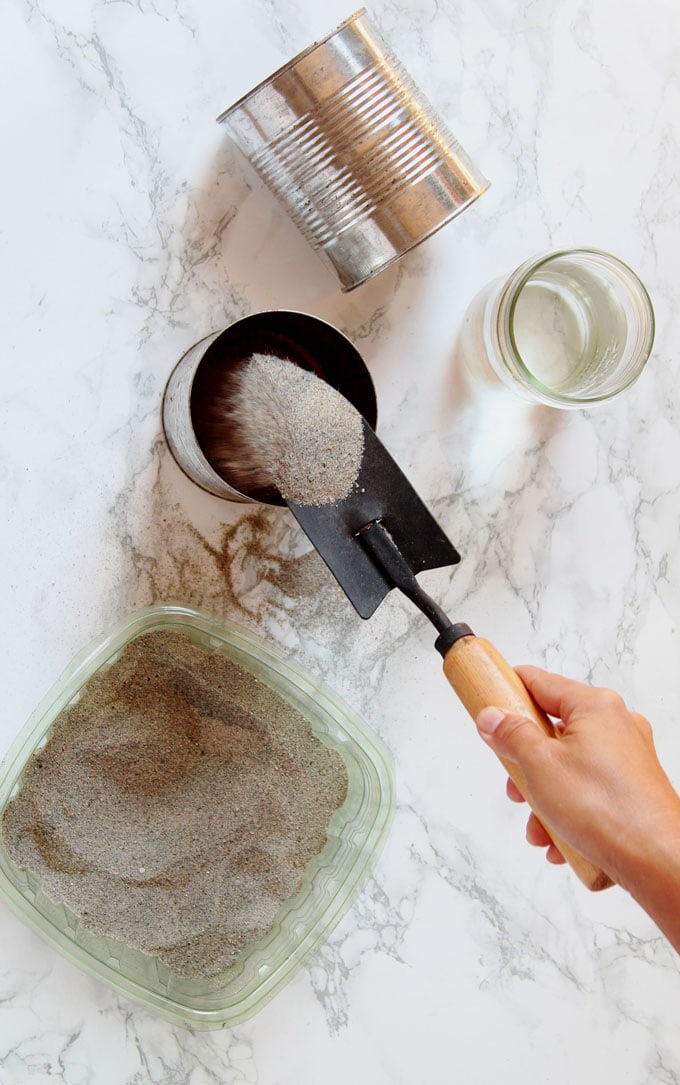
You can use just water, the sand makes it easier to arrange everything.
Use more sand, less water, and press the sand down to compact it.
Step 3: arrange pine cones and foliage cuttings in your snowy tree winter and Christmas DIY table decoration
The trick here is to keep stepping back and look at the overall composition, to make sure everything looks natural and balanced.
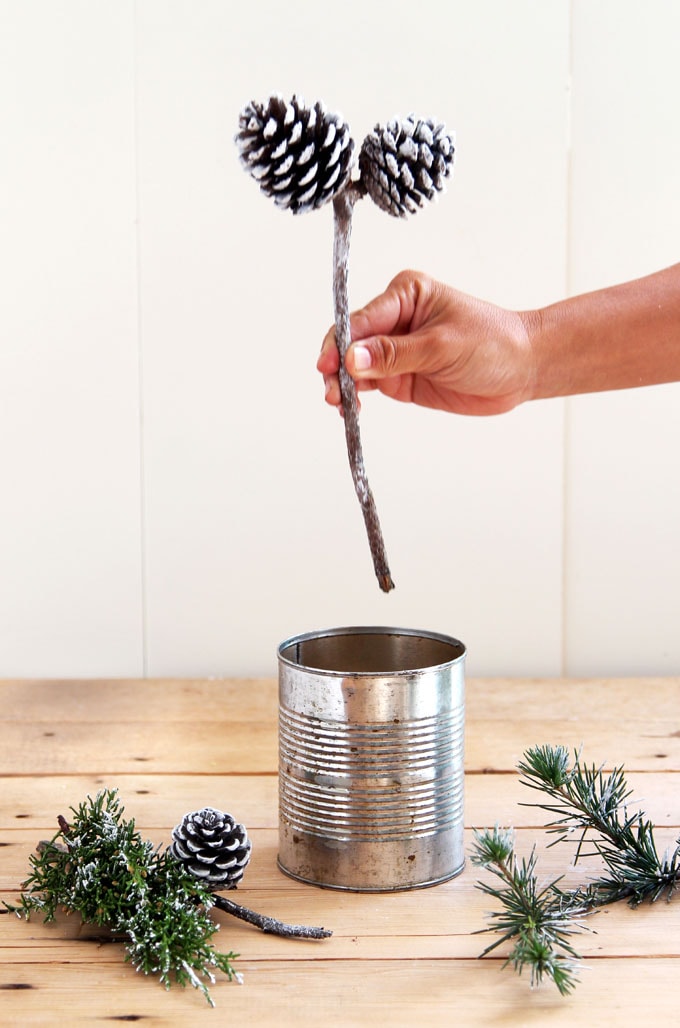
If you can not find branches with pine cones on them, you can glue a few pine cones to some branches.
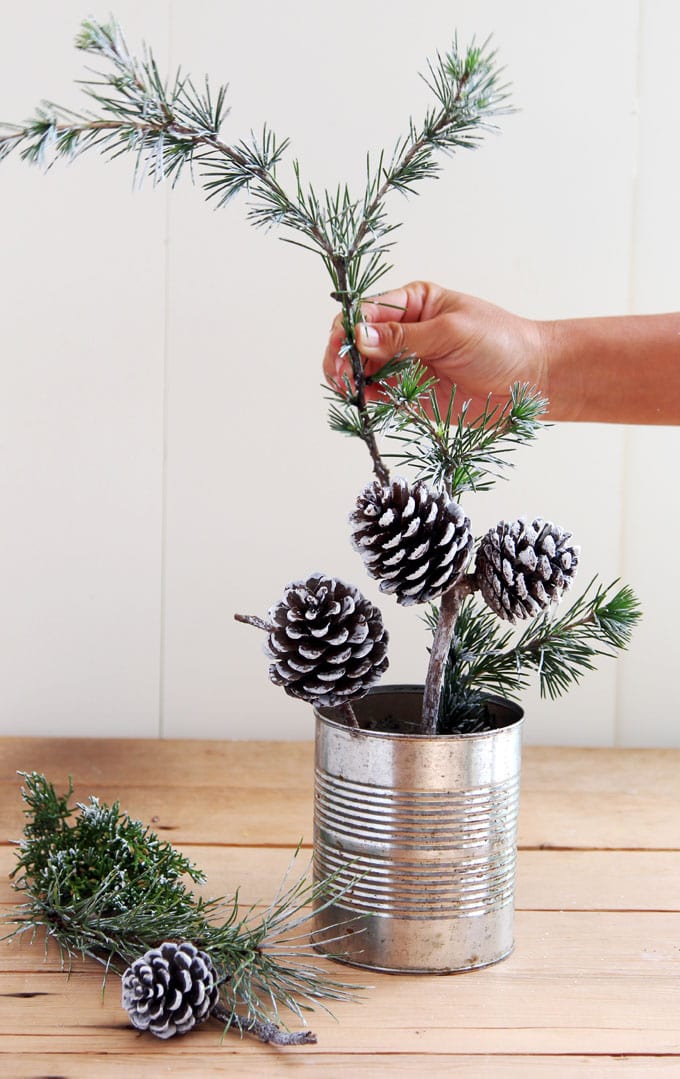
This snowy tree winter and Christmas DIY table decoration is like a mini arrangement. You can make it in a much larger scale for your front porch like these ones: 24 festive DIY winter and Christmas planters!

24 festive DIY winter and Christmas planters
Final step: dress up the can.
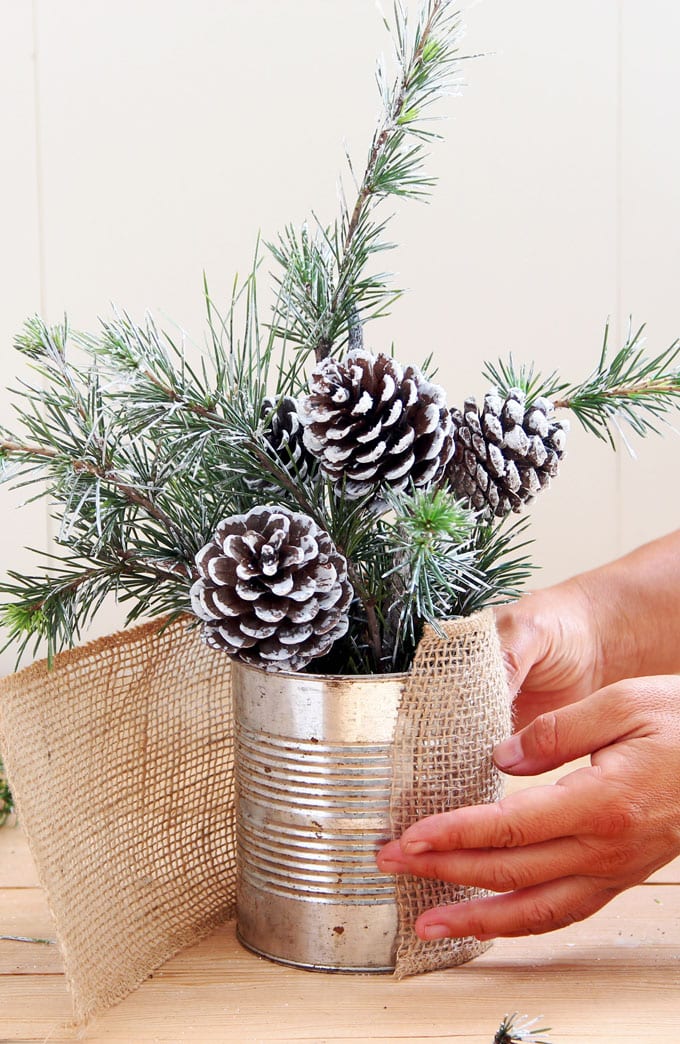
I think tin cans are lovely as is. But there are so many creative ways to make this snowy tree winter and Christmas DIY table decoration centerpiece look super beautiful for decorations and gifts.
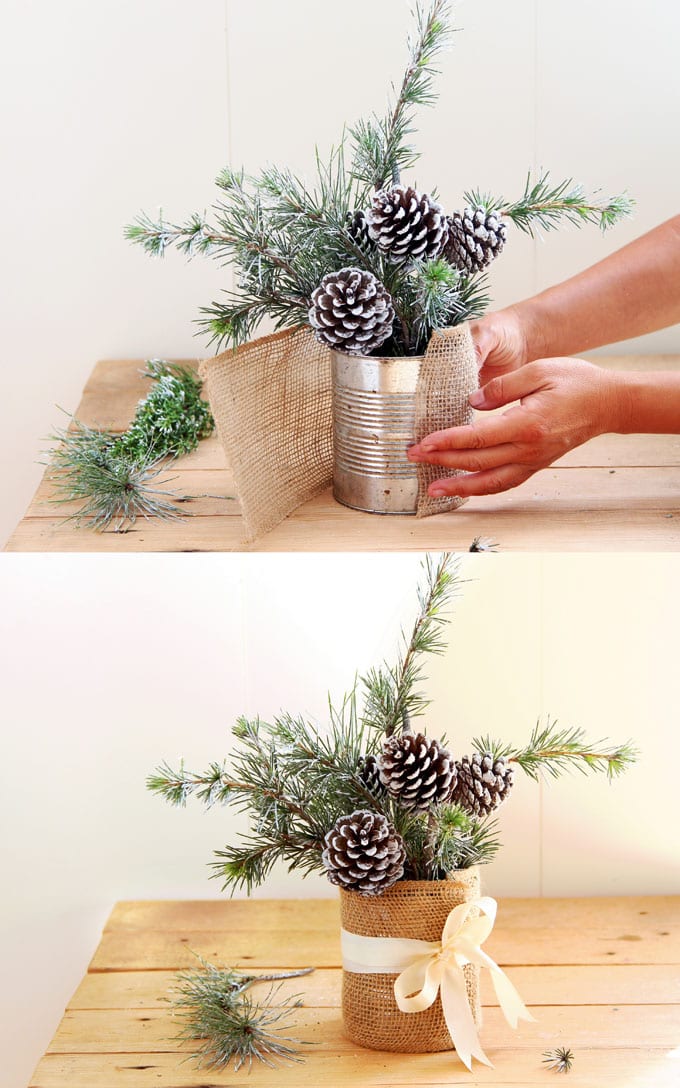
Feel free to improvise! Here’s what I did. Take a piece of burlap or a section of burlap ribbon (I used 5 inch burlap ribbon like this one), tape one end to the tin can, and wrap it around the can. Use a couple of small dabs of hot glue to secure the other end.
I played with some variations. The first one is with white ribbon shown above. This would be very pretty as a wedding table centerpiece!
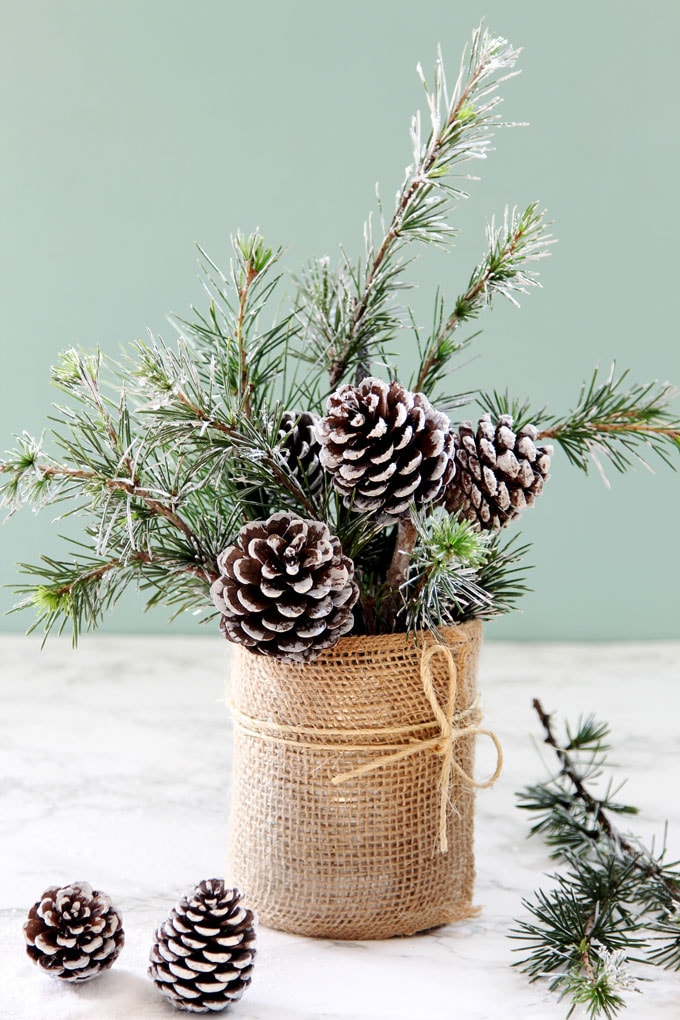
The second one is with natural jute twine. Which one is your favorite? Mine is probably this one. 🙂 I love the rustic feel.
With a little gift tag, this snowy tree winter and Christmas DIY table decoration would also make a great gift for a nature lover!

Tips: If you want to make it for Christmas gifts, artificial greens will last forever, and you will not need wet sand, just use some pebbles inside the tin can.
Love Thanksgiving and Christmas centerpieces? Here are 27 gorgeous ones to get inspired by!

27 gorgeous DIY Thanksgiving and Christmas centerpieces!
Happy creating! See you soon!


What a great idea to upcycle those large tomato cans! I loved the burlap cover–so simple, too! I’ll be on the lookout for wide burlap ribbon now!
hi kathy! i found them on amazon and at Michael’s, but coffee bags should work too! happy November and Thanksgiving! 🙂
So cute! I am excited to make these as we now have a property when I can get some of these supplies.
Thanks for sharing this beautiful idea.
This is really pretty, it would make a great Christmas centrepiece.
Thanks a lot for this really great Christmas decor idea! Love the snowy tree and it’s so easy to make!
Such a lovely DIY..
This is so pretty! It’s festive without being over the top. I love the rustic look.
I just love seeing DIY projects. They’re so satisfying. This is soooo beautiful. I wish I could make something as amazing as that.
Everything came out so beautiful. Thanks so much for sharing those wonderful DIY decorations.