How to Skim Coat & Smooth a Textured Wall Like a Pro!
How to skim coat & smooth a textured wall, drywall or ceiling! Easy DIY home improvement & remodel project. Detailed tutorial, video & best beginner tips!
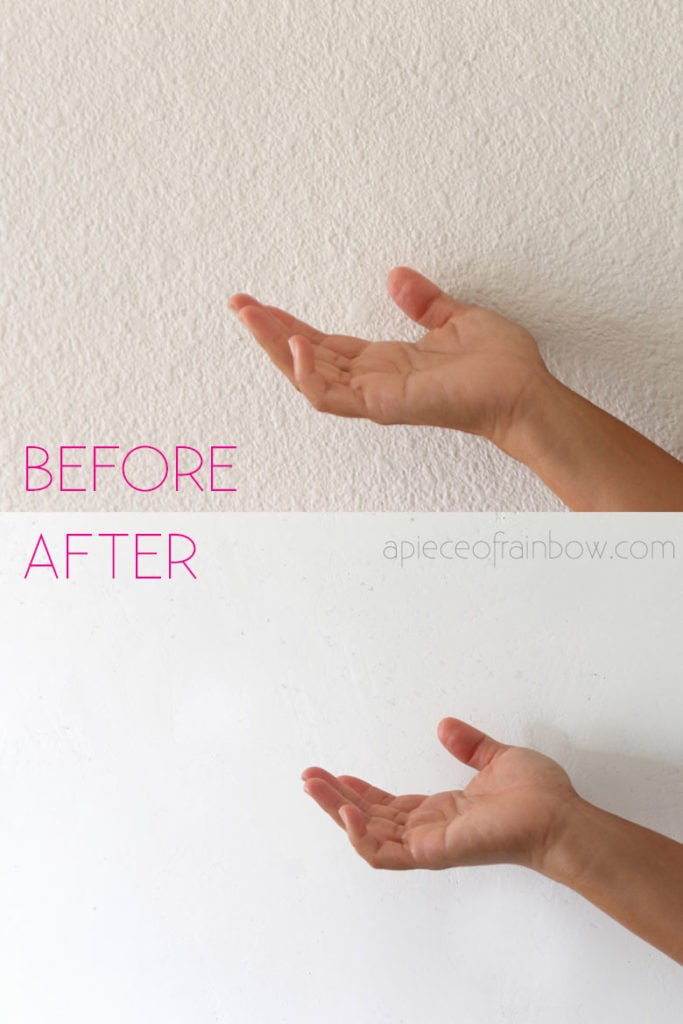
Every time I walk by our bumpy orange peel textured wall with muddy beige color in our new home, I would envision a sparkling white smooth wall that is so serene and so beautiful…
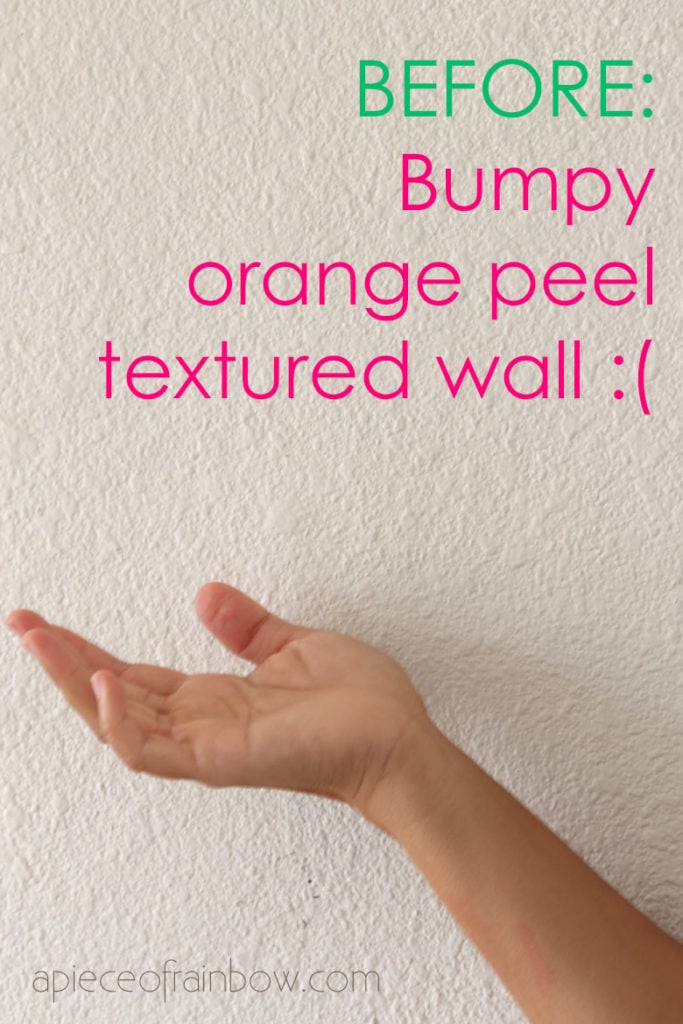
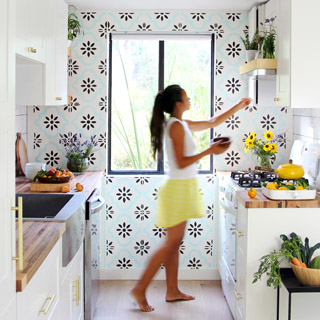
When we started our modern farmhouse IKEA kitchen remodel, we knew this wall must change! Luckily, smoothing a textured wall (aka skim coat) only requires a few simple tools and a little practice.
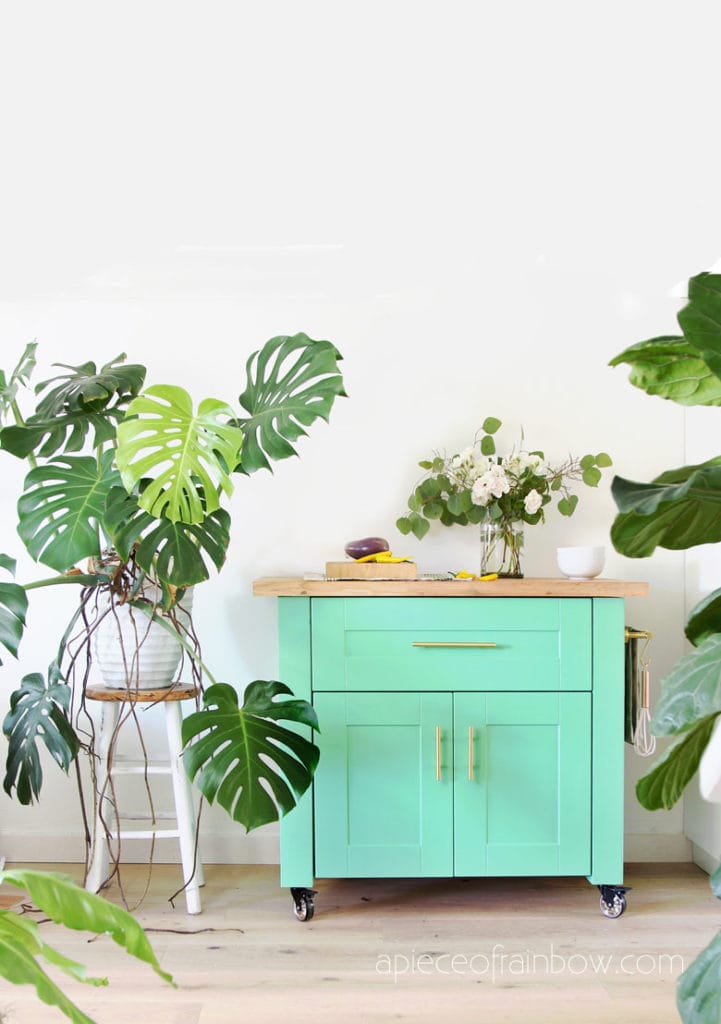
Working with drywall mud is totally new to me, yet I can honestly say that I really really enjoyed learning to skim coat! Can you tell we are in love with our NEW SMOOTH wall?!? And our DIY kitchen island? 🙂
*Some resources in article are affiliate links. Full disclosure here.
With just a little practice, it can get you into such a nice zen feeling, as you will see in the video tutorial below! I will share all the tips and tricks so you can skim coat textured wall and ceiling easily, and have a great time doing it too!
Make it portable
Materials and tools to skim coat and smooth a textured wall or ceiling:
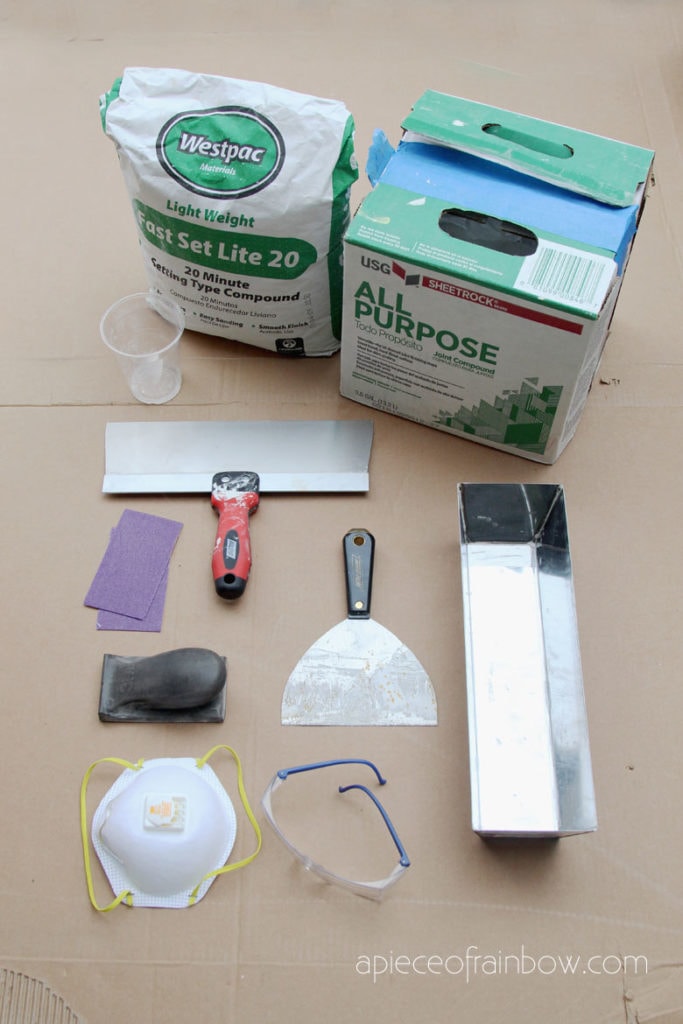
- joint compound aka drywall mud: there are a few kinds, see Step 1 for tips on which one to use.
- mud pan and taping knives: the smaller 6″ taping knife is great for mixing mud and skim coating small areas such as a window sill. The 12″ taping knife is great for covering large areas really fast.
- Optional: Drywall Corner Tool for perfect 90 degree corner when applying drywall mud, such as where ceiling meets the wall
- If you are using powdered mix or sanding drywall, make sure to wear masks and goggles.
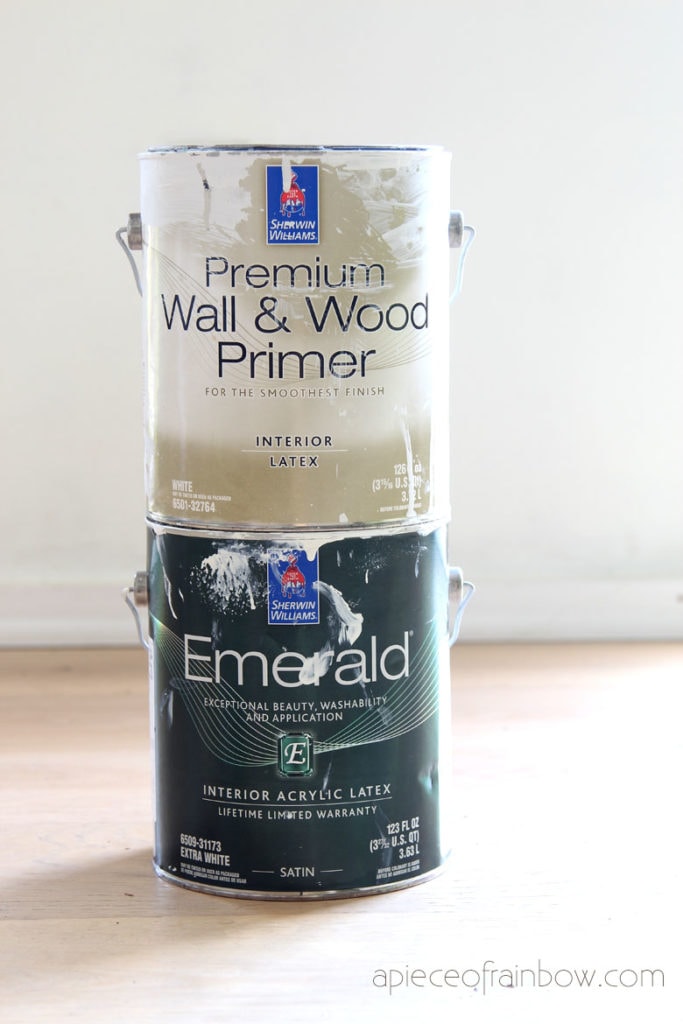
People often ask: “Does drywall mud / joint compound need to be primed and painted?” The answer is yes! Because drywall mud finish is absorbent, it should be primed and painted right after the joint compound is dry. We love Sherwin Williams Wall & Wood primer and Emerald Latex paint, both are great quality and low VOC!
Step 1: mixing drywall mud / joint compound
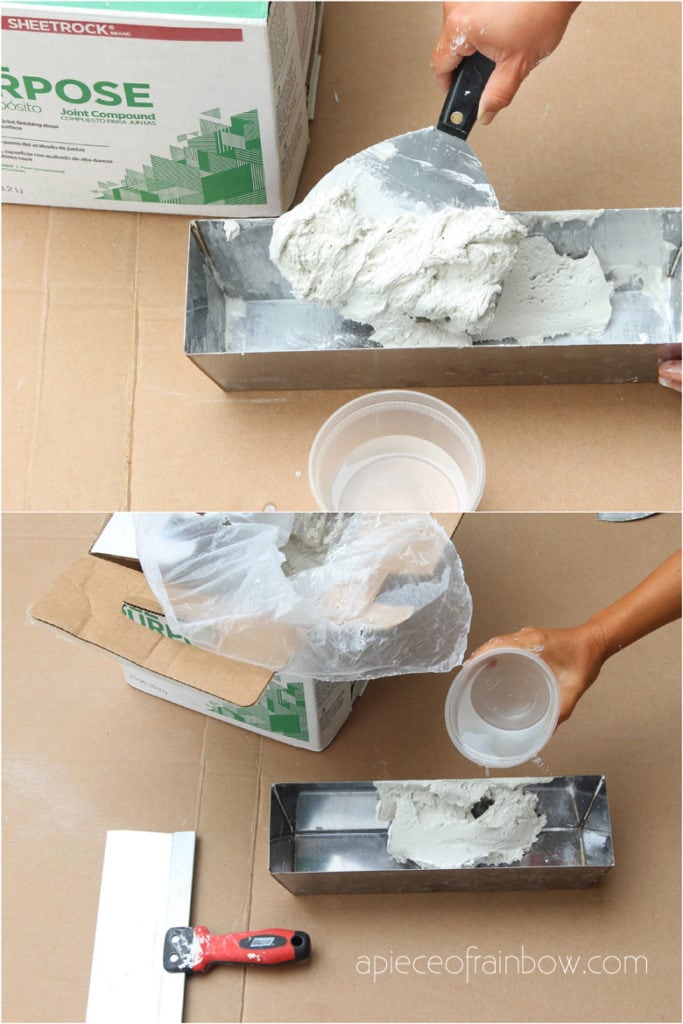
If you are just learning to skim coat, use the Joint compound that is premixed in a box or bucket. This type of drywall mud is finer, and takes longer to dry, which allows beginners plenty of time to get it right. It is SO much easier to work with!
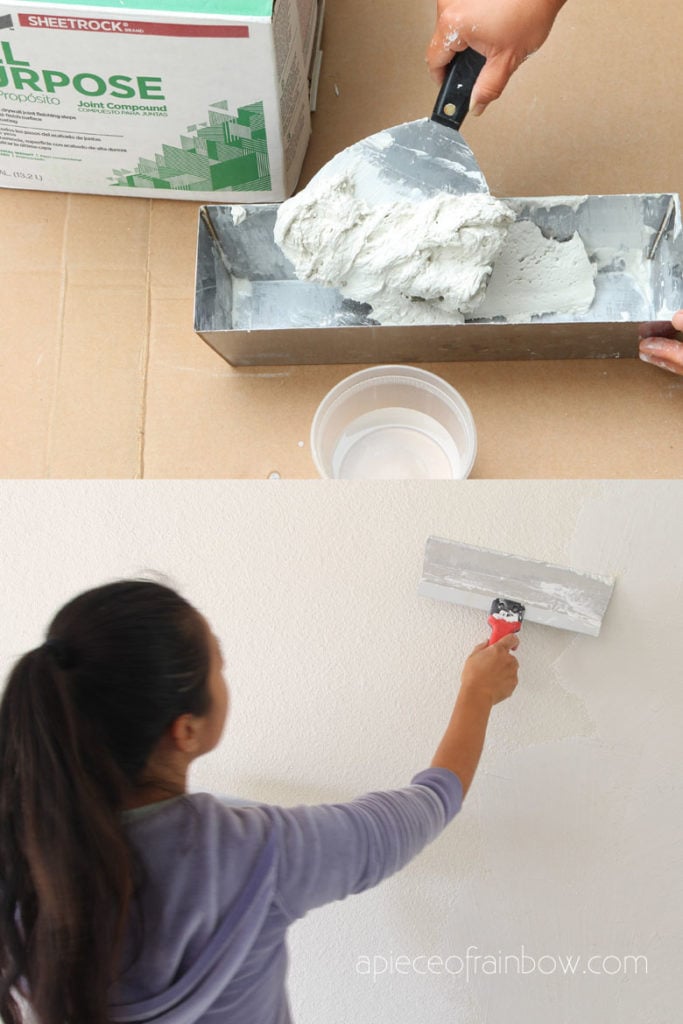
You can use this drywall mud as is, or mix in about 10% water to make it easier to spread, which I highly recommend. Use the 6″ taping knife to scoop some joint compound into the mud pan.
Mix the mud to a consistency of somewhere between a soft creamy peanut butter and mayonnaise. ( If this makes you hungry, a snack break is allowed! )
Note: Professionals would use quick set joint compound as the first coat, and the premixed kind as the fine finish coat so they can get the work done in one day. It’s much easier for a beginner like me to use the slow setting kind, and wait longer to apply the second coat.
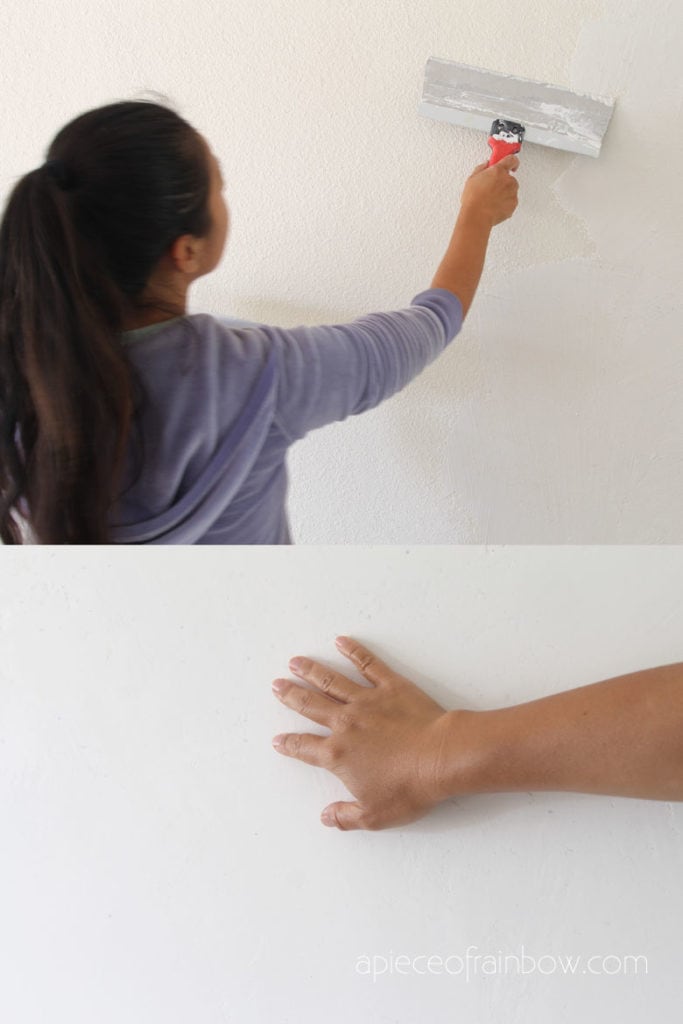
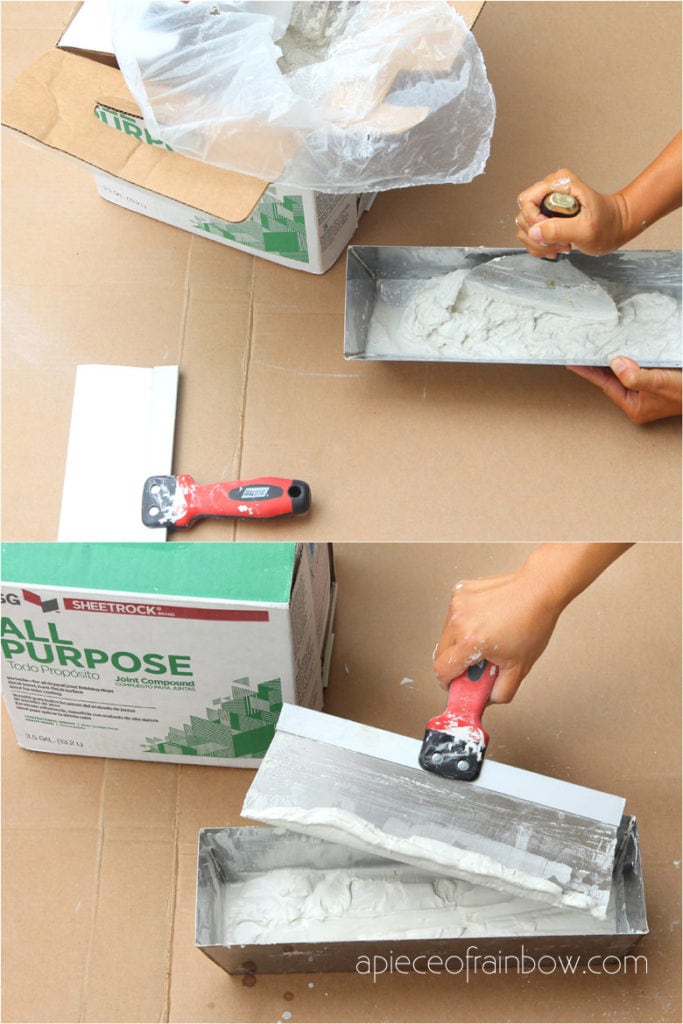
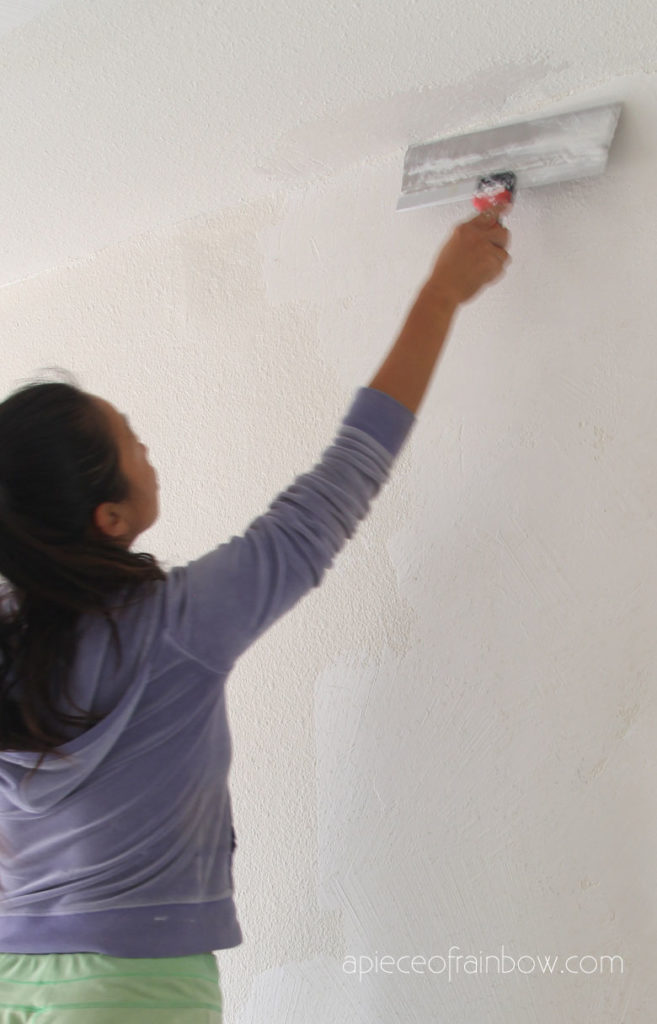
Step 2: apply the first coat of mud onto the textured wall
The biggest secret for a smooth skim coat is to keep the taping knife at about 10 degree angle to the wall, and don’t use too much pressure.
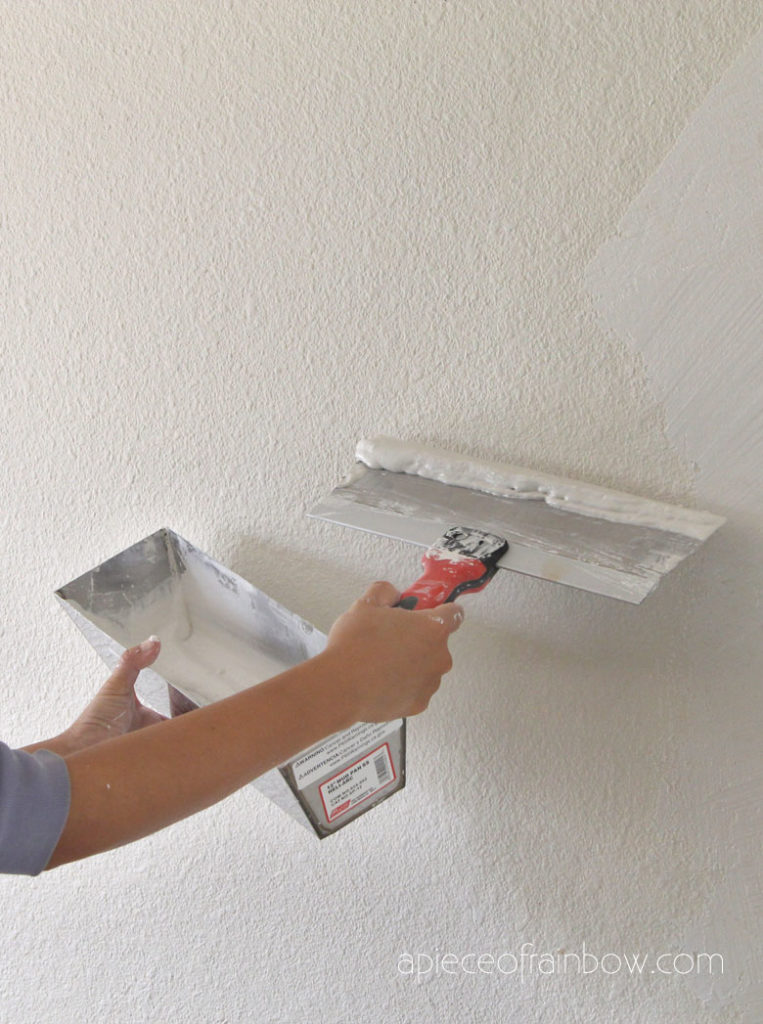
Scoop the right amount of joint compound (about 2″ thick and wide) onto the taping knife, and apply it to the textured wall. Go slow at first until you are more familiar with the motions of each stroke.
If this is your first time skim coating, practice on a less important wall first! I could feel myself improving a lot during the first 2-3 days working on a wall for about an hour each day.

When you have used most of the mud on the taping knife, clean the edge of the knife on the mud pan, and scoop more mud to start again.
It is also helpful to practice this motion as you will be repeating it a lot. Check out the video for more details!

The first coat is not going to look super smooth, especially if this is new to you, which is totally OK. The second coat will be so much easier to get it smooth!
I only learned AFTER the project that there is a good tool for 90 degree corners, such as where ceiling meets the wall: the Drywall Corner Tool ! No wonder it was challenging for me just to use the regular taping knives!
Step 3: apply the finish coat of mud onto the textured wall
The first coat will take about 24 hours to dry. If it looks super bumpy, you can give it a super quick sanding. See tips at the end for sanding without too much dust! 🙂
Now after some practice and rest, we will apply the second coat / the finish coat, which is going to feel much easier!
The process is exactly the same as the first coat.
Cleaning up, priming, & painting:
Use a bucket to rinse and wipe your tools clean after each work session. Don’t do this over the sink. Mud left on the taping knife can cause rust.
When the second coat is thoroughly dry, you can give the drywall a quick sanding to make it extra smooth.
How to sand drywall without dust?
A finished drywall is very easy to sand, but the fine dust can be a mess! Here’s a good technique to use: wet-sand drywall. See video below:
Now it’s time to prime and paint the wall. We used Sherwin Williams Wall & Wood primer to prime the first coat, then we used 2 coats of Sherwin Williams Emerald Latex paint in Whitetail color satin finish.
Helpful Tips and FAQ on how to skim coat textured wall
- Mix a small batch like 1/3 of a mud pan, so its not too heavy to hold in your hand. Use premixed mud with longer drying time if you are new to this!
- Scoop the right amount of mud (about 2″ thick and wide) onto the taping knife, and keep the taping knife at about 10 degree angle as you smooth the textured wall. This will minimize knife marks.
- Use the edge of mud pan to scrape clean the taping knife each time before you scoop more mud.
- The first coat is not meant to be perfect.You can always sand uneven marks between each coat.
You can check out more of our DIY and remodel projects here! See you soon!
How to Skim Coat & Smooth a Textured Wall Like a Pro!
27 Gorgeous Christmas Table Decorations & Settings
Farmhouse DIY Wall Cabinet with Free Building Plan

100+ Favorite Christmas Decorating Ideas For Every Room in Your Home : Part 2
35 Gorgeous Thanksgiving Table Decorations & Easy Centerpiece Ideas
Pallet Kitchen Remodel
Our DIY IKEA Kitchen Remodel ( & 8 Super Helpful Ideas)
Boho Farmhouse DIY Panel Door: Hollow core Door Makeover!
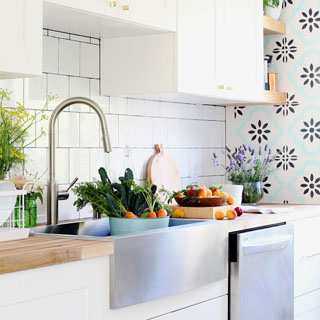
Our Stainless Steel Farmhouse Sink: 100 Day Review
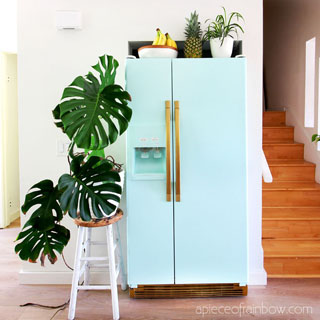
How to Paint a Fridge ( Inspired by a $2,999 Retro SMEG )
$1 Farmhouse DIY Tabletop Christmas Tree


I have textured walls and I want to hang wallpaper on one wall, so I’m assuming I’ll need to smooth out the texture. Can wallpaper be attached to the finished (smooth) wall?
hi Melissa! it’s not a good idea to put wallpaper directly on drywall. use a good wall primer first, it would adhere much better! 🙂
Okay, I’m about ready to pull the trigger on this. The guy I bought the house from did FIVE rooms with texture and paint (including ceilings) before selling to me. My question is: Should I prime before I start this process?
Thank you SO much for such a comprehensive tutorial!
hi Norma, no need to prime before the skim coat, only after! 🙂
Do I have to sand between each layer? Or simply re-apply once it’s dried
hi! sanding is super important, only takes a few seconds, and it prevents any imperfections from getting bigger in next layers 🙂
I’m thinking about doing this in my bathroom but wondering if it would be more affordable to replace the drywall. So you have a cost break down for the materials? Thanks for taking the time to share this journey and all that you learned.
hi kate, if you replace the drywall, you will need to install new drywall, then skim coat the dry wall. so it’s definitely more cost effective to leave the old drywall. the materials to skim coat is minimal. 🙂
You didn’t have to sand the walls after mudding? We had this done by pros and they sanded the hell out of it. We had dust EVERYWHERE. 😫 I would love to finish this job if I could do it without sanding!
hi Christine! we did very minimal sanding, like a minute, so dust wasn’t an issue. there’s also a very easy way to “wet-sand” by using a slightly damp sponge, 🙂 here’s a video tutorial- https://www.youtube.com/watch?v=LZJRSdELobs
How did u handle the upper part of the wall? Did u just use a ladder? Did you do the upper part first or the lower part?
hi Debbie! yes i used a ladder, & did the upper part first. i learned later that there’s a tool ( https://amzn.to/3PP3LoU ) that can make it a lot easier to skim coat where ceiling meets the wall, which i plan to use in future if we do this again! 🙂
My arms would be killing me after a job like that and I would be in sever pain for at least a week but by gosh I’d find a way if I wanted the textured walls gone! I lived with them in my younger days and didn’t like them then. After being married 40 some years I tackled the popcorn ceilings in my new and last home. I got every bit of that stuff off the ceilings in every room. Holding the arms up then was challenging but well worth what I got in the end…nice smooth ceilings in perfect condition and just needed 1 coat of paint. You will love living with your new look, I know I do!
hi Shirley! oh my, ceiling is so much harder than wall! i would have quit if i had to do the entire ceiling! 🙂 hope you are enjoying summer!! xo
Thank you for putting this together. Is there any sort of prep work that needs to happen on the painted wall before rolling on the compound?
hi Zoe! you can sand the wall quickly with 120 grit if the paint is glossy. otherwise you can just go over the paint, which is what we did! 🙂
Is it ok not to sand it before painting??
hi kristin! yes you can skip the sanding part. the only reason for sanding is to smooth out some marks, and the coating is super easy to sand, takes only a few minutes! 🙂
I have about 1500 square feet of popcorn ceiling texture to skim coat.I found a long napped roller brush on a telescoping handle works faster to apply the water thinned drywall mud before spreadng with the large blade, Starting at the center of ceiling radiating towards the walls. I’ve found i can mix water based primer thoroughly in the water thinned mud so I only have to sand and paint when it dries.
thank you so much Paul for sharing your great tips and ideas! 🙂 we all need easier methods when it comes to such a big area to work on!
Só botar a mão na massa que fica bom!!!
thank you for this post; now I know how – wish i’d seen this 30 years ago! I always enjoy your creative and educational postings!
thank you so much linda for sharing this journey with us!! 🙂 have a wonderful weekend!