Paint Bathroom Vanity Countertop & Sink: So Easy!
How to paint bathroom countertop & sink, and refinish old formica or laminate vanity top into white or marble finish. Great idea for a super easy budget remodel!
For a long time, I was skeptical about painting countertops or ceramic sinks, but now after trying it, I am a super fan of this method. I would absolutely do it again in a heartbeat!
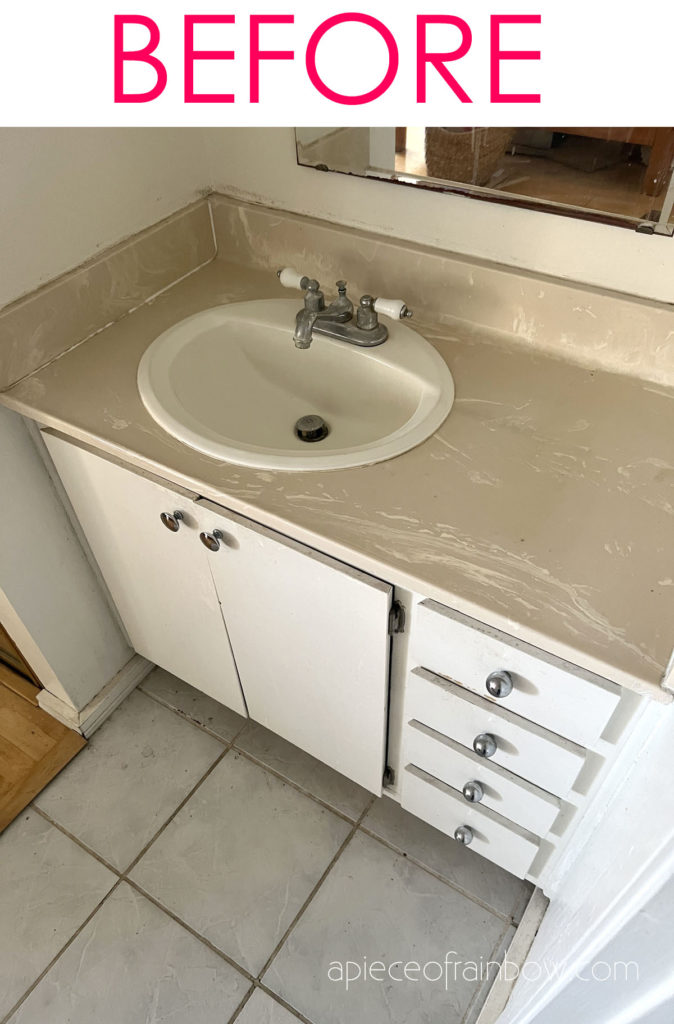
Originally, we were going to completely remodel our 2 bathrooms, which would include replacing dated beige formica vanity top & old scratched sinks with all new cabinets, vanity tops, floor, sinks and fixtures.
However, after our DIY kitchen remodel, we really wanted to take a break from big home improvement projects. So instead of tearing things out, we decided to look for the easiest ways to give these two old bathrooms a dramatic makeover! If we mess up, we can always do a complete remodel later.
*Some resources in article are affiliate links. Full disclosure here.
(More tutorials coming on other parts of this bathroom before-after soon!) In part one of this series today, I will share with you how to paint an old vanity top and sink to make them fresh and new again! You can even use this method to create a faux white marble countertop!
Check out this quick video tutorial on painting vanity top, or skip to written tutorial below
UPDATE:
Lot’s of you have asked how things are holding up after 6 months: the countertop is still looking great! I would do it in future 100%! For the sink i have a longer answer: we only painted the sink that is looking scratched and discolored, so it’s worth it for us, although there has been a couple of spots peeling, but it’s easy to spot sand and re-touch since it’s white on white. but if your sink looks fine i would not paint over it.
Can you paint bathroom vanity countertop and sink?
The answer is YES and YES! If you choose the right paint and follow the steps, you will be amazed at how beautiful and durable your new painted countertop and sink turn out! It’s also a great way to quickly makeover a bathroom without too much work, or before you have time for a complete remodel.
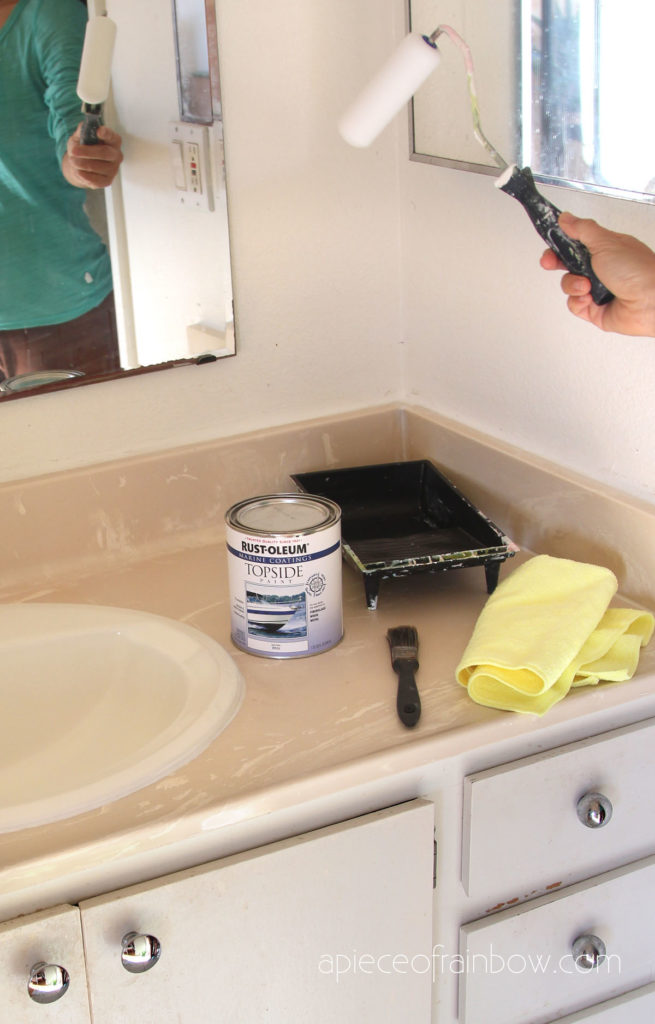
Materials and tools to paint vanity countertop and bathroom sink
- Rustoleum Marine Topside paint : an oil base enamel paint that is self leveling and dries beautifully to a hard durable finish. You can choose from many colors, the white comes in gloss and semi-gloss , both are great! We only used 1/4 of a 32oz can.
- High density foam roller, and foam brushes.
- 120-200 grit sand paper, sanding pad, microfiber towel or tack cloth
Enamel paint vs appliance epoxy spray paint vs 2-part epoxy
I have seen people using 2-part epoxy or appliance epoxy spray on countertops. However, I think this Marine enamel paint is a lot more durable than spray paint or spray epoxy, and much easier to work with than 2-part epoxy.
Step 1: prep bathroom vanity top and sink before painting
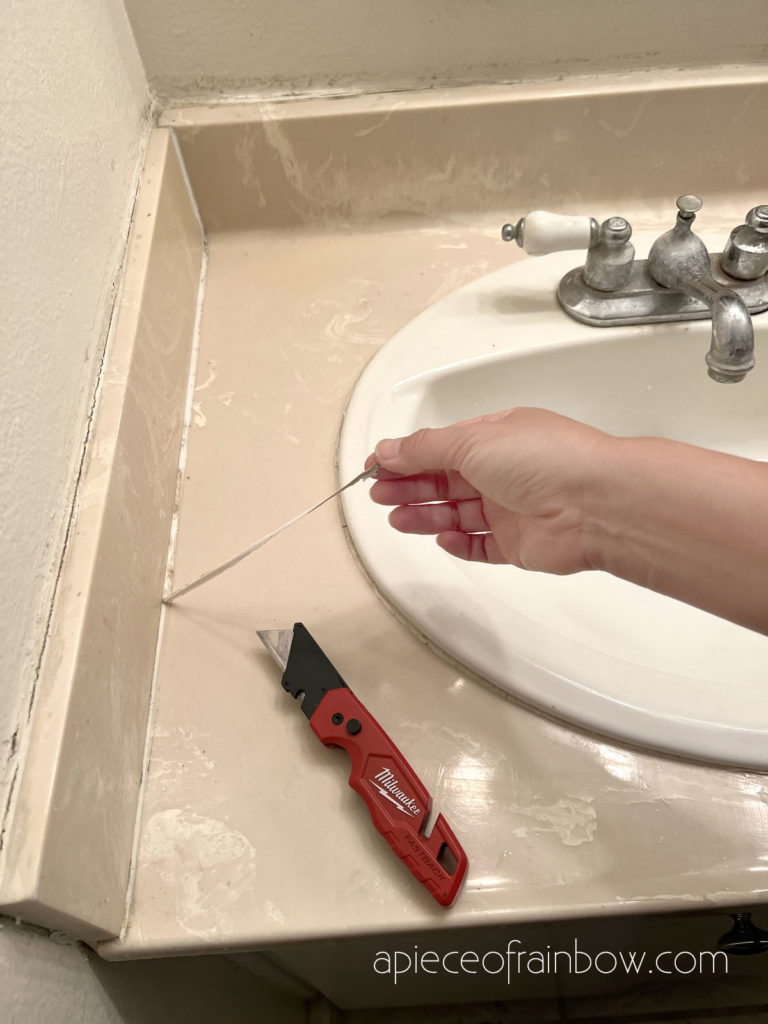
Surface preparation is the most important step for a successful painting project.
First, remove the old caulking around the sink and countertop. Remove the old faucets if you are painting the sink as well.
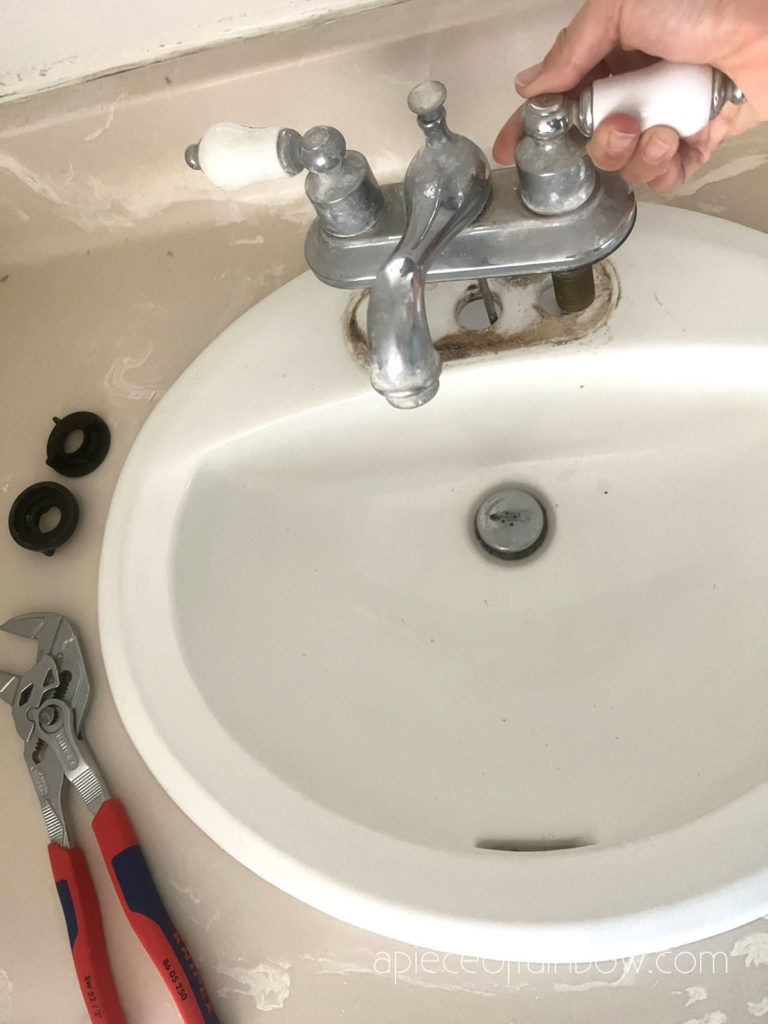
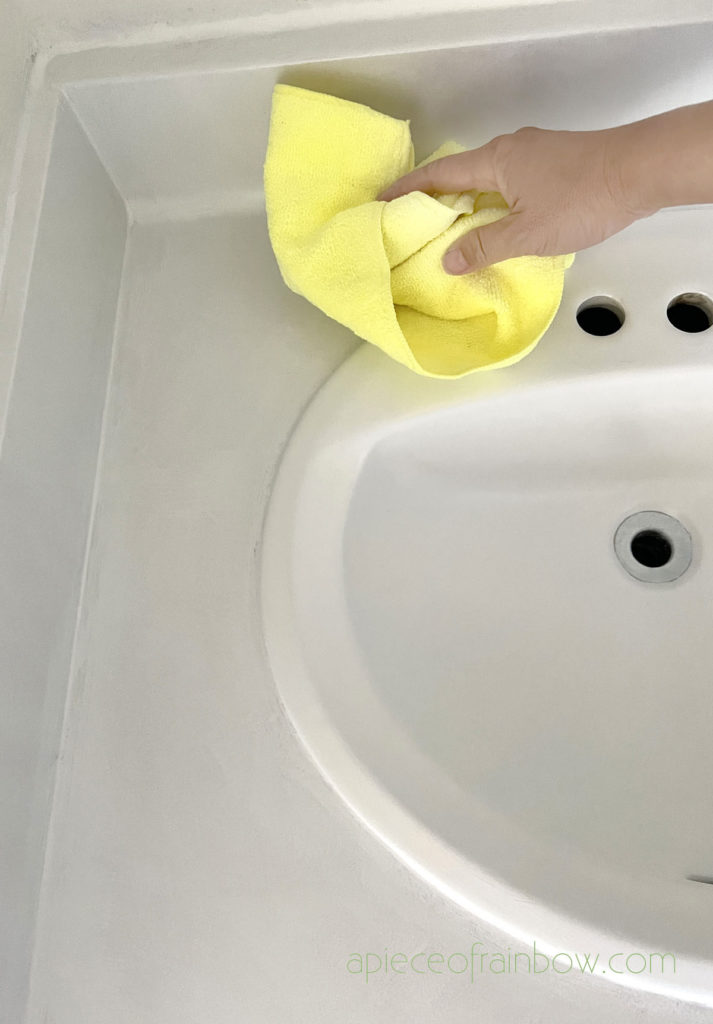
Next, scrub the vanity countertop and sink really well with soap or baking soda, rinse thoroughly with water, then wipe clean with microfiber towel or tack cloth.
Sand the entire surface with 120-180 grit sand paper. Any glossy finishes should look dull which will offer better paint adhesion. Wipe the dust off with microfiber towel or tack cloth. Let dry.
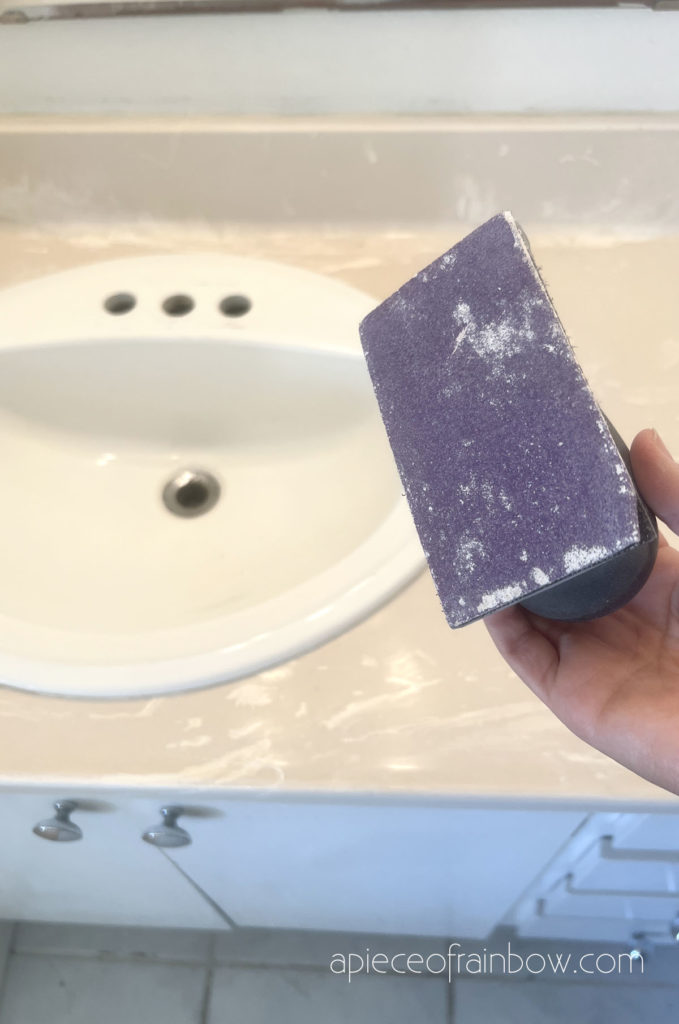
Step 2: paint bathroom countertop and sink
Caulk any gaps along the sink and vanity top. You can also do the caulking at the end, but i wanted to paint the caulk and vanity top together. Tape any adjacent areas that you don’t want to get paint on.
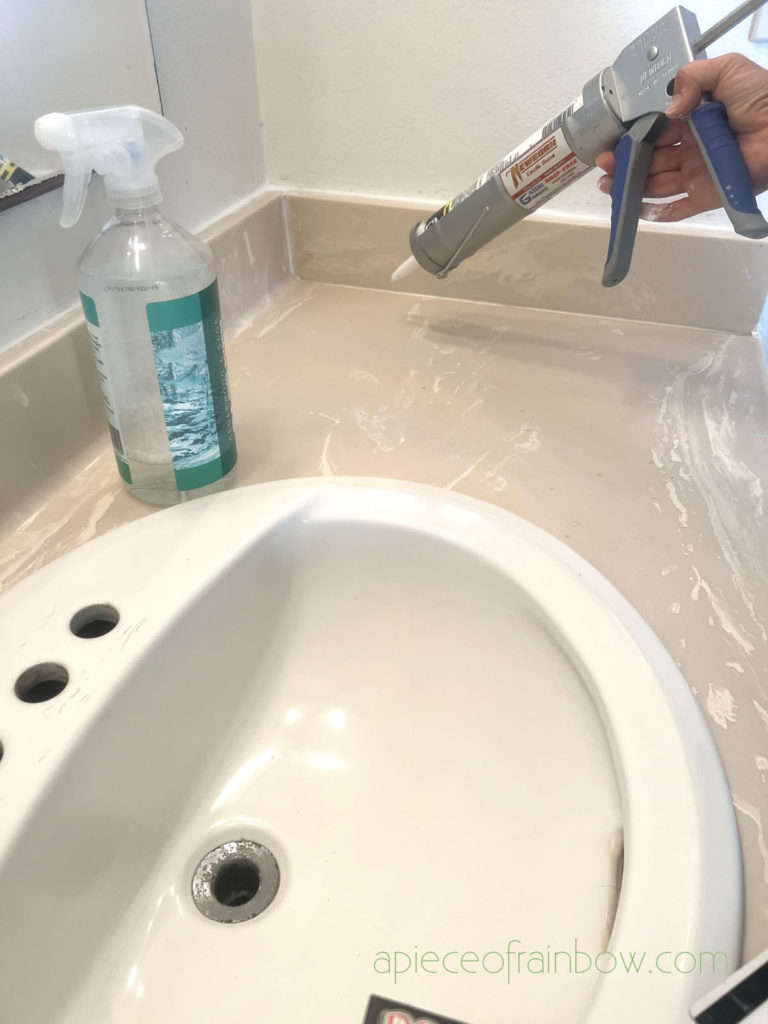
Shake the can and pour some paint into a tray. Use a foam brush to paint areas that are hard to get to with a roller first. (I forgot to buy some foam brush, so here’s our make-do version!)
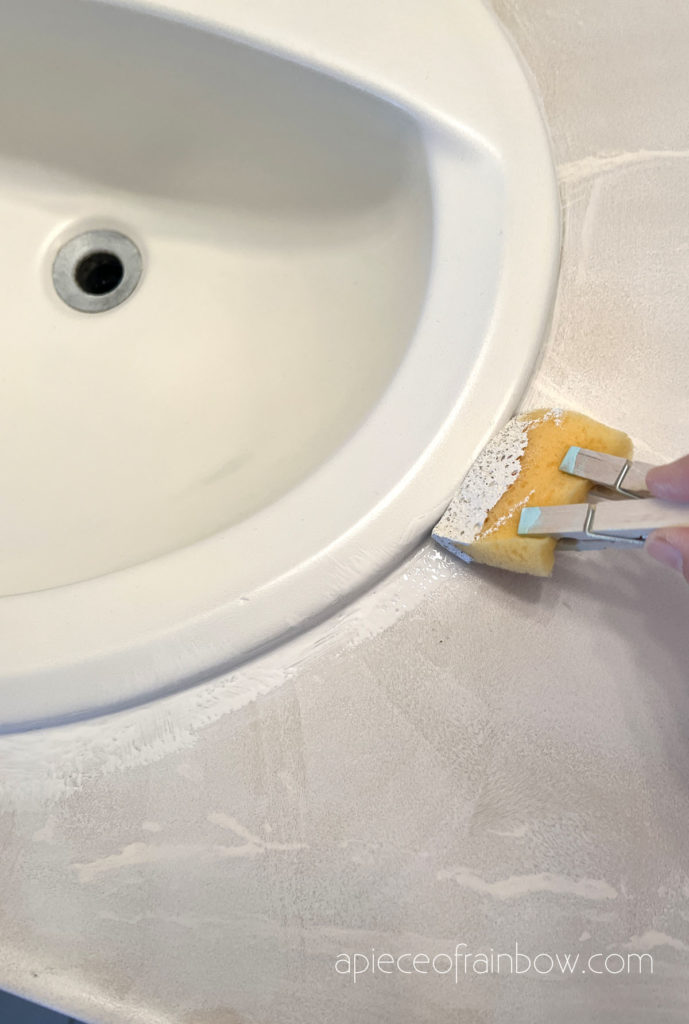
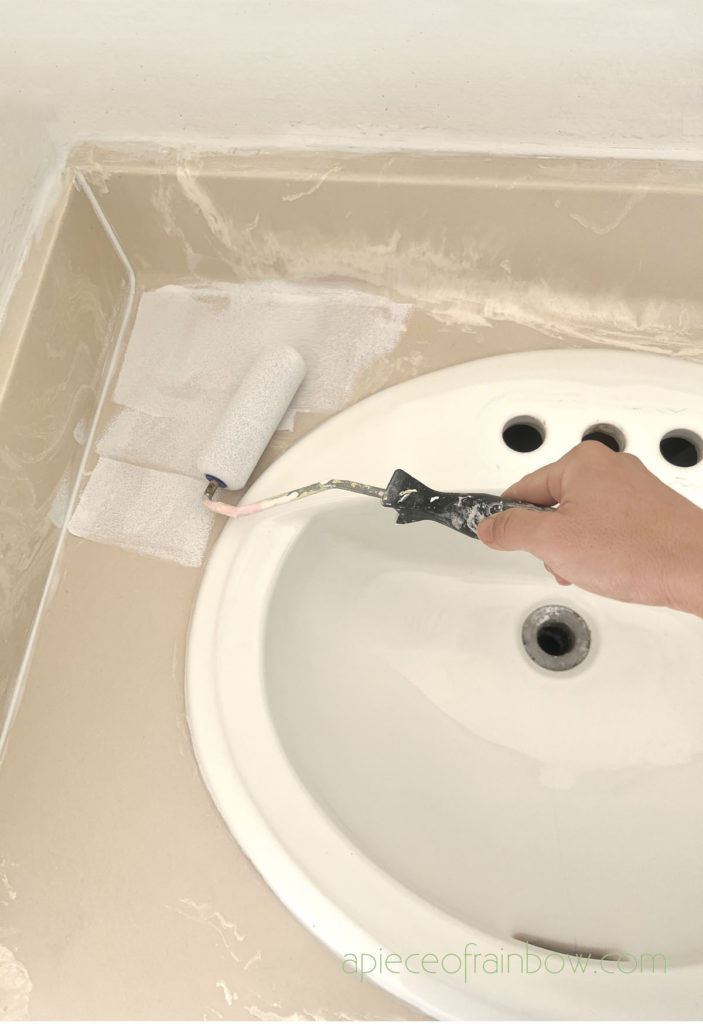
Use a high density foam roller to paint the larger areas. Let the first coat of paint dry. Keep the room well ventilated because this oil based enamel paint has a pretty strong turpentine smell before it dries.
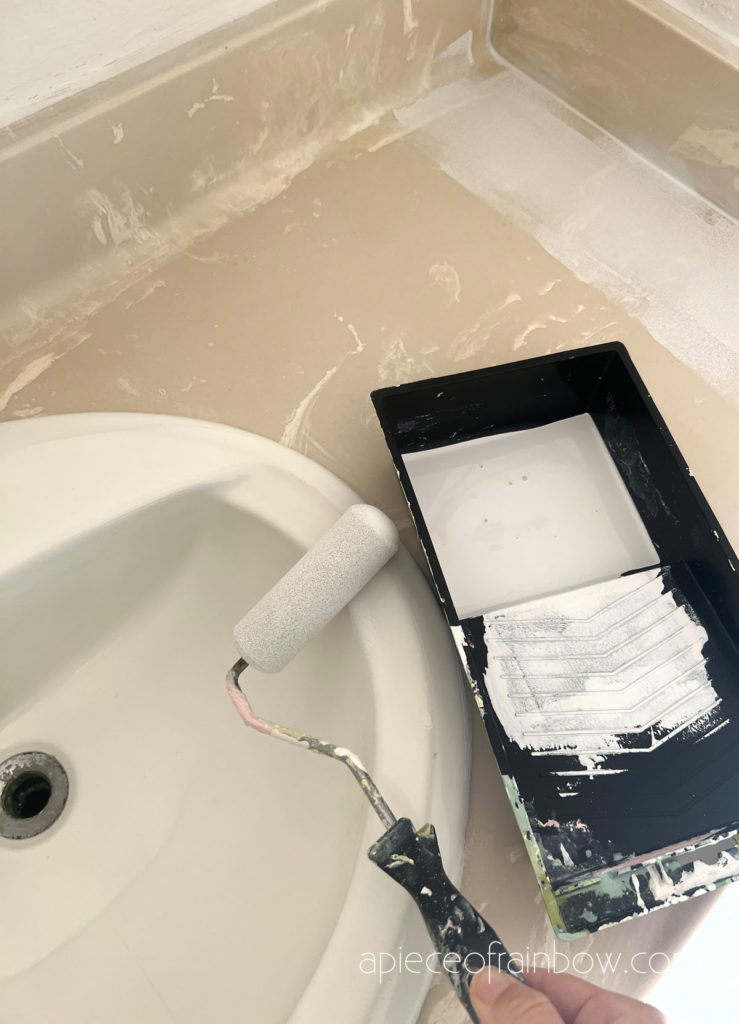
The first coat will look a bit blotchy. Don’t try to go over anything when the paint is drying, you will just create a sticky mess!. The next 2 coats will look better and better!
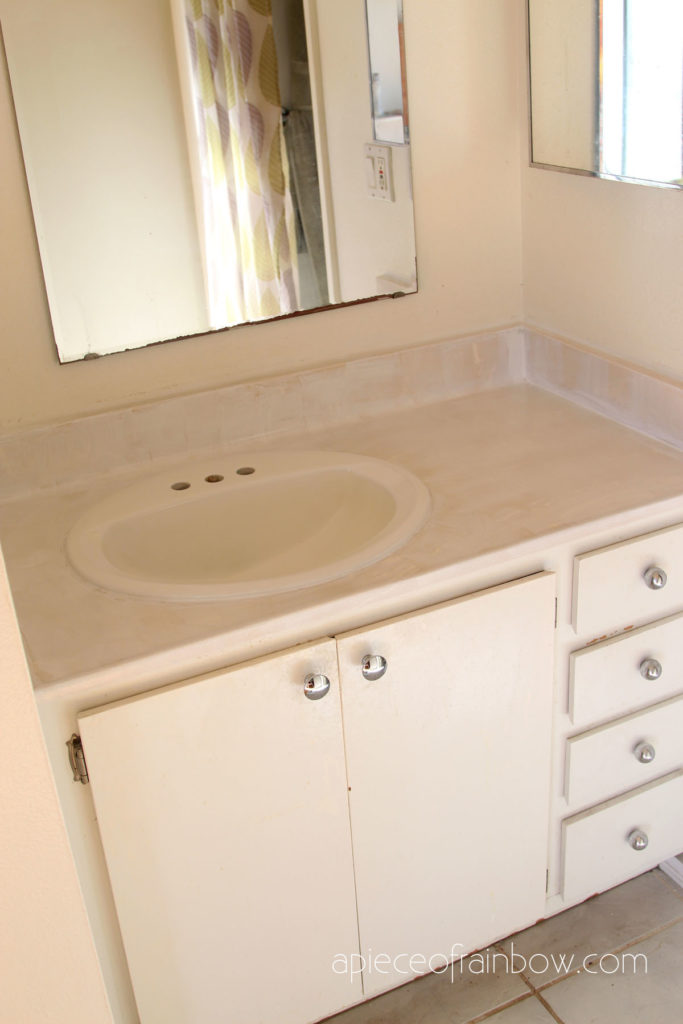
Step 3: sand and add more coats of paint
Let the first coat of paint dry completely, which takes a few hours, or longer if room temperature is cold. Wait about 24 hours before painting the next coat.
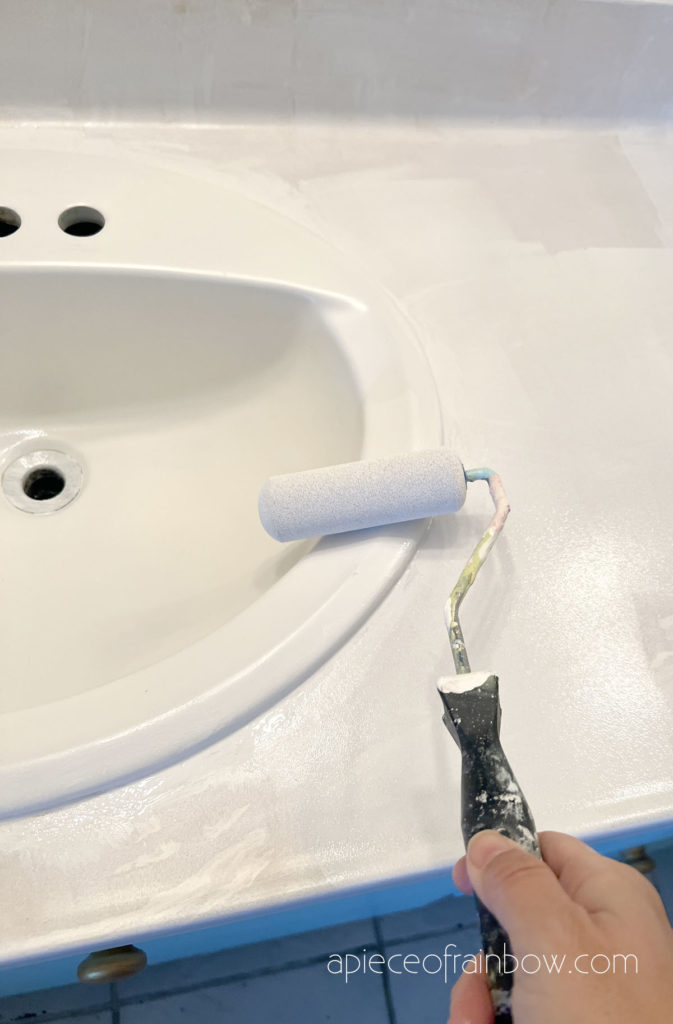
Sand the paint lightly with 120 to 200 grit sand paper. Wipe off the dust. Apply the second coat with foam brush and roller the same way as the first coat.
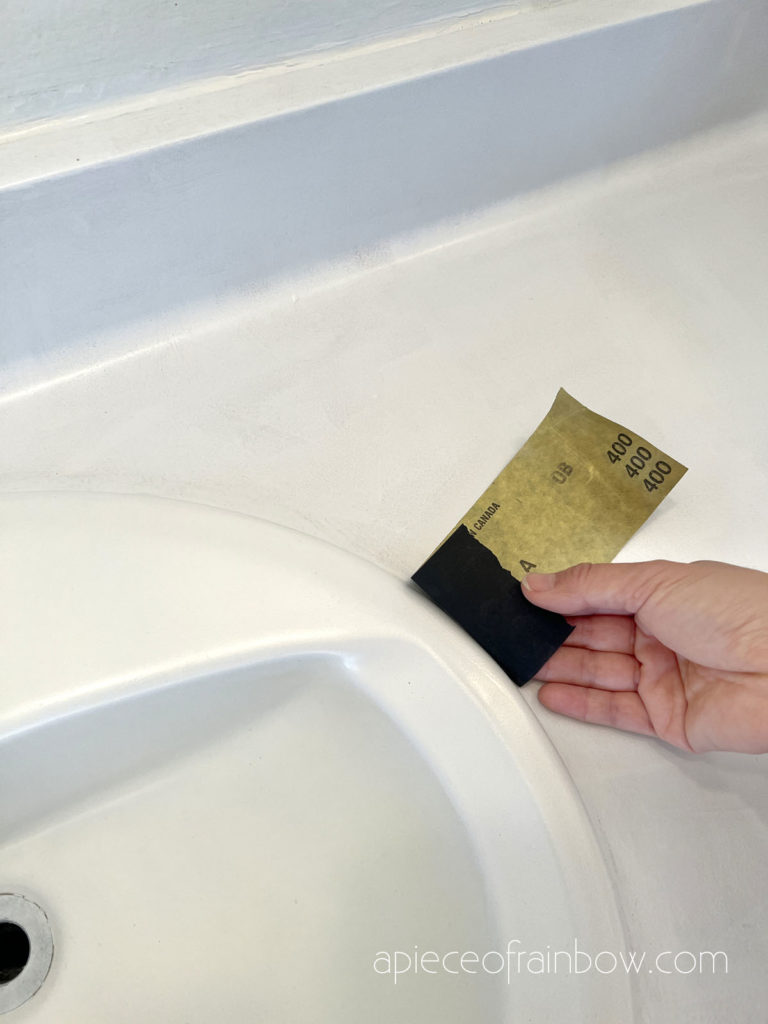
Repeat the drying, sanding and painting process until you are happy with the results. No need to sand the final coat.
It took us a total of 3 coats of paint. We only used 1/4 of a 32oz can. Now it’s time to let the paint dry and cure.
Difference between paint dry time vs cure time
When paint dries, it becomes no longer tacky when you touch it gently. When paint cures, it becomes durable, scratch resistant, and moisture resistant.
Dry time is usually a few hours to a couple of days, vs cure time is usually 1 week or more depending on temperature and paint type.
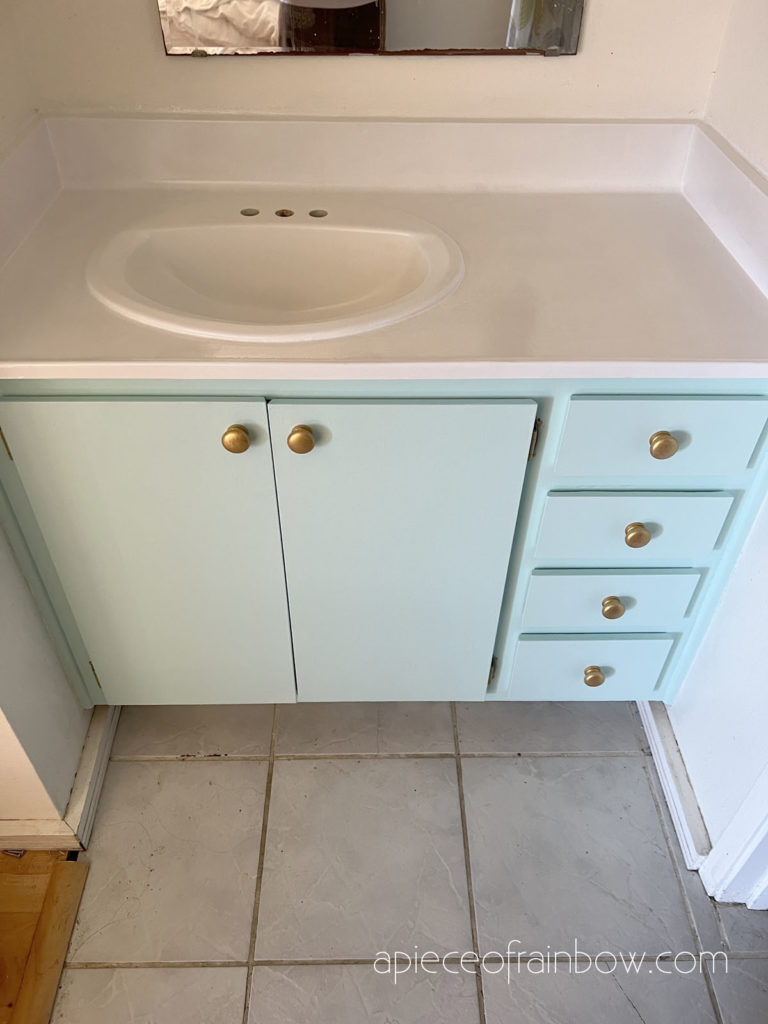
While you can lightly use any dry paint surface, you should wait till the paint cures before normal use, such as cleaning, or putting an object on top of a painted surface.
In this case, we started using the sink and countertop 3 days after the final coat of paint was applied. We waited for 8 days before normal use.
![beautiful white painted ]]bathroom countertop & sink]](https://www.apieceofrainbow.com/wp-content/uploads/2022/03/how-to-paint-bathroom-countertop-sink-vanity-top-white-marble-painting-formica-laminate-counter-epoxy-remodel-makeover-home-DIY-ideas-apieceofrainbow-17-683x1024.jpg)
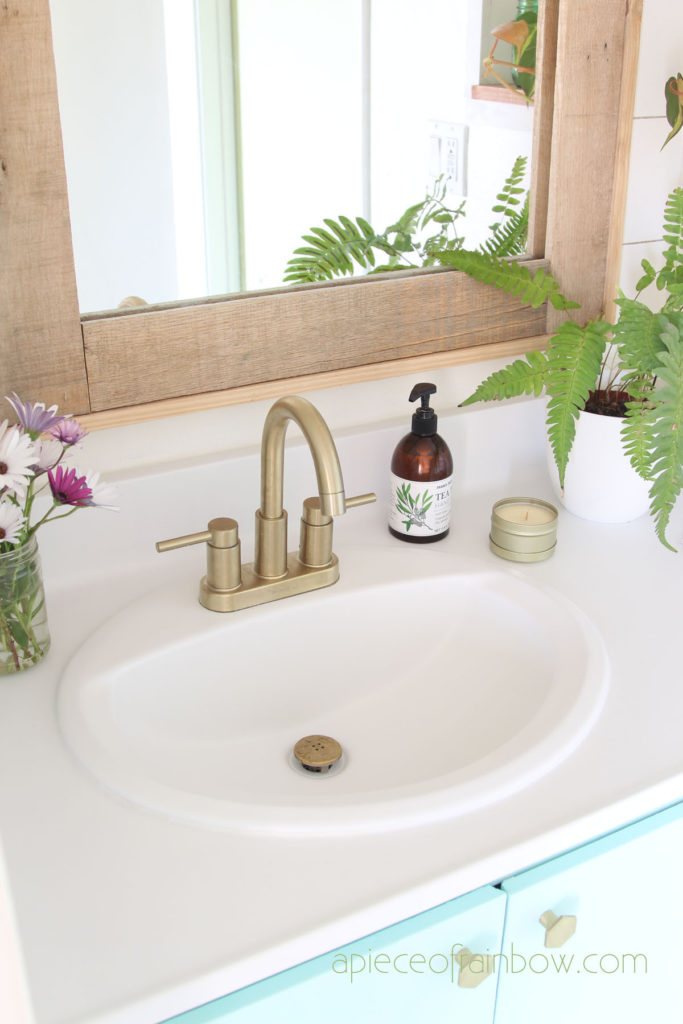
It’s been over a month of daily use and our painted vanity countertop and sink are still looking like new! The sink and countertop look like one piece, and they are really easy to clean.
I will update here in another 6-12 months on how everything in holding up. It looks like a winner so far. I even dropped a chuck of 2×4 wood on the countertop once, and no paint chipping, wow!
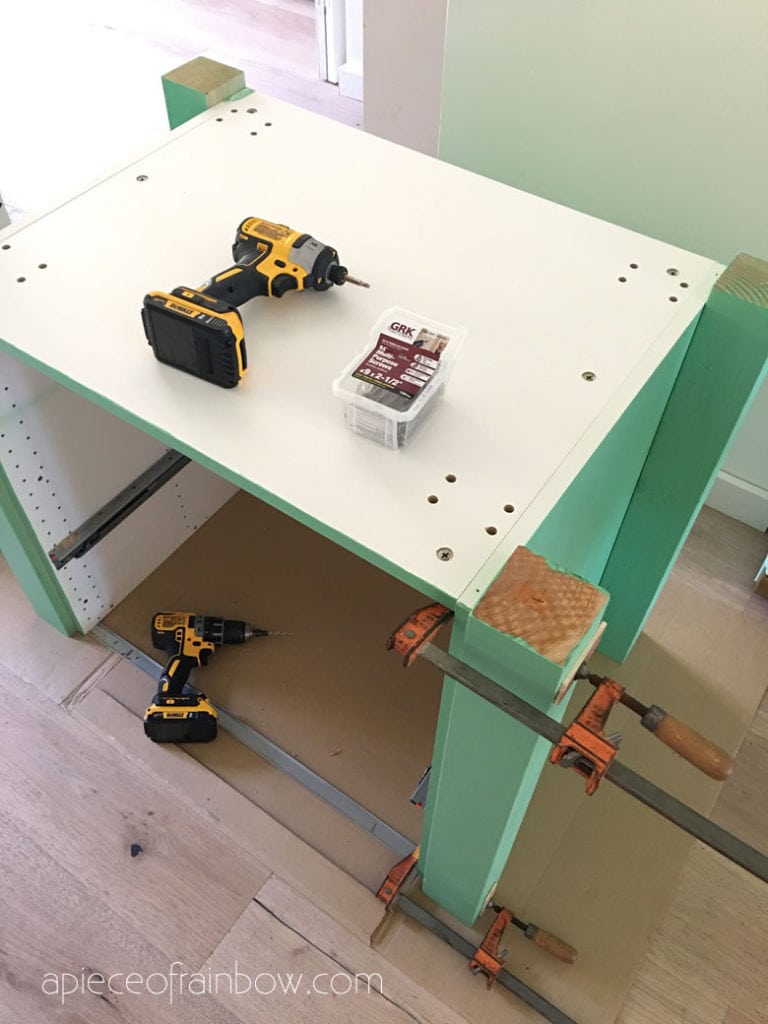
You may also love: our colorful farmhouse DIY kitchen island: an easy IKEA hack!
Happy creating! See you soon! 🙂


Hi! So there’s no need to prime? Thanks!!
no need to prime! 🙂
did you have trouble with roller marks? I used the rustoleum tub and tile epoxy. I hate it. major roller marks. I will need to sand it all and redo with something else
hi Lauri! Epoxy is much harder to work with! this paint is super easy and no marks at all! 🙂
Interesting read. I hadn’t though of painting my counter top although I did just finish painted my bathroom cabinet doors. Maybe this is the next thing I should try. How is the counter top looking now?
It’s holding up great, i would 100% do it again ! 🙂
This looks amazing! My husband and I recently purchased a home that we are remodeling and we have tried spraying the existing vanity with something and it is just not looking the way we want. Would this work on korean marble?
hi Melissa! spray paint can be tricky! sand the marble so the surface feels dull, then it should work nicely. sanding is the most important step, especially if the marble is very glossy 🙂
by chance did you seal the marine paint afterwards? I’m reading reviews that it should be sealed but I’m afraid it will yellow the white semi-gloss. thoughts?
no need to seal this paint 🙂
Thanks. We’re gonna give it a go! 🤞🏻
Hi. Thanks so much for this tutorial. I can’t wait to try it out on my outdated bathroom counters. Is there a similar tutorial for painting the vanity? Just wondering what type of paint and supplies you used, if you removed the doors/drawers, etc.
Thanks!
hi Carrie! sorry for the late reply! the vanity tutorial will be coming soon- we used Sherwin Williams latex paint for that 🙂
Thank you so much for including a written tutorial. I tend to second guess myself when doing something like this, videos don’t always work for checking mid-project! I painted just my counter a few years ago, and I put a tray with coffee straight from the package on it. LOTS’O coffee! It neutralizes the smell amazingly quickly.
Thank you Mary! the coffee is a great idea! 🙂
Thank you! Thank you! We also had the 80s beigey-yellow vanity. Ugh. To be honest, we were quite leery to attempt painting a countertop. But we took you at your word and are so pleased! 🙂 Thank you for sharing and enabling us to get our bathroom to the 21st century. 😉 That first coat… yikes. But just as you said, it gets better. And it did!
One question… now we really need to do the brown tiles around the tub/shower. Do you recommend this same method? Have you tried it? THANKS AGAIN!
hi Monica! thank you and enjoy your “new” countertop! 🙂 if the brown tiles are outside the shower and tub, then yes. if it’s the shower wall that constantly gets water on it, i would REALLY REALLY sand the tiles with electric sander, let each paint coat dry thoroughly, and let the final coat dry for at least 3 days 🙂
How did i not see this!,,it’s gorgeous!!a great Job!,,,💕
This looks so great! I was wondering where you got the hardware from – the faucet and the cabinet knobs? I love them!
hi Jordan! thank you! 🙂 knobs are from amazon, the faucet is from HomeDepot but amazon has a similar one too- https://amzn.to/3XHjoDG
Hi Ananda, Thanks for a wonderful tutorial in DIY vanity. I just stumbled to this website when Google the “refinishing countertop”.
I am going to try your paint method vs. Epoxy resin since this is rental property, I don’t have to wait long time for it to dry.
I also wonder should I do the same (paint) for the bathtub refinish? Thanks!
Hi Minh, we used this paint to refinish the bath tub, and it has held up really well. just make sure you really sand and clean the tub before painting. 🙂
Great tutorial! I’ve been thinking about doing this on my kitchen countertops which are laminate and currently “mauve”! Yup, pretty gross and definitely outdated!! My question is, did you draw shiplap lines on the wall behind the vanity? I was looking at the medicine cabinet project and noticed the lines only went to where the mirror would be. How did you do the lines? Thanks so much for sharing all your great ideas!!
hi Karolyn! thank you! 🙂 i really need to finish all the tutorial posts so you can get a more detailed answer! yes i drew the shiplap using a gold sharpie. it was quick and easy! 🙂
Hi
It looks good.
I totally messed up my builder’s grade basin whilst spray painting the plug hole. There is now a rough area where the surface layer I has been stripped off (acetone and plastic do not mix). Would your paint disguise it well enough. You mentioned it is self levelling. Do you paint the sink with a roller or brush?
Also. I don t think I would be able to paint it white as the toilet is off white and it may look weird. Are there different Colors?
Many thanks in advance.
hi Laurence! yes this paint does come in different colors. i used a small roller for everything. depending on how glossy the sink is, it’s super important to sand it till it’s a bit rough for the paint to adhere better. 🙂
I am getting ready to do this project in my bathroom. Did you use any specific primer? What are you using to keep it clean?
Looks awesome!
hi Joanne! no primer needed, just good sanding. the counter wipes clean easily with a damp cloth. you can also use any soap or cleaning spray for tough to clean spots. 🙂
I love the sink/cabinet makeover; however, I am interested in the mirror. Did you do your own framing?
yes, we made the frame to go with the old frame-less mirror! tutorial coming soon! 🙂
Where’s the link for the mirror frame?!
it’s a DIY, which i will share tutorial soon! 🙂
Hey! Awesome tutorial and beautifully finished design. I wanted to paint my bathroom countertop, and I see you mention that we should leave each coat for 24 hours. Would that be affected if the bathroom is being used (we only have 1 bathroom)? After showers, the bathroom gets pretty misty/humid.
hi! if you could plan it so right after a shower, you paint the first coat, then leave it dry for at least 18-20 hours till the next shower, that should be ok. you can also turn on the fan to speed up drying! 🙂
Hi! I just finished my bathroom! It’s amazing!! Do you recommend a top coat, like a polycrylic or similar? Thanks again!!
hi julie! we didn’t use any topcoat and even painted the bathtub with this paint! 🙂
I was just wondering how this is holding up, and would you recommend it now that you’ve been living with it for a while?
hi! for the countertop i would recommend 100%! it’s still looking great! for the sink i have a longer answer: we only painted the sink that is looking scratched and discolored, so it’s worth it for us, although there has been a couple of spots peeling, but it’s easy to spot sand and re-touch since it’s white on white. but if your sink looks fine i would not paint over it. 🙂
Hi! this looks amazing. How is it holding up so far? I’m worried it’s going to start peeling off of my sink after a few months and wanted to see how it’s going!
hi! the countertop is holding up amazingly well. one small area on the sink had a scratch, but it was easy to sand the spot and touch it up with the paint. 🙂
Yay! I just finished mine and it was such a great idea. So cheap and easy which was exactly what I needed. You’re such a genius!
SO happy to hear that Aimee! enjoy your “NEW” bathroom countertop!! 🙂
This is a great, easy to follow tutorial! Thank you! Plan to do my basement bath this fall and can’t wait to see the results.
Question: is there a finishing coat of something I could put on that will remove any texture and given a glossier or more realistic appearance like the sheen of marble?
hi Kate! you could just use the gloss paint instead of the semi-gloss i used here. sanding before each coat will make it smooth. for a super glass shiny surface, you will need epoxy, which is much more complicated to use than paint! 🙂
Wow! That’s it… I’m going to do my outdated bath counter top. It would nice if you set up the instructions like a recipe. One, 2, 3 etc., so people could print it off to use as a reference sheet. Thank you so much.
Hi! Did you end up using a gloss or a semi-gloss? Thanks!
i used semigloss, and love the look! 🙂
When sanding between coats, did you also sand the inside of the sink bowl?
hi Lora! i did not sand the bowl between coats because of the curved surface. i would only do spot sanding if i notice any bumps on the painted surface. hope that makes sense! 🙂
I’ve been looking at lots of different ways to do this and this looks like the winner—thank you for posting! In all the different postings on this topic, though, I see that foam rollers are always recommended, and then people report there is a texture left behind. Do you know if there’s a reason not to use a regular roller like for for painting walls, like one for smooth surfaces? I just want to make sure I’m not missing something obvious here. Also, what would you suggest to use for buffing? Thank you again for posting this!
hi Sadie! i think that both the foam roller and smooth wall roller (microfiber or woven) produce a very smooth finish as compared to brush or thick rollers for textured finishes. but the finish isn’t glass-like such as when you pour epoxy. sanding between coats helps, and we barely notice the texture unless we get super close to the surface! 🙂
How do you get a marbled look? After sanding in between coats DOS the surface feel scratchy like?
hi! the surface feels smooth after sanding. to get the marble look, i would use a tiny bit of black enamel paint to mix some grey colors, and paint the marble veins using some white marble photos as guides! 🙂
Hi! I’m trying to paint my bathroom vanity top as well. First attempt with the Rustoleum appliance repair epoxy spray paint…. wow, what a mess. I will have to repaint. Did the paint you used leave a “texture” on your countertop when you used the foam roller? Thanks!
hi Angela! i can relate to what you said about the appliance epoxy spray paint! 🙂 it’s also not as durable! this paint is amazing and self leveling. if you sand between coats and don’t put it on too thick, there’s ALMOST no texture. it’s not super smooth like glass but you can also buff it at the end to make it even smoother!
Hello – getting ready to paint my ugly 1988 bathroom vanity! Did you paint the entire bowl of the sink or just the rim? Trying to decide how to best paint the inside.
Thanks!
hi! we painted the entire sink bowl because ours is a bit scratched up and discolored. you can paint the rim or skip the sink if you like how it looks. happy painting! 🙂
Thank you so much for such a great tutorial! Just painted our ugly bathroom countertop, now it looks like brand new white marble! We are thrilled!!!
thank you Erin! that’s how we felt! enjoy your NEW vanity counter top! 🙂
Would you recommend this paint for a kitchen sink and/or countertop?
Looks very nice!
hi Dee, actually i would! it’s holding up super well, and quite durable! just make sure to really sand and prep the surface, and try not to put super hot pots on the counter directly!
Such an informative blog! All the information provided by you is really very helpful. I would like to say that we should use tack cloth because it is really helpful for removing tiny dust particles over any surfaces. A good tack cloth makes your work easier. Thank you for sharing! Keep posting!
WOW this made such a big difference! I am going to paint our guest bath vanity now! It has this really ugly fake granite countertop. Such a wonderful blog and use full information!
Such a lovely idea about painting bathroom countertop vanity sink! I like white marble, and will be trying this on our countertop soon!
This looks beautiful, wow! We have an old vanity just like yours in our summer cabin, now I am going to paint it! Can’t wait to see more posts on your bathroom makeover!
thank you kelly! have fun! it’s so worth it! 🙂