Make a Birthday Card with Pop Up Watercolor Flower {Free Designs}
Hi creative friends! Let’s picture this: instead of driving to the store and looking for an extra special unique birthday card, you could make a birthday card with a gorgeous, huge pop up watercolor flower in almost the same amount of time, while having so much fun crafting! Does it sound like a great idea? 🙂
I designed this handmade birthday card using watercolor textures, so it looks like a big 3D watercolor flower. If you have a printer and some paper, you can make it in less than 1 hour!
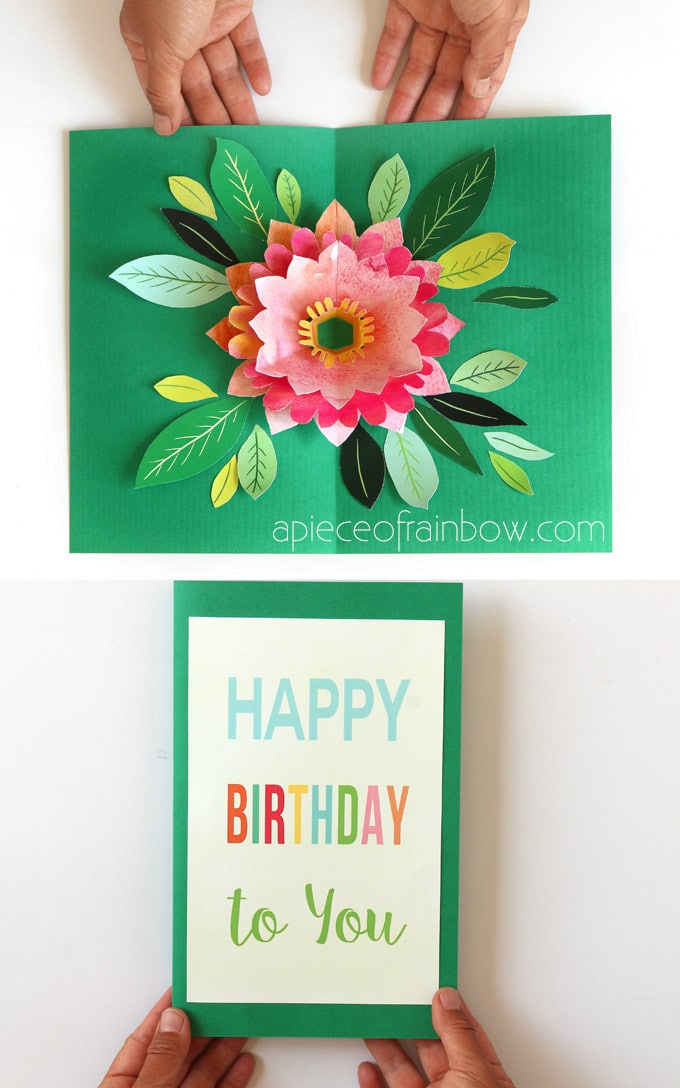
I will share with you all the free printable leaves and flowers templates (download at the end), and step by step tutorial with a video on how to make a beautiful DIY Happy Birthday Day card with a big pop up flower, plus some color and design variations.
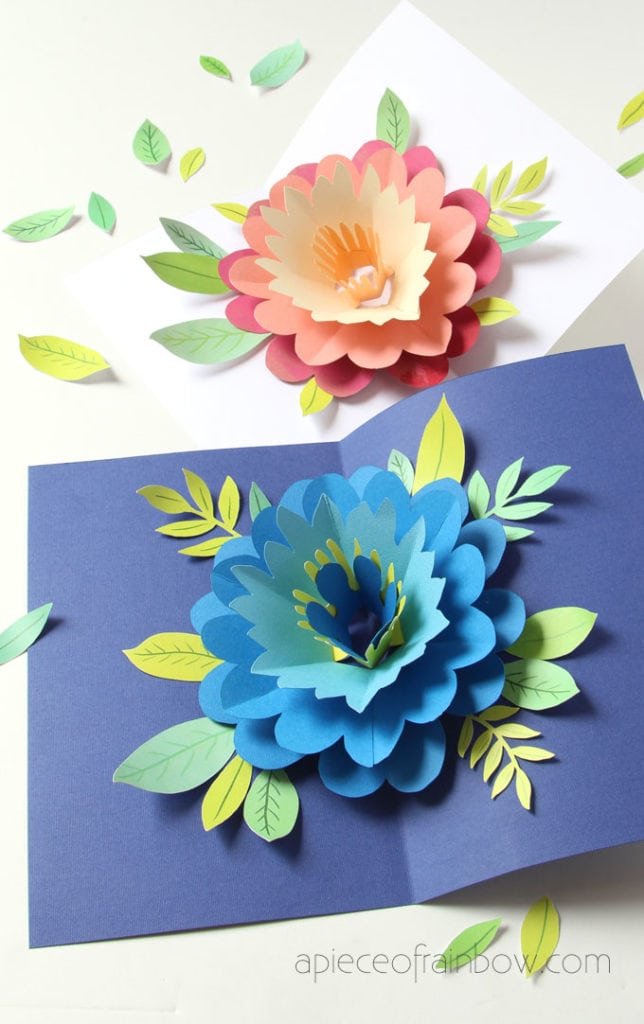
You can use these free designs to make all kinds of pop up cards and use them as handmade Mothers Days cards, thank you cards, happy anniversary cards, and anything really! Who doesn’t love a big pop up watercolor flower?
*Some resources in article are affiliate links. Full disclosure here.
Video tutorial on how to make a birthday card with pop up flower (or skip to written tutorial below ):
Materials and tools to make a birthday card with pop up watercolor flower:
( Some of the helpful resources are affiliate links. Full disclosure here. )
- Paper or Card stock: to print the flowers and leaves, you can use regular white paper, watercolor paper, or this white card stock which I always have on hand for all kinds of craft and decor projects. You can use the medium green from a pack of mixed green card stock for the card cover. Here’s another mixed green one.
- a printer to print the birthday card designs, and craft glue
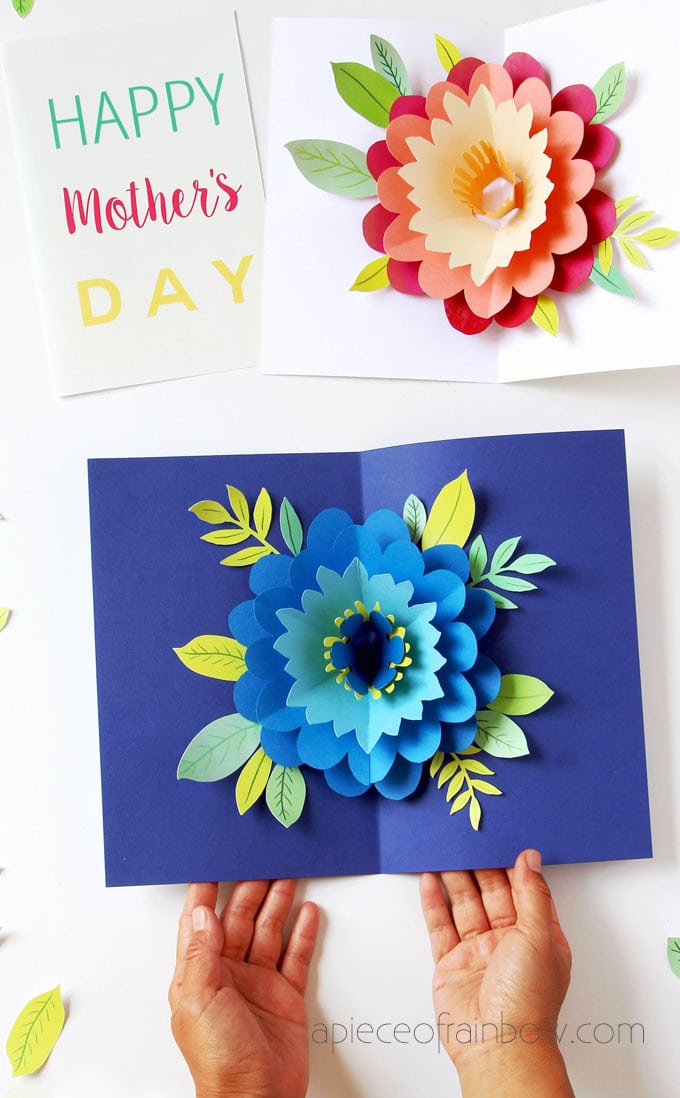
There are many color and design variations to make pop up flower cards. For example, this DIY Mother’s Day card has 5 layers in the flower, with shades of blue colors. You can check out the tutorial here.
Step 1: Print and cut flowers and leaves
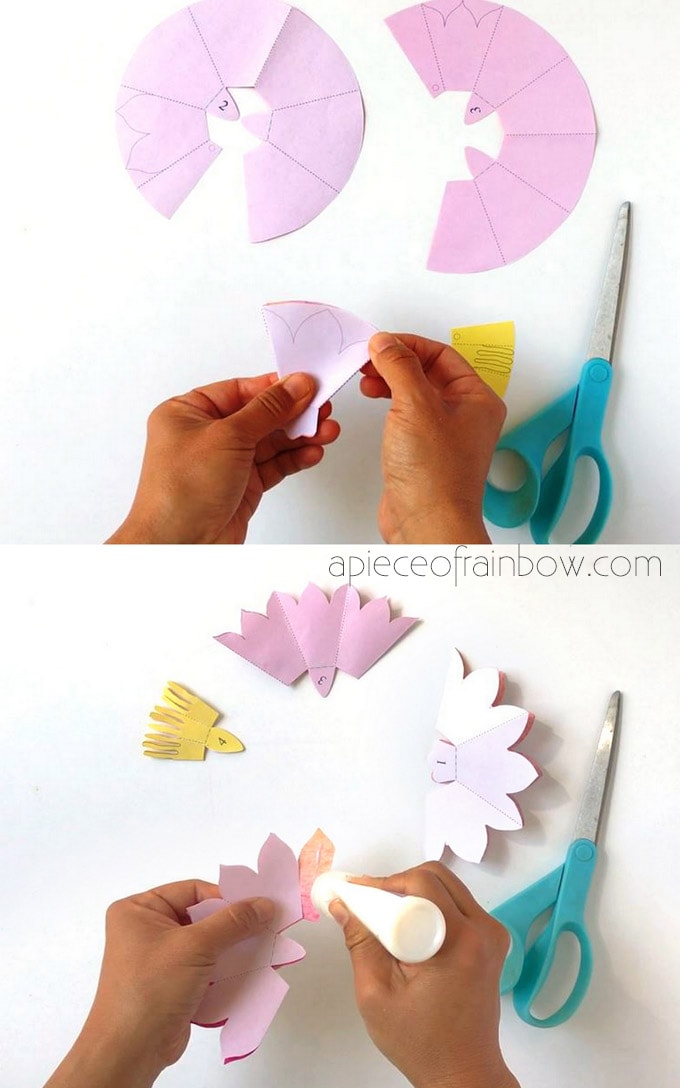
Print the front and back side of the flower template designs. The front side has the watercolor flower texture. The back side has outlines for cutting and dotted lines as folding guidelines. Choose the “print on both sides” option when you print, and select “flip over”. ( Not “flip up”)
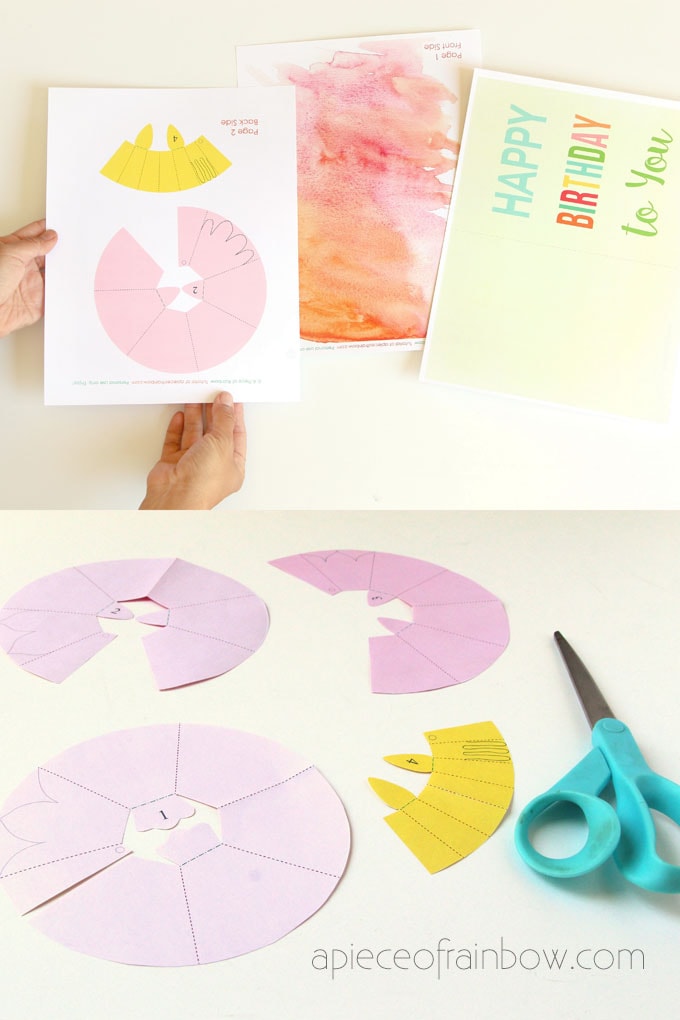
Check out the video above if you are unsure of any steps. Cut the outline of each flower layer, and fold them along the dotted lines with the petal lines showing at top.
Cut the petal shape and unfold the flower layer. Repeat on all 4 layers.
Step 2: Fold and glue flower layers
The key to this step is to carefully match the tip of each tab on each flower layer, and use just a dot of glue on each tab. I will show detailed photos. You can also watch the video tutorial above to follow along.
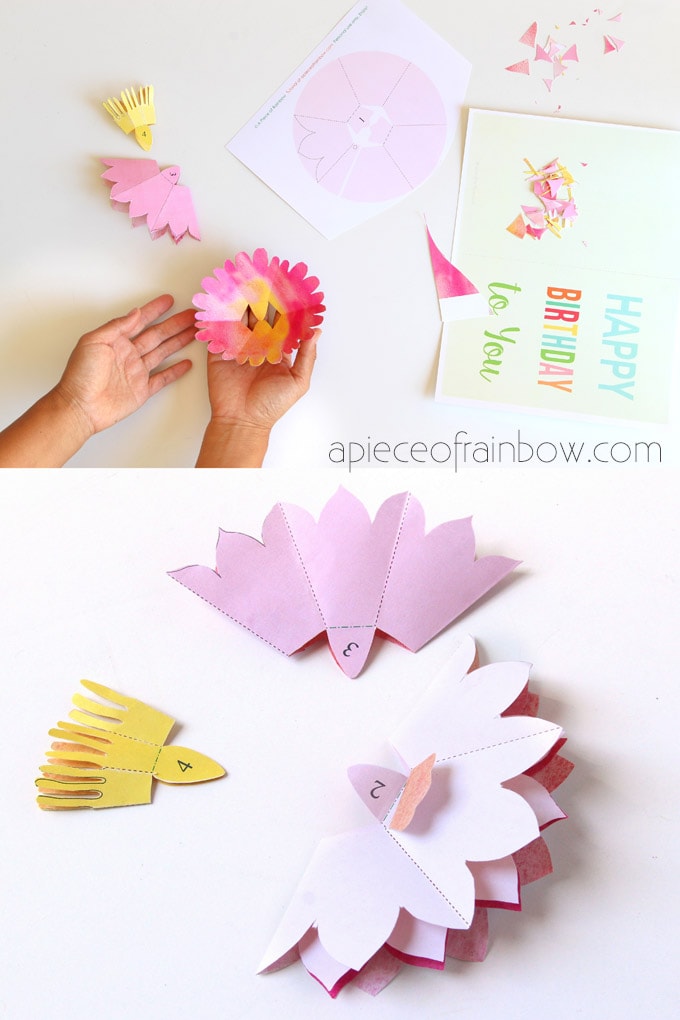
Fold flower #1 in half, matching the two tabs, fold in between the petals along the cut lines, glue the two end petals together. Repeat with the other flower layers.
Place flower layer #2 inside layer #1, fold the tabs of each layer so the end tips of the tabs matches. Glue the tabs of flower layer #1 to layer #1. Repeat with flower layers #3 and #4.
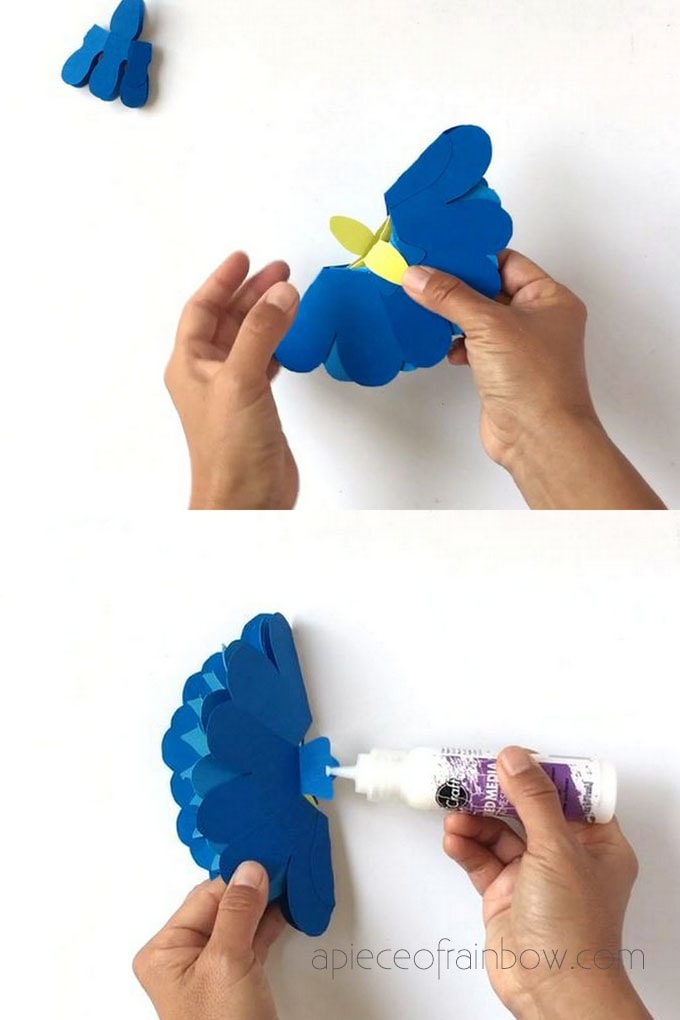
IMPORTANT: Once all the layers are glued together on these tabs, put a dot of glue between the back of the tabs on layer #1 and the back of layer #1 petals, and press together. This will help the flower open to full size.
See the blue flower example above.
Step 3: assemble handmade birthday card with pop up watercolor flower.
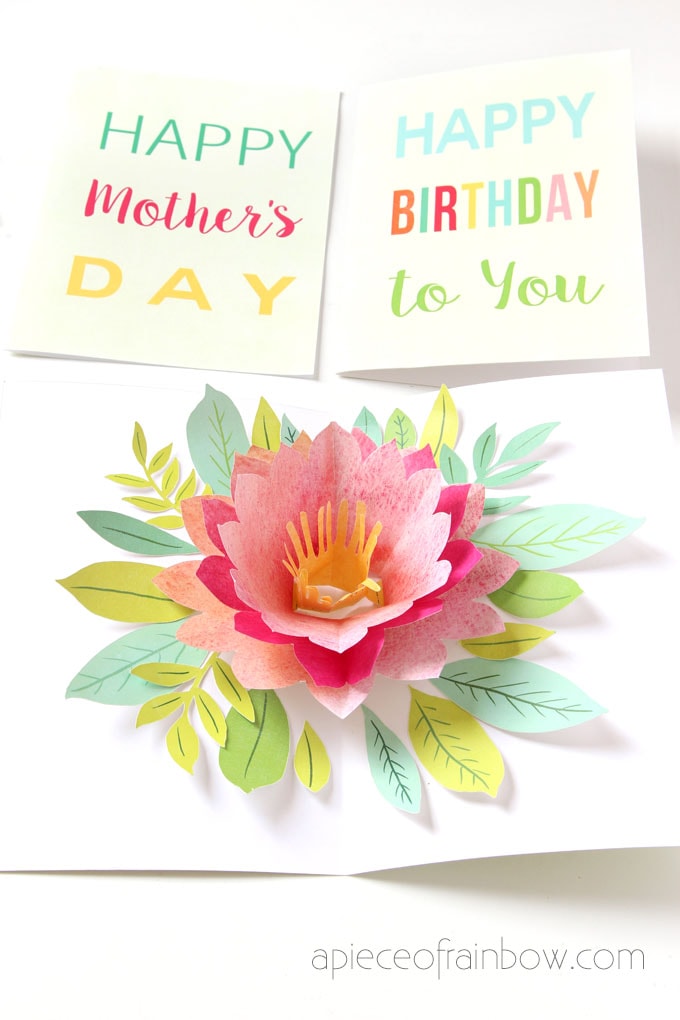
There are different ways to use the cover for our DIY happy birthday card with pop up flower. You can print it out on this white card stock ( like in the pink flower version), or use it with colored card stock to create a layered look (like in the pink flower version).
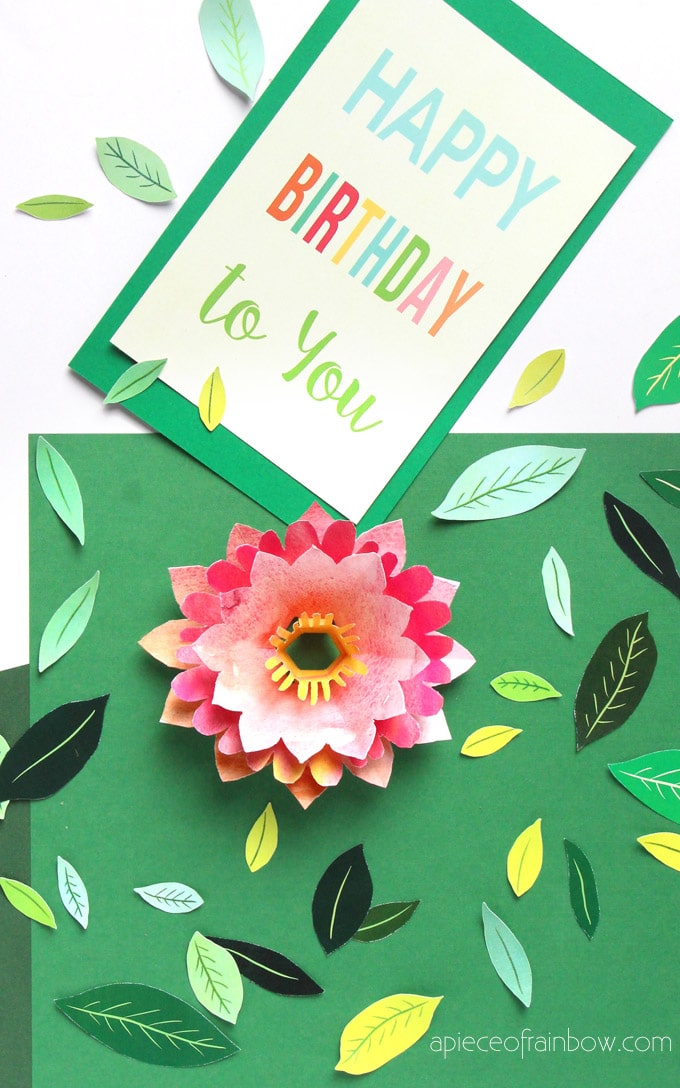
I love the watercolor flower on the deep green background, so I trimmed the Happy Birthday card cover, and glued it to the green card stock also trimmed to size, and folded in half.
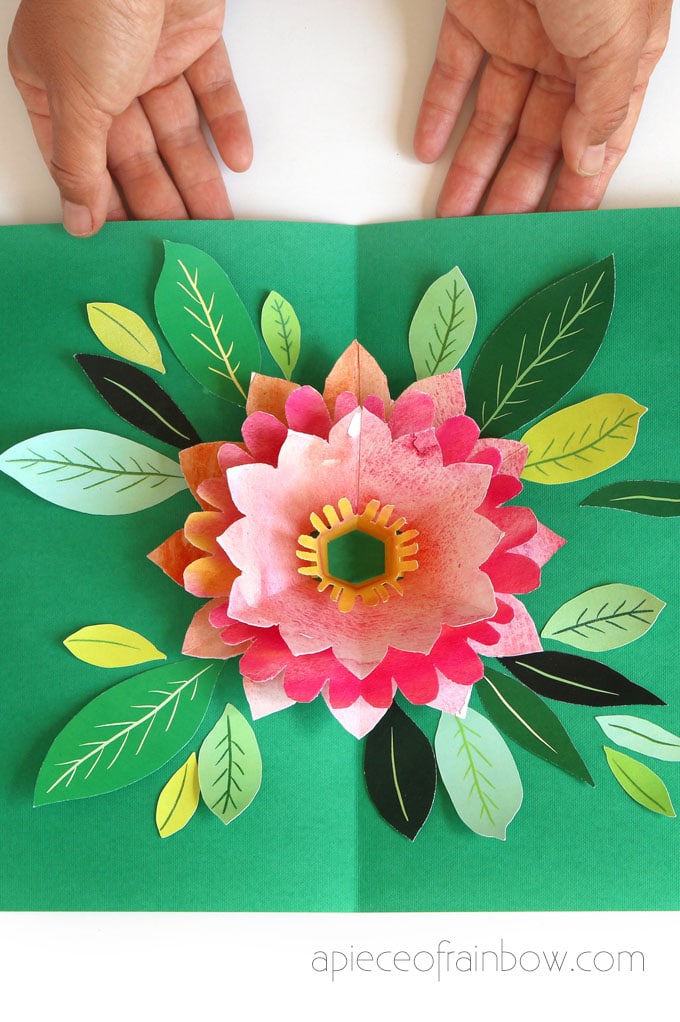
Center the stack of flowers vertically inside the card, and line it up with the folded line. Put a dot of glue on the back of the tabs and press together the cover and the flower tab. Do this on the front and back cover. Check out the video above if you are unsure of this step.
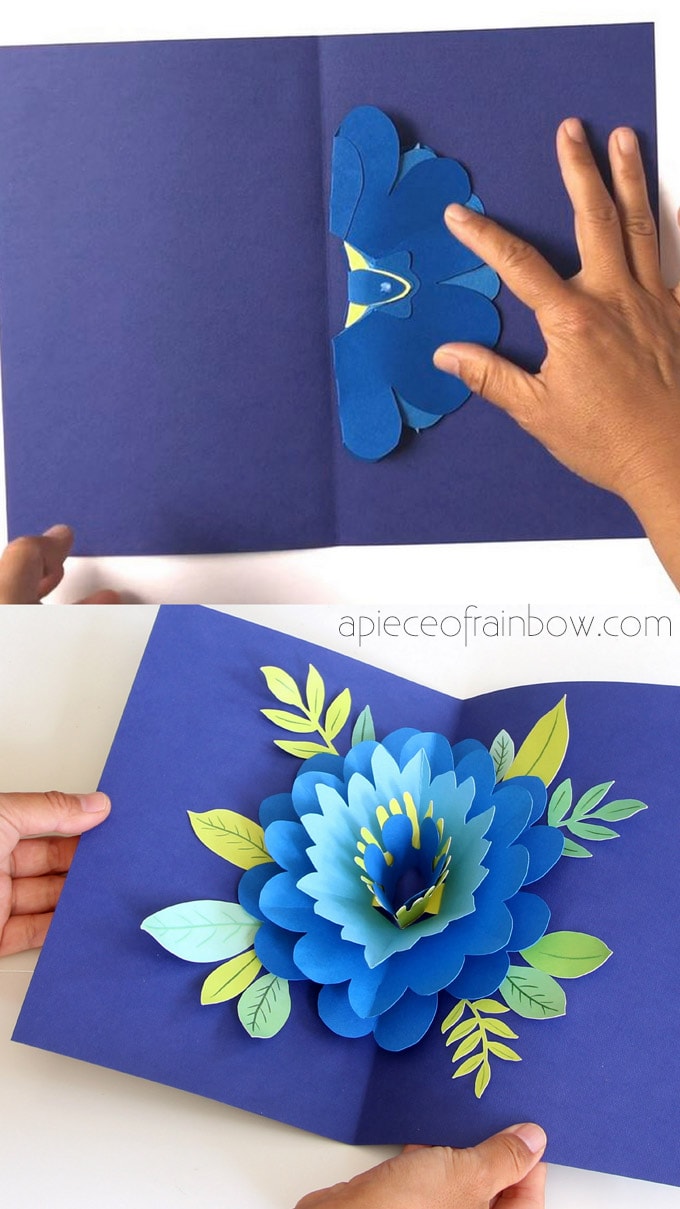
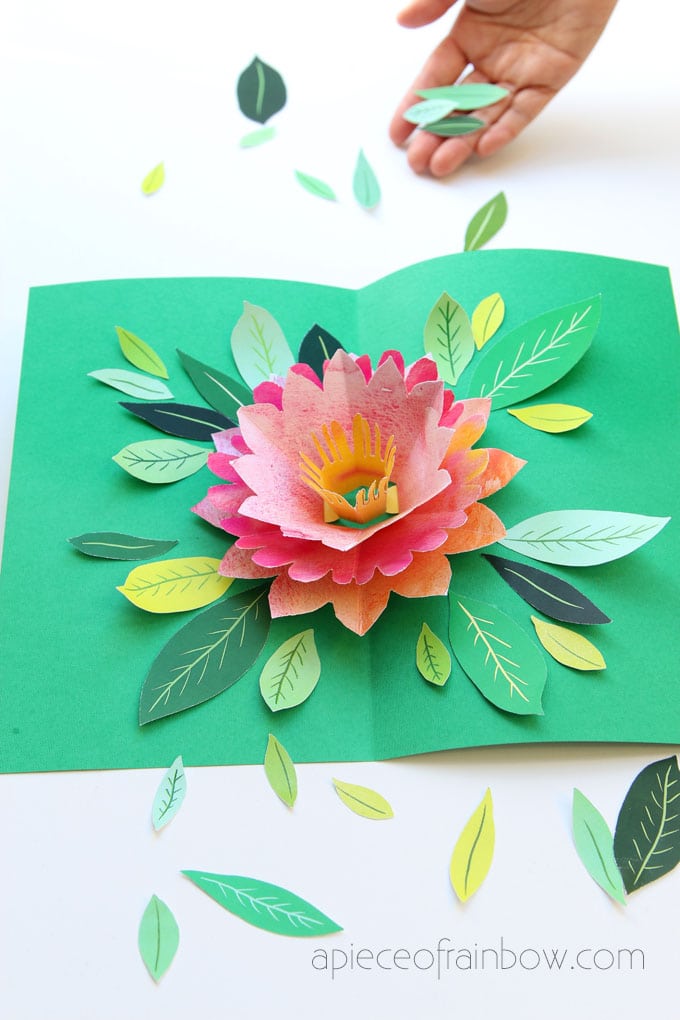
Add some leaves as final touches. You can glue the leaves to the card or to the back of the flower. It is so much fun playing with these pop up cards. Don’t you think they would make beautiful displays on a shelf or mantel?
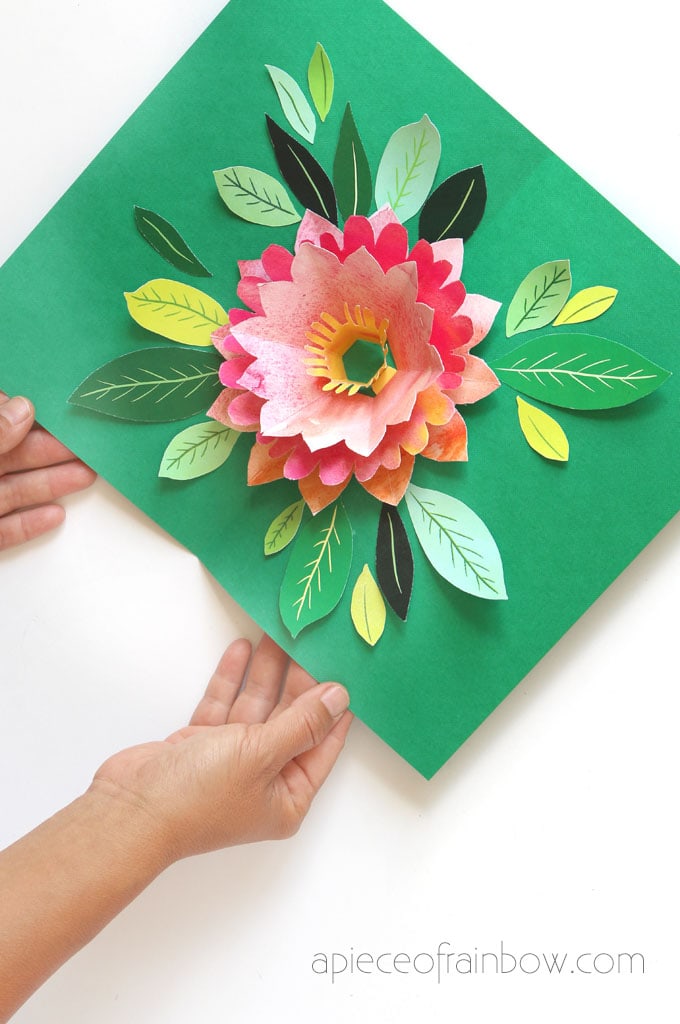
To download all free templates for this card and tons of other goodies, click button below!

You may also love: DIY large wall art for $5 (frame included!)
Free printable calendar and monthly planners!
Happy creating! See you soon!



I downloaded the svg for the blue card, however the flowers are the wrong ones, no lines for fold marks and wrong shape. What can I do?
hi Gretta! we just checked and it is the correct SVG. maybe it didn’t open correctly in the software? 🙂
just stunning, thanku so much 🥰
thank you Kaz! 🙂
Your site never sent the email an its frustrating to keep getting sent back to the same page over an over again!!! I want to download the flower cards for my senior citizens.
hi susan, we send out over 80,000 emails and thousands of downloads happening on our site each week. sometimes people miss-spell an email address, or certain emails such as earthlink tend to block auto emails. maybe try a different email or have a friend giving it a try. 🙂
Wow, that’s very nice. I love making gifts with my own hands and this is definitely something that I would give my mom or girlfriend. I think everyone is pleased to receive such little pleasant things. Thanks for the tutorial.
Do you use special glue that dries instantly? Or did you just pause the video while regular white glue dried?
hi! i used regular glue, and it only takes 1-2 minutes to dry 🙂
Hi,
I can’t find the template anywhere. I tried to go to the link provided but it just takes me back to this page.
hi! did you click on the red button link in our welcome email or newsletter?
I was trying to make the blue flower pop up card but when I uploaded the svg to Design Space I got an error message that said “It contains an unsupported element: text”. Help! I love this card.
hi janie! i have not heard this problem before. i am pretty sure you can just delete the text at the bottom. inkscape is a free software that can edit svg and delete text as well. 🙂
My printer printed the design, however its not the svg that I can use on my Cricut
hi Pat, this one is for a handmade card, you can use the blue flower one which includes the svg! 🙂
i can not get the download
hi! the link to all downloads is in our weekly subscriber newsletter, and in the welcome email! 🙂
Hi Amanda, do you sell this pop up birth at card?
Can you email me directly to my email address. Thank you
hi matthew, we don’t sell cards, it’s a free download for subscribers to print and make! 🙂
Not only do I love your projects, the music on this tutorial is absolutely beautiful! What is the name of it and can you tell me where to find it? Thanks so much!
hi Dianna, thank you so much! 🙂 the piano music i use mostly are from ernesto cortazar, or jason piano, both can be found on youtube searches.
Amanda,
Please help! I cannot get to the printable for the pop-up flower card/ I have been trying for about 30 minutes.
Thank you
Gail Hunt
Hi Gail, A red button at the bottom of each newsletter takes you to all downloads, if you don’t get our latest newsletter today, let me know here! (check promotions and spam folders!) 🙂
II have d try every day since I got this email to download the templates for this card. I can’t find the red button you are talking about. I want to make this card for my sister who is hospitalized with cancer.
A button at the bottom of each weekly newsletter takes you to all downloads, And here- enjoy the dowload page https://www.apieceofrainbow.com/creative-fun/ 🙂
This is such a beautiful diy! I love this idea. I will definitely have to try this for mother’s day.