Pottery Barn Farmhouse Style $15 DIY Cubby Wall Shelf
Pottery Barn inspired $15 easy DIY cubby wall shelf with free building plan & vintage chalkboard labels! A great idea for modern farmhouse display shelf, boho decor & furniture.
With so many creative adventures and hobbies going on all the time, I am always looking for stylish and easy storage ideas such as floating shelves, display shelves, cubby shelves, etc.
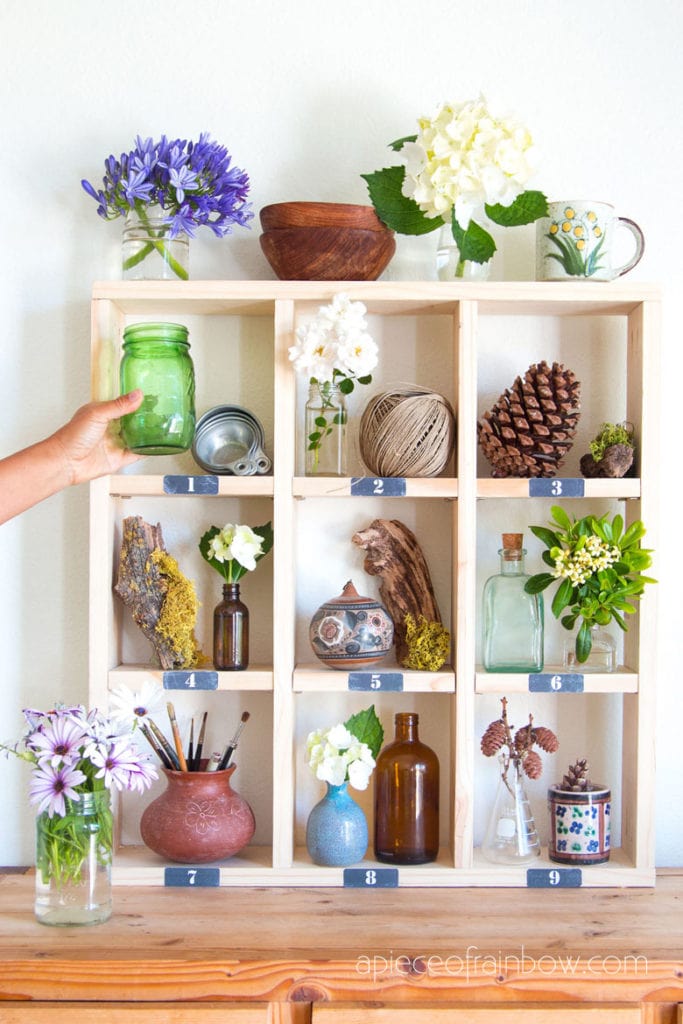
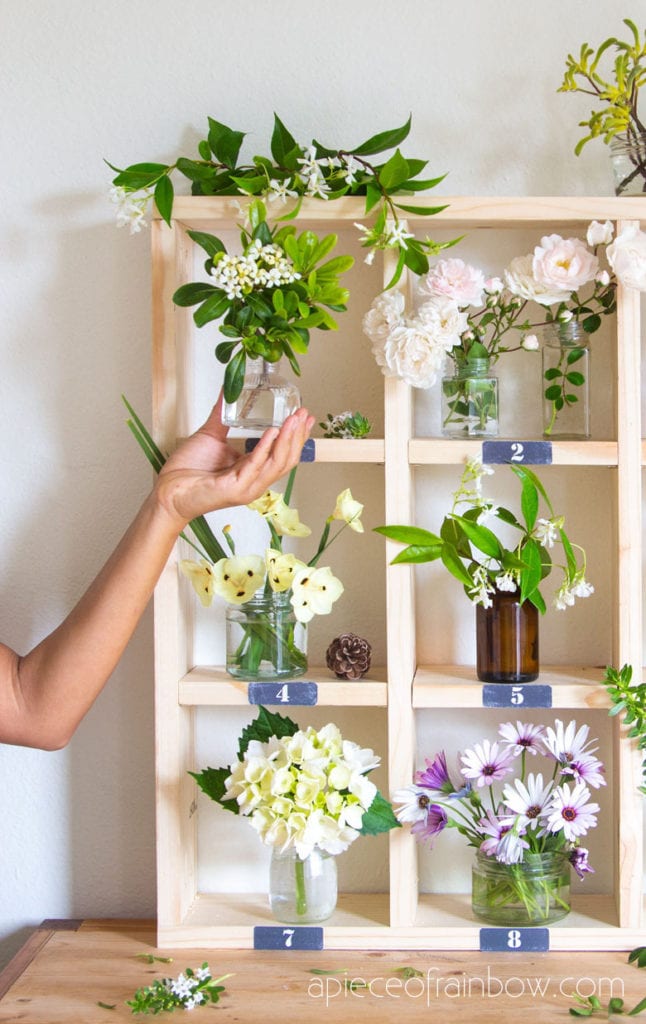
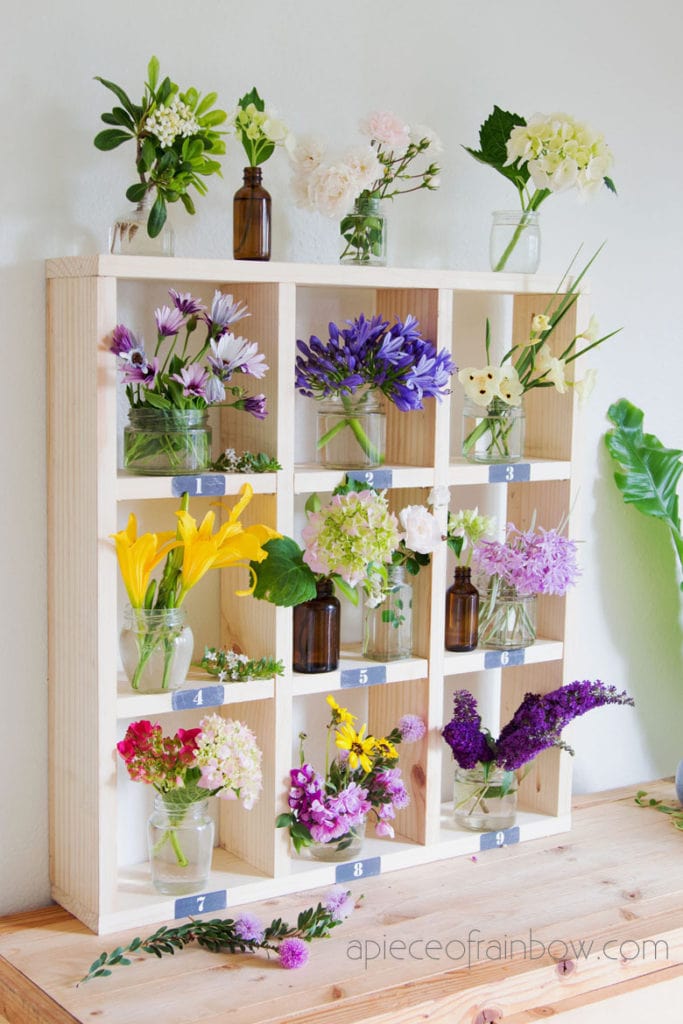
This modern farmhouse inspired DIY wall cubby shelf is a combination of simple design with vintage stencil number details (without stenciling). It can be used as a display shelf on top of a table or desk, or as a floating wall shelf / organizer.
There are many ways to build a cubby floating shelf. In this building plan I tried to make the design as easy to build as possible, with simple tools that most of us have easy access to.
*Some resources in article are affiliate links. Full disclosure here.
Materials and tools to make farmhouse cubby wall shelf
- Wood: I used 2 pieces of 8′ long 1x5s to build this shelf. You can also use 1×6 or wider wood for a deeper shelf, or 1×4 for a shallower shelf.
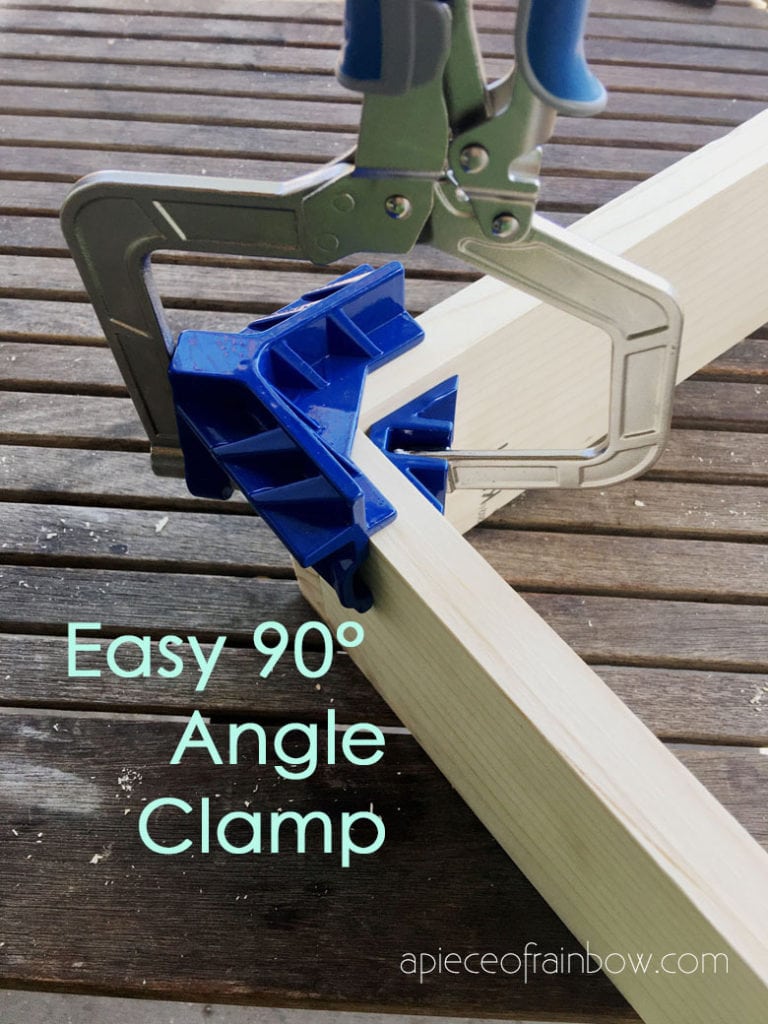
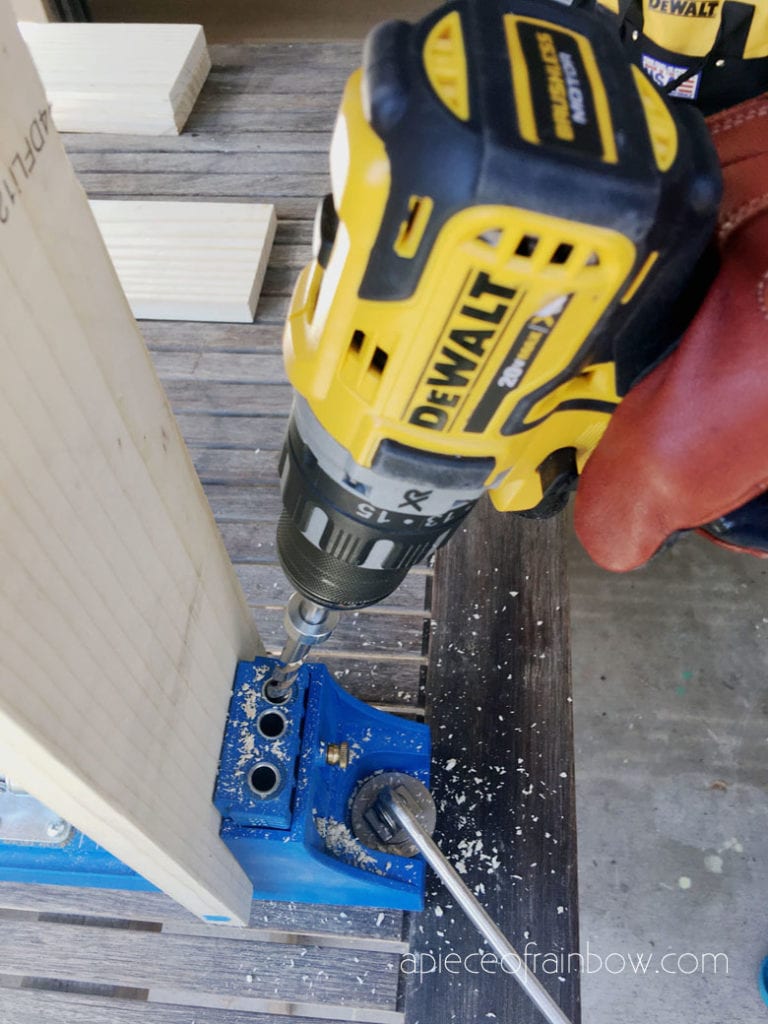
- We used Kreg pocket hole jig , and Kreg 90° corner clamp ( great for 90° corners and “T” joints!) They make it a lot easier to build wood boxes and square frames.
- Shelf pins: because each cubby is only 7″ tall and wide, it is hard to use a drill and pocket hole screws. these Shelf pins are super easy to use and are almost invisible. Use a 5mm or 13/64 drill bit for the holes.
- Miter saw or circular saw to cut wood. We used cordless drill and 1.5″ pocket hole screws to join 0.75″ thick 1x5s.
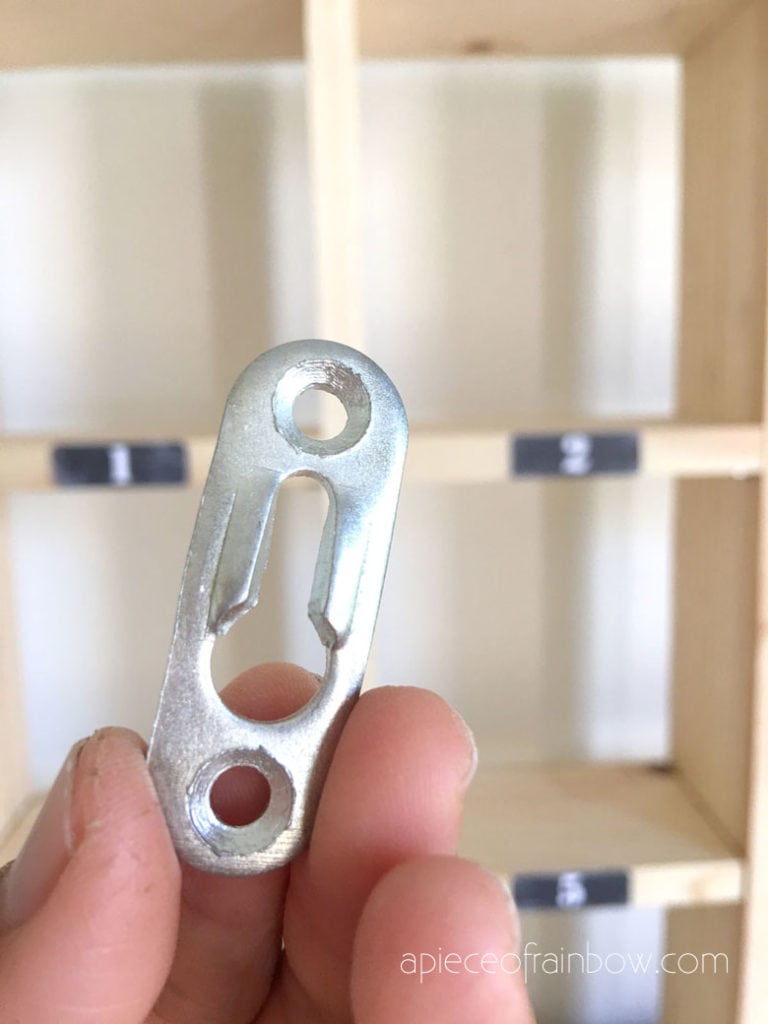
- Optional: key hole hangers to hang shelf. Blank label sheets and our free printable labels you can download at the end 🙂
IMPORTANT: Please follow good practices to build safely and smartly. Follow all safety guidelines for each material and tool you are using. Work on a clean level surface, free of clutter or debris. Always use straight boards. Always wear safety goggles and hearing protection.
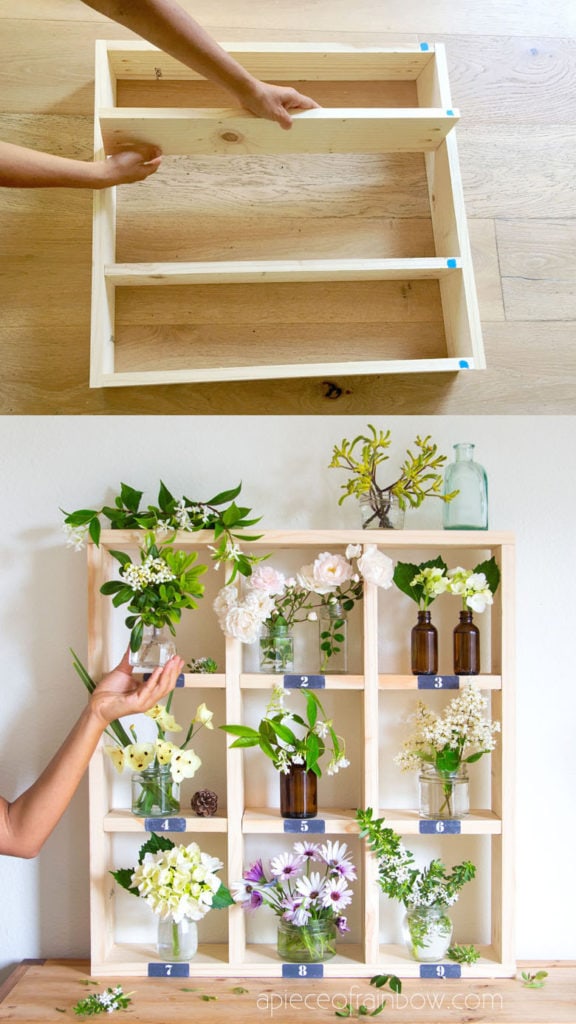
Step 1: cut wood as on building plan
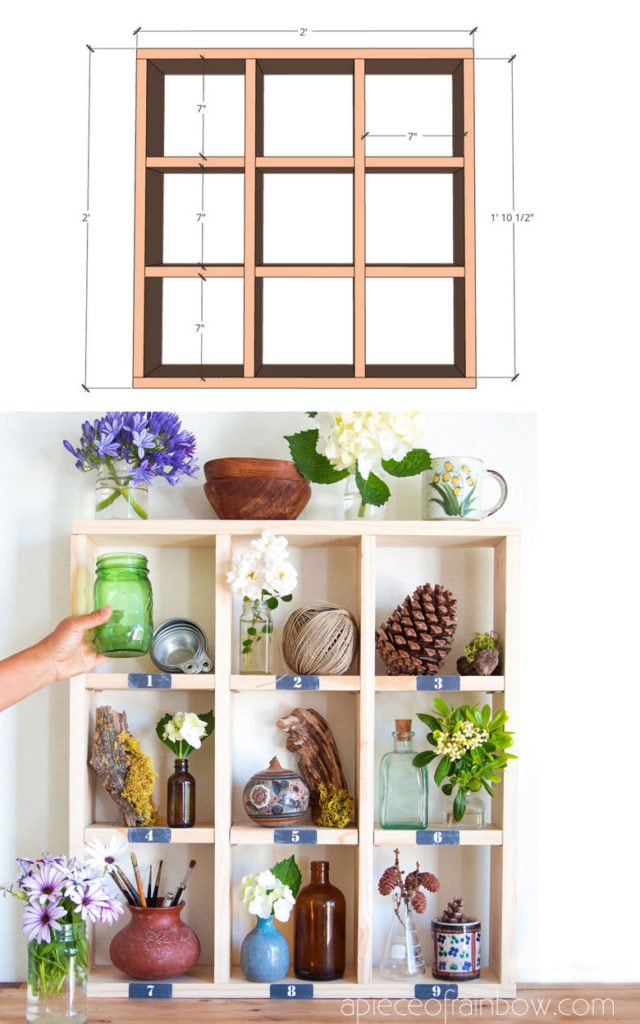
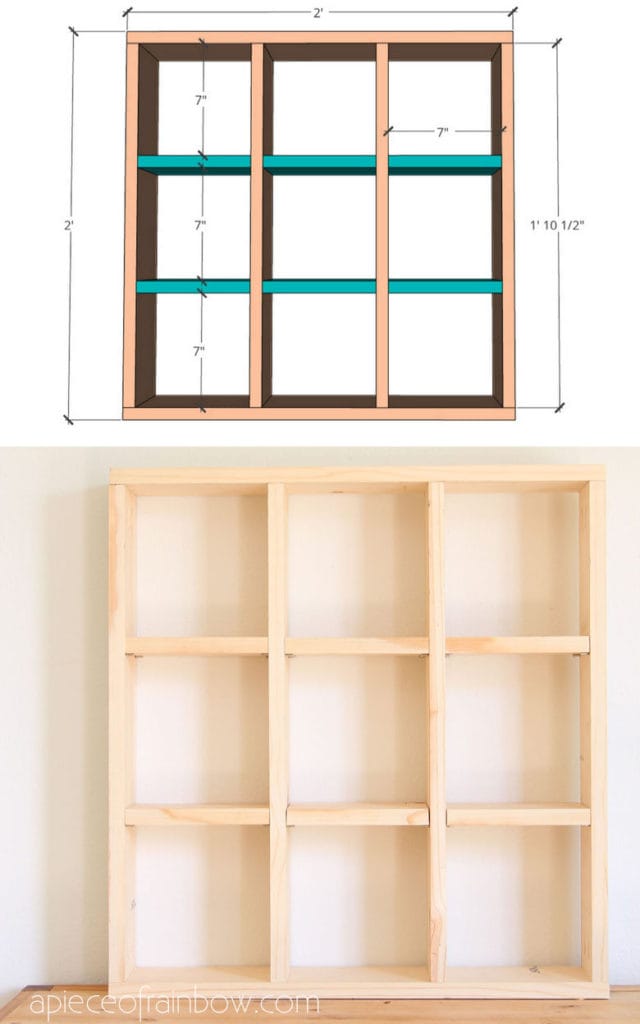
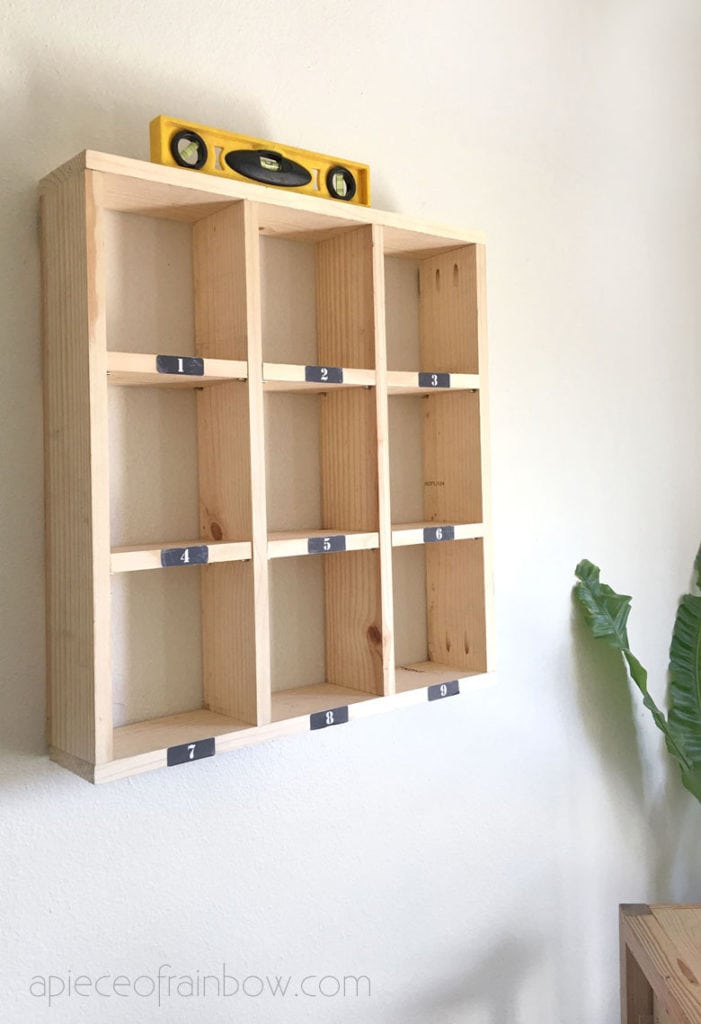
The Pottery Barn farmhouse cubby organizer is about 30″ tall and wide, with 5″ cubbies. I designed our cubby wall shelf to be 24″ tall and wide, with bigger shelves for things we want to display. Feel free to modify the measurements to suit your needs.
As you can see in the building plan above, we need two 24″ long pieces, four 22.5″ long pieces, and six 7″ long pieces.
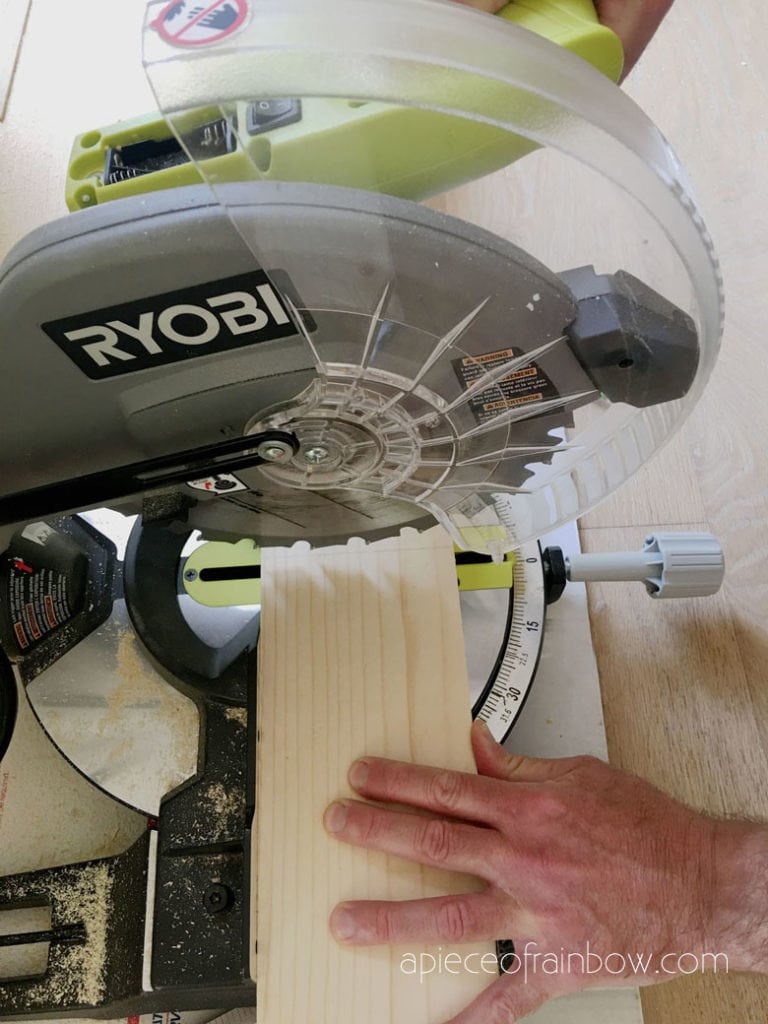
Cut the wood and sand all the cut edges.
Helpful tip: wait until you assemble the frame and vertical boards inside to remeasure and cut the small 7″ long shelving pieces, because if any of the frame pieces are off slightly, the shelves may not fit.
You may also love: DIY vintage farmhouse pallet wood crate with easy image transfer!

Step 2: drill pocket holes and shelf pin holes
Helpful tip: label the top, bottom and four vertical pieces with pencil or a piece of tape, so you know which piece goes where. We also put a piece of tape on the top front face of the four vertical pieces. This will make it a lot less confusing when you start to drill holes.
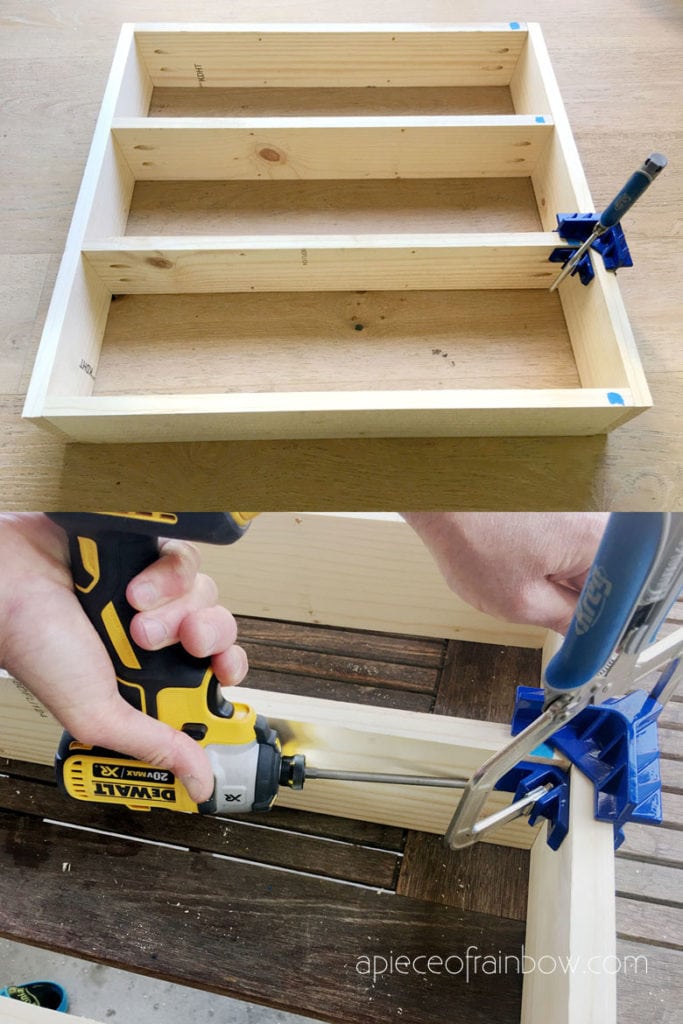
Drill pocket holes on one side of each vertical pieces at top and bottom with the Kreg pocket hole jig.
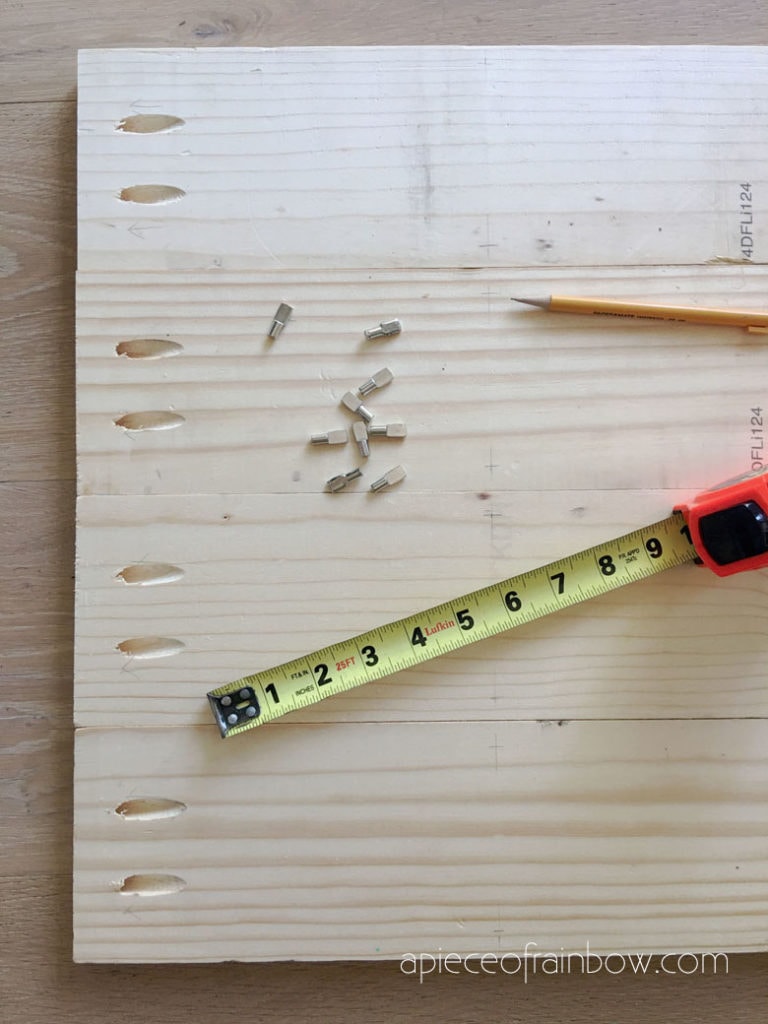
Measure where the bottom of each row of shelves are, draw a pencil line across all the four vertical pieces, do this on both sides of the two inside vertical pieces.
Drill two holes on each line, each hole is about 1/2″ from the front and back vertical edges of the wood. It’s more important that the holes are centered on the pencil lines so the shelves will sit level on the shelf pins. Use a 5mm or 13/64 drill bit for the holes.
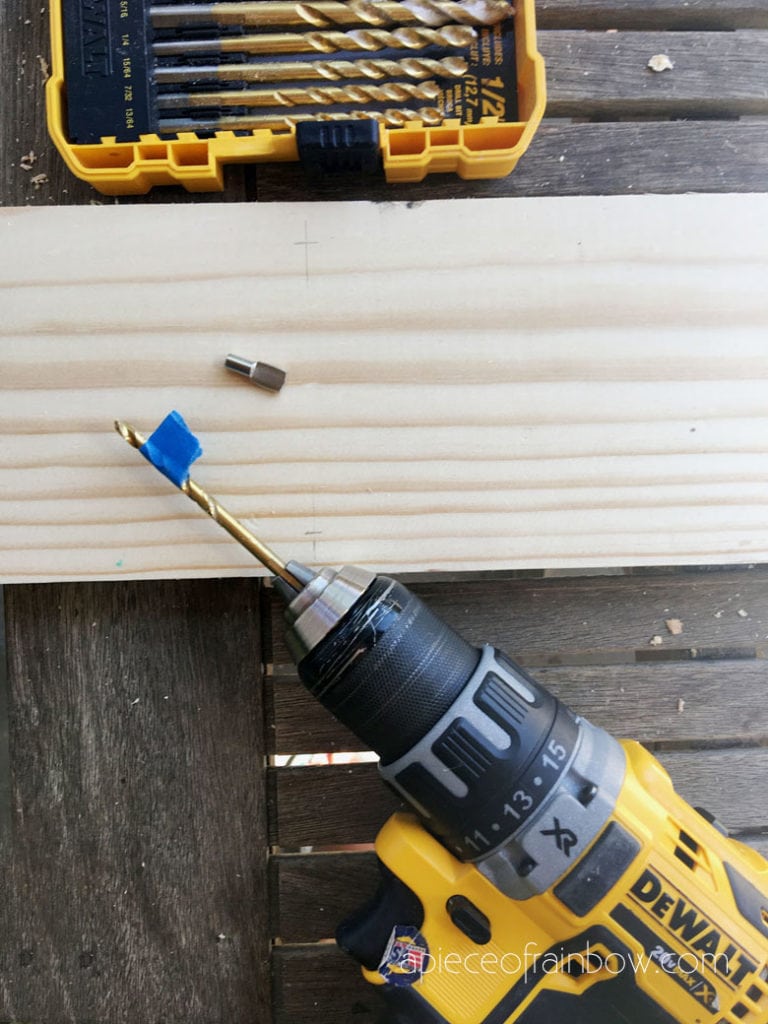
Helpful tip: use a little piece of tape to mark the drill bit at a spot slightly more than the depth of the bracket but less than the wood thickness, which is 0.75″ here. Use a 5mm or 13/64 drill bit for the shelf pin holes.
Because each cubby is only 7″ tall and wide, it is hard to use a drill and pocket hole screws to attach the small shelves.
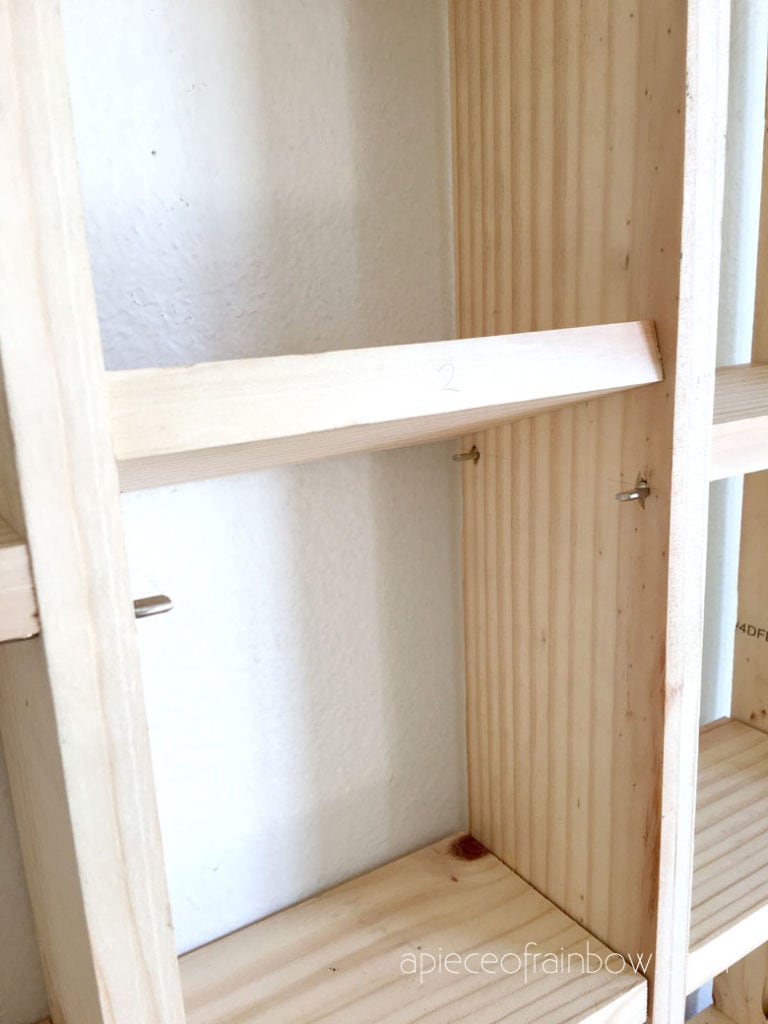
These shelf pins are super easy to use and are almost invisible once the shelves are in place.
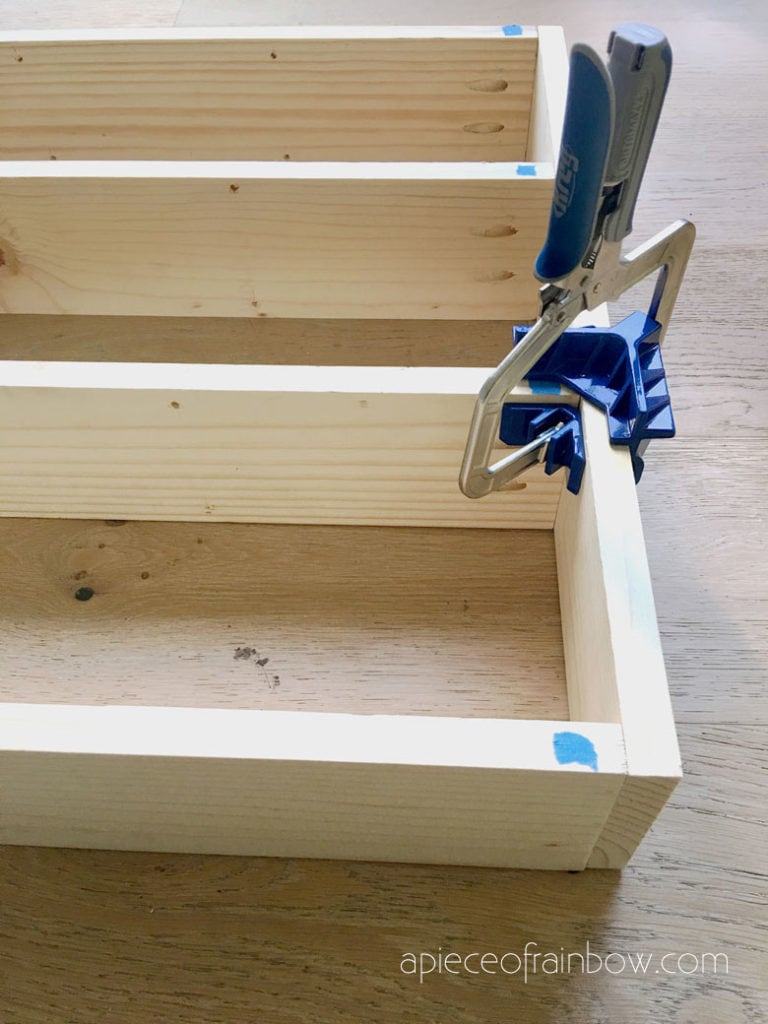
Step 3: assemble the cubby wall shelf
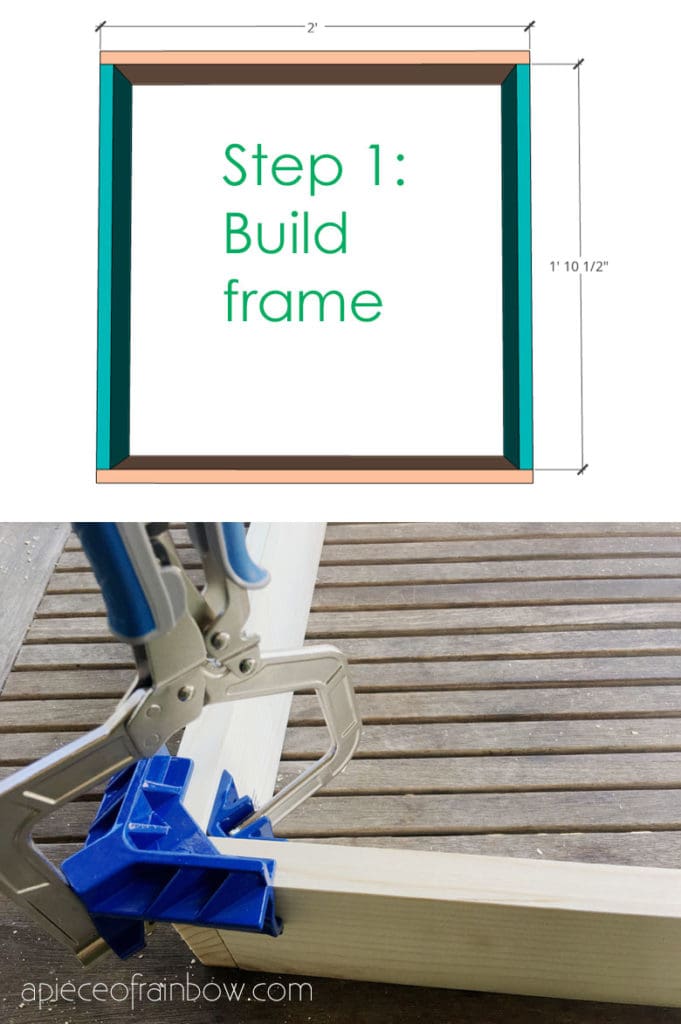
Build the outer square frame by attaching the left and right panels to the top and bottom panels using pocket hole screws. We used Kreg 90° corner clamp to clamp the pieces which made it so much easier to build the square frame!
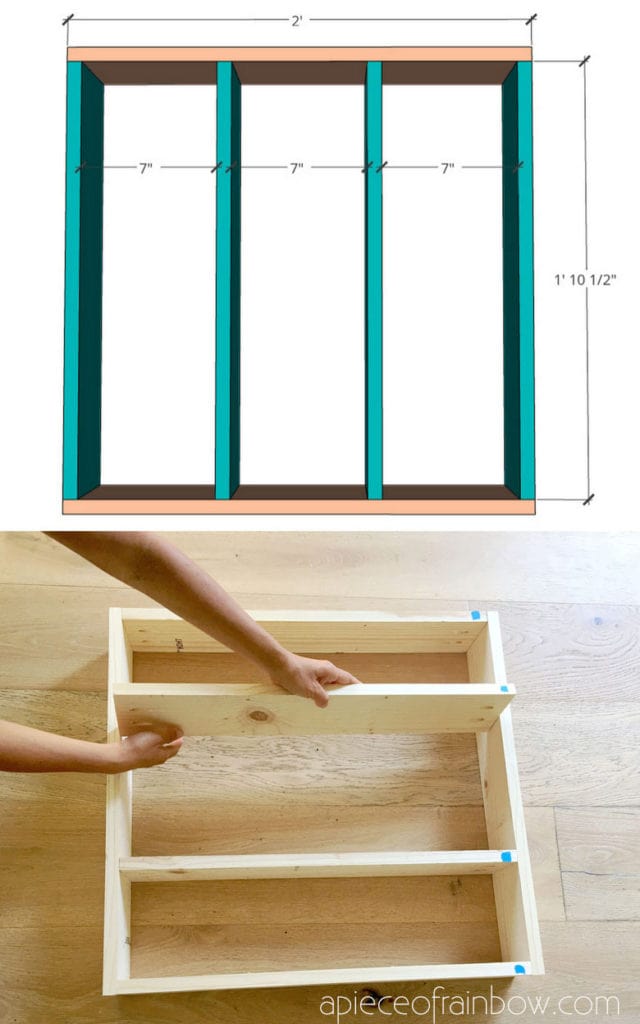
This Kreg 90° corner clamp is not only great for square corners but also great for T joints. Next we used the corner clamp to attach the two vertical pieces inside the frame.
Tip: use a small piece of tape to mark the top front of each vertical board to avoid confusions when you assemble them. 🙂
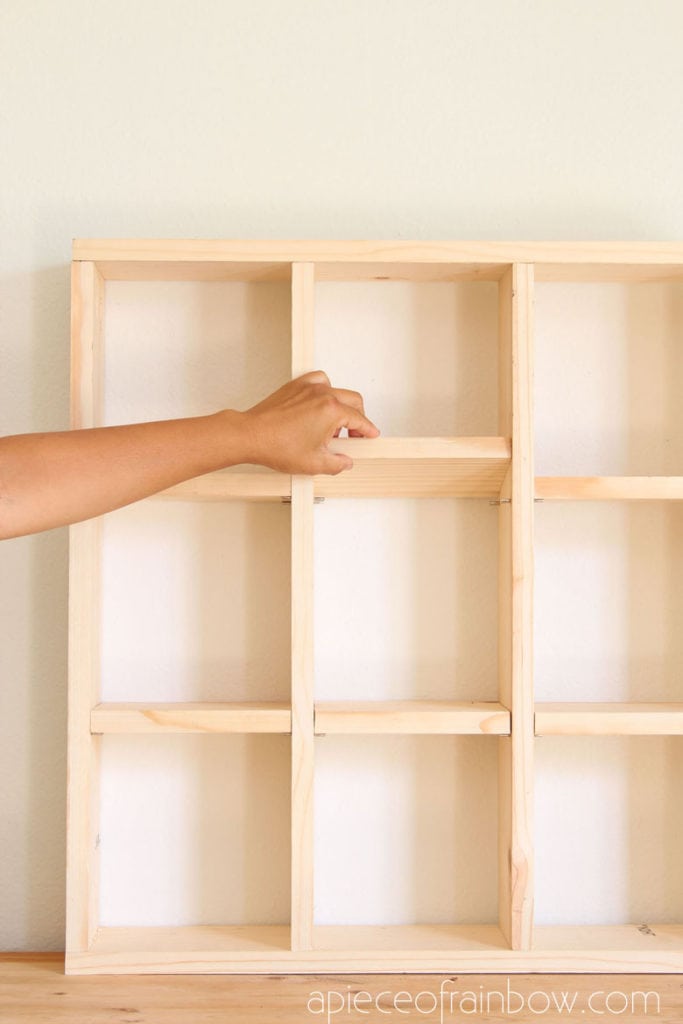
Insert the shelf pins into the holes, 4 for each shelf. Place each shelf on top of the brackets.
Now the display shelf is almost complete. If you want to hang it on the wall like a floating shelf, attached 2 key hole hangers to the back of the two side boards, one on each board towards the top.
To keep the shelf hanging flush on the wall when using key hole hangers, you can use a tiny felt pad or furniture dots on the back of the side panels towards the bottom.
Because the cubby shelf is light weight, you can use drywall screws or even heavy duty nails on the wall to hang the shelf, depending on what you plan put on the wall shelf. Use a level to mark the screw or nail holes.
Finish touches
I made these vintage farmhouse inspired “chalk labels” with stenciled numbers for the cubby wall shelf. Guess what? They are actually stickers made from blank label sheets! 🙂
It’s mush easier than painting or stenciling. And you can change the labels easily if you want a different look.
Print the free labels on these blank label sheets. Cut and use them like stickers on the front center of each shelf.

You can download these labels for free, along with tons of other creative free printables and projects in our library! If you already subscribed, the link (a red button) is always in our weekly newsletter. 🙂
Download free designs & templates for this project.
If you have seen our living room TV wall makeover, you know we love modern farmhouse and boho furniture that are fun to style, and decorations that can be changed through the seasons.
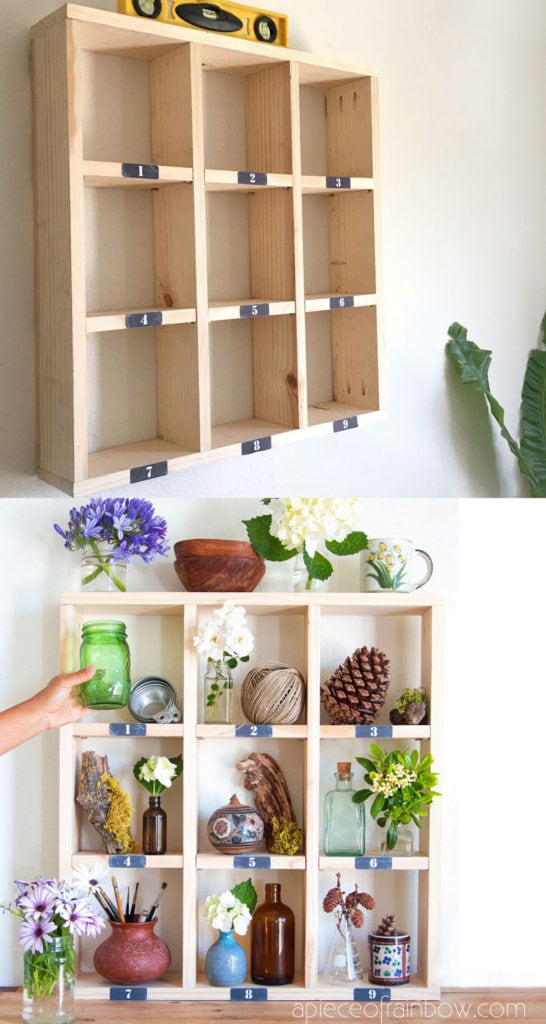
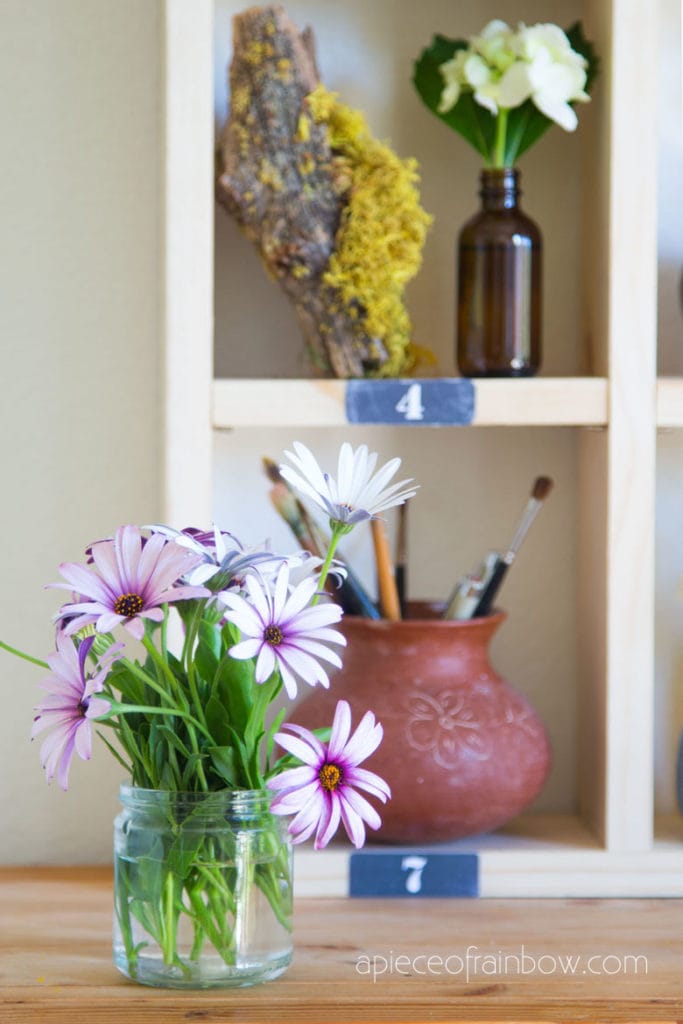
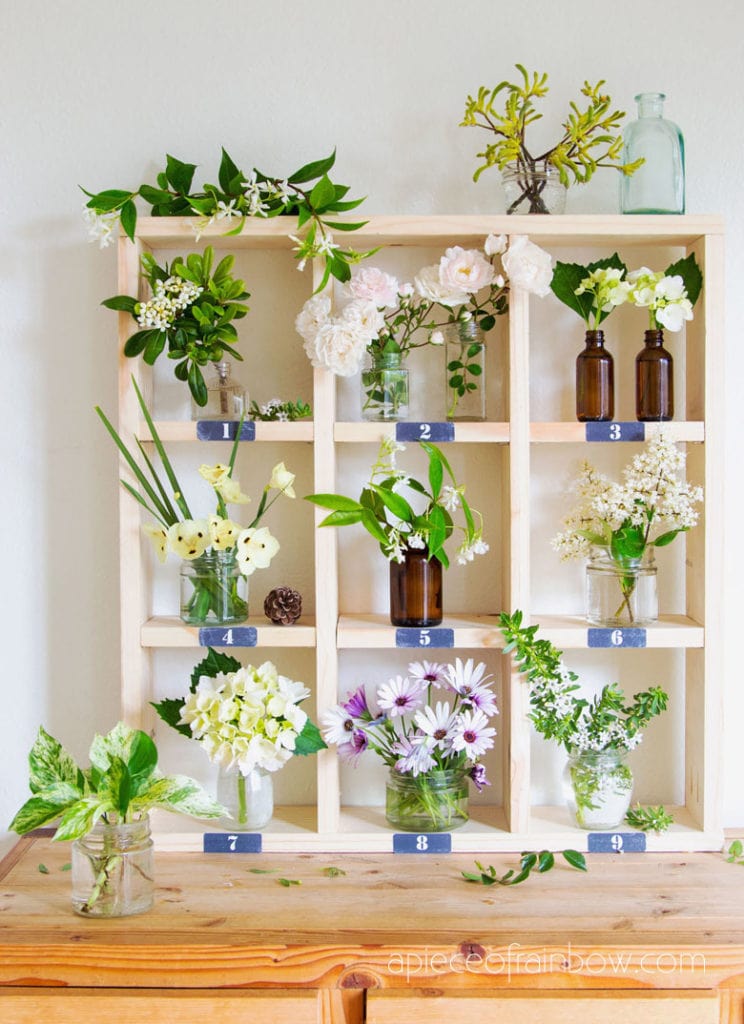
This display shelf is really fun to use. You can put your favorite collection of seasonal decorations, plants, and flowers in the cubbies, or use it as an organizer for your arts and crafts supplies, hobby collections, etc!
Happy building! See you soon! 🙂
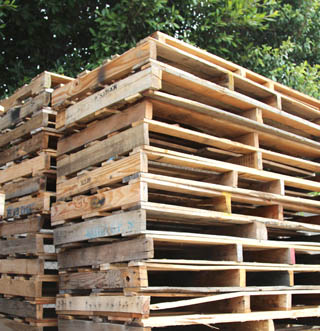
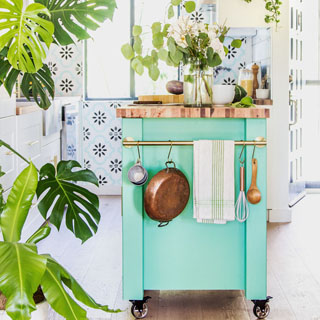
DIY Wood Pallets Ideas, Tips & Projects: An Ultimate Guide
DIY Bed Frame & Wood Headboard ($1500 Look for $200!)
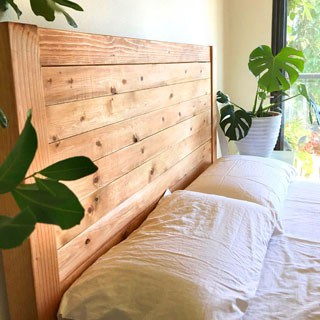
Easy Wood DIY Headboard & Bedframe
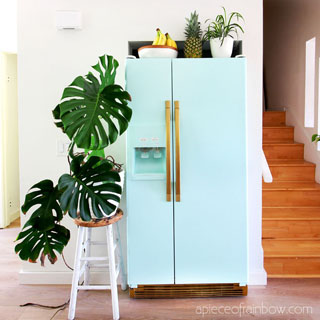
How to Paint a Fridge ( Inspired by a $2,999 Retro SMEG )
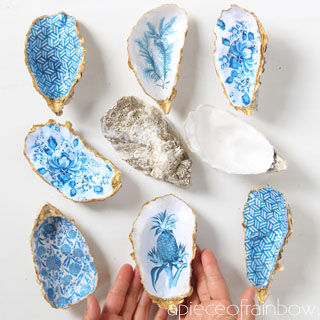
Anthropologie Style DIY Oyster Shell Trinket Dish
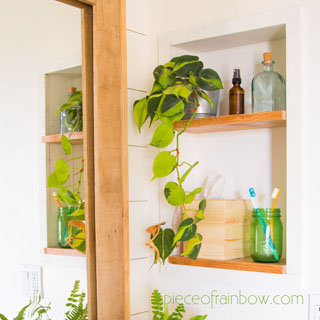
DIY Niche Shelf: Old Bathroom Medicine Cabinet Makeover
How to Paint Kitchen Cabinets (& #1 Mistake to Avoid!)
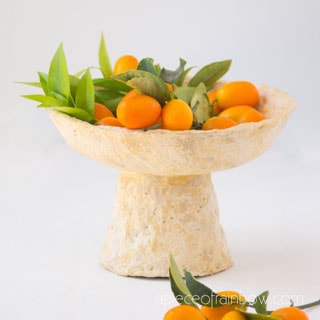
DIY Paper Mache Clay Pedestal Bowl

Anthropologie Knock Off $0 DIY Galvanized Zinc Vase
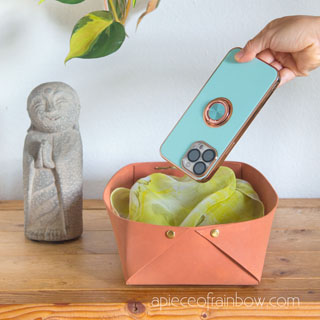
Easy $2 DIY Faux Leather Storage Basket (Surprise Material!)
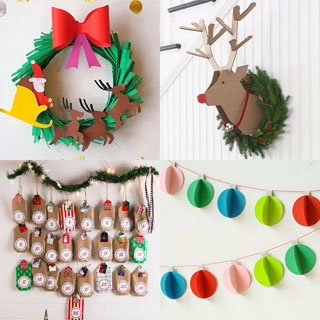
45 Amazing Christmas Paper Crafts & Decorations


Hi Ananda… More than one year later and I can’t find the printable labels for this project. Can you help, please?
hi Chris! i somehow lost the label file with a bunch of other files when switching to a new computer! i promise i will remake them and add it! in the midst of 2 bathroom makeovers, feel free to remind me in a couple of months! 🙂
Fabulous diy. It’s a must build. Thanks for sharing
Such a stylish and lovely farmhouse cubby wall shelf. It looks so nice! I am going to ask my husband to build this for me, thanks for the tutorial and plan!
I cannot find the printable label numbers to print stickers for shelf labels. I’ve looked everywhere and find it. Help!
hi teri! we will check and let you know this week!