Make Beautiful Wood Planter Boxes ( $10 Easy DIY )
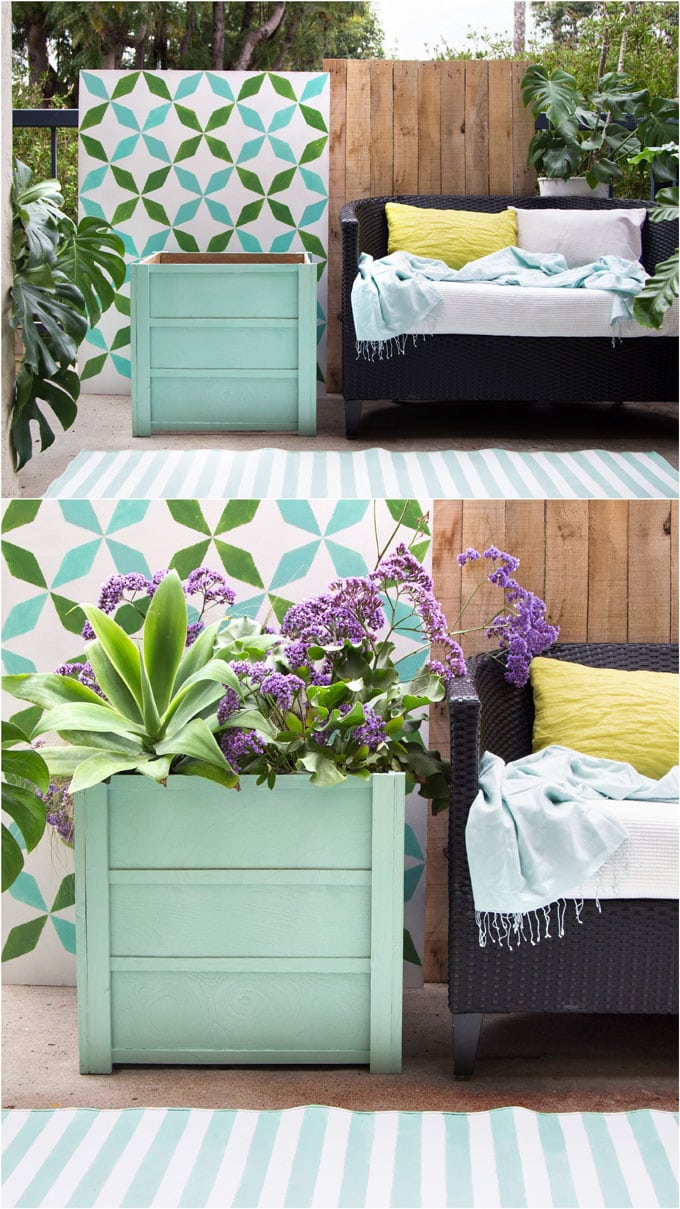
Wood planter boxes look so beautiful in a garden, and on a patio or deck.
Our current outdoor patios can really use lots of big planter pots outside, but they can add up to thousands of dollars so quickly! So I designed these planter boxes with 2 goals in mind:
- beautiful and cost effective, so we can have lots of them
- large, but lightweight, portable, and long lasting ( a design secret that gives you the best of all worlds! )
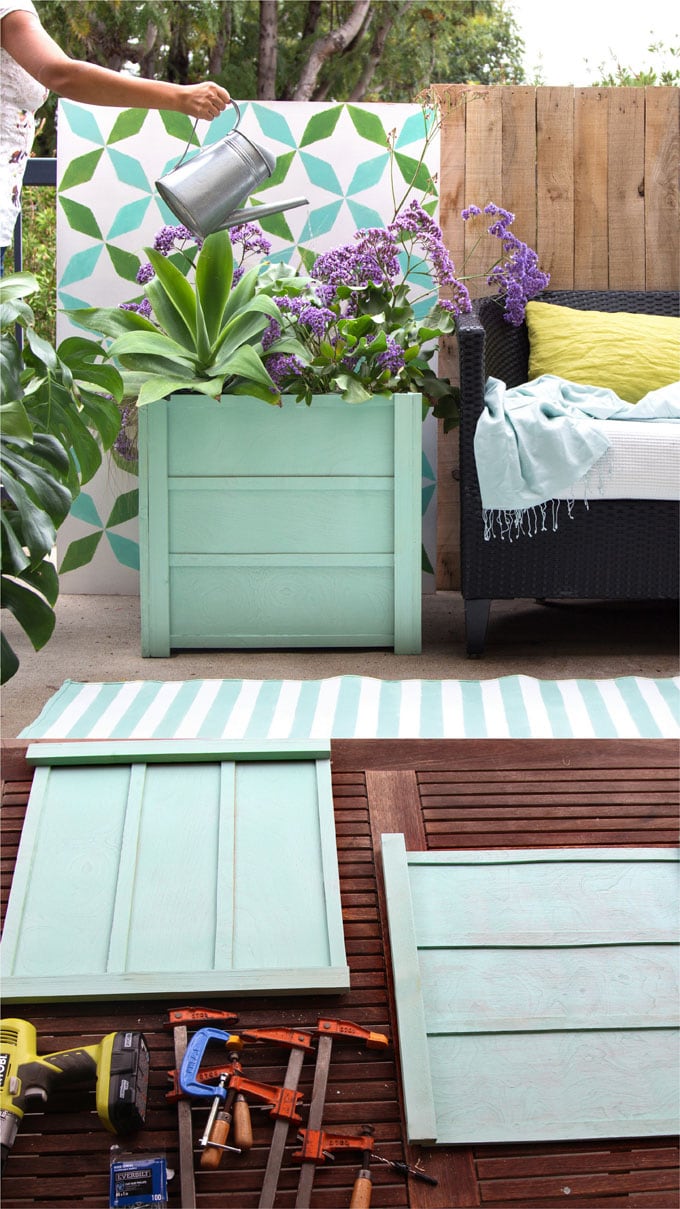
In this tutorial, I will share :
Our easy DIY wood planter box plans.
*Some resources in article are affiliate links. Full disclosure here.
How to build these planter boxes step by step, using simple tools and materials.
More variations and ideas on wood planter pots.
Here’s a video to see these planter boxes in action!
These planter boxes are around 21″ cube in size, which is perfect for an entry, patio or porch. We also have detailed guides on how to build raised bed garden planters here-

How to build raised bed garden planters
The design secret that makes these large planter boxes light weight, portable, and long lasting.
Have you seen those black 15 gallon plastic planter pots from the nursery that your plants come in? These pots are super practical, durable, yet not so great looking.
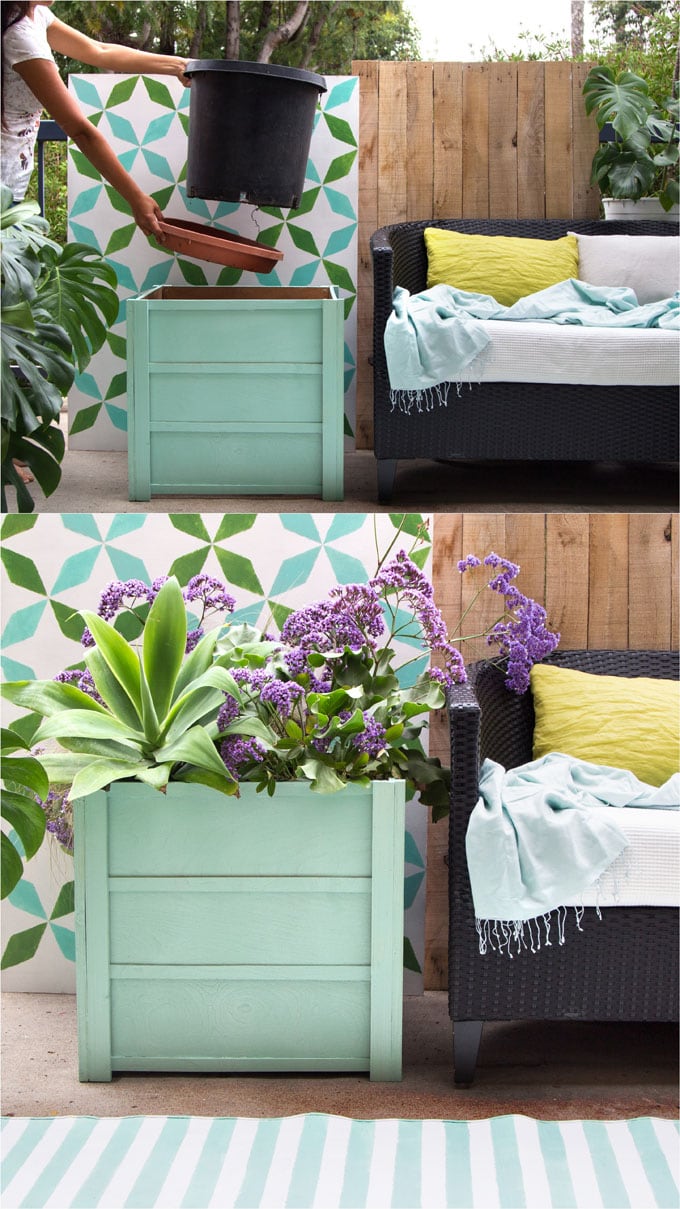
We will fill these plastic pots with soil, plant them, and place them inside our wood planter boxes.
This way, our wood planters can be built out of light weight materials such as plywood, or 1″ thick lumber. Add paint or sealer to make them water resistant. Because these wood planter boxes are not in constant contact with moist soil, they will last for a very long time!
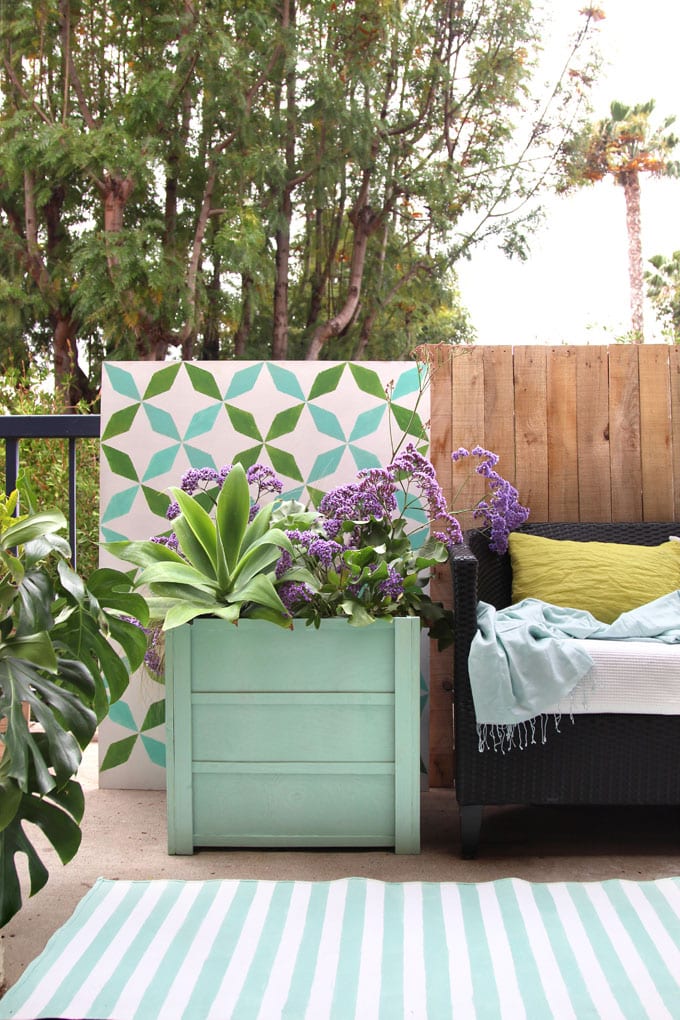
How to build the planter boxes step by step.
Materials and tools for one wood planter box:
( Some of the helpful resources are affiliate links. Full disclosure here. )
- Wood: 1/4″ thick plywood ( more in Step 1 ) cut to (4) 20″x20″ panels, and ( 16 ) 1″x20″ strips. (8) 22″ long 1x2s ( actual dimension 0.75″x1.5″ ). You can get a 8′ long piece for about $1 at Homedepot.
- Drill, 1″ flat wood screws and 1.5″ flat wood screws, a circular saw or jig saw, a couple of large Spring Metal Clamps, and bar clamps, which are my must have woodworking tools to hold pieces in place while assembling!
- Exterior wood glue, paint and / or outdoor sealer, brushes or paint sprayers. ( More about colors & brands in Step 2.)
- Safety goggles, dust mask, hearing protection. Always follow safety procedures!!
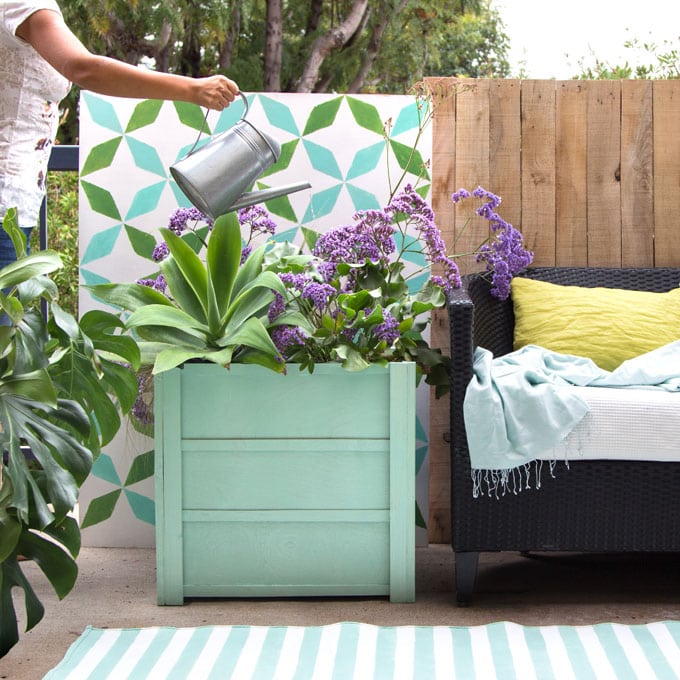
Before we start building, remember safety first! Please follow good practices to build safely and smartly. Follow safety guidelines of each tool you are using. Always wear eye and hearing protection. Work on a clean level surface, free of clutter or debris.
Step 1: Make 4 panels for each planter box.
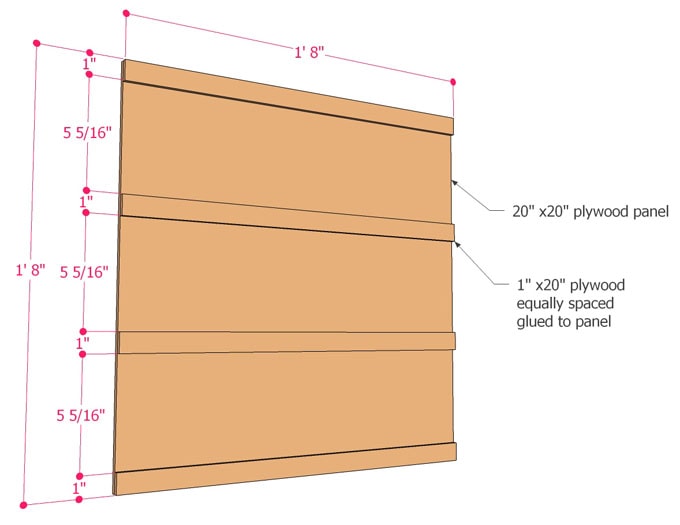
Start by gluing ( use exterior wood glue )the plywood strips to the panels following the dimensions in planter box plans below. Use large Spring Metal Clamps to hold the strips in place until the glue dries. You can also weigh them on top with heavy objects ( see video tutorial) .
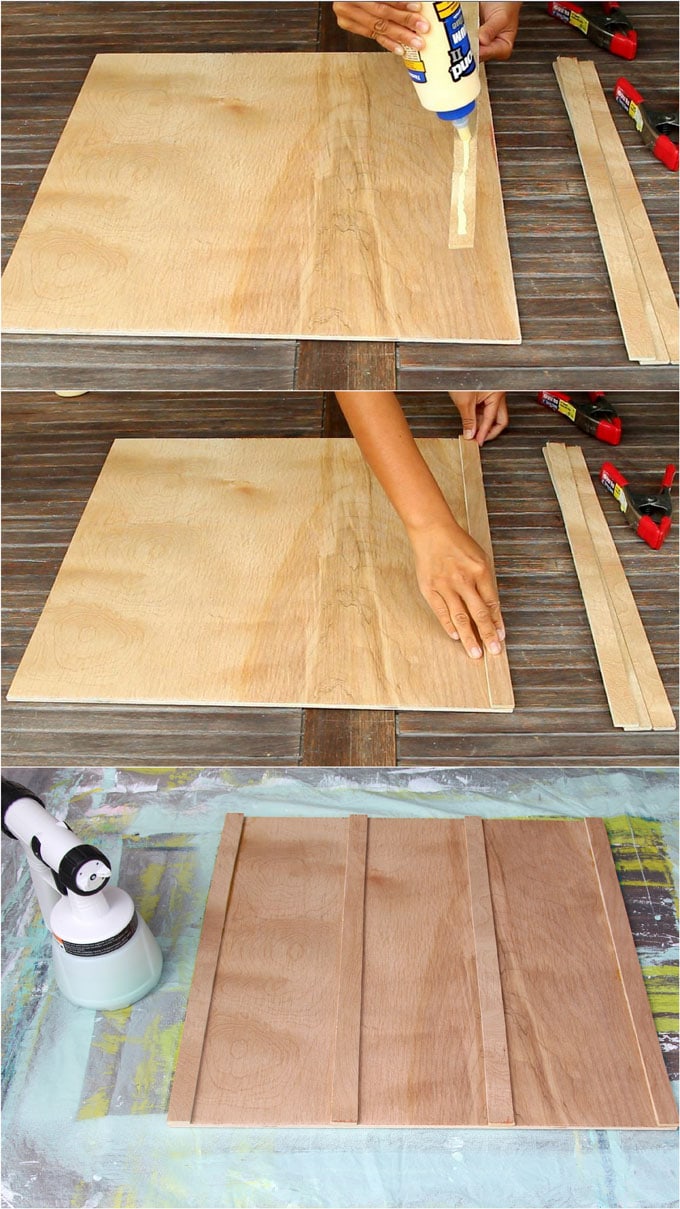
We love using PurBond plywood for our home and garden projects! We used it here in our DIY wood bed frame with headboard. It’s a high quality, formaldehyde-free plywood you can have custom cut at Home Depot. Plywood is vulnerable in outdoor elements, but we painted and seal it ( see Steps 2 & 3 ) Thank you PurBond and Sherwin Williams for supporting our DIY blog and donating products for our patio makeover!
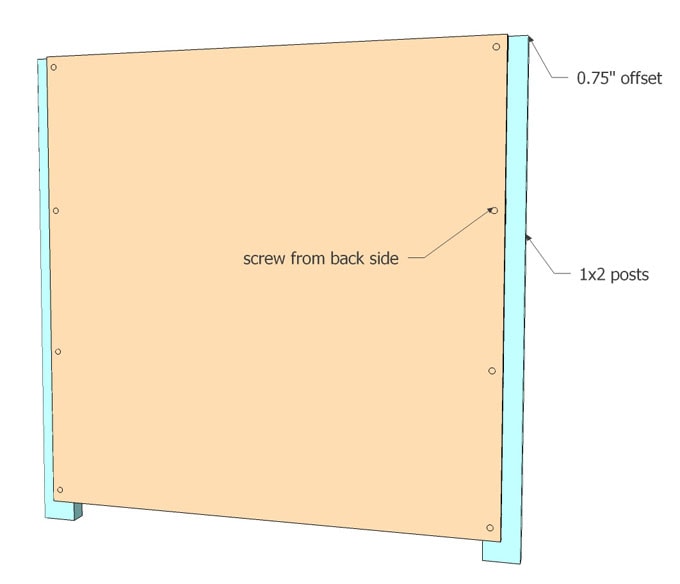
Attach the 1×2 posts to each panel with 1″ flat wood screws from the plywood / back side. Tip: Pre-drilling will prevent splitting the wood and provide a stronger connection.

Step 2: Paint or seal each panel
Because these wood planter boxes are for outdoors, and plywood can warp if exposed to too much moisture. There are two ways to protect outdoor plywood surfaces, paint them with colors, or leave them natural with clear sealers. Here we painted the outer sides, and sealed the unpainted surfaces.

The paint we used is Sherwin Williams Emerald Exterior Latex paint in color Aloe, with Satin finish. Isn’t it a gorgeous mint color? We love this great quality paint because it’s not only fade and mildew resistant, but also meets the most stringent VOC regulations.
Apply the paint with a brush or sprayer. We used Wagner home decor paint sprayer and diluted the paint with a ratio of 3 part paint and 1 part water to use in the sprayer. It comes out really nice and even!
If you want to create natural looking wood planter boxes, you can use a clear sealer on unpainted plywood and wood.
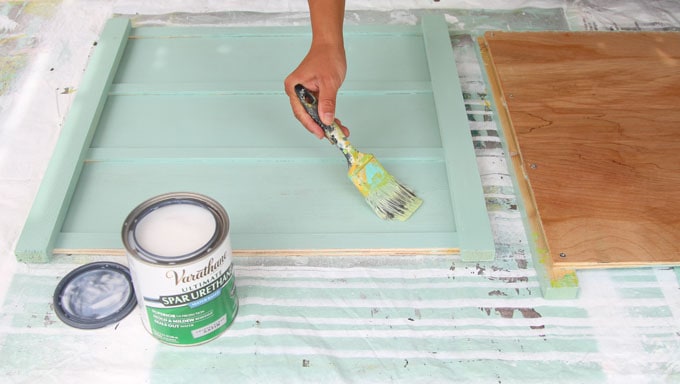
On the unpainted sides of the planters , we used Rust-Oleum Varathane® Ultimate Spar Urethane Water Based, which is an exterior clear sealer that protects wood from sun and water damage. We also used one coat on the painted side for extra water resistance. ( Thank you Rust-Oleum for generously providing us with great products!)
Step 3: Assemble the planter boxes.
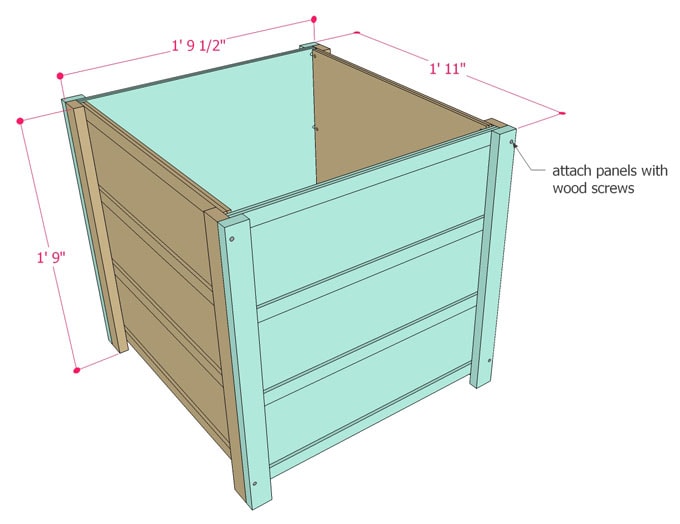
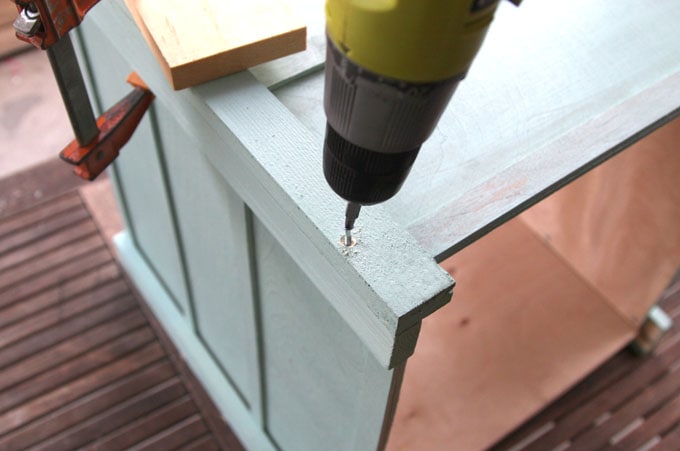
Clamp the panels together with bar clamps, and attach them using 1.5″ flat wood screws. We used 2 screws per post.
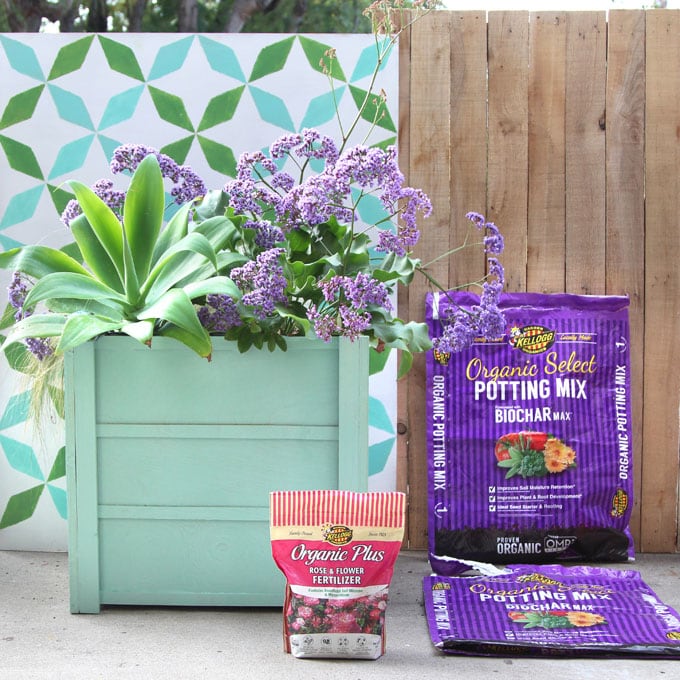
Now we have our beautiful wood planter boxes, it’s time to plant them! We used Kellogg Organic Select Potting Mix formulated with biochar which has lots of great benefits such as improving soil moisture and nutrient retention, and attracting beneficial microbes.
We only partner with brands whose products we already use and love. Kellogg soil and fertilizer products are truly some of our favorites, and we are thrilled to be working with them on our patio projects. We also love the facts that they do a lot of good things for communities and for the environment.
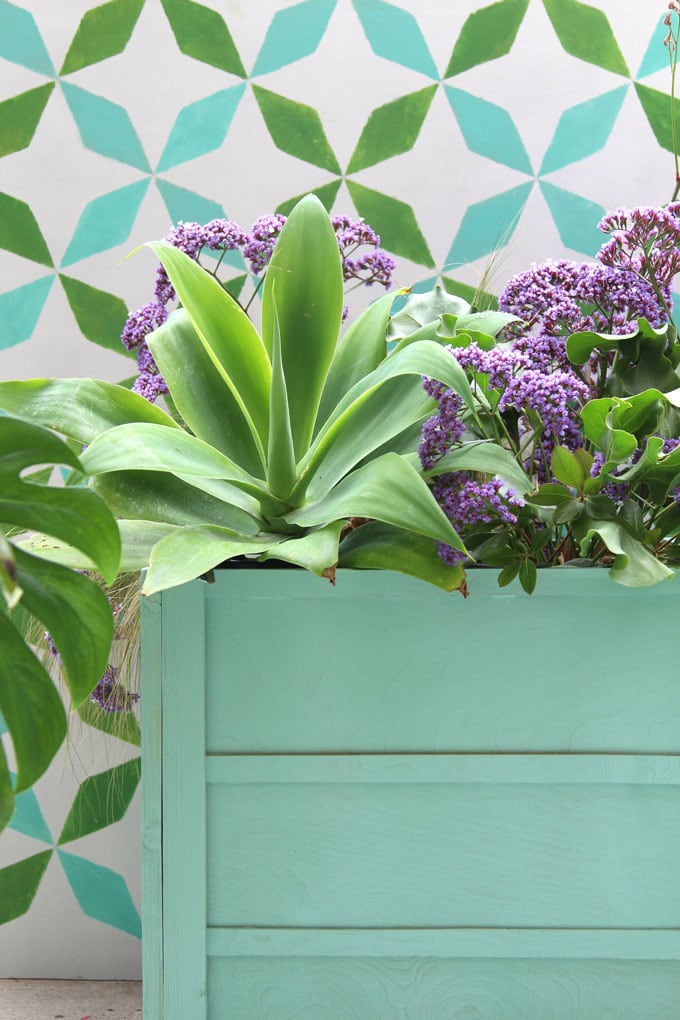
Here we have Limonium / Sea Lavender with gorgeous flowers, and Agave attenuata, a large succulent with a beautiful form. Both so easy to care for!
If you want some great ideas on how to create colorful mixed planters here are 30+ stunning containers with complete sun or shade plant lists for each!
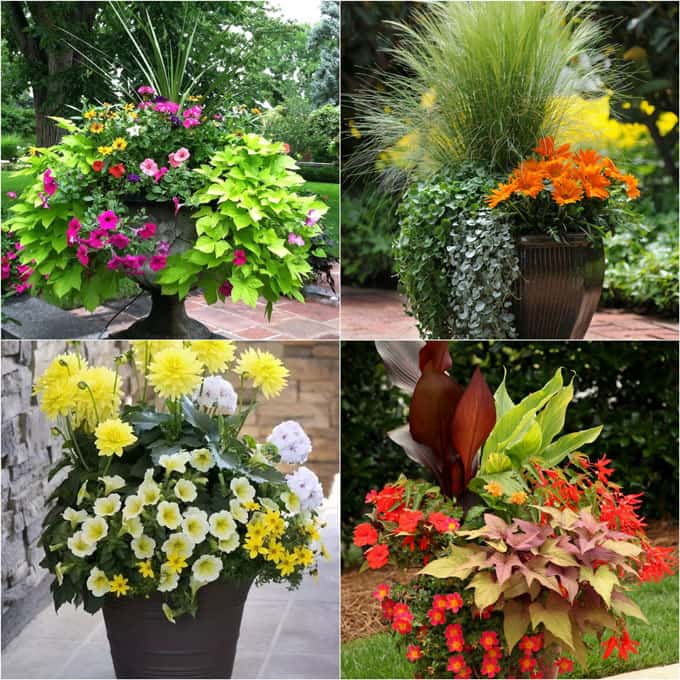
30+ stunning containers with complete plant lists for each!
More variations and ideas on wood planter pots.
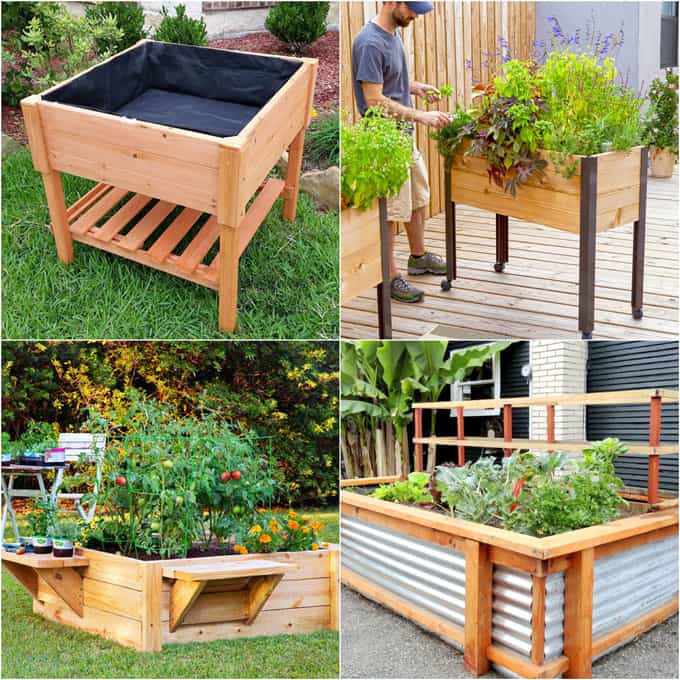
This wood planter box has a large 15 gallon nursery pot inside. If you want to build a raised bed planter on top of soil to grow vegetables and flowers, here is a detailed guide on how to build raised bed garden planters.
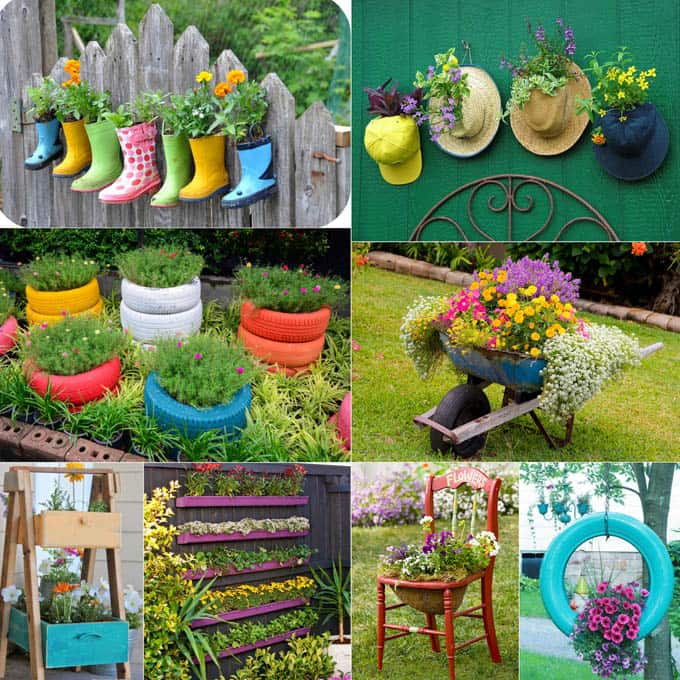
You can also make creative planter pots out of many up-cycled objects. Check out 32 creative DIY planter ideas here!
Happy planting! See you next week!


Where are the detailed plans, directions. This is set up solely as a blog entry and unusable as a guide.
I am missing a link to another document that has the blue-print like directions? Thanks.
hi tom! the plans are at the beginning of each step. you can save these drawings and print them out to use when you are building! 🙂
I don’t understand these directions. There is no bottom? So how does the soil stay in? Do you put a pot or plastic bag inside to hold everything?
hi Bette!
yes you put a plastic pot or grow bag inside the wood box, this way the wood won’t rot, and lasts much longer! 🙂
Gorgeous planters! Thanx also for researching all the other stuff for us to check out; makes it so much easier for us!
thank you kathy for sharing all our creative adventures!! 🙂
This is awesome! My 1st attempt didn’t turn out quite as beautiful, because I didn’t have a nail gun and tried using 2×2. This is the perfect project for a 1st timer! I learned so much in the mistakes I made. Thank you.
The planter looks beautiful! Great design and color choice!
Wow, I’m impressed by your collection of the wood planter boxes! I want to make a wood planter boxes. I can’t wait to get started. Thanks for the sharing such kind of informative article.
wow this looks flawless, I like the vintage feel. I am thinking of how some LEDs on the sides would look
I love your patio. You know very well take care of your garden and your garden. I need you. I do not really have time to take care of my plants … The furniture is beautiful.
These boxes look incredible! Can’t wait to try a project like this, thanks for sharing!
I wish I would have seen this earlier. There are so many different ways you could make planters out of all kinds of different things. The box planter is very beautiful! And it’s something that looks great in any space.
This is such a cool idea and I totally love having my own garden. I am definitely bookmarking it for our future home and best part is its such an easy DIY.
This is so cute!!! I would love to paint it a crazy bright color…. my only problem is that i can not keep plants alive. Have to give it a try this year!
what a great post! I am just thinking about placing some wooden table and chair in my little balcony and this could really make the touch i look for!
xx
lau
malibluemymind
Wow! How gorgeous are those! Want to come visit me and helo me build them? Ill make some good dinner ????
Love this! Such a great spring project. I also adore the paint color of the planter box.
Oh, I love this! So gorgeous and it looks so simple to make!
This is an awesome DIY planter idea. This is perfect for spring. I am definitely going to give this a try.
Great Idea!! I’m totally getting in the spirit of spring, I truly cannot wait to try this out! Love this idea
I love all these! I live in an apartment so box garden is how I mainly do things and I am always looking for new ways to get more plants in my apartment.
This is absolutely beautiful, thanks for sharing, I will try to do something similar, hope it comes as nice as yours.
These look great! They would look so awesome in my backyard, and it’s something we could easily do.
I absolutely love these!! I love the colour that you chose too. I will definitely be getting the hubby to make some for me for outside. Or maybe I will make them myself. We have a limited garden space in our yard but I love plants. That’s also a great tip to use the larger plastic planter inside so the moist soil isn’t in direct contact with the planter box.