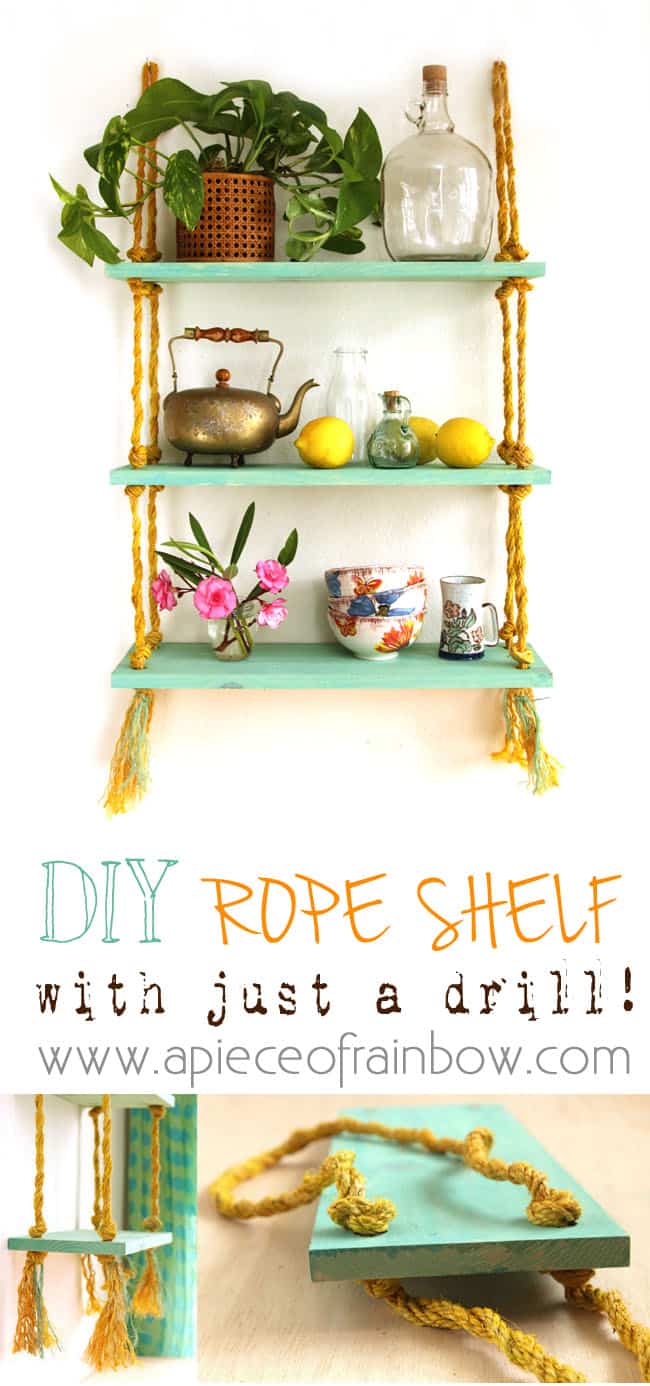
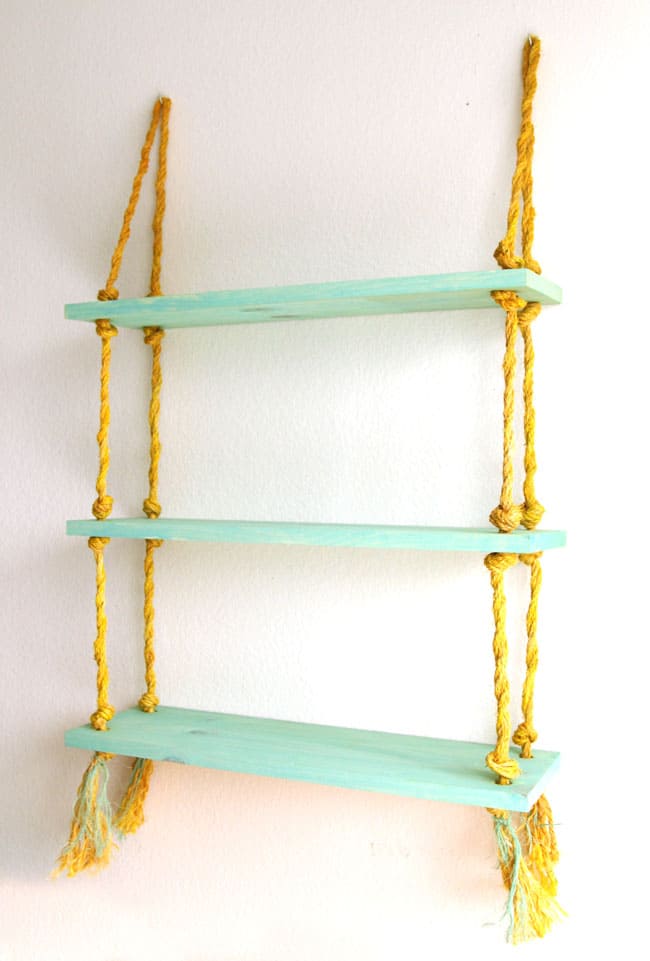
Easy DIY Hanging Rope Shelf in 30 Minutes
Easy DIY hanging rope shelf tutorial: how to make beautiful boho farmhouse wood wall shelves for storage & home decor, with rope & a drill!
Confession: until just a year ago, I used to be a total power tool phobia. The only time I touched a power tool, was to hand it to hubby.
So, when some blogger friends invited me to a power tool challenge, I was instantly intrigued. Really, can we build furniture with just a drill, the least intimidating of all power tools? ( OK, the lovely hardware store people will make a couple of simple cuts for us, of course!)
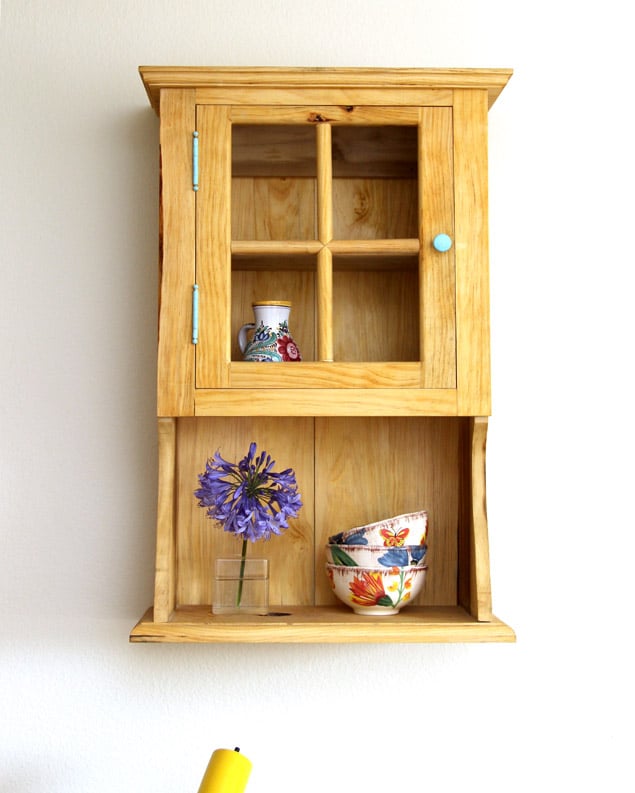
Easy to build and hang, this beautiful gold and turquoise DIY rope shelf is also collapsible, great for those of us who move a lot or love to rearrange furniture! It is so rewarding and empowering to be able to build your own furniture! This was how I felt when I jumped into a 16 week wood working class and made this wall cabinet!
*Some resources in article are affiliate links. Full disclosure here.
The rope shelf we are making today is a lot easier!
Materials and tools to make DIY hanging rope shelf:

- ropes: you can use 25 feet of 3/8″ to 1/2″ jute or sisal rope, or cotton rope that comes in many colors.
- wood shelves: each piece measures 8″ wide by 24″ long by 0,75″ thick. If you get 1×8 pine or other type of wood at the hardware store, they will cut it into 2′ section for you.
- paints: I used acrylic paint to dye the ropes and paint the shelves.
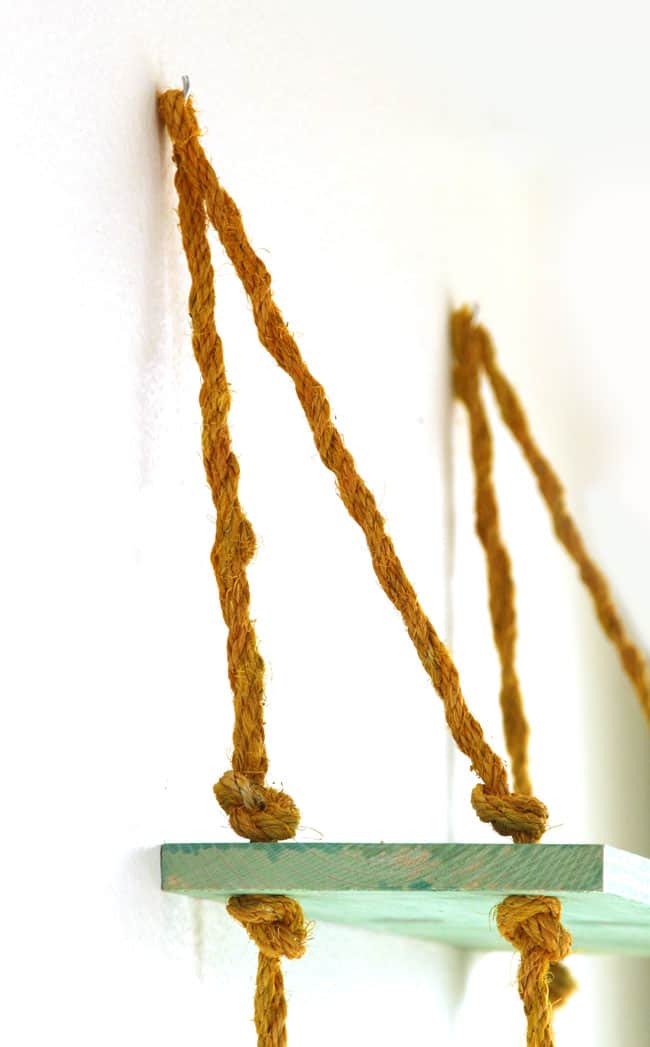
- It’s super easy to hang the shelf. We used Monkey Hook Easy Picture Hangers for Drywall, 50lb.
- the only tool we need is a drill! And a 3/4″ Drill Bit like this
Step 1: prepare ropes for hanging wood shelves
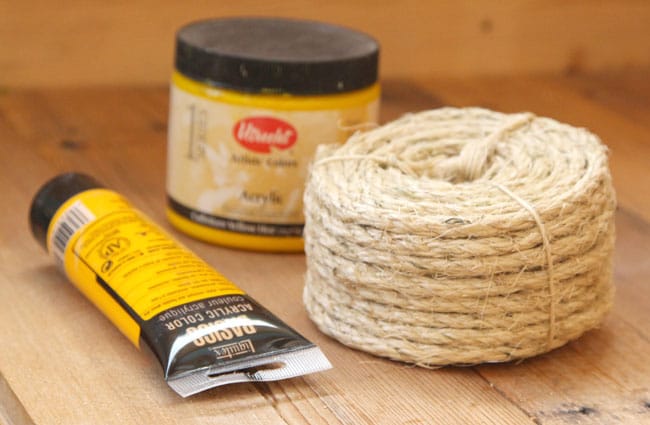
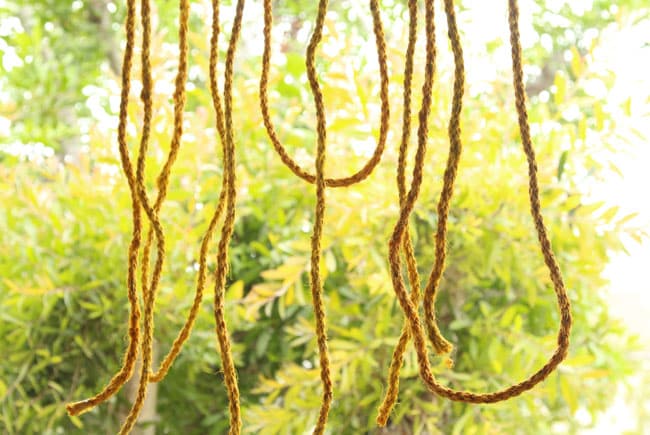
This step is optional. Dye the rope by dipping it into a bowl of diluted yellow acrylic paint. Lay it on plastic or hang it to dry.

Sisal ropes can have lots of loose fiber hanging, so I trimmed it a bit to give a cleaner look.
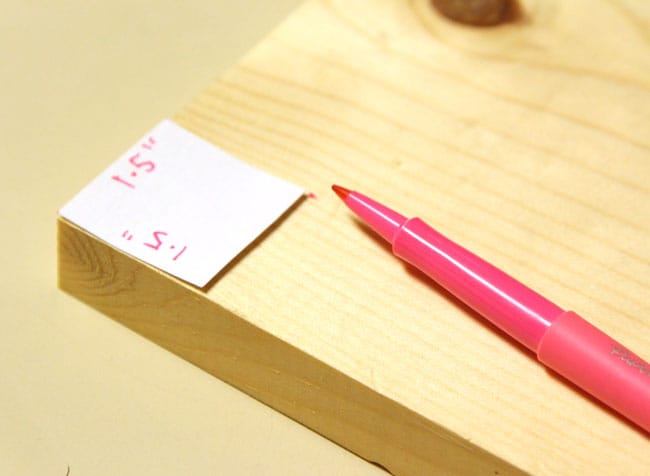
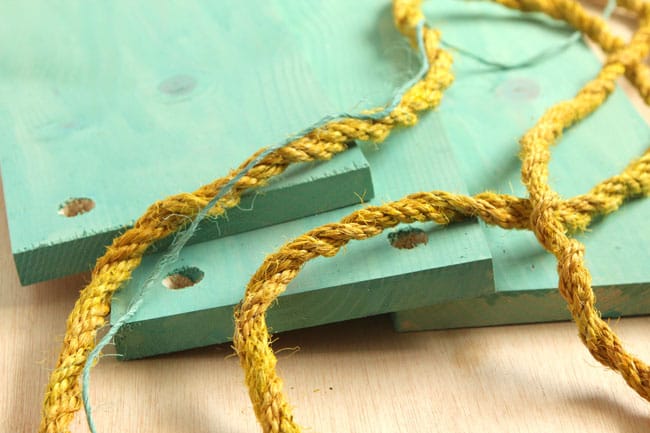
Step 2: mark wood shelves & drill holes
Here’s a easy little trick on how to drill the 4 holes on each board: cut a square piece of paper 1.5″x1.5″, line it at each of the 4 corners, and draw a dot at the other corner. This will give us the centers for the drill to start.
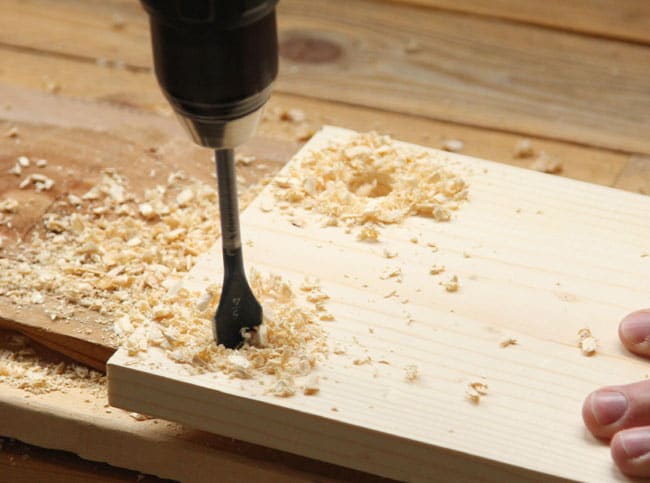
Use some scrap wood under the board that will be drilled through to protect your work table. Sand the wood a little if needed.
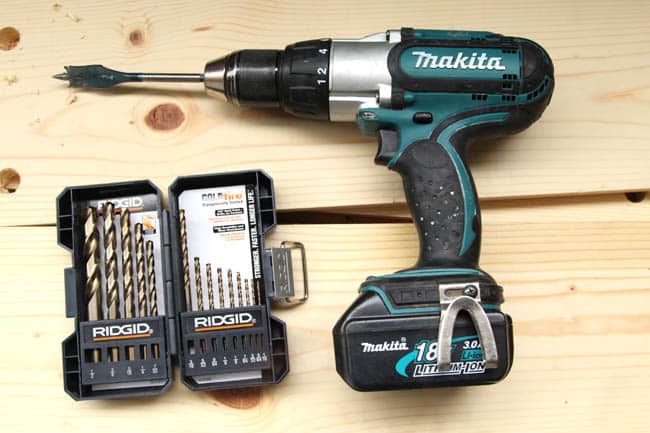
We used a 3/4″ Drill Bit like this to drill the holes for the ropes to go through.
Step 3: how to tie knot for DIY hanging rope shelf
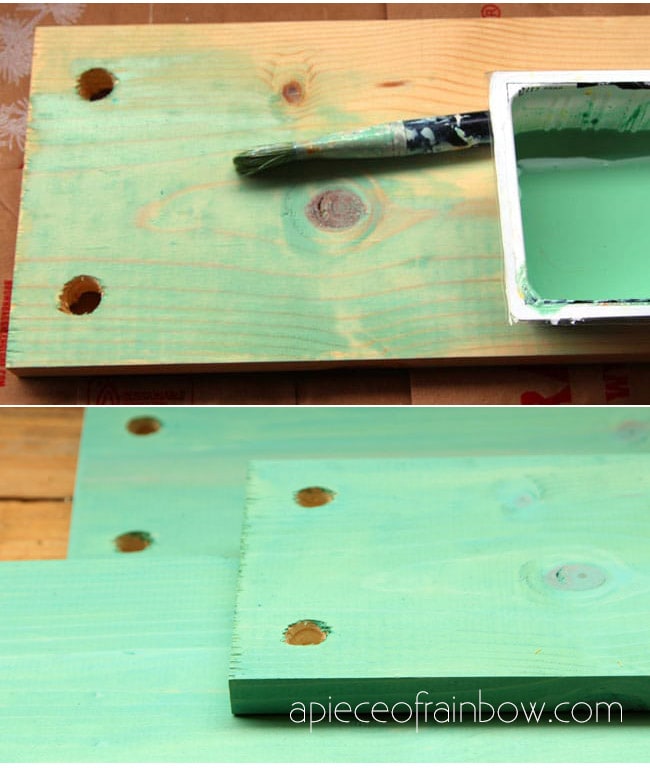
Paint the wood with your favorite colors of acrylic paint or milk paint. I love turquoise, I also diluted the acrylic paint so the wood grains still shows a bit.
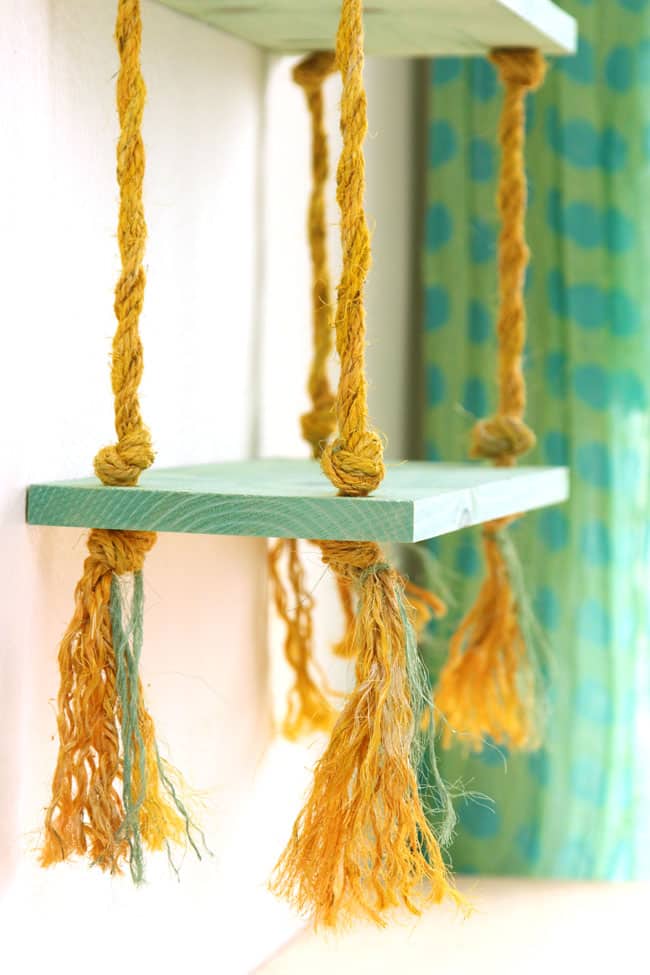
Cut 2 pieces of 1/2″ thick rope, each about 12.5′ long.
I also colored a small piece of sisal rope the turquoise color for some fun details later.
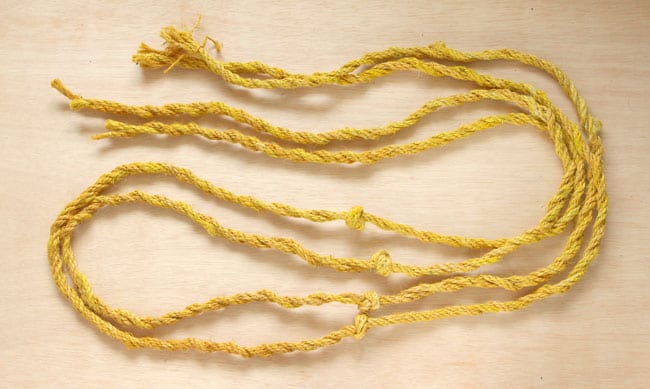
Fold a piece of rope in half, start making the first 2 knots, one at about 11″ from the mid point, the other at 13″ from mid point.
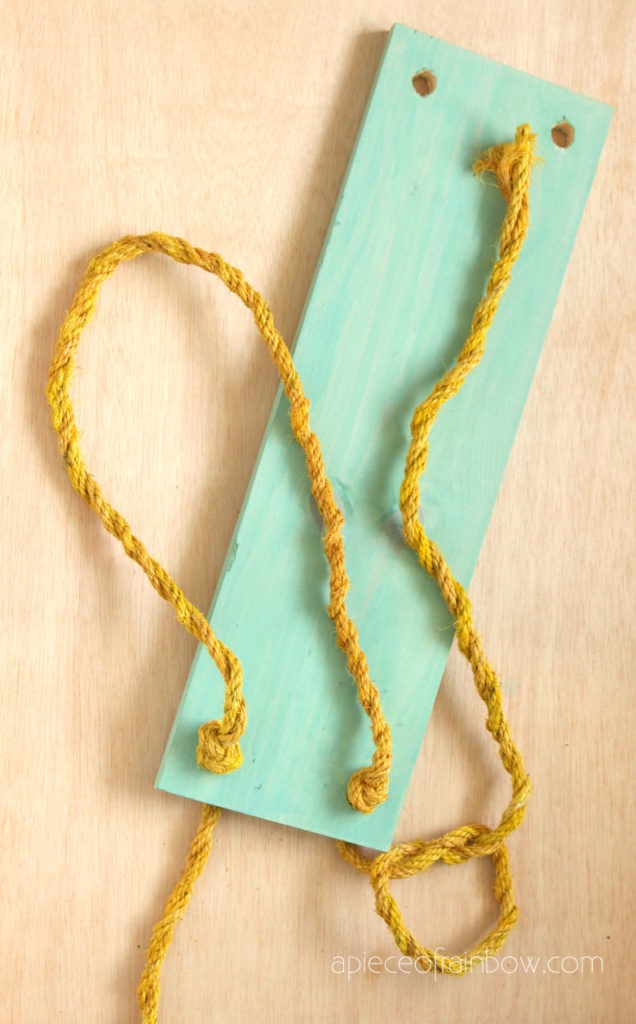
Thread through the 2 holes on the top shelf, then tie a knot on the underside of each hole. Repeat on the other side.
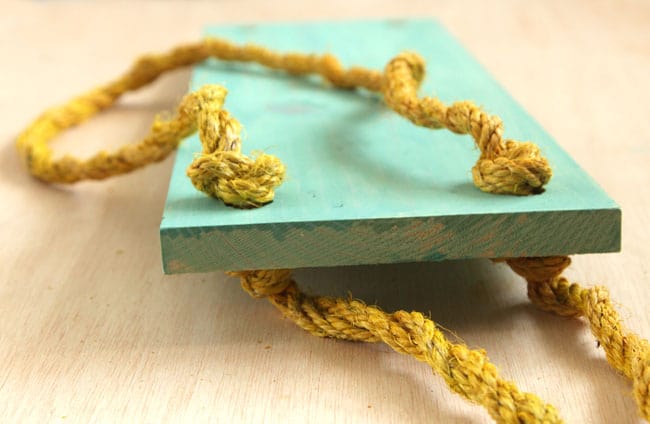
The second and third shelf are all spaced at 12″ apart. So measure the rope and do the same knotting and threading for each shelf, keep testing and adjusting the knots if needed.
Gotta have tassels right? It’s so easy to make tassels with sisal ropes!
After the last knot, keep loosening all the twists on the ropes until you get a tassel like bundle. I also added the small piece of turquoise rope for a fun accent.
There are many ways to hang the shelf. We have dry wall, so we used Monkey Hook Easy Picture Hangers for Drywall, each with 50 lb capacity.
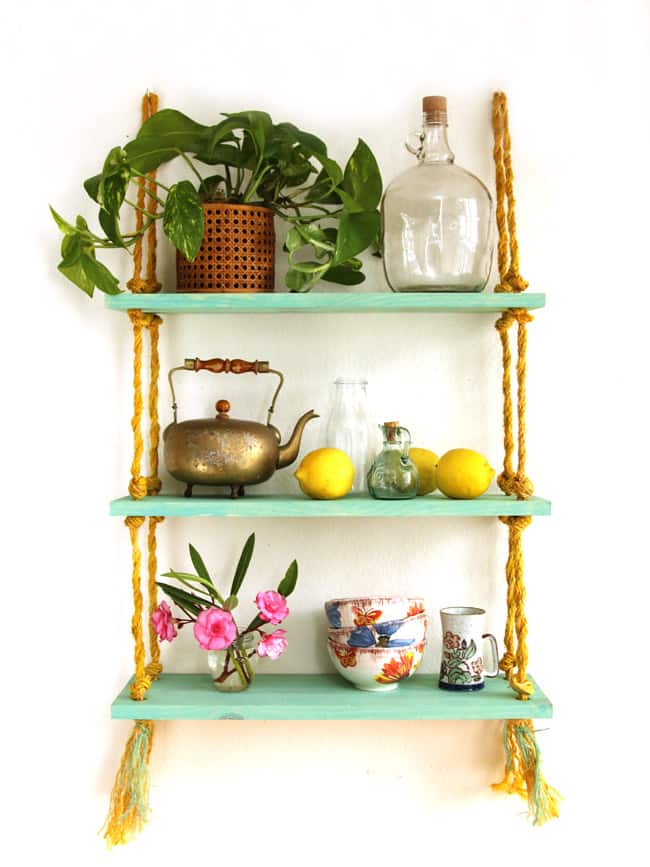
What style should we call our rope shelf? Beachy and carefree? Colorful boho farmhouse? 🙂
Talking about carefree, this two pallet potting bench is definitely part of the group!

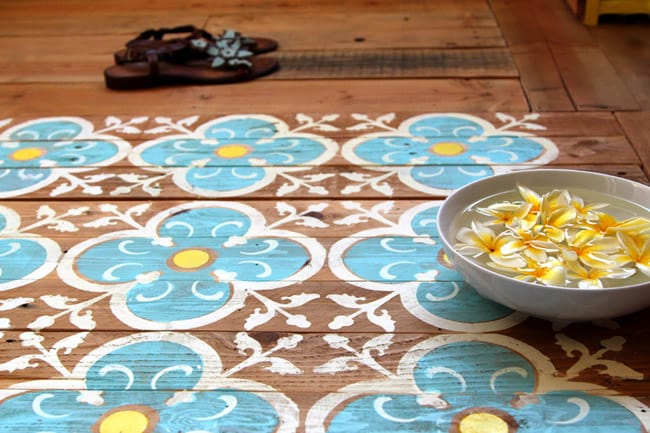
Or these stenciled pallet wood floor mat!
DIY Wood Pallets Ideas, Tips & Projects: An Ultimate Guide
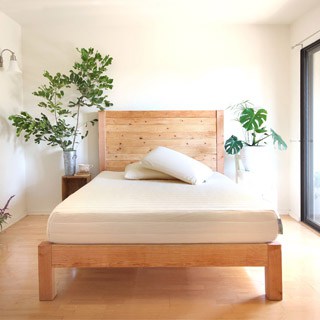
DIY Bed Frame & Wood Headboard ($1500 Look for $200!)
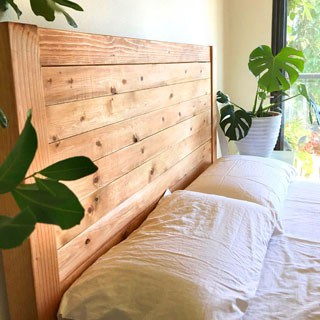
Easy Wood DIY Headboard & Bedframe
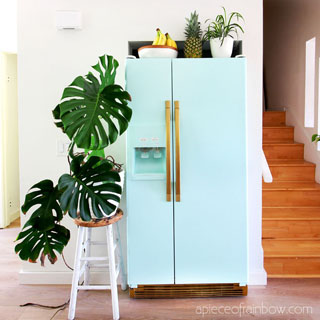
How to Paint a Fridge ( Inspired by a $2,999 Retro SMEG )
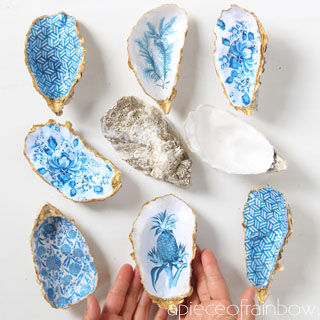
Anthropologie Style DIY Oyster Shell Trinket Dish
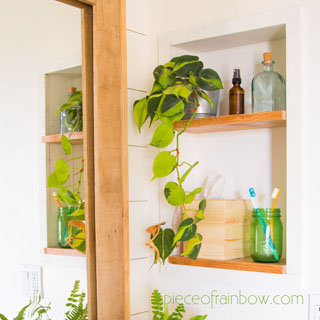
DIY Niche Shelf: Old Bathroom Medicine Cabinet Makeover
How to Paint Kitchen Cabinets (& #1 Mistake to Avoid!)
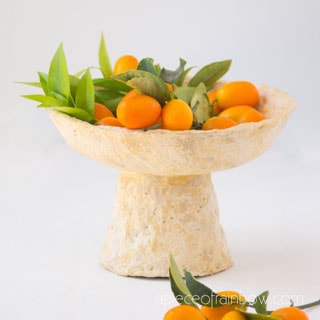
DIY Paper Mache Clay Pedestal Bowl

Anthropologie Knock Off $0 DIY Galvanized Zinc Vase
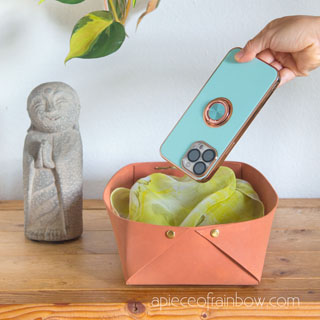
Easy $2 DIY Faux Leather Storage Basket (Surprise Material!)
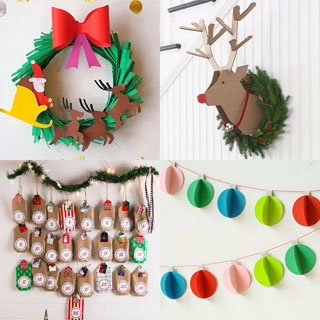
45 Amazing Christmas Paper Crafts & Decorations


wow cute its looking amazing am really like it . so beautiful am so happy to read this blog post am going to bookmark it and share with fellows also
These diy rope are supper in every things amazing happy to got this idea
You really made my day ,,,,,,,,,,,,,,,,,
Thank you so much
Nice project! How do you get the knot exactly where you want it? half the time it ends up half an inch too low or too high and I get a crooked shelf.
thanks
hi conor, that was the hardest part, and i should really add some tips to it! =) try using duct tape or a clip to mark the spot of each knot , which should help a lot! =) you can also adjust the knots slightly to move them up or down 1/2 inch.
I had a quick question. I’ve got lots of boys in my house so things have to be pretty sturdy and I was afraid that the knots would slip? Did you use any special type of knot?
the knots are just simple knots but they stay super tight, double them if you’d like, make sure they are bigger than the drilled holes. =)
How is this secured again? I could imagine bumping into it and making everything fall to the floor. Or heck, even just putting something on the shelf looks like it’d be an issue.
it is surprisingly sturdy! those hooks listed in the materials list did the magic, and the wall helps to stabilize =)
Inspiring.
Such an awesome DIY project! Really cool 🙂
I love this project, the colors are amazing! I also love how you styled the shelves. I’ve included this in my roundup found here http://www.babybugjournals.com/rope-diys.html
-Lindsay
Wonderful project! Love it!!
thank you my dear rock star friend!! =) xo
GAH! You are so inventive! This is such a great shelf. I can totally imagine this in a beach house. Super cute Ananda. I would’ve never even thought of it. You are so creative. I love it! Pinned!
thank you my dear friend! i definitely got inspired by other rope shelves though! xo
I love it! I adore how this turned out Ananda – the colors are beautiful and the tassels at the end are so fun!
thank you dear friend! we are both tassel girls haha! xo
Oh! Ananda, this is so beautiful. LOVE the gold and turquoise. I can’t believe how simple you make it look. I may have to change my living space or move to have one in my living room:) You’ve dressed it up so perfectly, too. xx
thank you dear arti! i wasn’t sure what colors to make them and was surprised they came out pretty! =)
You go girl! Fantastic project and perfectly functional too. 🙂
thank you larissa! awesome to be doing this with ya!! =)
What a great one tool project! I love the colour choices, and it has such a funky and fun vintage feel to it!! Great job!
thank you krista for visiting!! love yours too! =)
Pretty hanging shelves! So creative, love it! 🙂
Nancy
thank you nancy for your kind words! =)
That is such a cool project – love it! Great tip for easily marking the holes on your boards BTW. Gotta love the Monkey Hooks, they are always in my tool box. It was great fun doing this challenge with you!
thank you marie! Monkey Hooks make life so much easier! =)
This is so pretty! Looks like it came right out of a beautiful island beach house! Love the styling too. 🙂
thank you christy! =) the styling came together on the second try, first attempt failed haha! =)
I’ve never made a rope shelf, but you make it look so easy! Great one tool project!
pinned!
gail
thank you gail! to be honest i went through a little challenge haha! =)
Your project is so creative! Especially with the colorful rope and a bit of turquoise in the tassel. Nice tip about the paper template too. That takes out a huge margin of error and guesswork! Thanks so much for joining in one the One Power Tool Challenge:)
thank you wendy for bringing such a fun challenge and amazing group together!! xoxo
Cute, cute, cute!! Love the rope shelf and especially the colors! Your wall cabinet is pretty awesome, too!
thank you cher! loved doing this with all of you amazing ladies!! xo