DIY: Make Beachy Style Picture Frames From Fence Wood
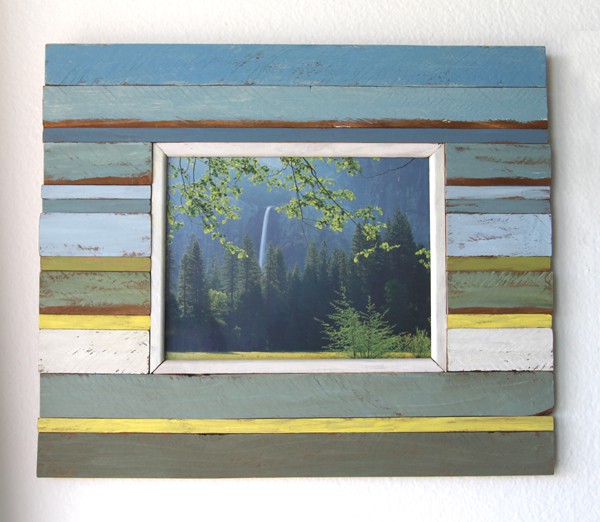
 These picture frames are inspired by furniture and frames made from reclaimed boat wood which came from fishing villages in many parts of the world. The layered chippy paints and spontaneous colors tell the stories of the wind and dreams of the sea.
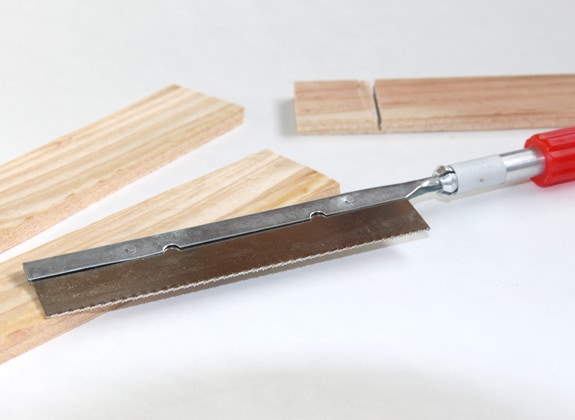
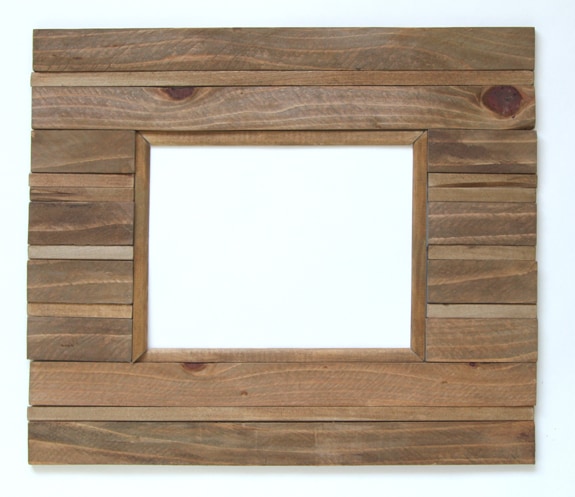
In this tutorial we are going to make a frame for standard 8″x10″ picture / glass size, so we can easily reuse the glass from an old frame. Our frames here are made from readily available materials – the humble fence wood boards, some stores call it lathe. Reclaimed fence would be great! But even the new ones have a rustic look. They are easy to make, and the bonus: no power tools needed! The wood components are all small enough to be cut with a craft handsaw.

 Before we start working,we will use the plans to figure out how much wood to get. The 3 components are colored differently and dimensioned in the plan. Don’t forget the braces on the back, they will hold the glass in place, and allow us to attach hardware later.
Materials list:
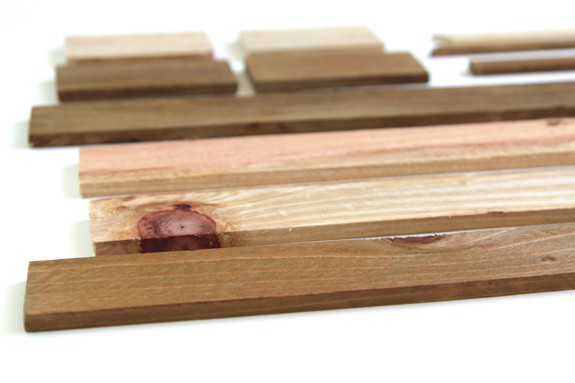
- (2) redwood lathe: 8’L x 1.5″W x 1/4″TH (although labled as 3/16″ thick @HomeDepot)
- (2) wood trim: 0.5″W x 1/4″THx3″L
- (2) wood molding: 0.5″W x 3/16″THx3’L ( 1/4″TH works great too)
- (4) picture frame turn button with screws – [easyazon_link asin=”B00BTI391E” locale=”US” new_window=”default” nofollow=”default” tag=”apieceofrainb-20″]100 Black Plated Ridged Picture Frame Turn Button 1″ with Black Screws[/easyazon_link]
- (4) sawtooth picture hanger with nails –[easyazon_link asin=”B002CN4P2W” locale=”US” new_window=”default” nofollow=”default” tag=”apieceofrainb-20″]100 Sawtooth Picture Hanger 1-7/8 with Screws[/easyazon_link]
- paints such as acrylic paint, milk paint, etc
- 8″x10″ glass and hardboard backing, feel free to reuse from old frames
Tools:
- craft hand saw (a lot of them comes with a miter box which is helpful when cutting the molding pieces)
- small hammer
- screw driver
- wood glue
- bar clamps or c-clamps
- tool for measuring and marking (I used pencil and a combination square)
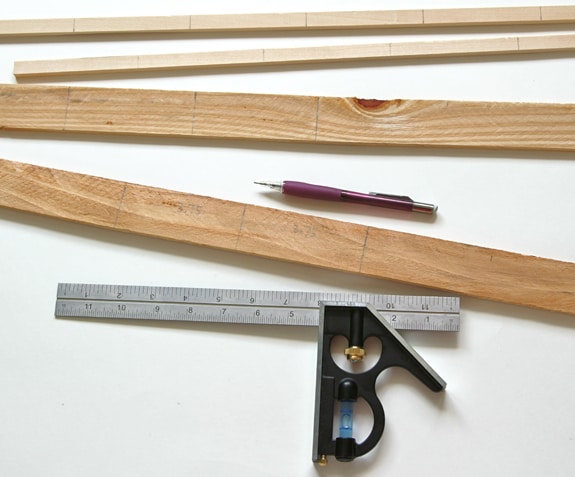
 Measure and cut the pieces. Sand the surface and cut edges with 120 or 180 grit sand paper. I left some texture on the surface so it looks more rustic. If you want to leave the wood natural then skip all the painting and give it an oil finish at the end. I always find it hard to resist the beauty of natural wood!
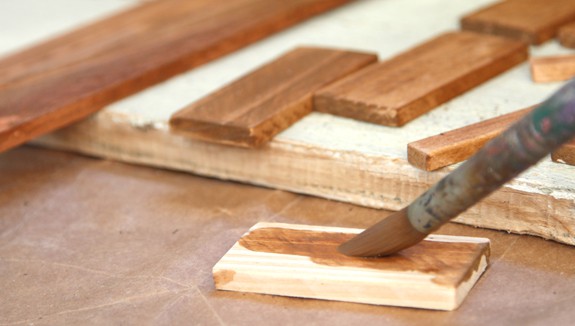
 For the base coat, use a stain you like or use a thin wash of paint. I used acrylic paints, mixed some colors till I got the golden rust color that I liked, and diluted the paint with water to make the wash. Some test pieces are always helpful. You may notice that I only painted the front face and sides, and left the back blank – well, the path of least effort! =)
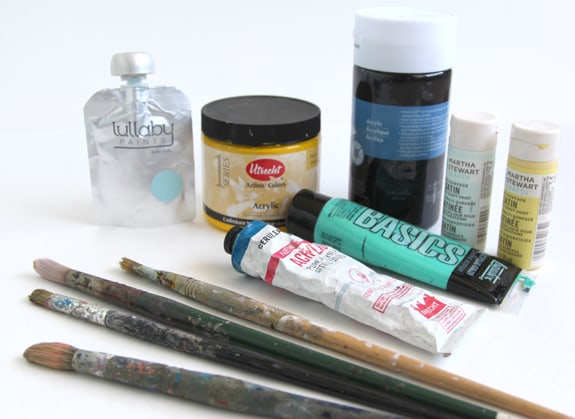

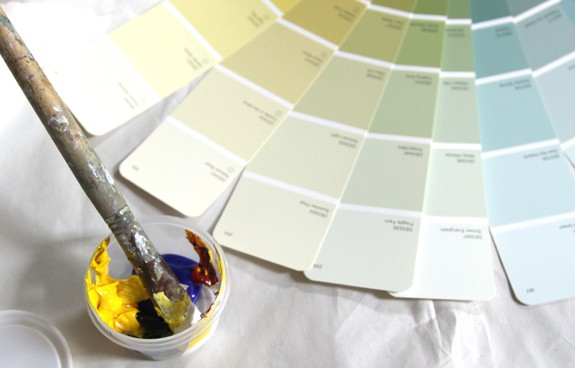

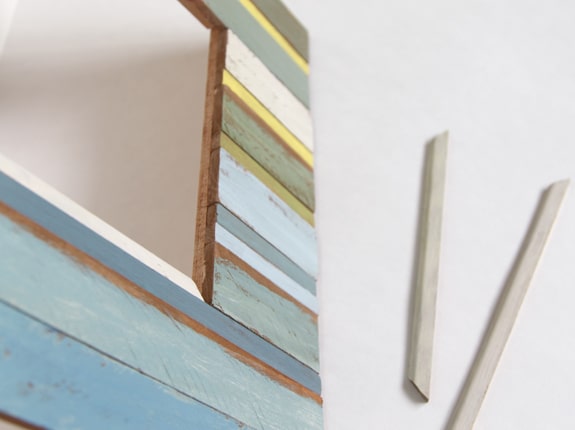
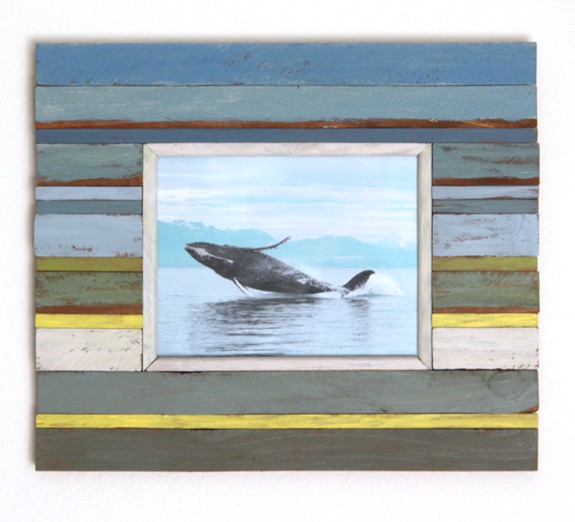
 Using a Dunn Edwards color fan deck, I chose a palette of subdued blues, greens, a little yellow and white. I like acrylic paints because they are non-toxic. Mixing colors becomes a lot easier with the guidance of the fan deck.For some pieces I used stiff bristle brushes to give them a chippy paint look. We also made one that is 8″x8″ picture size, see below.
 When the paint is completely dry, we can move on to gluing.
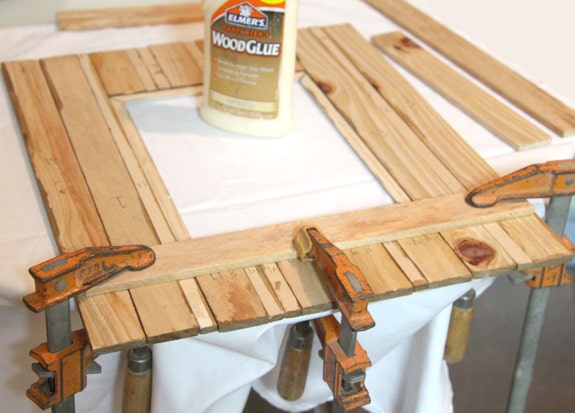 Find a really flat surface, if that is your dining table or someone’s shiny glass desk, protect the surface with a piece of cloth. Clamps are our best friends when it come to woodworking!
 Glue the back braces first, make sure they are slightly bigger, about 1/8″, than the 8″x10″ glass we have! After these are firmly glued, carefully glue the long edge of the molding pieces. Sand any bumpy surfaces or uneven cuts to create really good contact for gluing. I can’t figure out how to clamp these small pieces with curves, but luckily the 4 pieces fit pretty tightly inside the opening and held themselves together nicely.
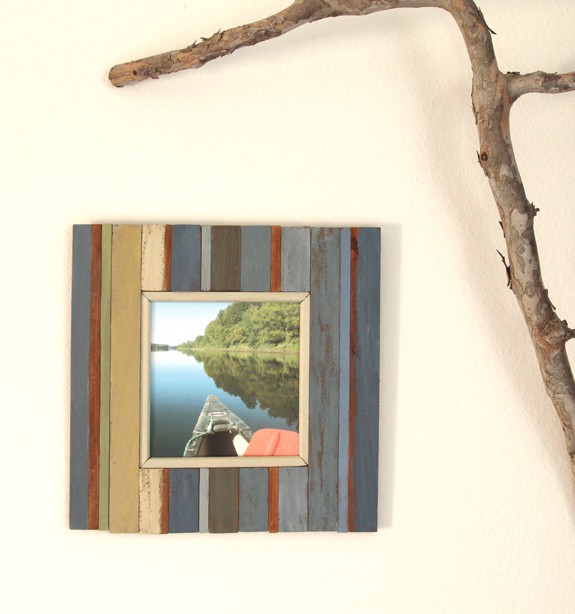
 When the glue dries which takes about 1 hour, it’s time to attach the hardware. We got the 2 items- picture frame turn buttons and sawtooth picture hangers – from Amazon.com, and they worked great! Due to the asymmetric character of these frames, you may want more than one picture hangers so you can hang it in different ways.
The final step is to enjoy your lovely frame with a beautiful picture in it! One of the photos shown are from our kayak trip in Vermont, the other one with the stunning whale is taken by my friend Heather(thank you Heather!) at a perfect moment on her trip to Alaska.
 Happy creating and see you in a few days!


Thanks for explaining that it would be a lot easier to work on custom wood picture frames using a lathe. I’d like to know more about such frames because I think they would be great to have in my kitchen. Having a picture of my mom there will be a great way to show that she is my inspiration when it comes to cooking.
Greetings! I know this is somewhat off topic but I was wondering if you knew where I could locate a captcha plugin for my comment form? I’m using the same blog platform as yours and I’m having problems finding one? Thanks a lot!
hi, it’s Captcha by BestWebSoft. =)
Love it. I really like your site a lot. Keep it up!
Came over from Knockoff Decor. I LOVE your frames. Don’t think I am clever enough to make them myself, but wish I could!
yes you can do it kat! =)
Thank you for the inspiration. 🙂 A glass picture frame broke recently, and I’m not sure why I did not consider using wood to make a new one.
thank you yvonne! it’s easy to make and hard to break =)
I am featuring these tonight!
thank you so much becky for being so generous and supportive to a newbie like me!! much appreciation and big hugs! =)
You have to know I love these. I rerally appreciate your tutorial on it!
oh becky! thank you so much!! if only you know how much i drool over your creations! =)
I love the style of these. How very pretty!
My brand new link up is live, it’s a swap party! I would love to have you come join in! ~Ann
thank you ann! i will check it out =)
This is so cute!!
thank you kelly! =)
What a great project! Love the colors. Thanks for partying with us at The Makers!
thank you dear corey! so awesome to meet all the creative people at makers!
I LOVE these frames! What an awesome project and the colors are beautiful! Thanks for sharing at The Makers! Pinned 🙂
thank you dear katie! i already have something in the works for our next party! =)
This is awesome! love the colors you chose. I just called my husband over to take a look so he can make one for me. You pics are great too!
thank you dear marni! =)