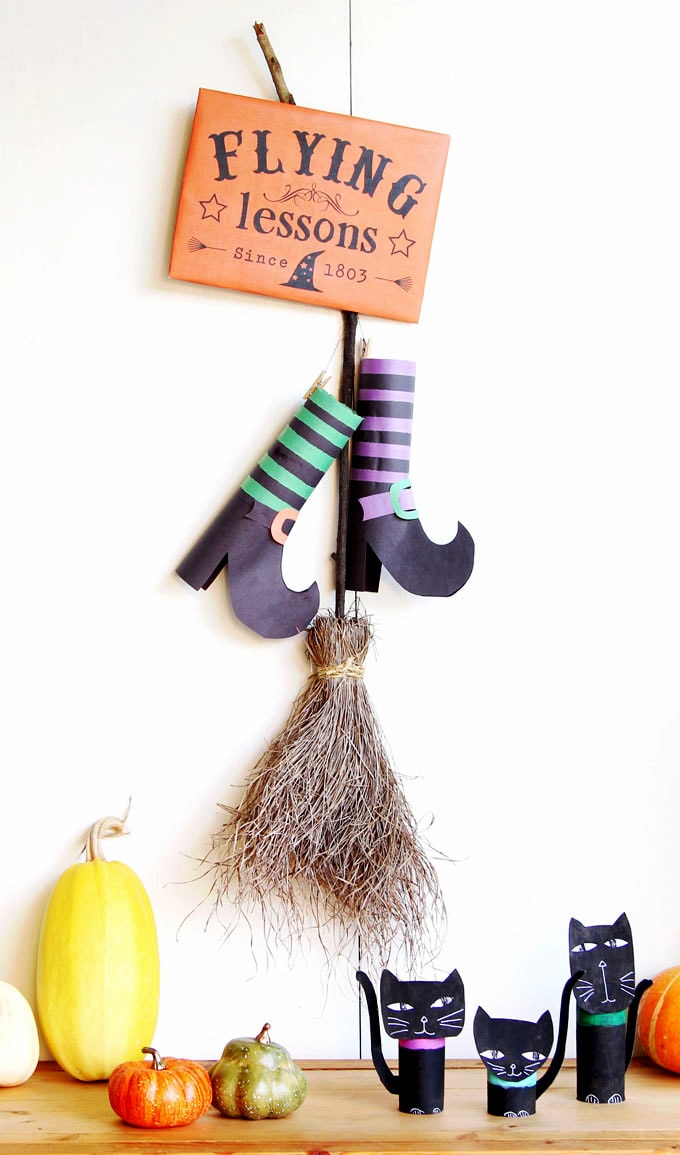
Easy & Free DIY Halloween Door Decoration {in 10 Minutes!}
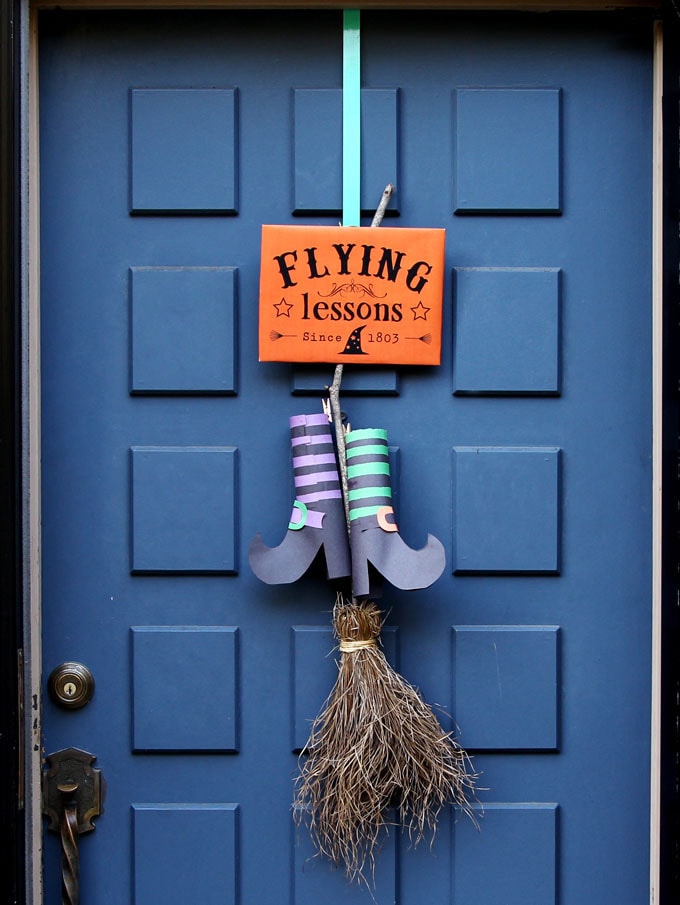
This DIY Halloween door decoration is free, easy, and fun to make, and requires no storage! It is also a great kids Halloween craft using materials that are recycled or found in nature! Who doesn’t love paper crafts and nature crafts?
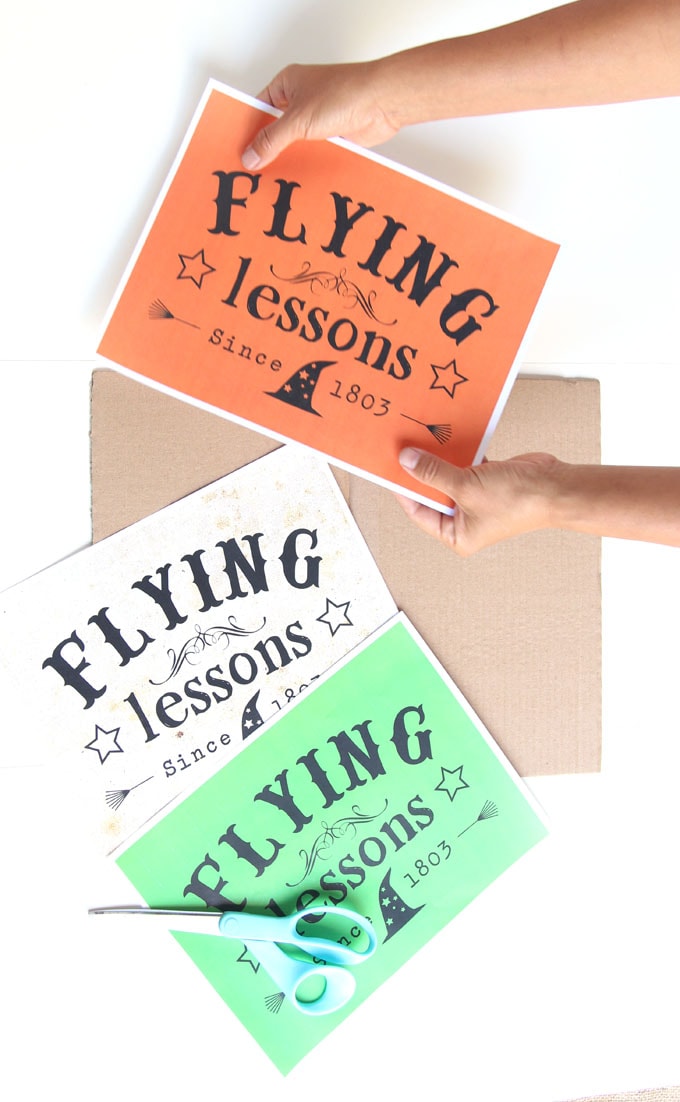
I made 4 color versions of the “Flying Lessons” sign free Halloween printables for you to download at the end. There are many ways to use just this sign alone: on a table or a shelf, on a door as an instant Halloween door decoration, or as wall art!
Each element in this Halloween door decoration is quite easy to make. The witches shoes and broom will only take about 1 to 2 hours total if you have the materials ready. Because I have detailed tutorial and video for each one, I will give a brief description and link to each tutorial below.
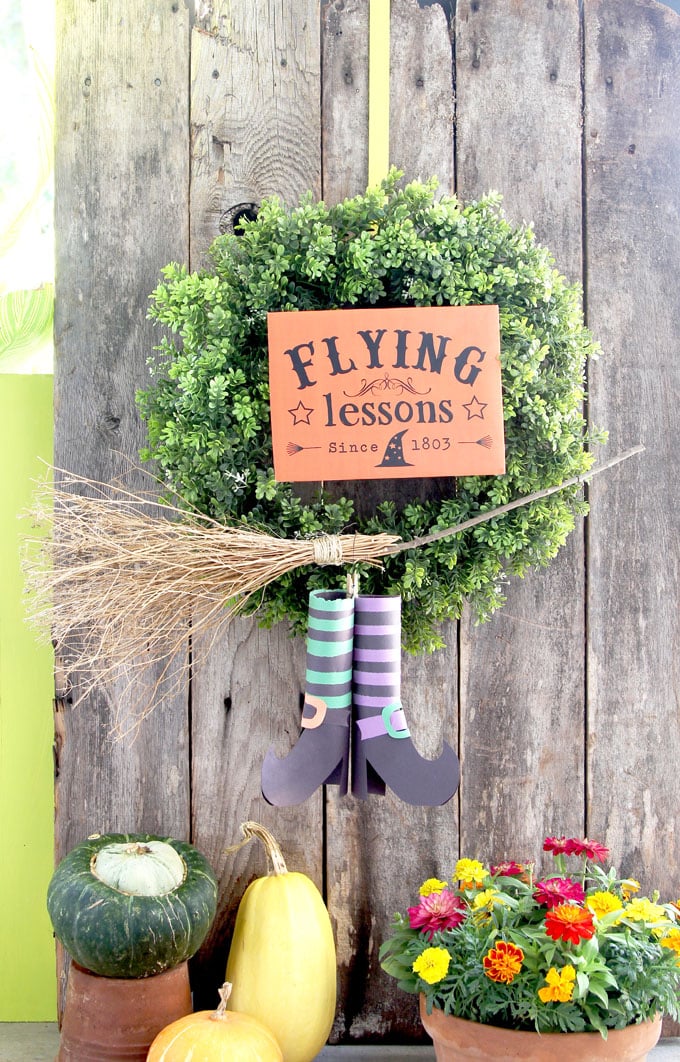
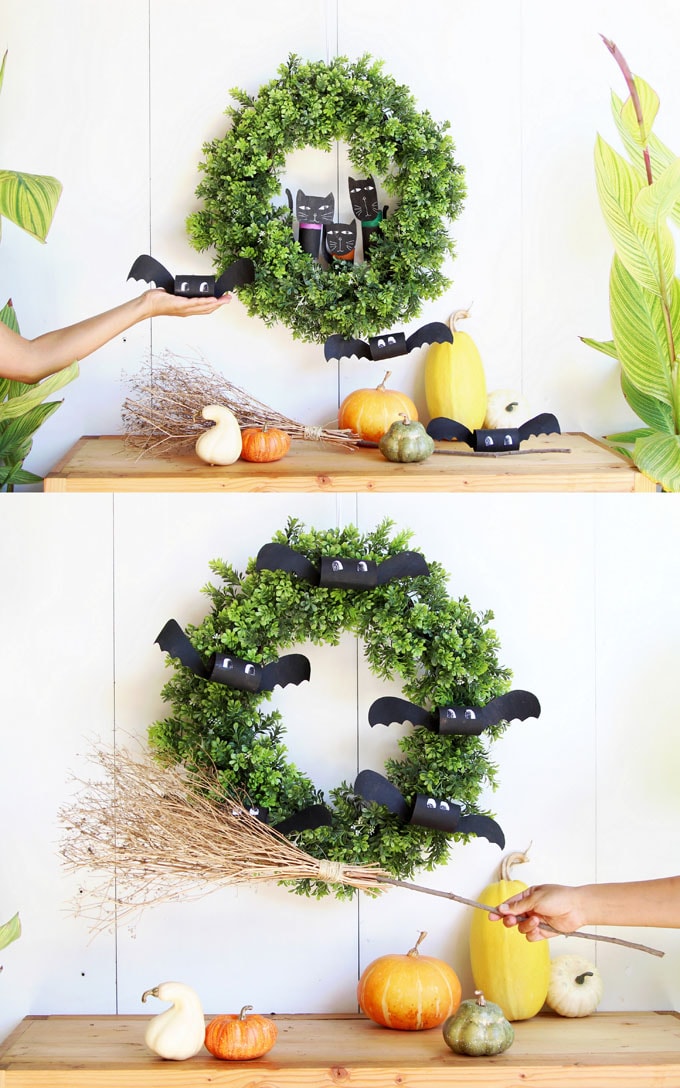
Here is another version of this Halloween door decoration using a boxwood wreath! Flying witch DIY Halloween wreath tutorial here.
*Some resources in article are affiliate links. Full disclosure here.
Flying witch DIY Halloween wreath tutorial
Materials and tools to make an Easy & Free DIY Halloween Door Decoration:
( Some of the helpful resources are affiliate links. Full disclosure here. )
- paper (to print the sign, download at the end), construction paper like these, or these (to make witches shoes), some twigs and branches (to make withes broom)
- scissors, glue, scotch clear tape, duct tape, strings or twine
- optional: a door wreath hanger
Step 1: make a witches broom for the DIY Halloween Door Decoration
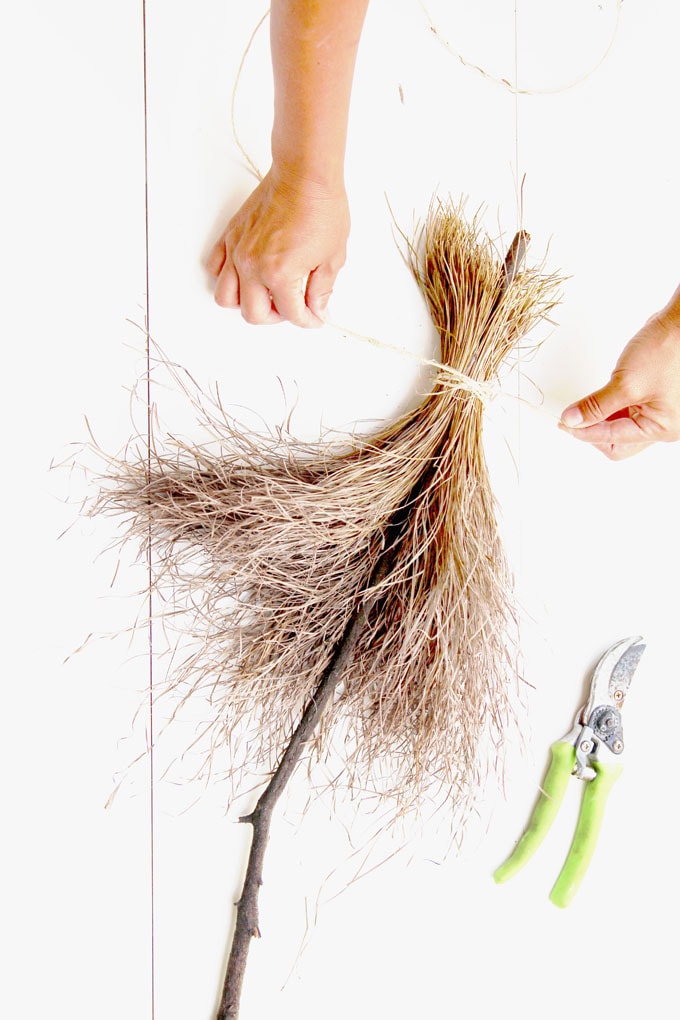
The witches broom is made from branches and twigs in our garden. DIY magical witches broom tutorial here.
If you could find a stick with some tiny side branches on it to make the broomstick (see photo above), it would provide good places for hanging the sign and the witches legs!
Step 2: make a “flying lessons” Halloween sign
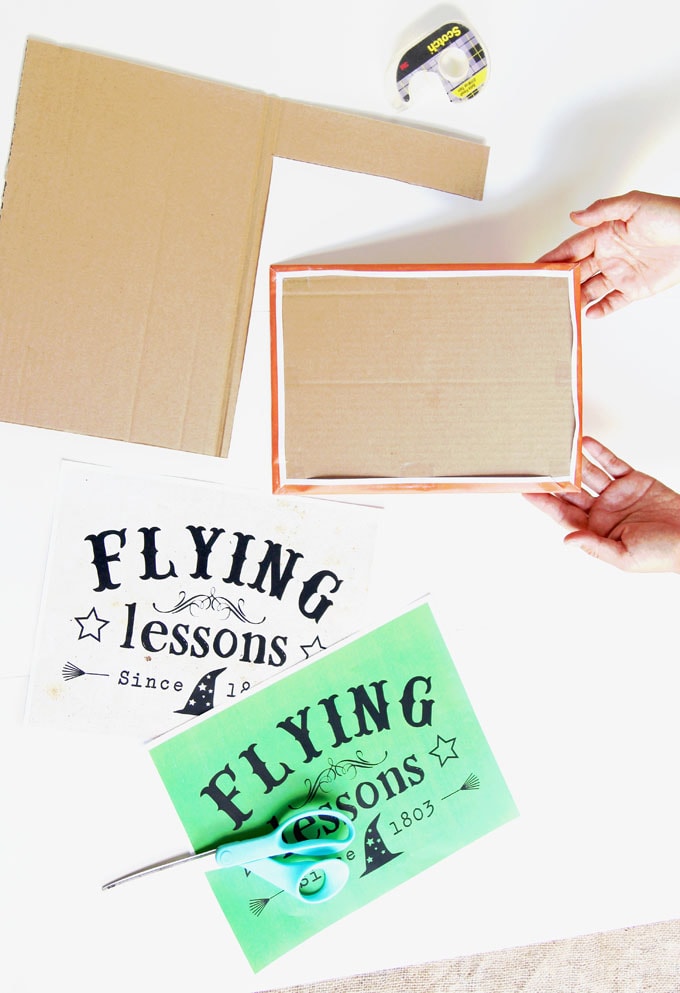
The “Flying Lessons” sign is made from a free printable design taped or glued to a piece of cardboard cut to a slightly smaller size than the paper. I used 8.5×11 paper and 8×10 cardboard. You can download the printable at the end.
Step 3: make witches shoes
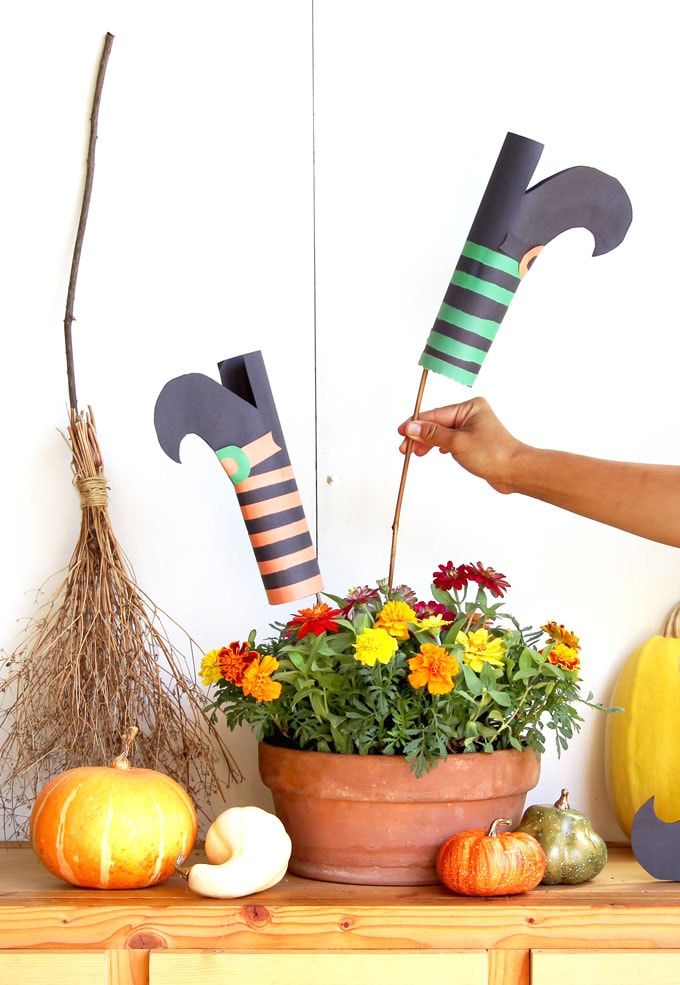
The witches shoes are made from two piece of construction paper, so easy and fun! Witches shoes Halloween paper craft tutorial here.
Step 4: assemble the Halloween door decoration
Arrange the broom, sign, and boots on the boxwood wreath to figure out how long each thread or twine needs to be.
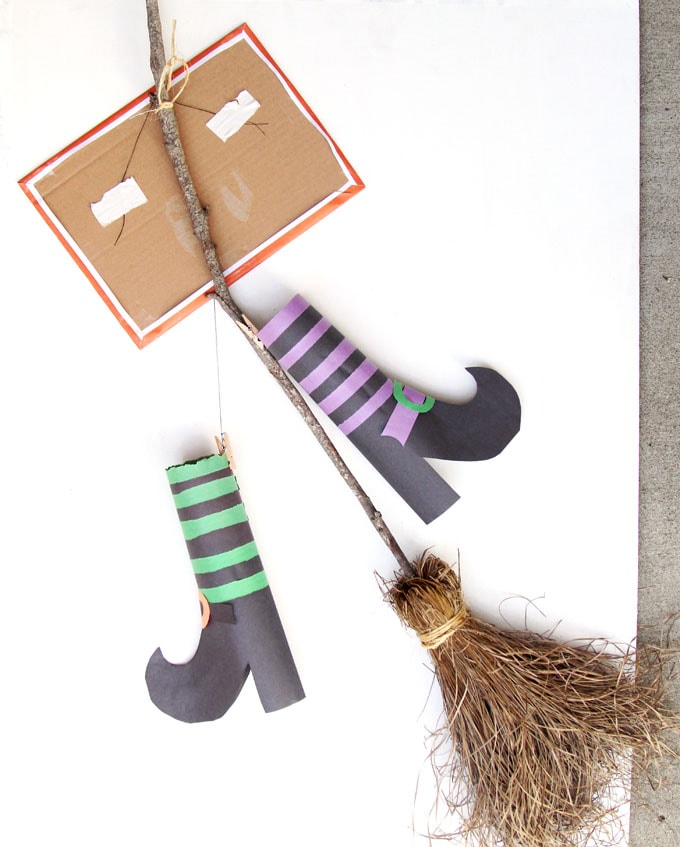
Tape some threads onto the back of the sign, and use a clothespin attached to a string to hold the witches shoes.
Next hang each element onto the broomstick. Tie some twine onto the broomstick so it is easy to hang it on a door wreath hanger.
I made the Flying Lessons Halloween printable downloads in 4 colors: orange, golden yellow, green, and white. The pdf has four pages.
If you are already a subscriber, there’s a big button that link to all the downloads at the end of each weekly newsletter, which comes out on Thursday or Friday each week.
If you are not a subscriber, sign up to get all our free downloads here. You can unsubscribe anytime.
You can probably tell I was carried away this year with too much Halloween fun! To make everything easy to find, below is a list of links to all the Halloween decorations and crafts you see in these photos:
DIY Halloween Cat Decorations with Free Template.
DIY Halloween Bats: super magical decor and craft!
DIY Witches Shoes / Boots: just 2 piece of paper and so many uses, with Free Template!
DIY Witches Broom: free, and so many beautiful ways to decorate with it!
Flying Witch DIY Halloween Wreath with free printable Halloween sign.
Handsome and stylish DIY Monster Halloween Wreath ! ( Coming next week )
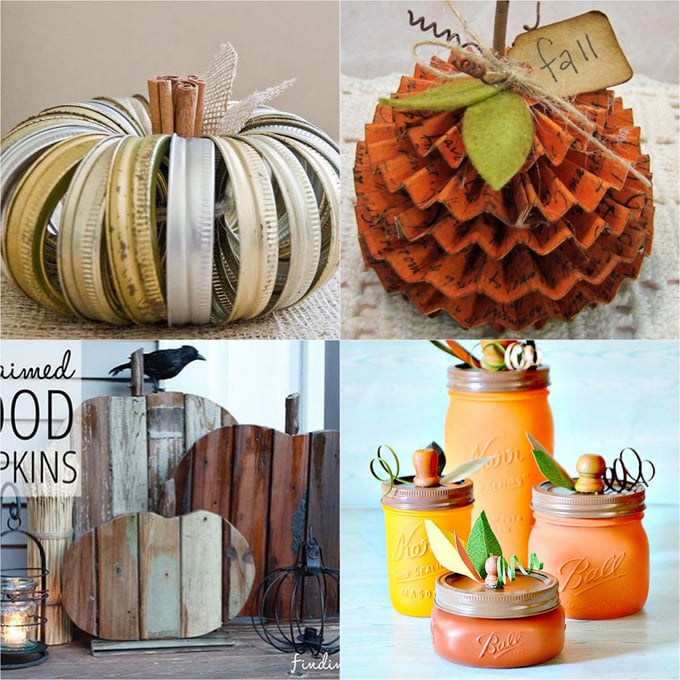
You may also like: 20+ Amazing Pumpkin Decorations from Gorgeous to Wicked
Happy creating!


Hi, You are very creative, happy and beautiful. Today, I became very interested in my work because I learned from you beautiful lessons. I congratulate you and your husband for your success
thank you Mehran! 🙂 wish you all the best!