DIY: Easy Hanging Wall Vases
Each time I take a walk in nature, I notice so many lovely little flowers, leaves and twigs that never make it into a bouquet at the florist, yet given a proper little place to appreciate them, they can add so much beauty and aliveness to our living spaces.
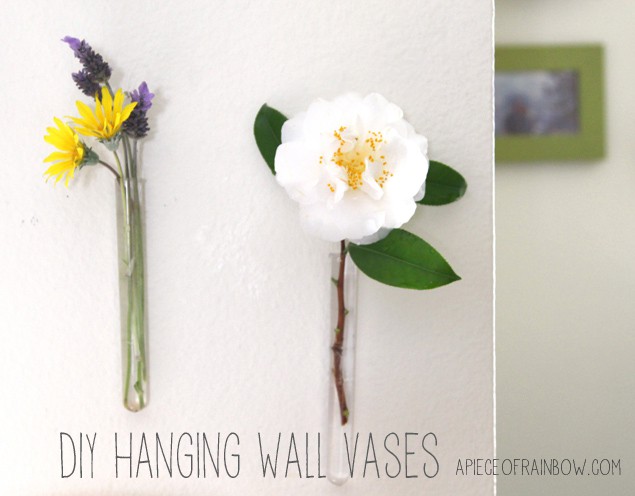
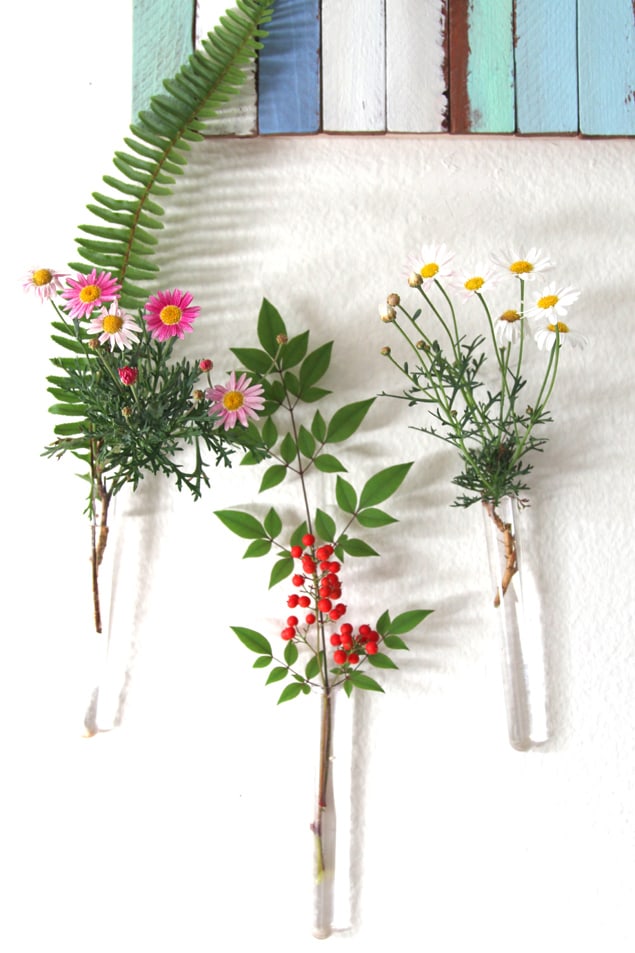
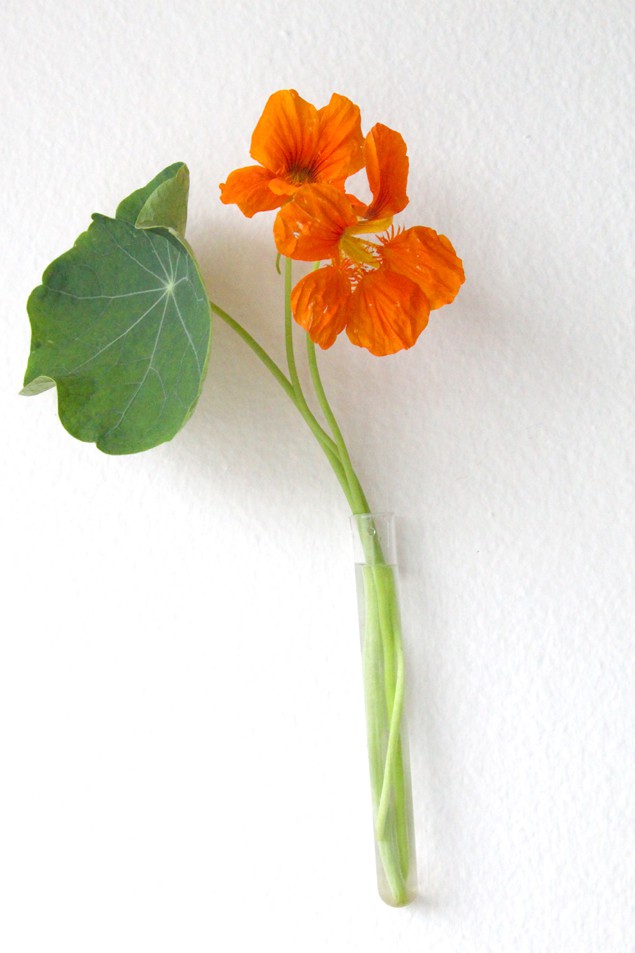
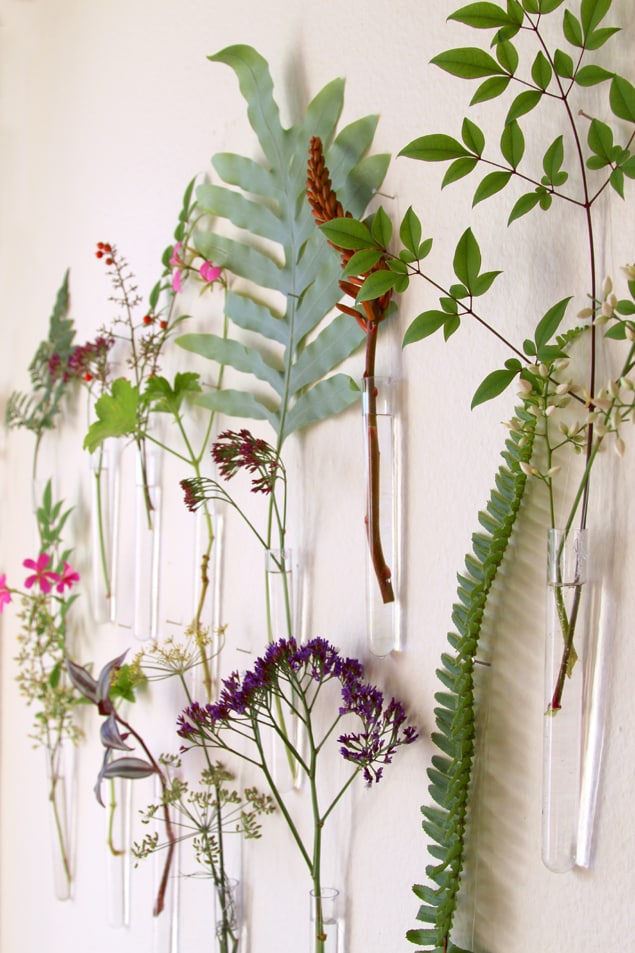
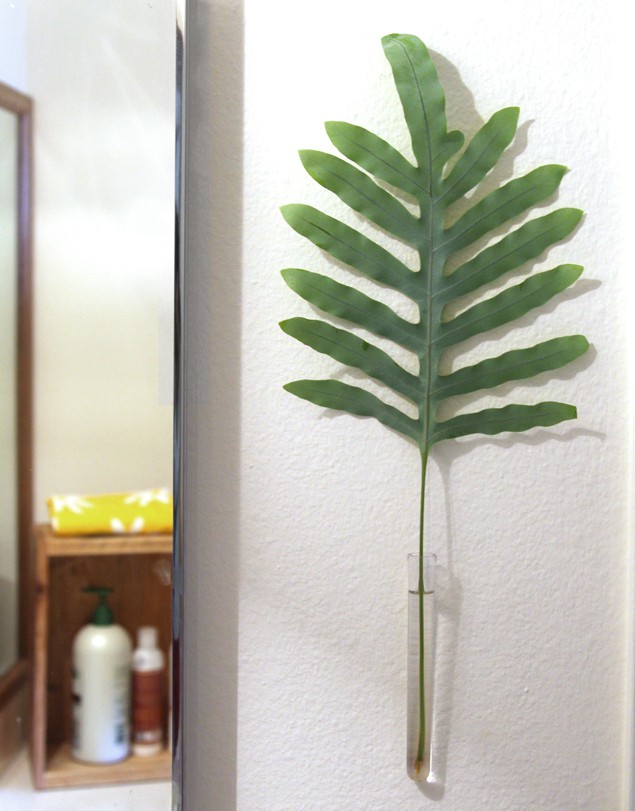
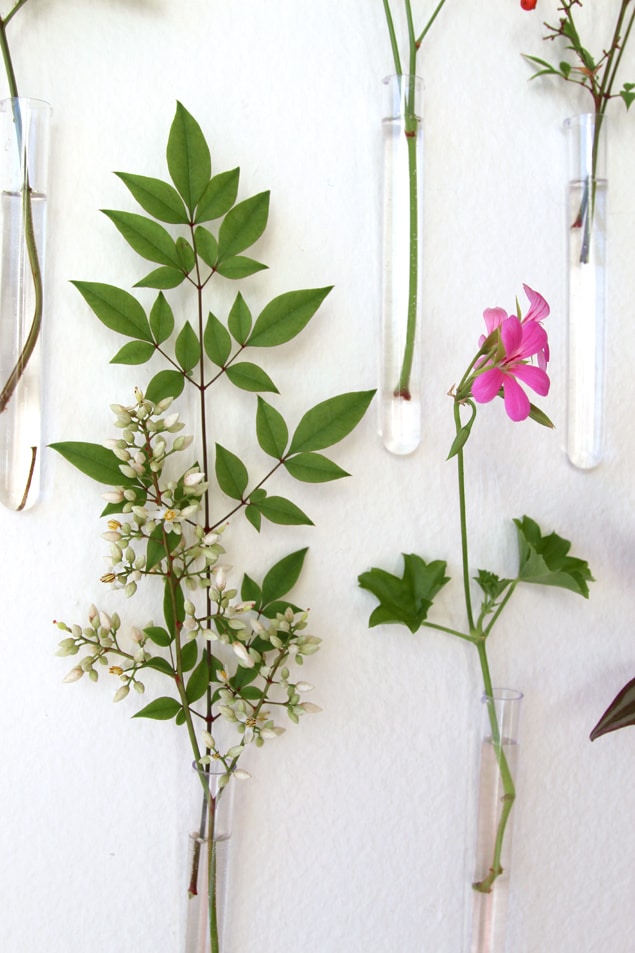
These little hanging vases may be the one of the easiest do it yourself projects I have ever done. There are many fun ways to use them – sneak in one or two to brighten up a nook or cranny, or compose an entire wall of botanical discoveries.
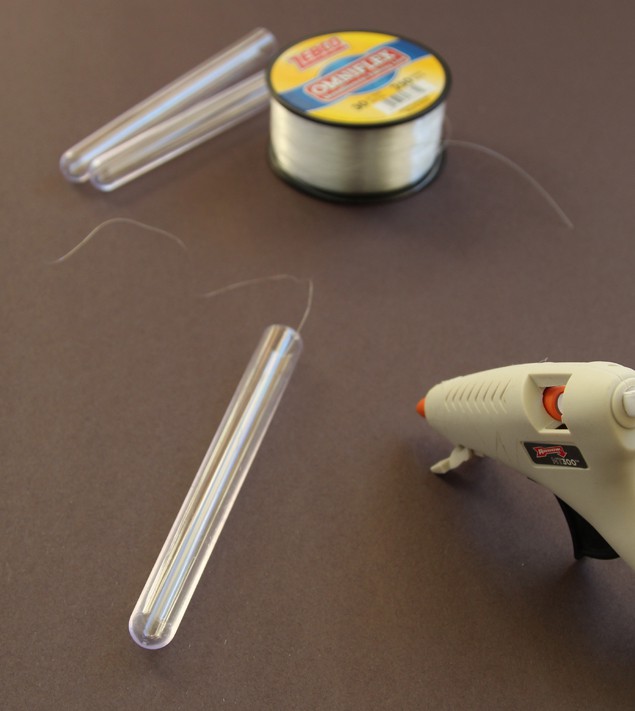
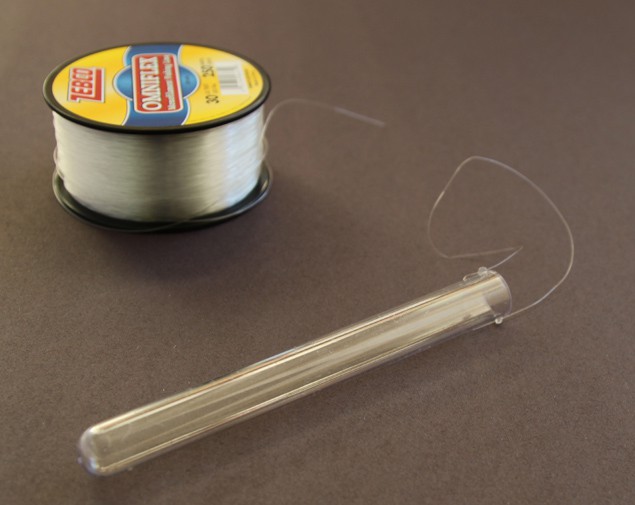
Here’s how they are made, and it take less than a minute to make one. I ordered a set of 16x150mm test tubes from Amazon.com. Because of my tendency to break things, I got the clear plastic ones instead of glass ones. Cut some clear fishing line into 12″ long pieces, and use hot glue to attach each piece of fishing line onto a test tube, making sure the two end tips are lined up evenly across the top rim of the tube. Put a tiny little nail into the wall where you want the vase. And now you can step outside to gather some treasures!
Depending on the type of flowers in them, these vases only need to be filled once or twice a week. Clean them with a test tube brush once in a while, that’s all the maintenance needed.
Have a day filled with flowers and see you soon!





If you live in a rental that doesn’t allow you to put nail in walls, you can use those 3M small clear stick on/removable hooks for this project which is beautiful.
love this idea!! thank you so much Sue! =)
Oh wow! How did I ever get by with not knowing about this site !? Love at first sight! Thank you oodles and oodles for such splendid ideas
thank you mikki for visiting! =)
Hi Ananda,
Some of us are not as creative as others….. that would be me. 🙂 I’m with you all the way to cutting the 12 inch pieces of fishing line. Lol….yup! I got the FIRST step! Actually, I understand that you next hot glue the fishing line to the very top of the tube. I think! Do you glue the 1st piece of line to one side and the second line to the other? if that is the case, then I picture 2 pieces of fishing line coming straight up from the top of the tube at 12 inches long. one coming up from the left side one coming up from the right side. Is that right so far? Then, do you tie them at the top and then hook that on to the nail? Or am I missing something?
Also I’m afraid I’ll never find this post again if you answer me. I clicked on something on Facebook and then click somewhere else then click somewhere else then click somewhere else that’s where I found you. So, if and when you answer, how and where will I see it?
hi stacy! the way the fishing line goes – one end to one side of the vase, the other end to the other side, so no knot is needed- picture an easter basket handle! =)
How ingenious! Love this idea….new to your site and will be following from now on.
thank you janeen, so glad to have you here! =)
Wonderful idea!! I love that I can hang on the wall where, hopefully, my cat won’t be able to get to the finds and chew/eat them. 🙂
thank you christina! sounds like a smart kitty! =)
Super cute! I am pinning 🙂
Oh Desiree i am honored!
What a clever idea. Your display is gorgeous! I would have never thought to put in a fern leaf, even though I love ferns.
thank you beth! ferns last a really long time too =)
I like the original idea so much! So simple and yet so beautiful! It makes spring walks full of fun!
thank you meggie and lots of lovely spring walks to you!
I LOVE these! Seeing that fishing line brought so many memories of wedding projects and wow, this would be such an AMAZING wedding decor idea! Pinned 🙂
~Katie
thank you dear katie! =)
What a great project idea! I love finding flowers, twigs, etc. outside and I never know what to do with them. Now, I do! How unique and creative. Pinning!
thank you so much kristi and wish you find lots of treasures! =)
Hi – This is a great idea. Neat and simple. I also LOVE the photo frame from your last post..
thank you dear marni and happy spring ! =)