Beautiful & Free 10-Minute DIY Christmas Centerpiece
A beautiful Christmas centerpiece is the shortcuts to make your home feel instantly happy and festive!
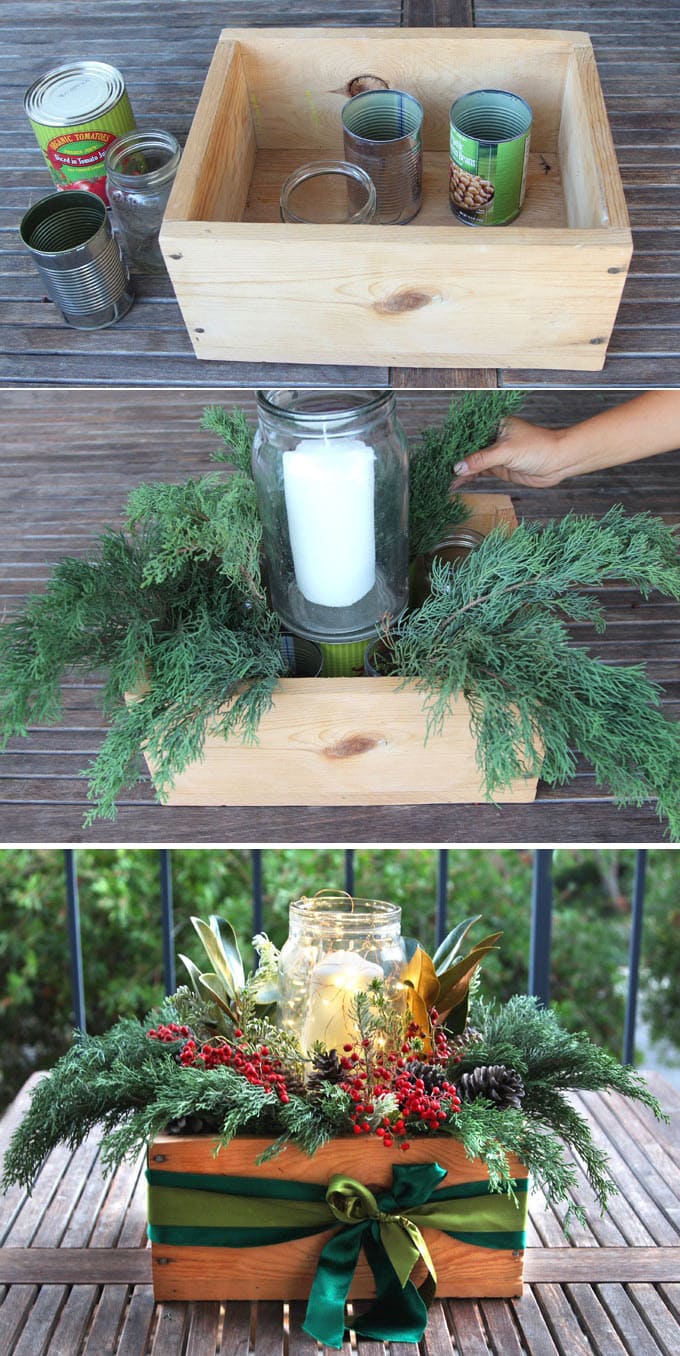
Instead of looking for the perfect Christmas table decorations and centerpieces this year, why not make your own DIY Christmas centerpiece for free, with things you can find inside and outside your home?
Today I want to share with you a really fun and easy way to make a Christmas centerpiece that would look gorgeous on a table, mantle, kitchen island or by a door step, and looks fresh for at least a month! You can use this technique to create beautiful Christmas table decorations for your home and as gifts!
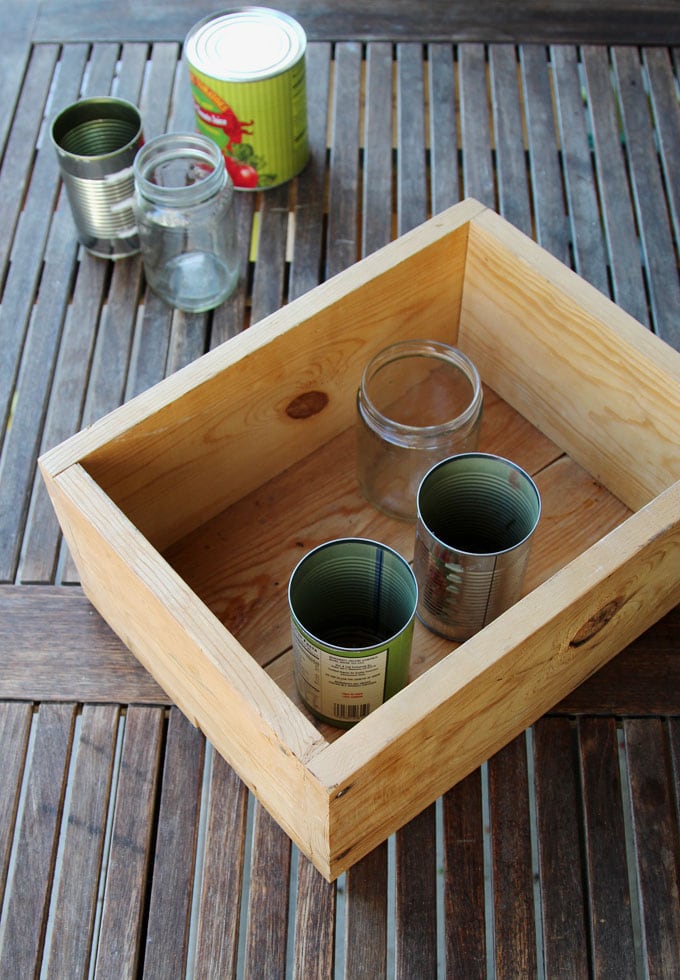
Materials needed to make this lovely DIY Christmas centerpiece:
*Some resources in article are affiliate links. Full disclosure here.
- Clippings of evergreen shrubs and berries, such as Cedar, Spruce, Magnolia, Boxwood, Holly, etc, and some pine cones.
- you don’t need floral foam blocks to make the Christmas table decorations. However, if you plan to give them as a gifts, then it’s a good idea to use floral foam blocks like these because they are easier to transport. More on that in Step 1.
- Decorative accents such as pillar candles, glass vase or hurricane , and LED fairy lights like these ones!
You will also need a vessel such as a bucket, basket, or wooden crate to hold everything. Here’s a tutorial on how to make gorgeous wooden crates from pallets!
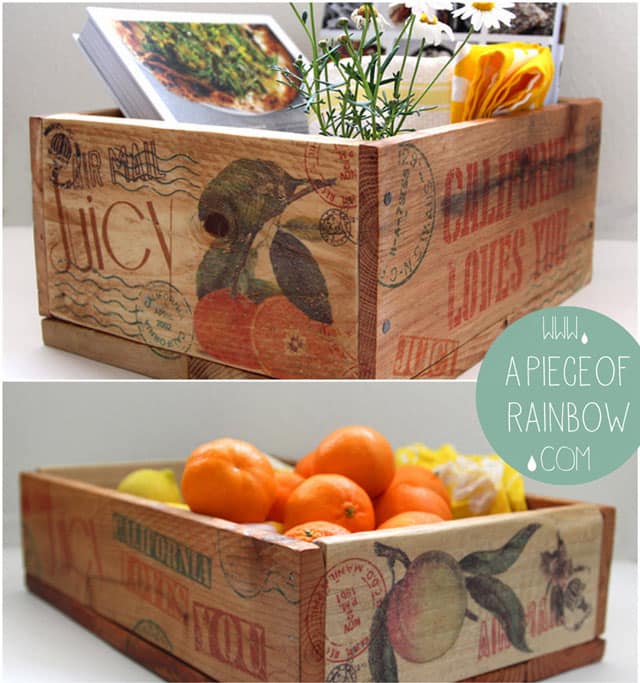 How to make gorgeous wooden crates easily from pallets!
Here is the video tutorial on making Christmas table decorations, or skip to read the step by step tutorial with photos!
Step 1: Set up the containers for your Christmas table decorations
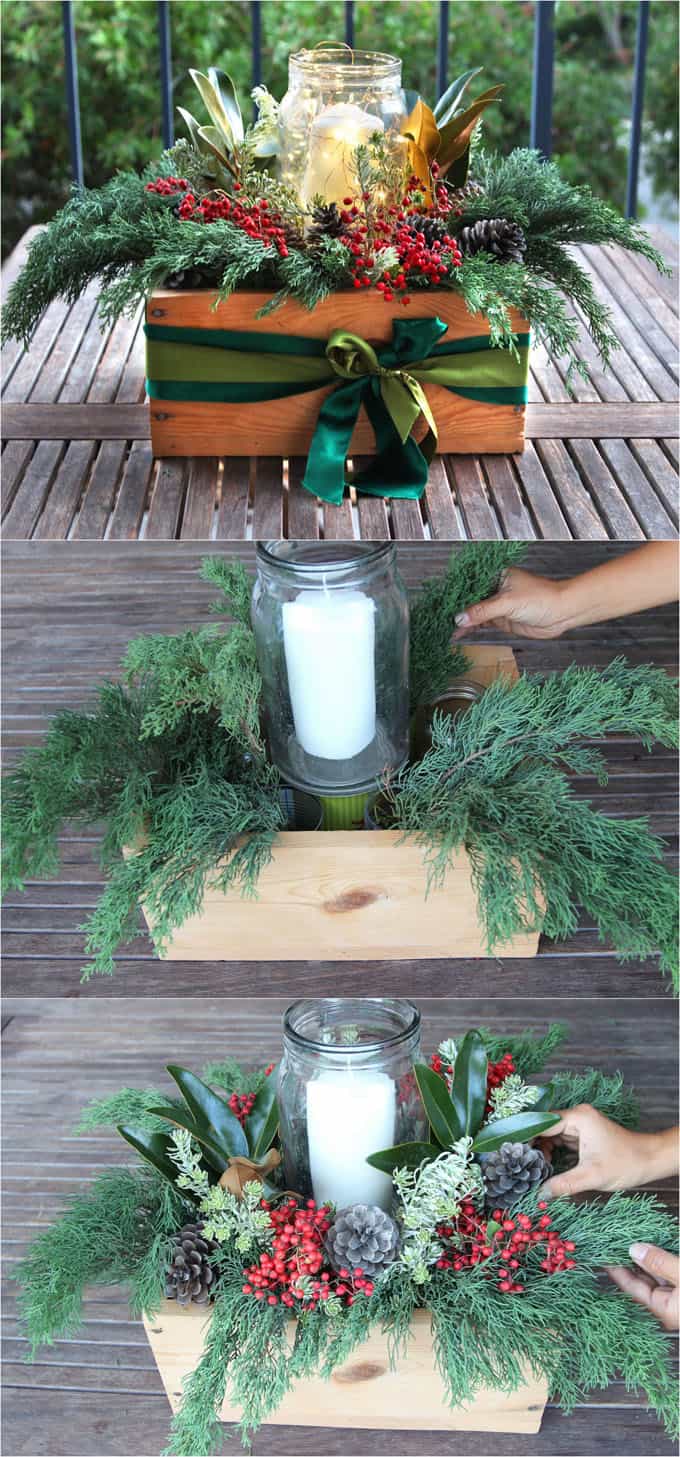
Arrange glass jars and tin cans in a crate or any type of container you choose.
The big one in the center is facing bottom up, because we will be placing a vase with a candle on it as the center focal point. This is optional. You can get creative with any decorations in the center!
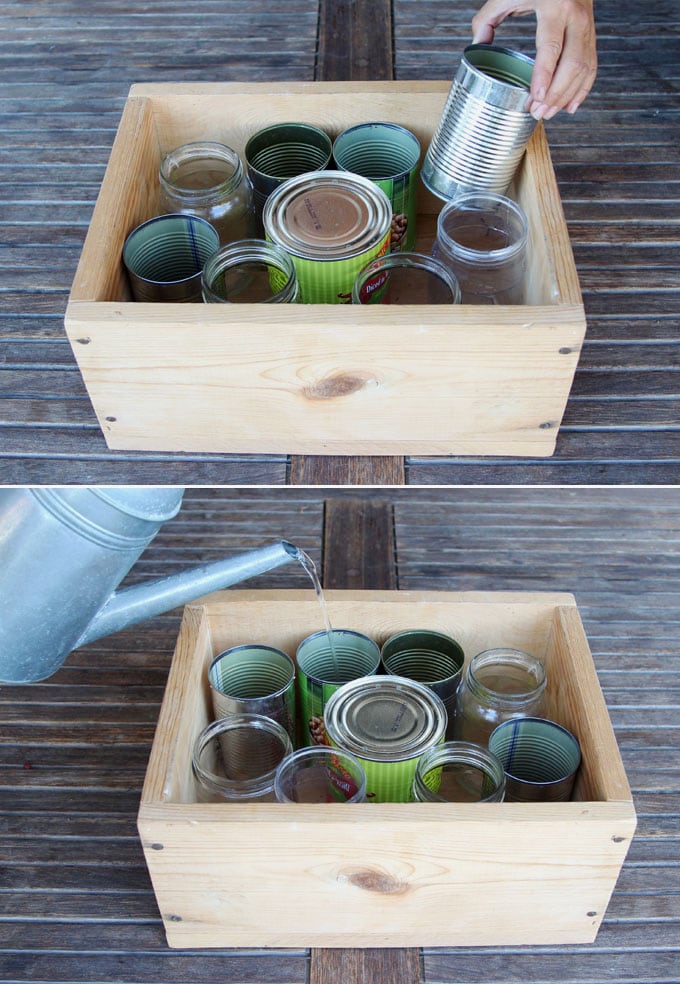
Pour water into each jar till they are filled halfway , this will help keep the garden clippings fresh for much longer.
If you plan to give them as a gifts, then it’s a good idea to use floral foam blocks like these because they are easier to transport.Put plastic liner inside the crate, then soak the floral foam blocks and place them inside the liner to replace the cans of water.
Step 2: Add a focal point in the table arrangement
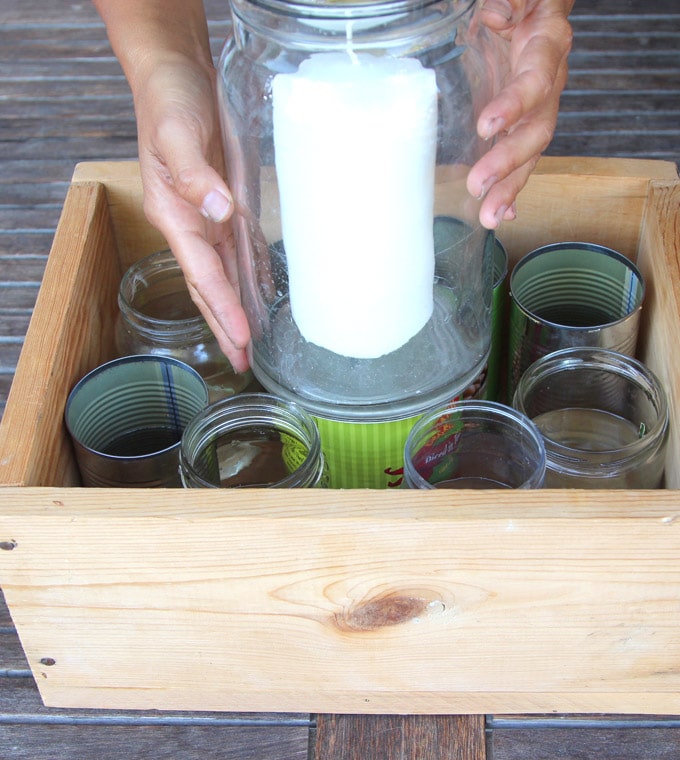
I used pillar candles inside a glass vase here.
Step 3: Add botanical clippings to our DIY centerpiece
Of course we need evergreens for our Christmas table decorations! You probably have a lot more choices of gorgeous conifers than what I can find here on the coast in Southern California!
I did manage to find some Italian Cypress!
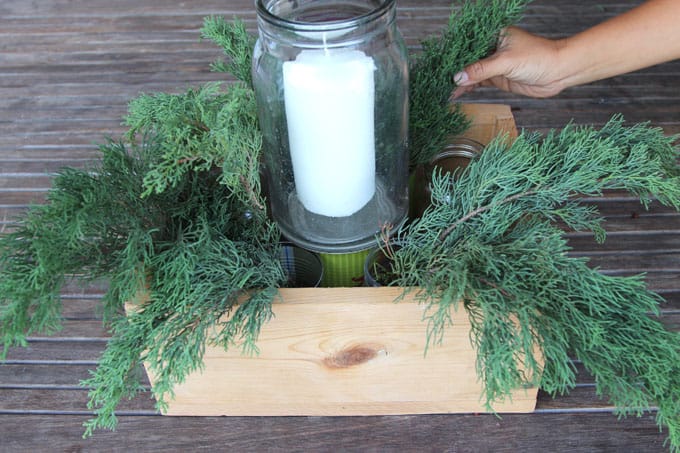
Evergreens such as Cedar, Spruce, Magnolia, Boxwood, all have unique color foliage and textures. You can create beautiful contrasts and color variations with a nice mix of evergreens!
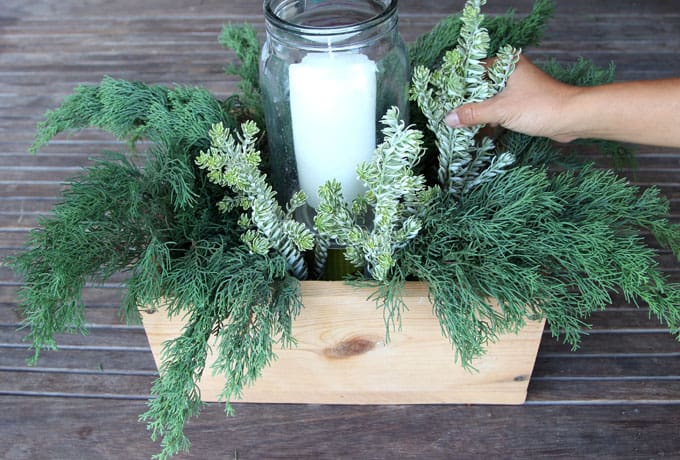
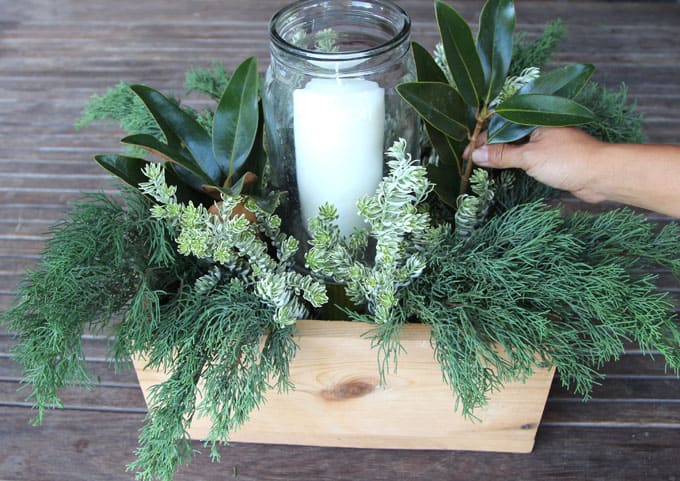
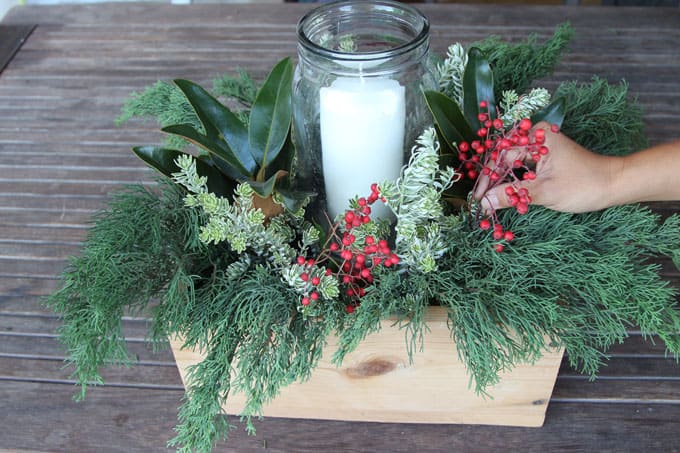
The silvery Hebe branches look gorgeous against the blue green Cypress and huge deep green Magnolia leaves.
Add more festive style with red berries! I used Toyon berries here, because that’s the alternative Holly for California! 🙂
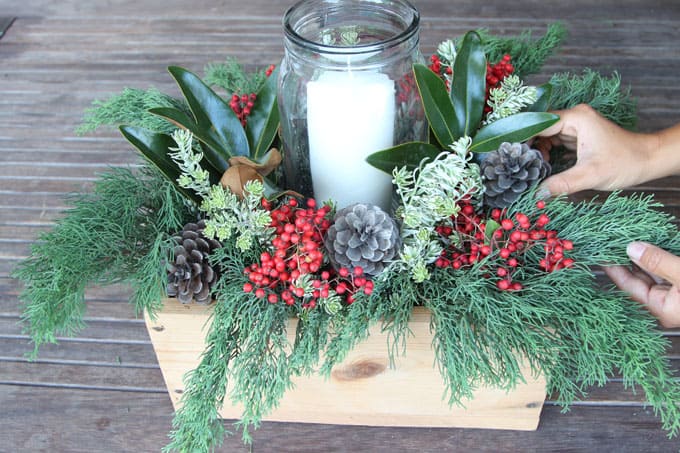
Tuck some pinecones among the branches. Isn’t this fun and easy??
You may also love: 27 stunning and easy DIY centerpieces for Christmas and beyond!
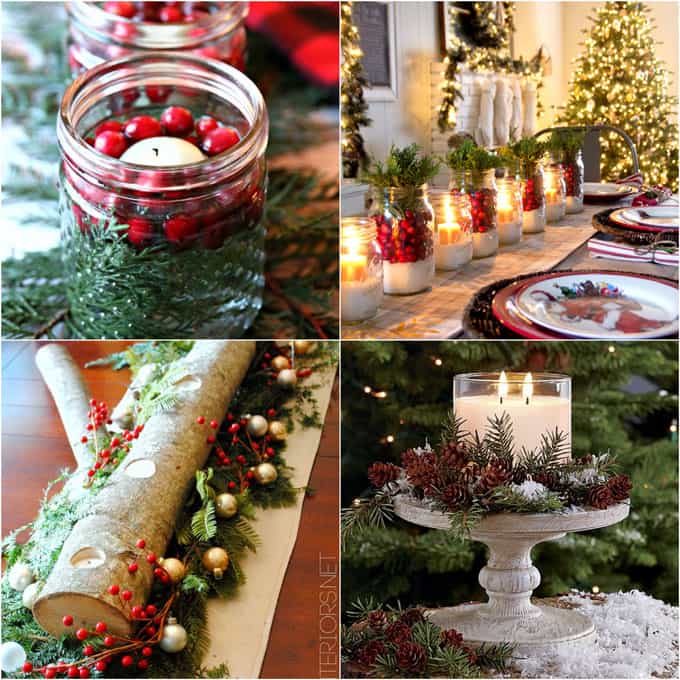
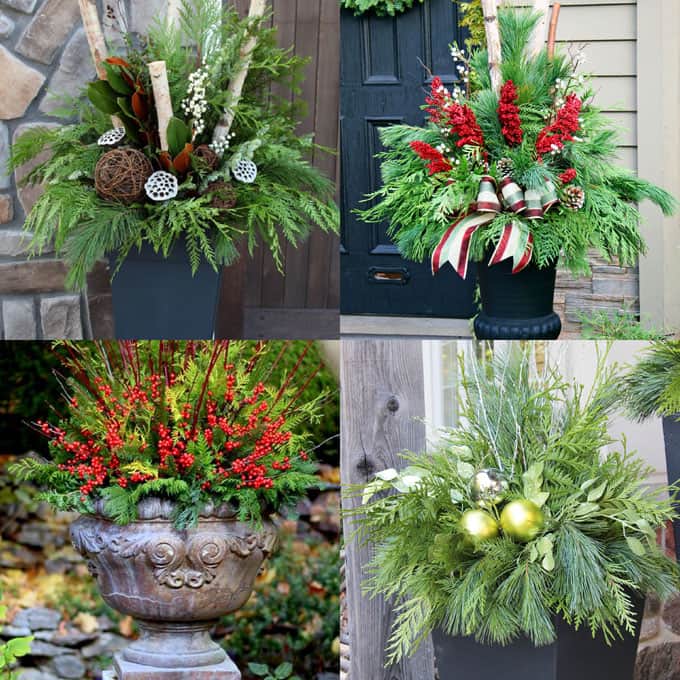
And 24 DIY colorful planters for winter and Christmas decorations!
24 DIY colorful planters for winter and Christmas decorations!
Step 4: Add fairy lights to your Christmas table decorations.
The pillar candle is more for decorative purpose. I love battery operated LED fairy lights like these ones!
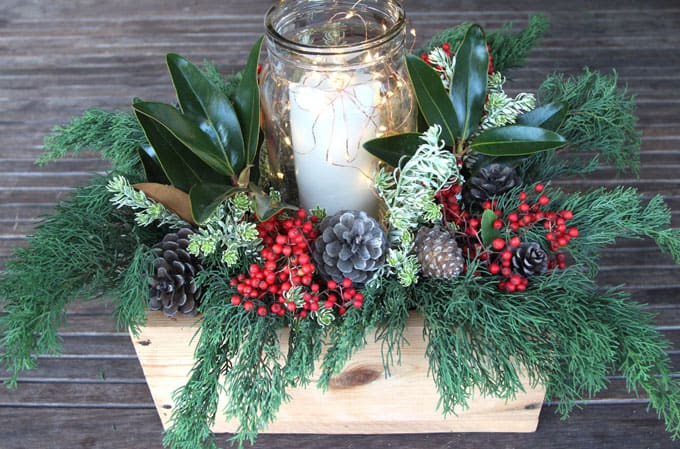
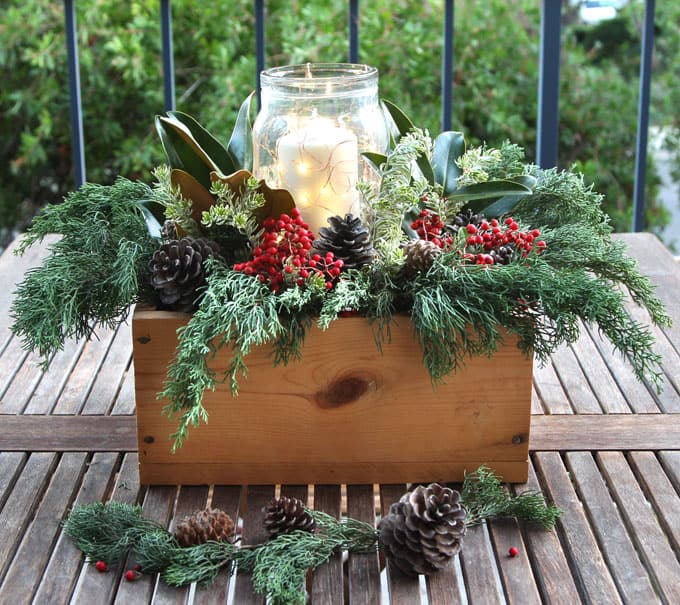
Don’t you just love the warm glow?
More is more: add some ribbons for an extra holiday vibe!
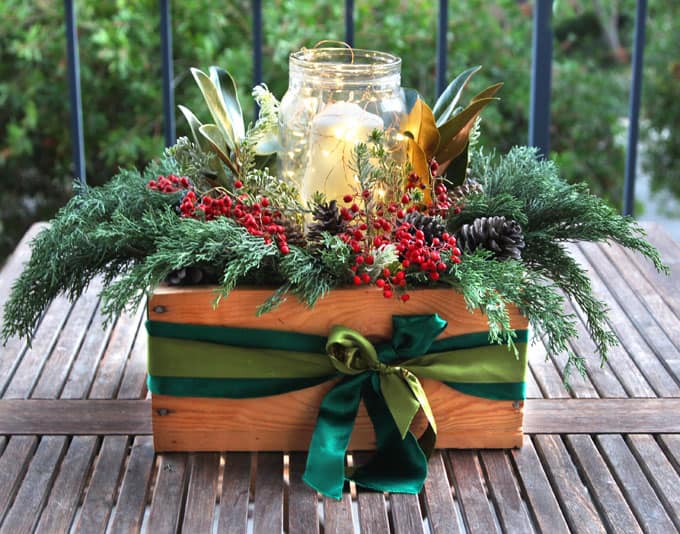
Update: It’s been 3 weeks since I made this DIY Christmas centerpiece, and everything still look really fresh and happy!
Here are some tips on how to create longer lasting Christmas table decorations:
- Cedar and Cypress are generally longer lasting than Pine and Fir. Last year I put some Cedar branches in water and they lasted for over a month!
- When choosing leafy plant clippings, usually the thicker and stiffer the leaves, the longer it will last.
More favorite Holiday decorating ideas and DIY projects:
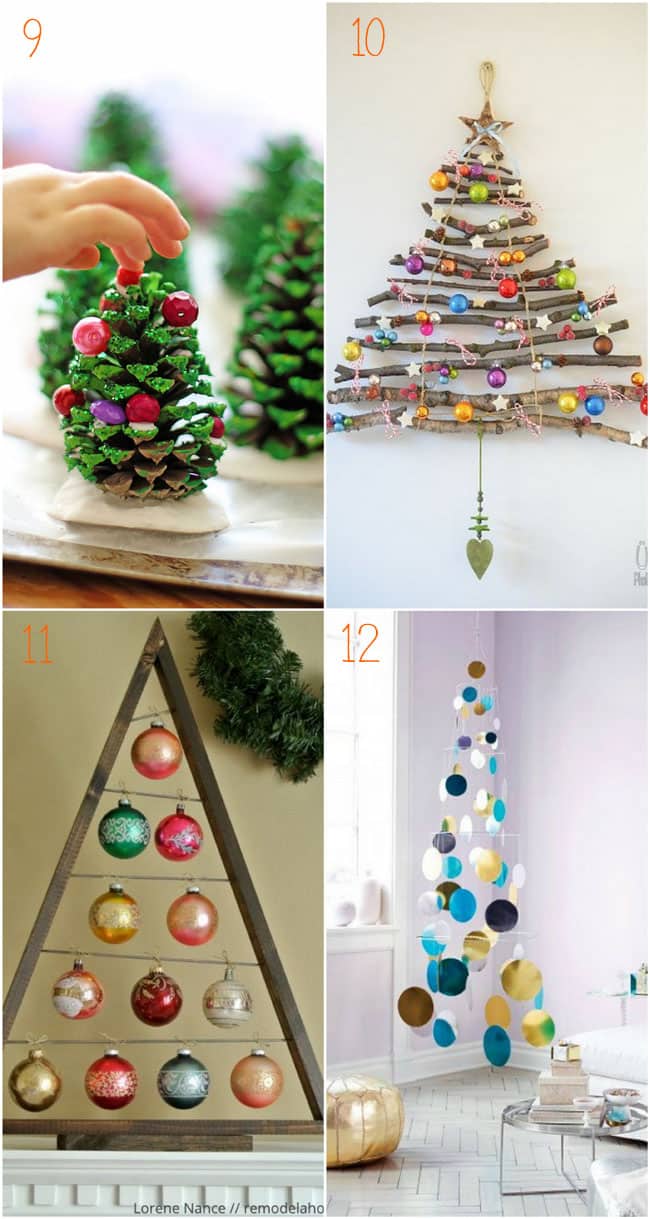
48 Creative alternative Christmas trees that are NOT trees!
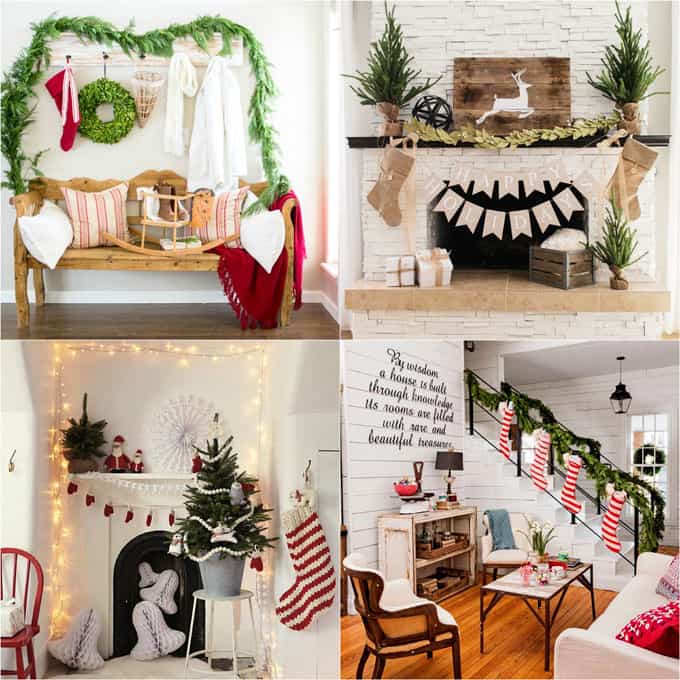
30+ Favorite Christmas home tours and how to decorate every room in your home!
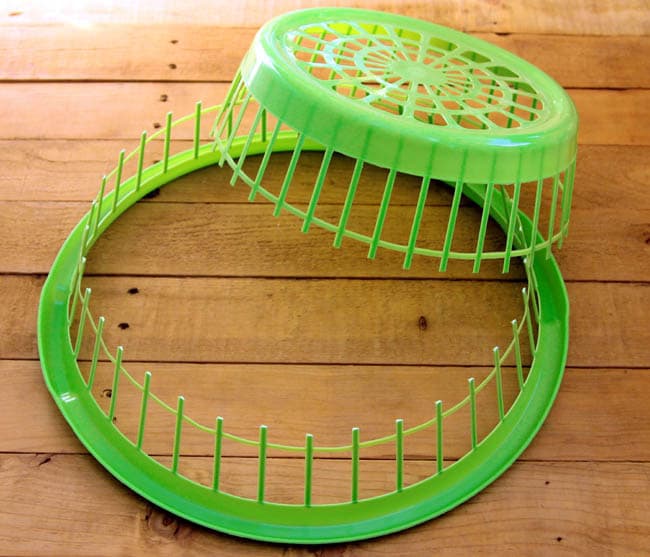
Super fast way to make a wreath: a Dollar store hack!
Have a merry and bright day! See you next week!



Thank you for sharing this article. Absolutely stunning. I’m hoping I can recreate something similar.
I made this today with magnolia leaves and winter greenery from our woods in South Carolina! Gorgeous and took 15 mins!
so happy to hear! merry Christmas Maggie! 🙂
This is beautiful and so easy…it’s just what I’ve been looking for. Why buy one when you can make this. Thank you for sharing
enjoy! and happy holiday season! 🙂
Love this arrangement and I’m wondering what size box that was?
Thank you!
hi Elise! the crate is 11″ x 14″ on the outside 🙂
Such a great tutorial! I will be making my first centerpiece this year, so excited!
I love this! I recently posted a pumpkin pie recipe on my blog and this centerpiece would have looked amazing in the background. I may have to make this centerpiece and then reshoot the post.
Absolutely stunning. I’m hoping I can recreate something similar. Thanks for the inspiration! I also love that you repurposed things.
Very nice! I loved your variety of greens you used. It is well done but not so sophisticated that it would look out of place in my casual househod. Think they would make lovely gifts!
Cool. That’s a very simple idea yet an elegant decor. Can’t wait to do it. Thanks for sharing.
Wonderful Great idea for Christmas table decorations. It is nice to see that you reused the containers !!.
Wow, this decoration came out amazing! I might have to copy this idea 🙂
These are gorgeous. I ‘be been looking for Christmas flatlay inspiration and I think putting my twist on this might be it.
That does look like such a cool centerpiece. I would never have thought of using a box like that to do it before. But I can see how amazing a job can be done with it. I especially love the fairy lighting touch.
I love it! It’s beautiful and simple AND easy enough for the DIY challenged like me. Thanks.
Wow this is so gorgeous. I need to make this for my food photography!!
Wow!! You are very creative. I really like your DIY Christmas table centerpiece so stunning and classy look. I will definitely try to make it.
These boxes are amazing!! I am definitely going to make some for my holiday tables this year 🙂
Love the ideas! They are all so classic and looks like an easy DIY! Now I’m inspired to create my own centerpiece 🙂
It’s so gorgeous and definitely something that I would love to do for Christmas! I think it’s really lovely. I appreciate the tutorial very much.
I love that centerpiece! I pinned it so I can remember to try to do it, I’ve been looking for something incorporating pine boughs. The smell is awesome with vanilla. Thanks for the inspiration!
This is so beautiful and I have been wanting to put something live on my kitchen table but didn’t know how to go about it. I never would have thought to use cans and fill them with water to make it work!!
I LOVE this idea! I love DIY decorations for the holidays. I feel like I appreciate and enjoy them a lot more than one that I bought in the store (and can find in a friends house! lol)
Wow! This is such a fun idea! Thank you for sharing and I can’t wait to try this for Christmas!
I LOVE this idea! I wouldn’t never have guessed this would be that easy to make. Those crates are really cool, too 🙂