Beautiful DIY Terrarium in 3 Easy Steps {NO Care for 3 Months!}
How to make a terrarium as beautiful gift & home decoration. Low maintenance easy DIY terrarium plants, best care tips & mini garden ideas!
A beautiful DIY terrarium evokes our memories of an oasis paradise: lush jungles, moist tropical air, and rain forest on a peaceful island surrounded by the turqoise ocean…
After making some terrariums and realizing how easy they are to DIY and care for, I am so happy to share with you in this tutorial:
- How to choose the right type of terrarium plants.
- How to make a terrarium ecosystem that is beautiful and easy to maintain.
- Helpful tips on terrarium care and maintenance.
Although there are terrarium kits designed to make professional looking and longer lasting miniature gardens, you don’t need special supplies to create a self-sustaining beautiful little living paradise in a glass jar. A trip to a yard sale and a walk in the woods will give you all the treasures needed to make your own magical terrarium.
*Some resources in article are affiliate links. Full disclosure here.
How to choose the right type of terrarium plants.
In order to make a terrarium that looks natural and stays healthy with minimal care, it’s VERY important to choose plants with similar watering and humidity requirements. For example:
- Cactus and succulents need little water, good air circulation and dry heat.
- Moss and ferns need shade and high level of humidity.
- African violets and Pilea like moderate moisture and not too much water on their leaves.
As you can see it would be very challenging to plant cacti with green moss and ferns inside the same terrarium!
Materials and tools to make a terrarium:

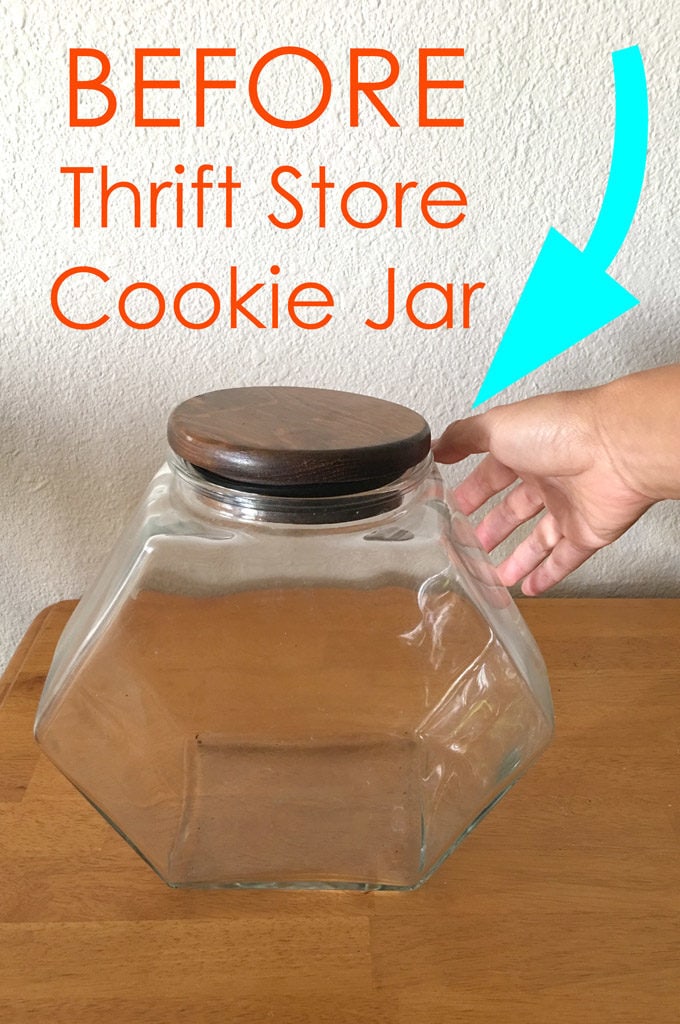
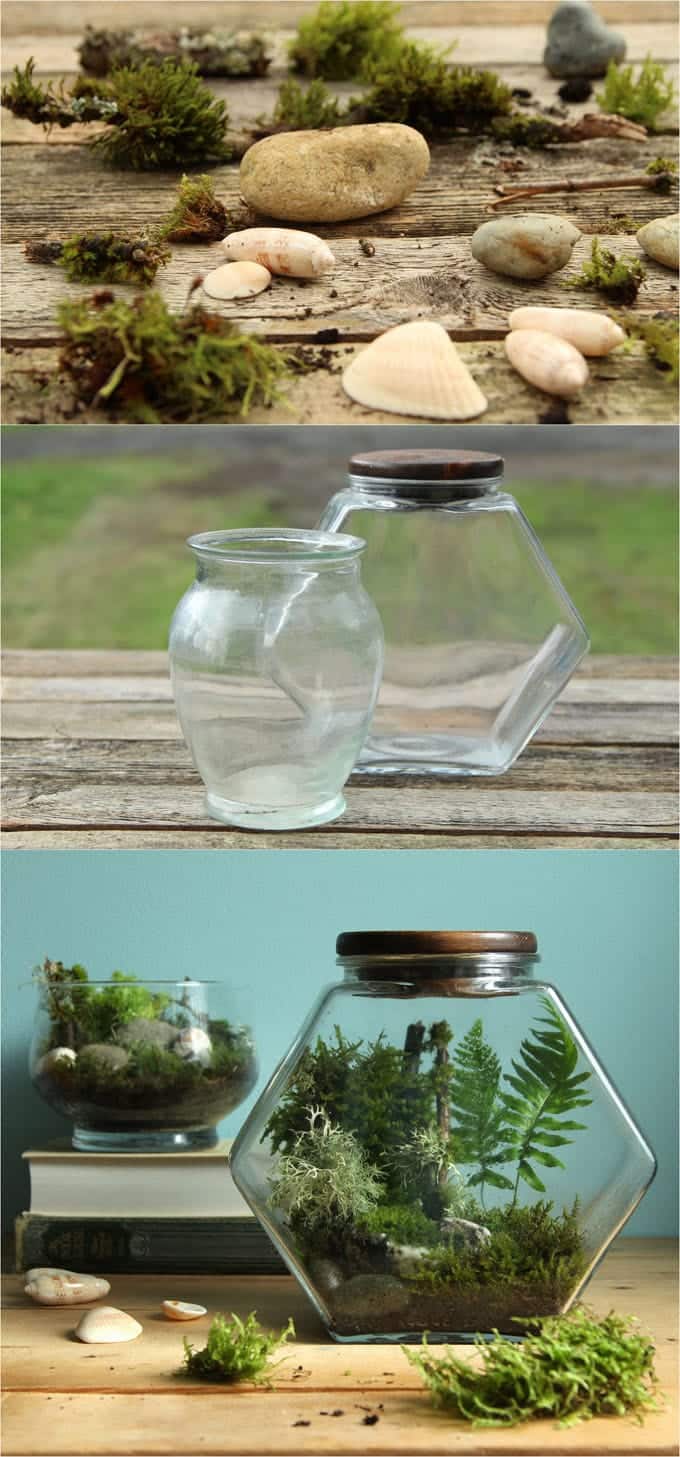
- transparent glass jars or vases: often yards sales or thrift stores will have large glass vases or clear glass cookie jars with lids like these. You can also save a pickle jar or mason jar.
- planting medium: gravel or small pebbles, sand or clean soil such as potting soil, a layer of activated charcoal or horticultural charcoal on the bottom of a terrarium will help absorb impurities. It is not required for open terrariums such as succulent terrariums, but highly recommended for closed terrariums..
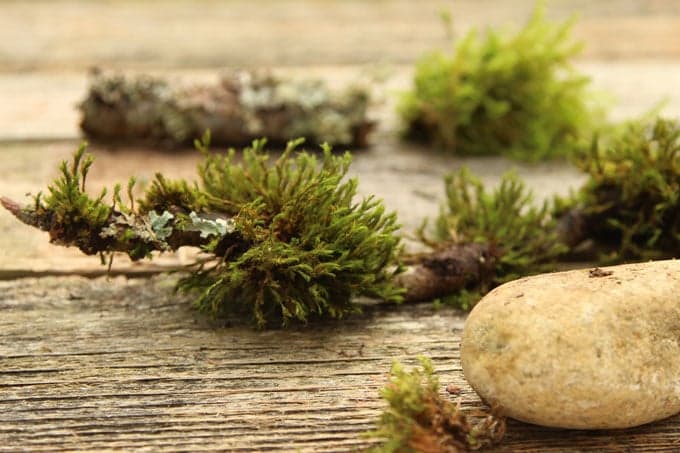
- treasures found on a nature walk, such as moss, ferns, seashells, branches, rocks, etc. You can also buy preserved sheet moss like this.
- for glass containers with a narrow opening, use tools such as a spoon, tongs, long tweezers, chopsticks etc to add soil and plants.
There are two types of terrariums: open and closed.
Closed terrariums are self-sustaining ecosystems that should be kept mostly in the shade.
Best terrarium plants for a closed terrarium need to be compact, and humidity-loving. Moss, ferns, and most small plants in the house plant section of a nursery are from the shaded forest floor habitat, will work great in a closed terrarium.
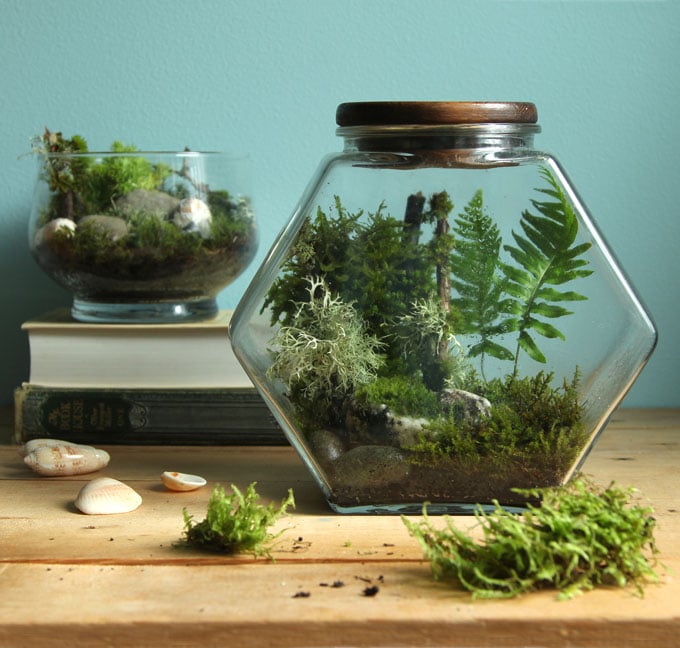
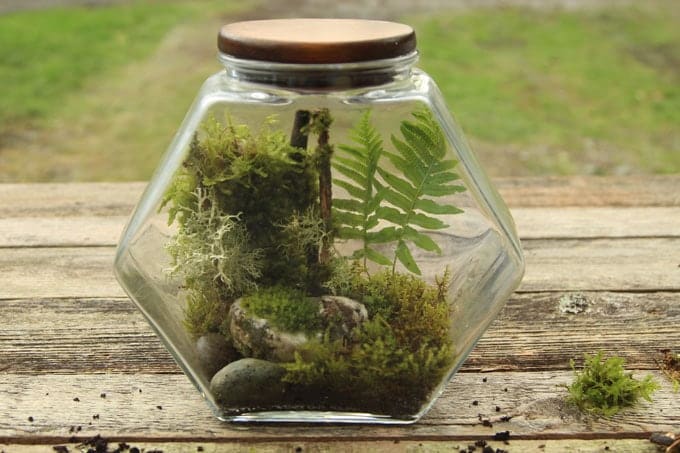
Because of little moisture loss, the closed terrarium can stay alive and healthy for months with almost no watering or maintenance. I made my closed terrarium ( the one in the photo above), and never had to open the jar in 5 months!
It is important to make sure your closed terrarium does not have too much condensation. If it has too much excess water or condensation, take off the top to increase airflow and let the moisture evaporate for a few hours.
Plants such as succulents and cactus would not be suitable for a closed terrarium, because they like low moisture in the air.
Open terrariums can be kept in part sun or shade. However, keep in mind that a glass container may get too hot if it’s in direct sunlight for a long time.

Open terrariums are more like glass planters than a traditional “terrarium”. In addition to all the plants used in closed terrariums, you can plant orchid, any small indoor plants, etc. You can also make succulent terrariums using small succulents, cacti and air plants, which love a dry environment.
Step 1: create the drainage and soil layer
IMPORTANT: even with a thick layer of gravel at the bottom, always water sparingly and do not let excess water sit at the bottom for too long, which can cause root rot.
Put a 1″ layer of 50% pea gravel or fine rocks mixed with 50% horticultural charcoal ( easier to find than activated charcoal ) at the bottom of the DIY terrarium. This will keep bacteria and mold from developing in the closed terrarium.
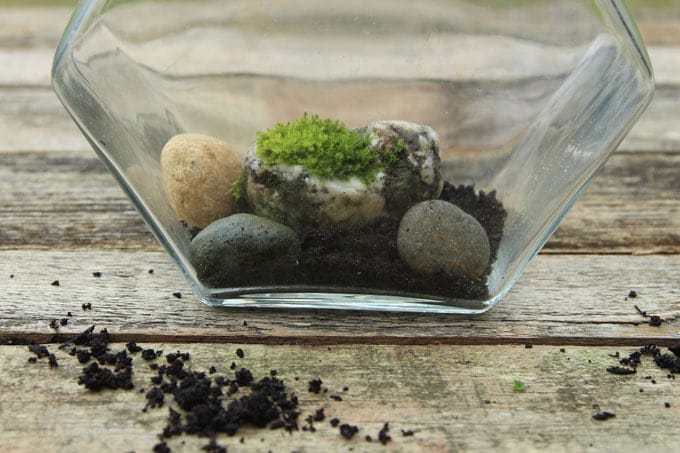
Next, add some moist soil. The soil layer does not need to be that thick. 2″ to 3″ is enough for most plants.
Use a few bigger rocks to help creating soil mounds. If you could find rocks with some moss growing on it, even better!
Think of the design inside a glass terrarium like a miniature garden with little mountains and hills, or a fairy gardens with tiny forests.
Step 2: add terrarium plants
Small plants from the shaded forest floor such as tiny ferns, violets, moss, and most small house plants are great for medium to high humidity terrariums.
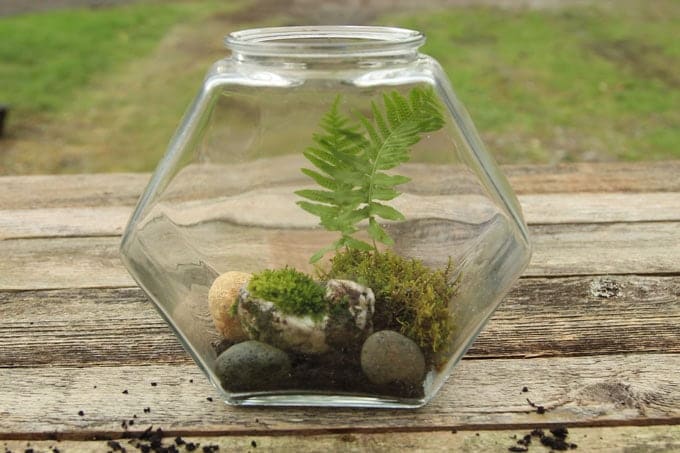
Cacti and succulents are great for dry terrariums.
Related Article: If you love indoor gardens, another easy way to grow beautiful indoor plants is to use just glass bottles and water.

Tutorial on how to grow beautiful indoor plants in glass bottles and water.
Step 3: add artistic elements
Vertical elements, such as twigs and barks, can create the look of a mini forest. Some even have moss on them, so pretty!
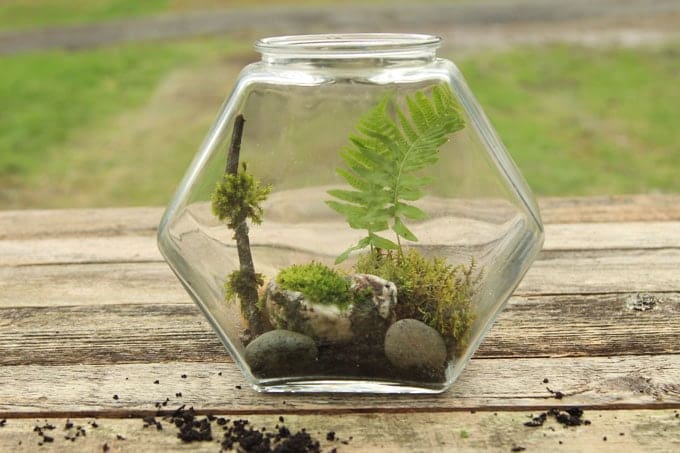
Move things around until everything looks balanced in the terrarium.
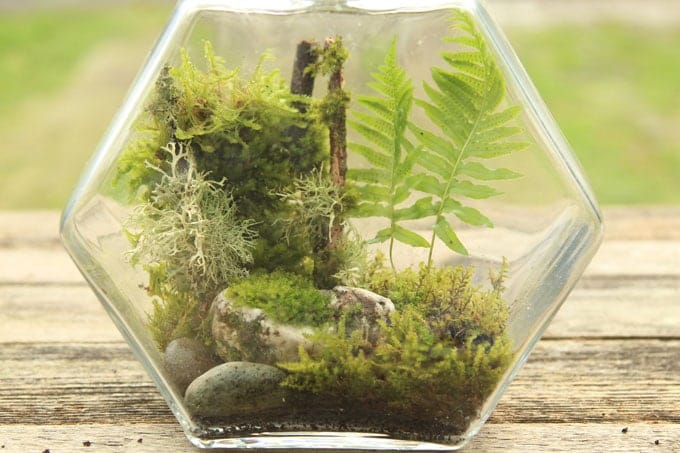
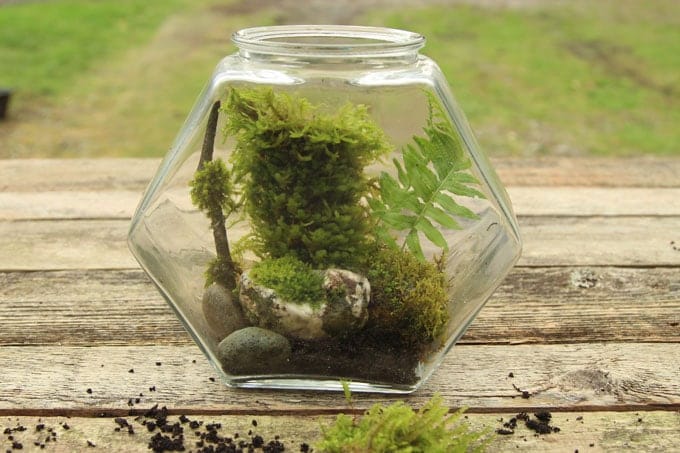
It’s like creating a painting, or a miniature garden. Step back and look at everything, shift things around until you are happy with how your DIY terrarium looks!

Give everything a gentle mist, close the jar, and enjoy your little piece of tropical jungle paradise!
How to make a terrarium that is open without lid.
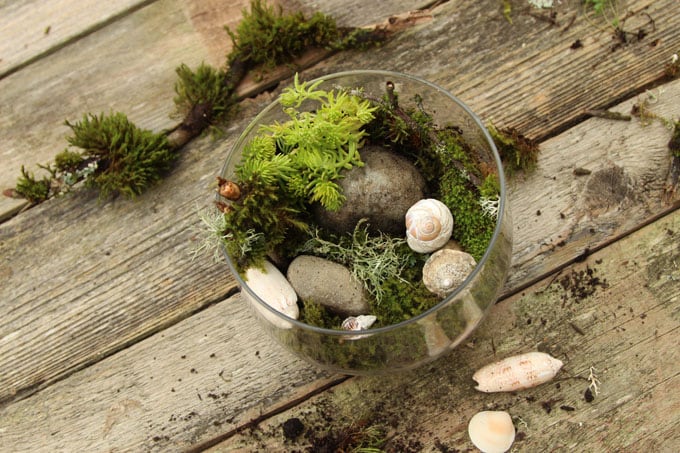
Follow Steps 1-3 for the closed terrarium DIY. The main difference is that we have a wider choice of plants. Just try to keep plants with similar moisture requirements in the same terrarium. For example, succulents love to be kept more dry, and ferns love to be watered often.
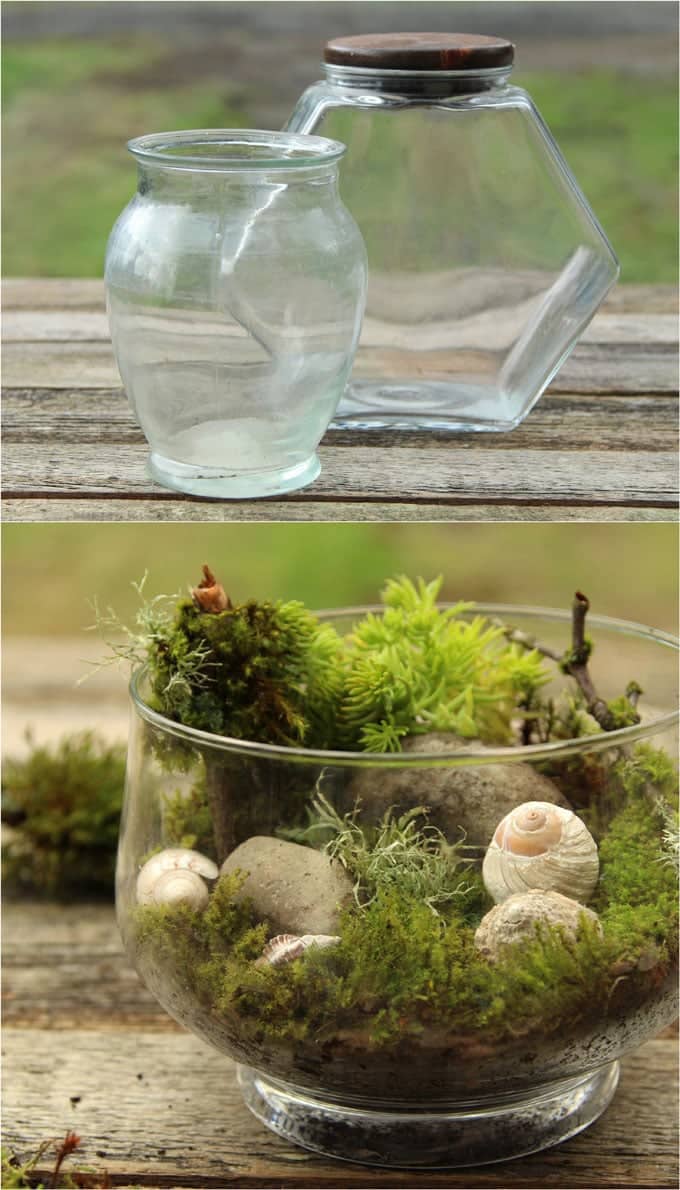
I added some Sedum plants and a few seashells for different colors and textures.
Additional tips on how to keep your terrarium healthy:
The closed terrarium requires almost no maintenance if it is set up right and placed in a bright location without direct sun.
The open terrarium needs to be misted once every couple of days for fern and moss type plants.
A succulent terrarium just need watering about once every 1-2 weeks.
Even with gravel and drainage at the bottom, most terrariums don’t have drain holes, so always water sparingly and do not let excess water sit at the bottom for too long, which can cause root rot. I like to use a spray bottle to water, and use a paper towel to soak up the extra water after a few hours.
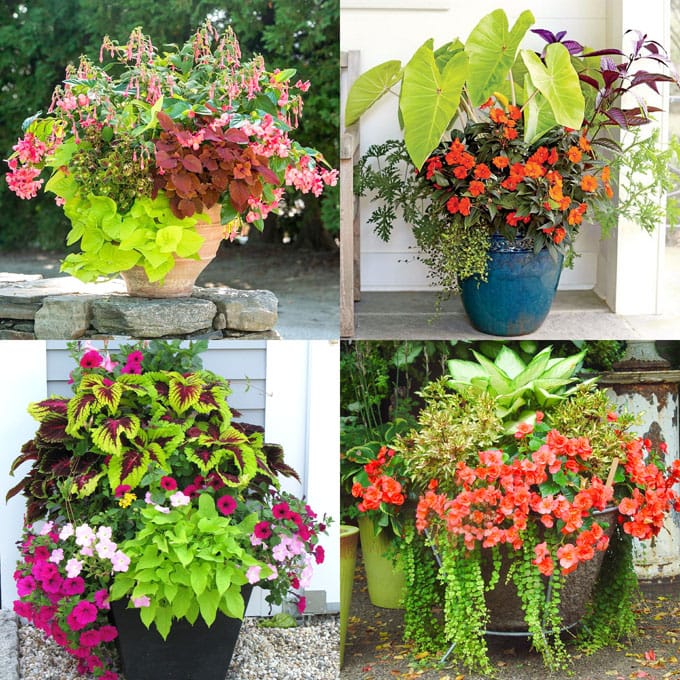
You may also love: 16 colorful shade garden pots with plant list for each.16 colorful shade garden pots with plant list for each.
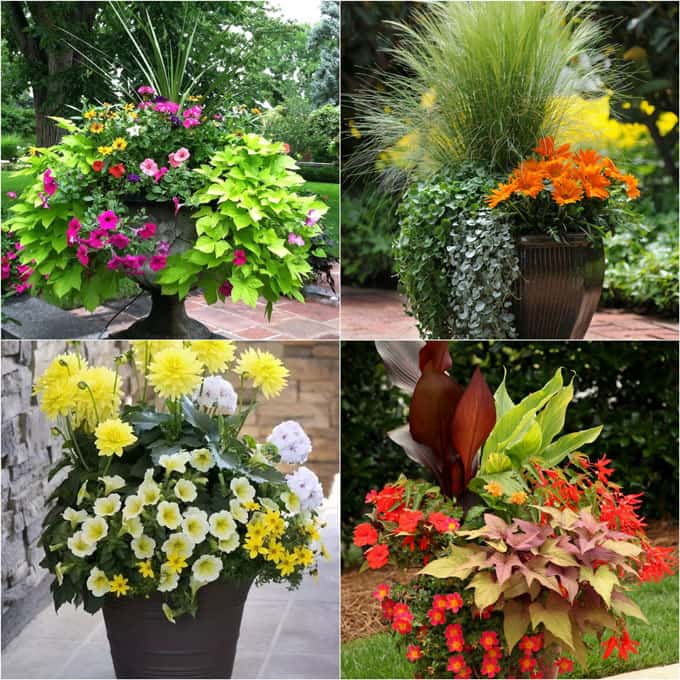
And 24 beautiful container garden designs for sunny areas.
Happy creating! See you next week!


this is really amazing and beautiful article about the diy terrarium. i just love this article.
This is the cutest idea!! This would actually be so cute in my living room! Can’t wait to make one!! thanks for sharing this article.
I’ve only recently found about terrariums and I absolutely love the concept. Thanks ever so much for this tutorial. It was very informative and fun.
Before adding soil, a bit of granulated charcoal and a layer of small pebbles on the bottom will prevent odors and ensure good drainage, especially if you are making a closed system.
thank you so much sandra for sharing this great tip!! =)
Very Pretty! You are an inspiration!
I made one years ago. It had a small opening but no lid. I use a piece of plastic wrap and a rubber band to seal it. This kept in the moisture so I hardly ever had water it.
thank you so much terri for sharing your experience! =)
Oh i didn’t know you can have a closed one! I hate bugs so I never like to plant anything in the house, but that i can do!
So gorgeous! Love this DIY, you did a great job!
Gads I hate to be one of those people that says ” That’s EXACTLY what I was going to say you should make!!” But I am – well a Fairie Garden was my second thought – LOL! Yours turned out beautiful!!
thank you deborah! a fairie garden would be lovely! =)
This is the cutest idea!! This would actually be so cute in my living room! Can’t wait to make one!!
Wow this looks so pretty!!
Wait, they can actually stay alive for that long in a sealed jar? That’s wild! I’m going to make one this weekend!
This is super adorable! I think a terrarium would be perfect for a new college grad who may be moving soon as a house warming gift! Great tutorial to explain it all!
This is so cool!! Everything turned out so great!!
OoOoo So pretty! You did a great job on this!
It turned out so pretty! I’m loving every single on of them. The first one is my favourite!