Drying Herbs Easily: Best Hacks and 4 Methods Compared
How to dry herbs quickly & easily! Best hacks with pros & cons of 4 ways of drying herbs: air drying, in food dehydrator, oven or microwave.
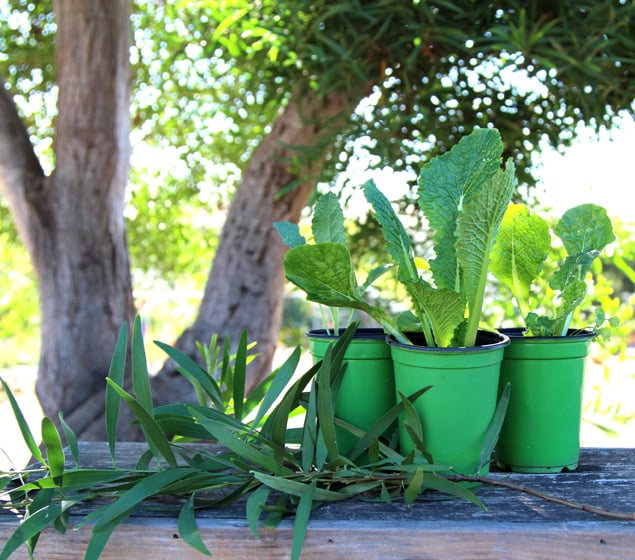
Each year at at harvest time, it’s easy to be overflowing with herbs from your abundant vegetable garden! Why don’t we dry them, put them in spice jars to use in our favorite recipes and to share as delicious gifts?
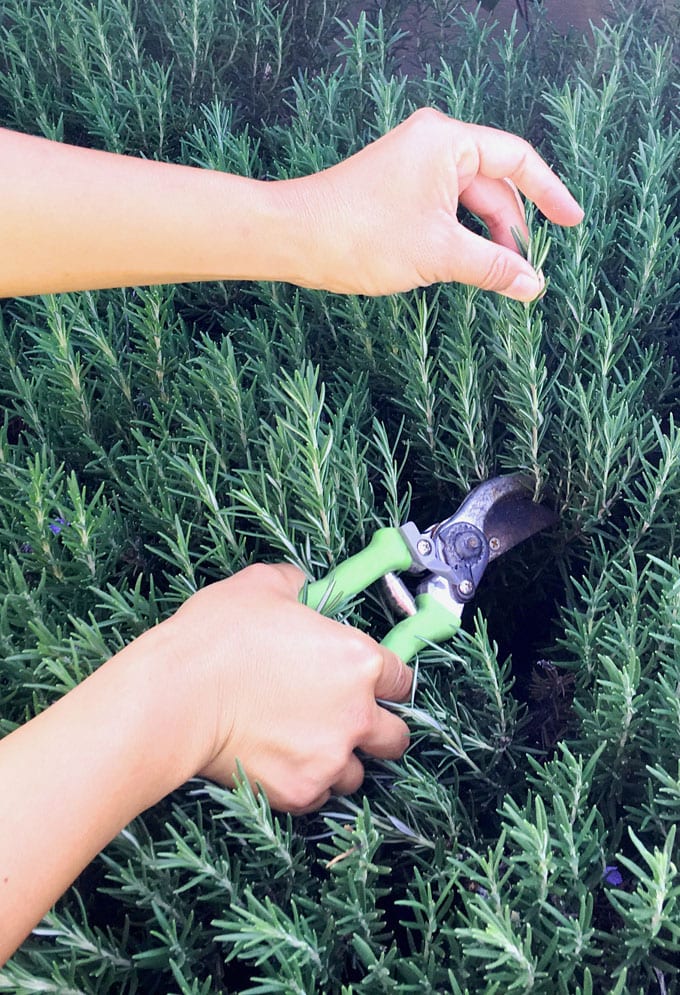
We all LOVE those charming photos of drying herbs and bouquets by hanging them in a country kitchen or a farmhouse cupboard. However, this method is not the best for drying fresh herbs of all kinds. Brittle herbs such as thyme, dill, basil, oregano, and sage would end up with stems and leaves sprinkled all over the floor.
Today I want to compare 4 most popular techniques of drying herbs, which are air drying, in a food dehydrator, oven drying, and microwave drying. At the end I will share my favorite hack: a fun and effective way to dry herbs easily, and fashionably too!
By the way , this method is also a great way to save garden seeds, and attract fairies! You do believe in fairies, right? 🙂
*Some resources in article are affiliate links. Full disclosure here.
Comparison of 4 common techniques for drying herbs.
You can dry herbs indoors or outdoors. No matter which method you use, the most important keys for success are: low humidity, good air circulation, and no direct sunlight.
There are four common techniques for drying herbs. They are oven drying, microwave drying, using a food dehydrator, and air drying (my favorite).
The main goal of drying herbs is to let the fresh herbs lose all the moisture quickly before mold can develop, while preserve the essential oils, flavors and nutrients as much as possible. Let’s compare the 4 popular methods and see the pros and cons of each.
Technique 1: Drying herbs in the oven.
To dry herbs in the oven, rinse them quickly, place the herbs on a baking sheet in the oven at maximum 180 °F (82 C.) and dry them for about 2 to 3 hours with the oven door slightly open.
Pros: easy, can be done indoors any time of year in any weather, even in humid climate.
Cons: herbs can become cooked if oven temperature is higher than 180 °F. It is also uses more energy than some other methods.
Technique 2: Drying herbs in the microwave
To be honest, this is my least favorite method.
Pros: It is super easy, just microwave small bunches of herbs on high for 2 to 3 minutes.
Cons: The main reason I personally don’t use this method is that it is hard to say whether the herbs are “cooked” or “dried”. You know how when you microwave food, sometimes the food towards the outer edges get super cooked while the center part is still barely warm? I prefer natural low heat drying , which retains the most flavors and nutrients in herbs.
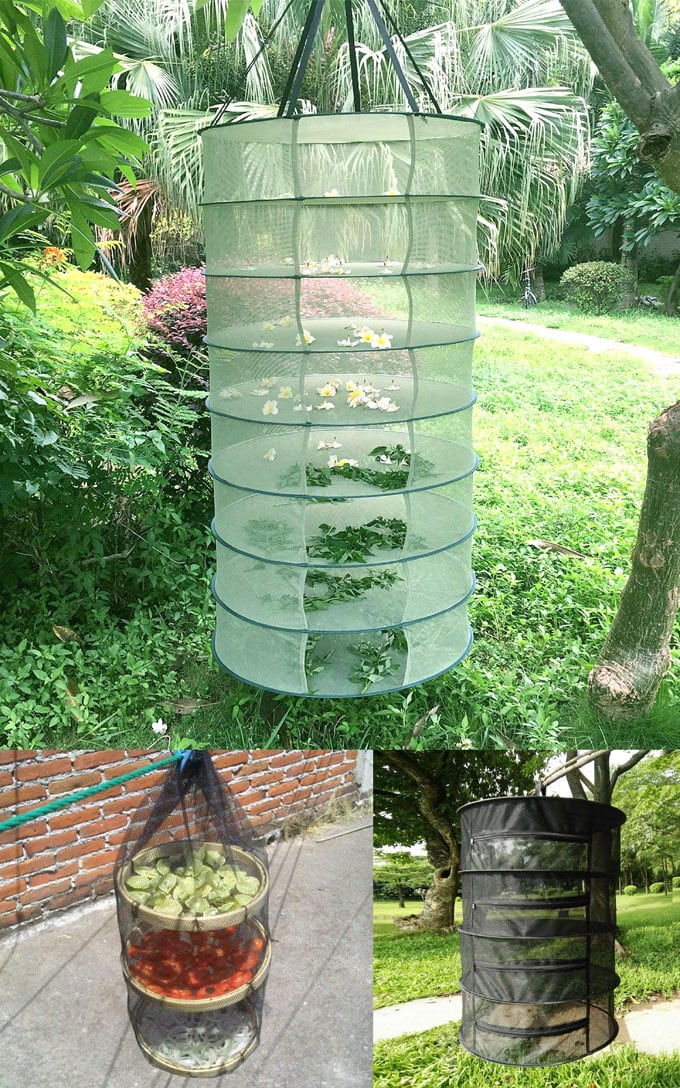
Technique 3: Drying herbs in the dehydrator.
Keep the food dehydrator temperature between 95 °F and 105 °F. Place the herbs in a single layer on the dehydrator trays. It can take from one to four hours to dry the herbs depending on the variety.
Pros: This method is what professionals use to dry large quantities of herbs. It is a very reliable way to produce high-quality dried herbs.
Cons: Need to buy a food dehydrator. It also uses more energy than air drying.

If you are into food preservation, and have room for a bigger food dehydrator, here‘s one of the best designed DIY solar food dehydrator building tutorials. Exposing fruits and vegetables to direct light can cause vitamin loss. This design uses solar-heated air without any electric fans to dry food. All the food ( and herbs) are kept out of direct sun.
Technique 4: Air drying herbs ( my favorite!)
There are many variations of air drying methods. Always dry herbs out of direct sun to maximize the flavors and nutritional benefits. If it’s humid outdoors, you can dry herbs indoors in a room or even in a closet.
Herbs such as bay leaves, rosemary, or lavender do not fall off easily when dried, you can simply hang the herb bundle upside down in a dark and low moisture place with good air circulation to dry.
But many herbs and flowers, such as thyme, or leafy herbs like mint, dill, sage, basil, parsley, lemon verbena, etc, become very brittle when dried, and could easily crumble and end up all over the floor if they are simply tied in small bunches to dry.
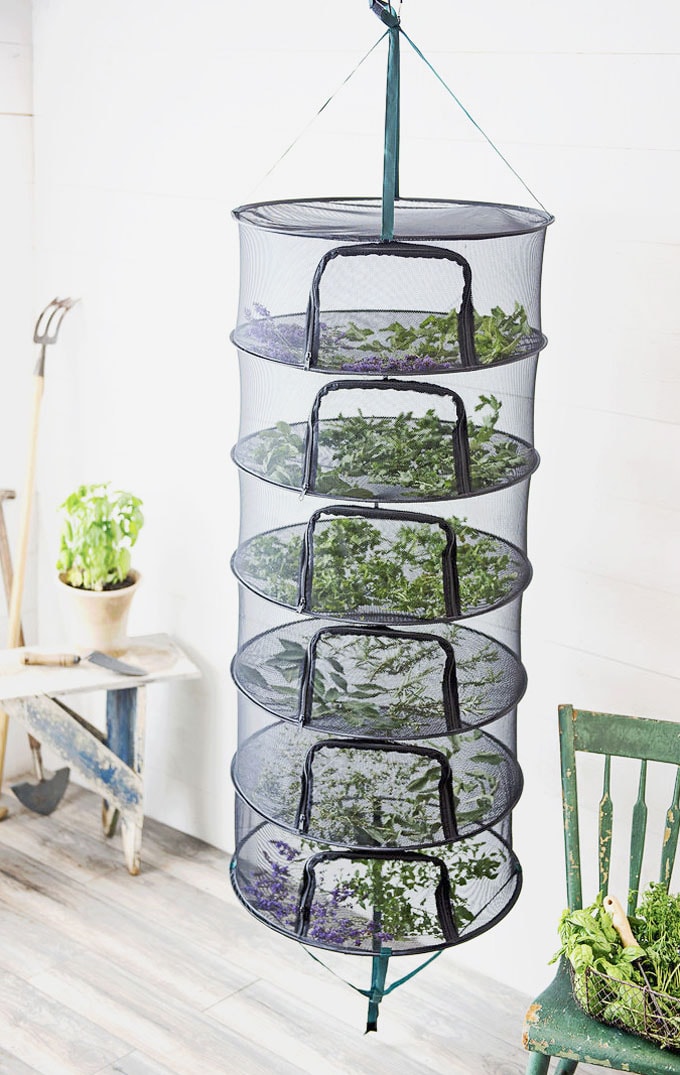
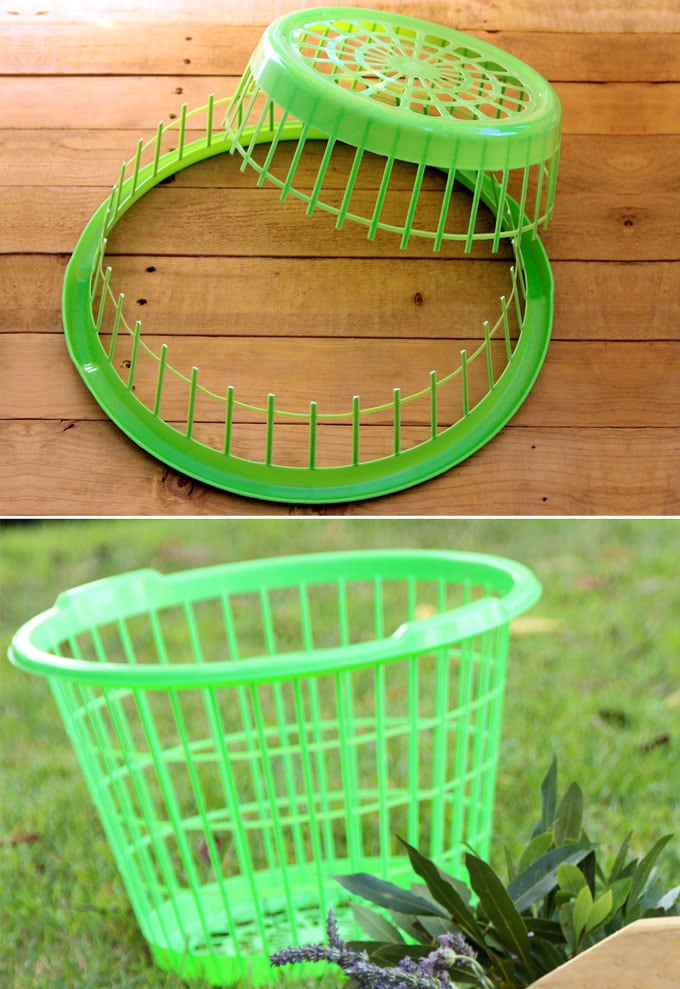
There are many wonderful herb drying rack you can get for under $20 on Amazon. You can also make a DIY version using embroidery hoops or hula hoops, and mesh fabric. ( Source: Herb drying racks 1 | 2 | 3 | DIY tutorial )
You may also love: how to make a rosemary wreath for your kitchen: super easy and free hack!
Now, are you ready for our simple and easy herb drying hacks for $1?
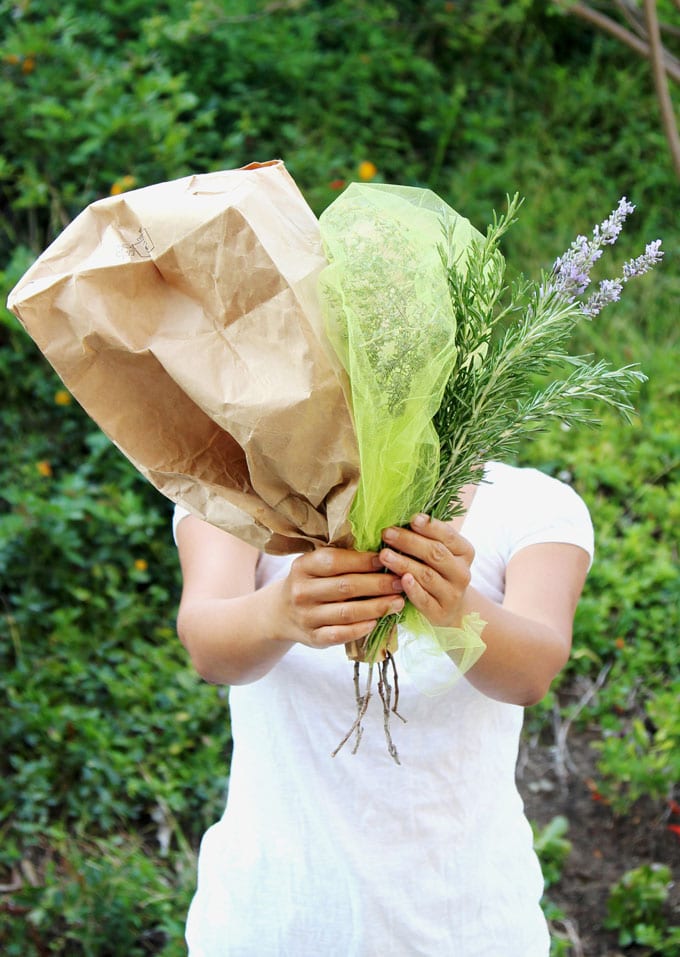
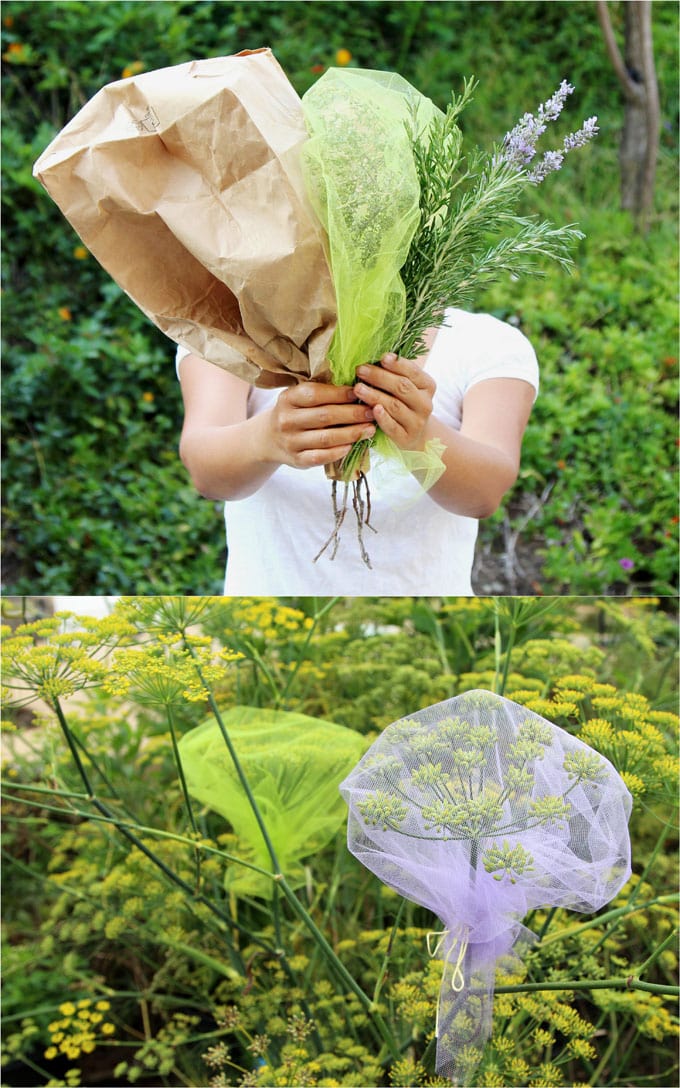
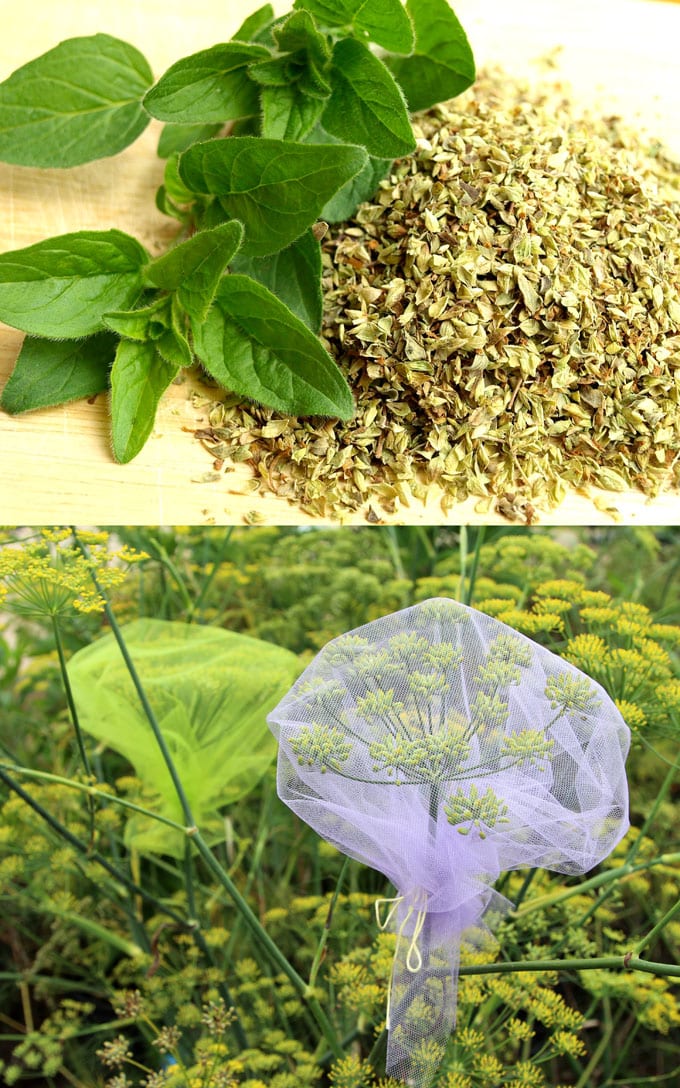
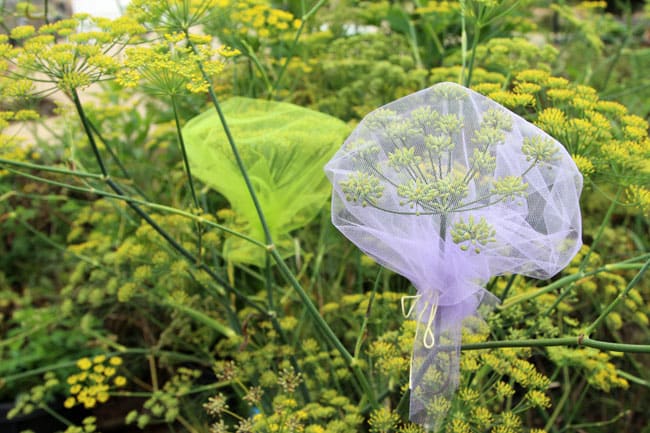
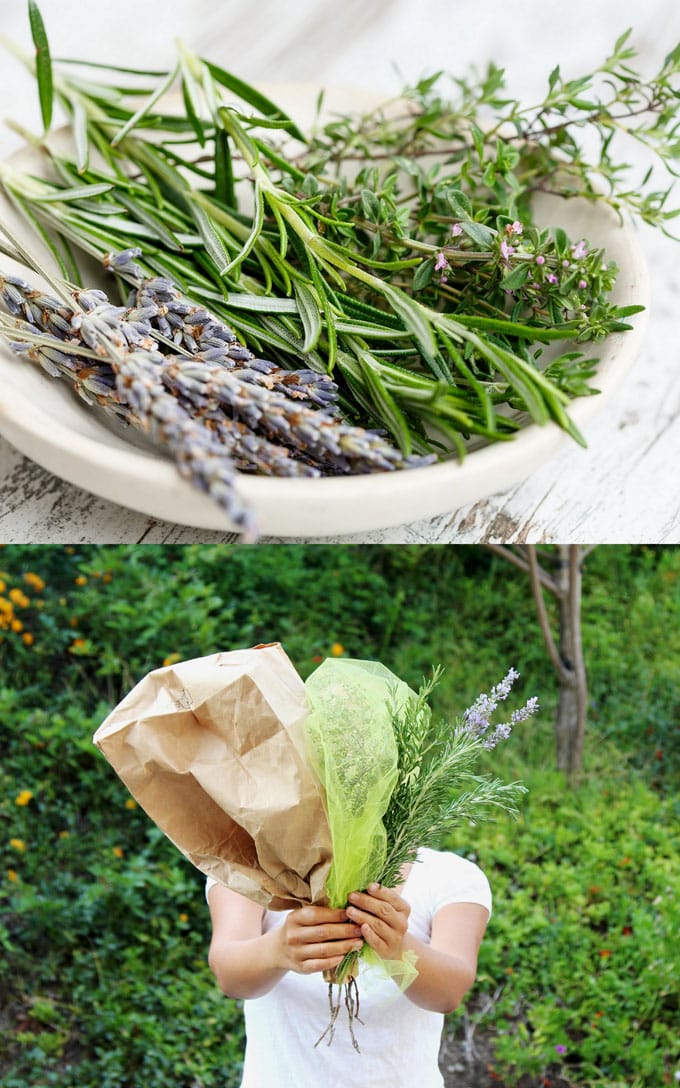
Use a paper bag, or our magical secret: ballerina tutu fabric, aka, nylon tulle. Both will work in very similar ways. The tulle fabric allows more air circulation, and lets you see the progress easily!

This fabric is not only oh-so-pretty, it also holds its shape almost like a little container so the herbs won’t get compacted. It’s fine mesh keeps the dust out while allowing plenty of air circulation.
To dry herbs, first get the fabric (about $1 per yard at the fabric store) and cut them into 18″ squares. Feel free to vary the size according to the type of herbs you are drying.
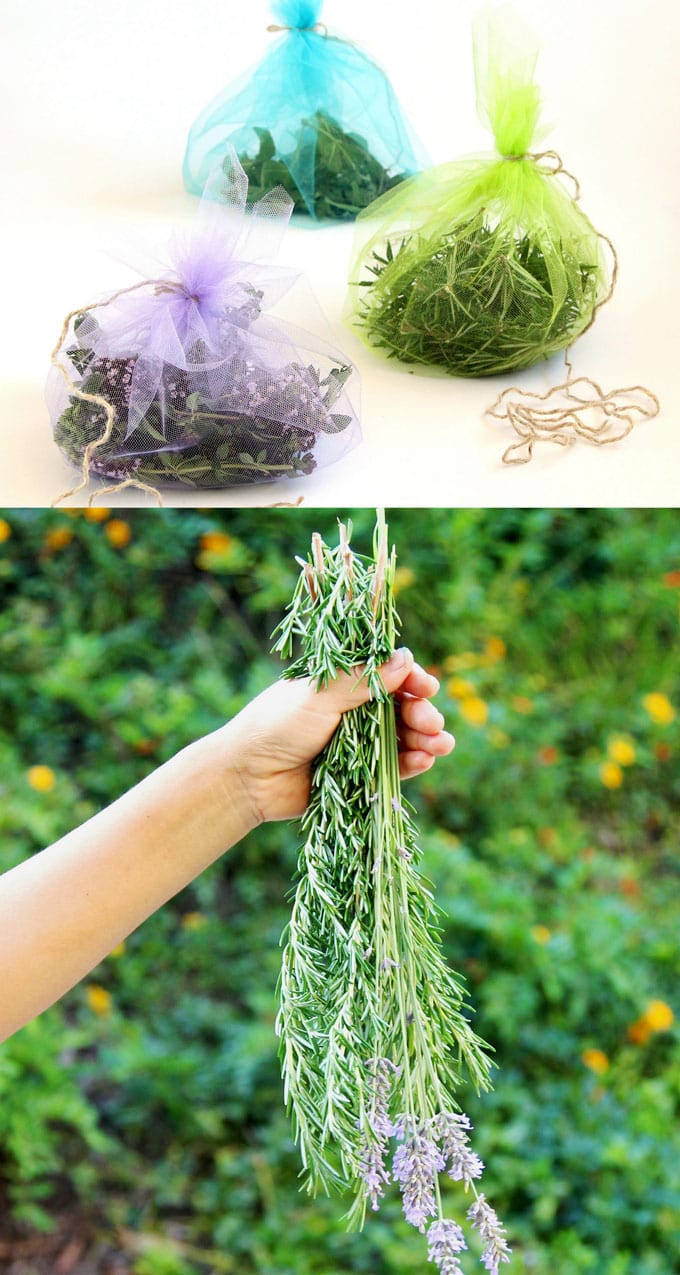
Next either tie a bundle of herbs and then tie the fabric around the bundle, or for smaller herbs like thyme, you can put sprigs of them directly inside the fabric, then gather the fabric and tie a string to it.
Hang these small bundles of herbs from a branch, make sure they are out of direct sunlight, and in a well ventilated space with good air circulation and protected from moisture such as rain.
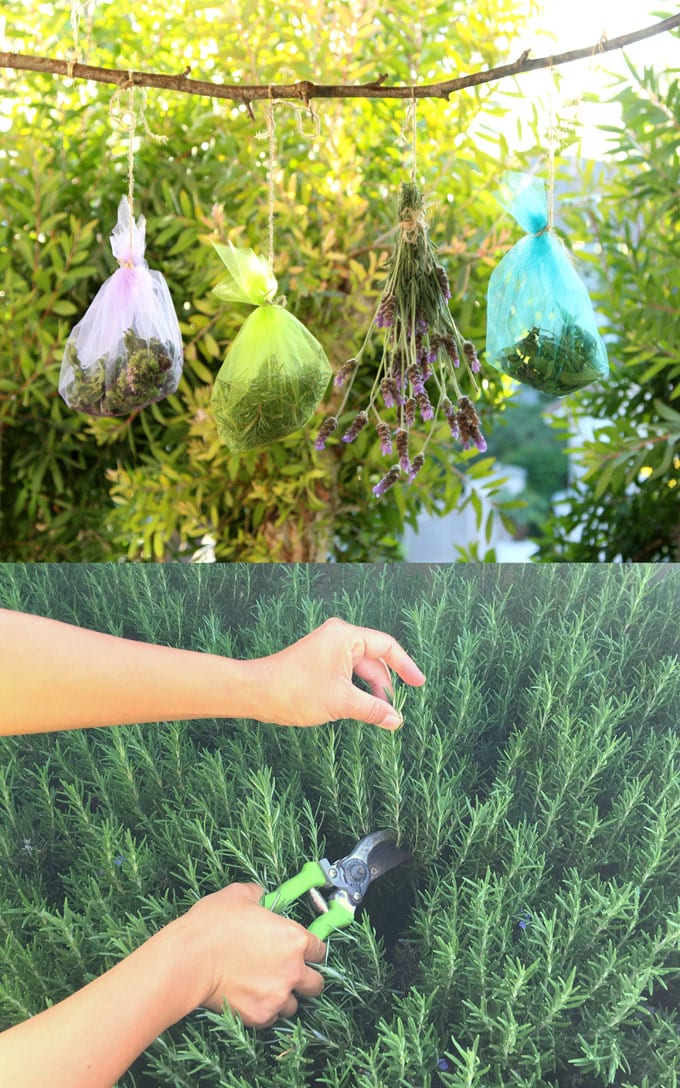
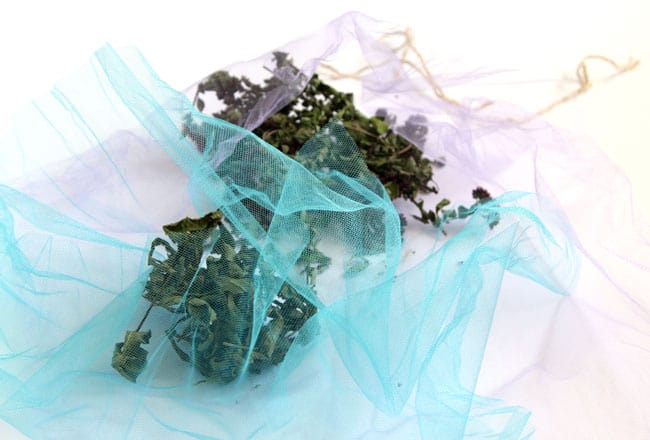
In 2-5 days, the herbs will be all perfectly dried and ready for use in the home!
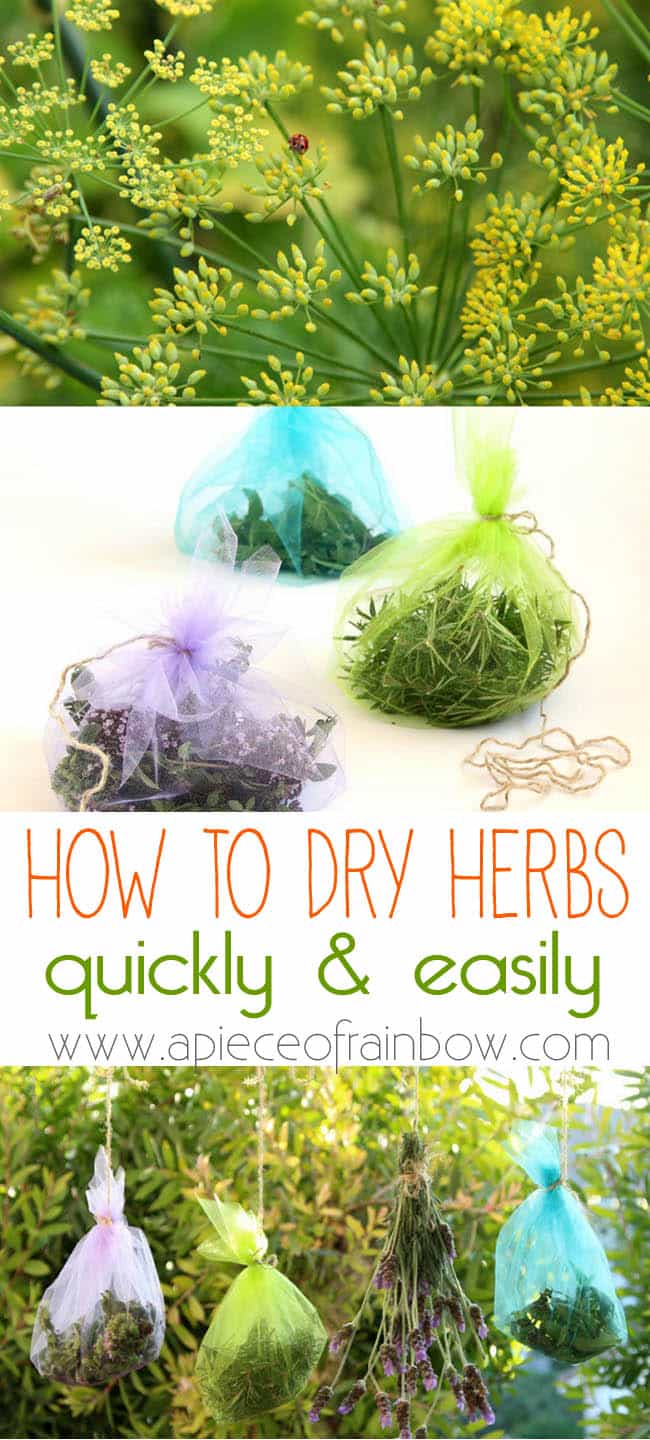
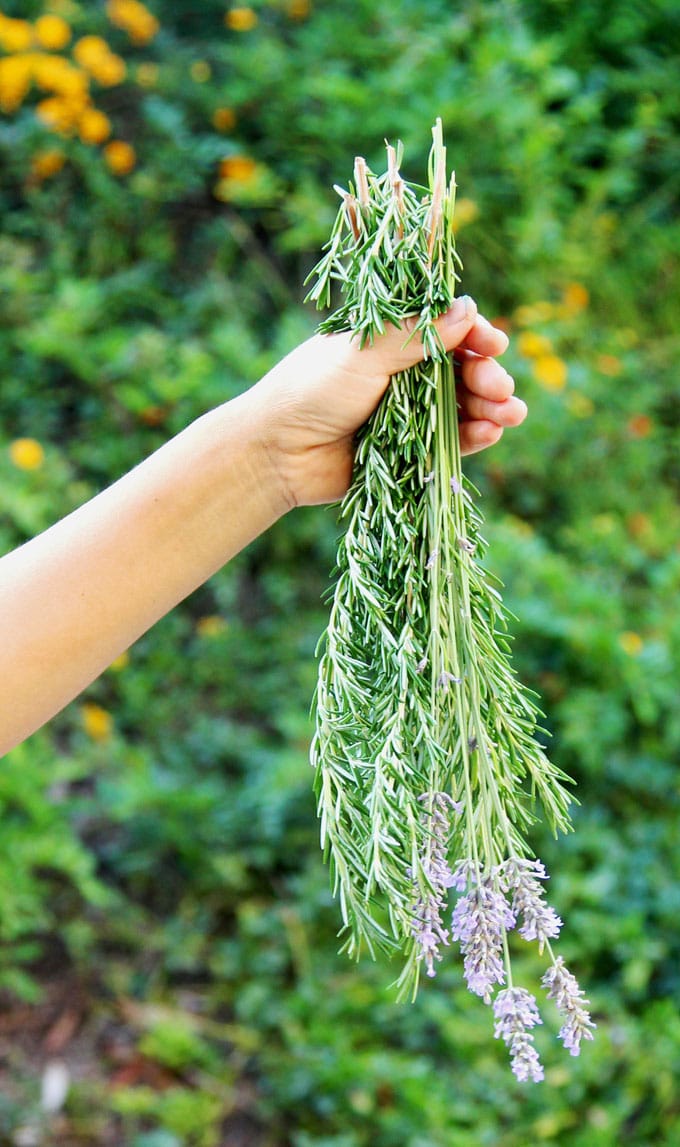
Not only is this pretty fabric a great help for drying herbs, it’s also really useful for saving garden seeds.
Seeds from these beautiful seed heads of cilantro, onion, fennel, and carrots can fall off before we catch them. We can save some at harvest time for the next season, while leaving plenty for our feathered friends.
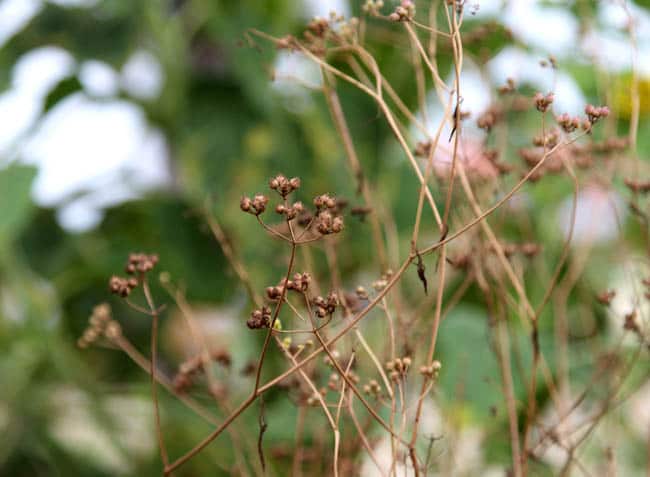
To do so, just tie a piece of tulle around the seed head once the flowers finish blooming and seeds begin to form. As thee seed ripens, it will fall into the fabric bundle. How easy is that?
And all our garden fairies will be happy too because they too, love this dreamy fabric!
Store your dried herbs in a cool dark place in airtight containers away from heat, sun light, and humidity.
More ways to celebrate the garden abundance-
Make a gorgeous herb or flower wreath super fast- a dollar store hack! Here we made an herb wreath with bay leaves, dill, lavender, and rosemary!
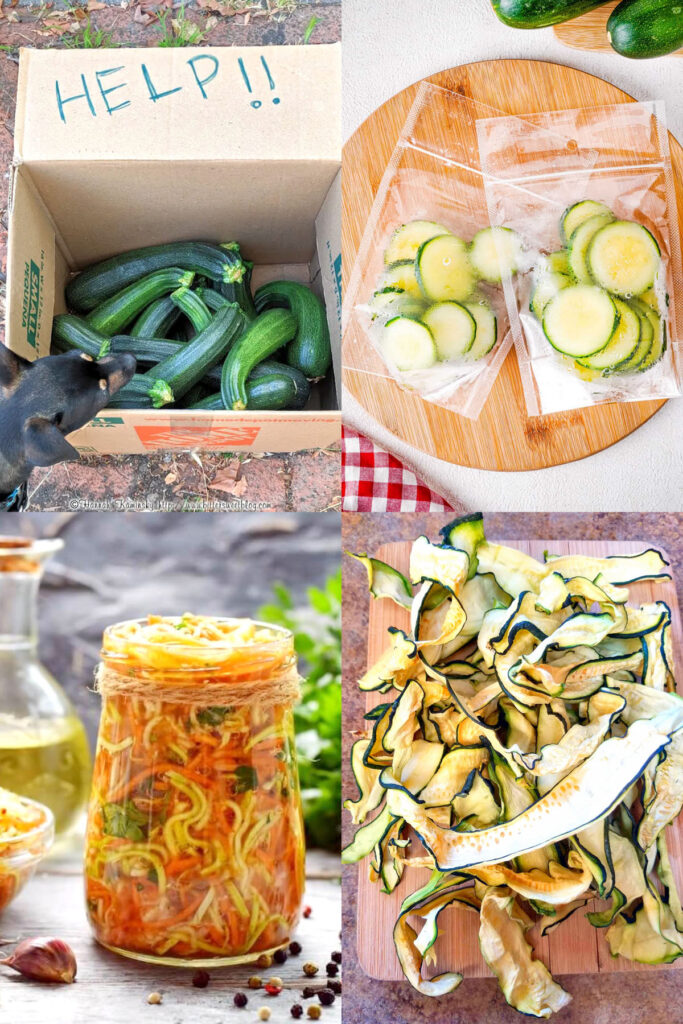
Almost every gardener has experienced a huge zucchini harvest. Here are some delicious ways to preserve and use lots of zucchini!
A tried and true trick to give your fall garden a jump start – we use this method all the time!
Happy growing! See you soon!


Years ago “Fine Gardening” ran an article explaining how to keep herbs GREEN when drying them for later use. The trick is to put herbs in a paper bag IN the refrigerator! Parsley, especially, dries extra pretty this way. Takes a few days…check your herbs and pull from the fridge when dry and crumbly. Happy preserving!
wow thank you Gene! i am definite going to try this and update the post with your tips! thank you and happy 2023! 🙂
I live in a really dry dusty area & so I used the paper bag trick this year (no point in using the oven & wasting propane when there is practically no humidity!), but I hadn’t thought of using tulle, thank you for a wonderful idea!
I have lots of roses I need to start cutting and drying for rose oil and the thouught of how many pans I was gonna need to dry them all was overwelming! This is such a great idea. I’m so excited to try I half a mind to tear into my daughters huge tutu I made for her as a child. LOL I won’t it’s to beautiful but I thought about it….
rose oil sound amazing! at least the tutu fabrics can be used over and over again! =)
I BELIEVE IN FAIRIES! Haha awesome job, Ananda! It’s simple, it’s adorable and I totally løve it!
What a fabulous idea…basil and oregano are ready…wish I had know this before I lost my lavender!
I absolutely ADORE this idea!! I just started getting into growing my own herbs so I can’t wait to try this out! P.S. Do you recommend any herbs for chickens? As in… keeping away the bugs or in their nesting areas?
hi lz! such a great question! =) i will for sure experiment more in future with plants that are great for chickens =) i would start with fragrant herb plants like lavender, basil, mint, lemon balm, oregano, scented geraniums, etc, they would repel bugs and won’t be damaged too much by chckies! =)
Great suggestions! I just so happen to have mint and basil readily available. So psyched to try this out 🙂
Chickens love chamile in their nest its relaxing n helps egg production. Plus it makes there smell like flowers.
that sounds wonderful! we love chickens! 🙂 thank you so much Tiffan for sharing this great tip!
Love the idea of using tutu fabric. The only problem you might encounter is insects vacating the herbs will be trapped in the netting. One of the reasons for drying herbs naturally is for the insects to vacate once they know the plant is no longer viable. I might suggest hanging herbs for 1-2 days first, to allow bugs to escape, then place into netting for final drying and to catch seeds dropping 🙂
very good point philip! i will add a note to the article! thank you! =)
Je découvre votre site et j’aime cette belle idée de faire sécher les herbes aromatiques dans des petits tulles colorés… Merci…
Great idea! My herb garden always produces more than I need. I will try this! Sharing. thanks,
I just got my herb garden going so this is perfect for me! I definitely won’t be able to use up everything. I wonder is the same thing would work for something like cheesecloth?
hi miranda! cheese cloth won’t hold its shape like these tulles so the air circulation won’t be as effective! =)
Je découvre votre site et je l’aime beaucoup…Et là ces belles petites pochettes de tulle pour sécher les herbes cueillies c’est une très belle et bonne idée…
Merci et belle nuit…
A bientôt…
Merci beaucoup Chamoise!! =)
This is wonderful! I’ve never dried herbs before, but would love to. We are buying a house soon so I can’t wait to grow some flowers and plant a garden so I can try some of these ideas out. Love it!
Wow, I’ve never seen herbs dried that way! I will have to share it with my daughter!
I have never dried herbs and would like to. Thanks for the information and great photos!